Happy 5th Birthday Pudsey!

11/18


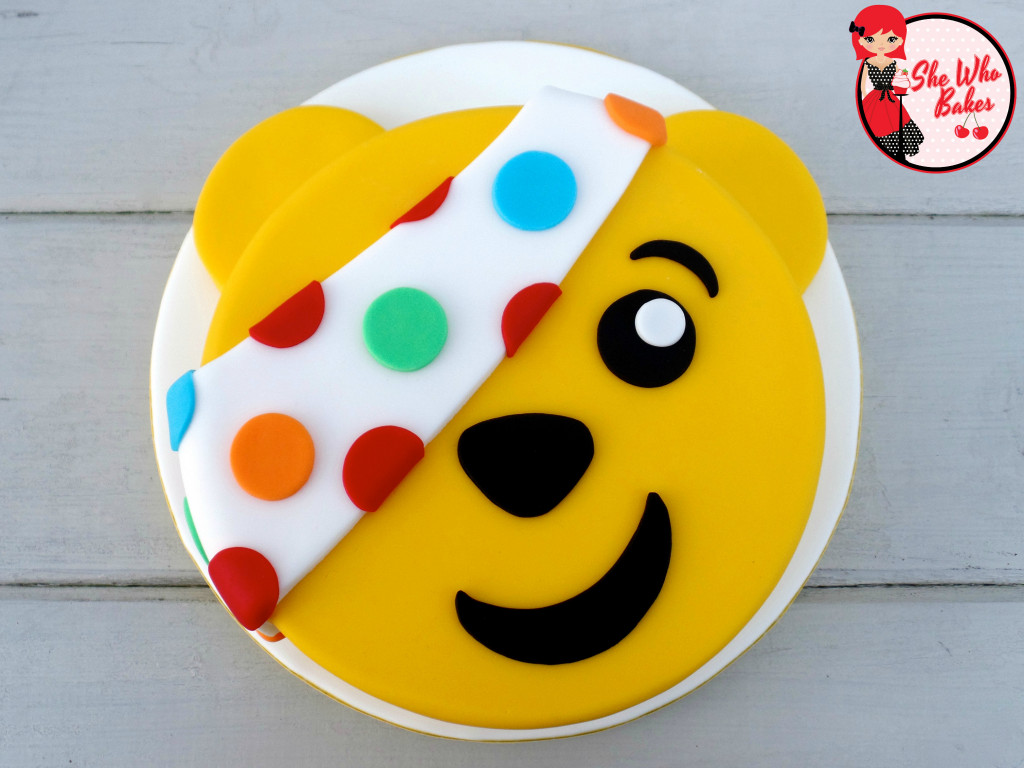
This post is dedicated to a very special yellow bear. Now, I know what you’re thinking, it’s actually Pudsey’s 30th birthday this week with his first Children in Need appearance being way back in 1985, but I’m talking about a different Pudsey. I’m talking about an icing covered Pudsey mess that changed my life forever in 2010.

If you aren’t aware of the back story, let me set the scene. Back in 2005, my mother had died of Non-Hodgkins Lymphoma, a type of cancer. In the years that followed I had been diagnosed with depression, was put on very strong anti-depressants and after two (thankfully unsuccessful) attempts to take my own life, I realised I wasn’t living, merely existing. In 2010 I was recovering from an appendix operation after getting septicaemia when a friend asked if I would bake a cake for a Children in Need bake sale.

I had never successfully baked a cake before and, not wanting to give anyone food poisoning, I thought my best bet would be a packet mix. I bought a ‘Victoria sponge’ mix, a small block of yellow icing and a pack of squeezy coloured icing tubes. When I got into the kitchen, I realised I didn’t have a round tin so used the next best thing, a square roasting dish. It made perfect sense to me!

I followed the instructions to the letter and waited, Bake Off style, sitting in front of the oven. As I watched it rise, I realised I had been smiling the whole time. As back then my depression was at an all time high, this was unusual for me. But I didn’t question it, I just enjoyed it.

The alarm went off on my phone to tell me the cake was done. I put it on the side and let it cool for about 5 minutes before I simply couldn’t wait any longer and turned it out. I remember thinking it had dipped in the middle but didn’t know what that meant and just assumed that was how it was supposed to be! I rolled out the icing and couldn’t quite figure out how to get it onto the cake, in the end I guess I kind of… threw it on. I squished down the edges and caught it and nicked it so many times with my nails. The edges were cracking and the middle was sagging but it was on. I breathed a sigh of relief. I remember feeling ever so clever at cutting out his eye patch and sticking it down with water (that was a guess!) Then, as a finishing touch, squeezy tubes at the ready, I made his facial features and distinct colourful spots.

I stood back and looked at him. Pudsey. My Pudsey. I had felt so proud and happy and wonderful. I thought he looked amazing, perfect in fact. I wanted this feeling every single day.

Five years later and I can honestly say every time I turn on my oven, every time I go to my ingredients cupboard, I still get the same feeling now as I did on that day. Whenever I look at my Pudsey cake, I still feel overcome with pride. That cake started something very special.

So, as fitting on his fifth birthday, I decided to recreate Pudsey. I wanted to make him exactly as I saw him that November afternoon. As my way of saying thank you. I owe a lot to that cracked icing, raw mixture, inedible, wrong-shaped cake. So, happy birthday Pudsey. Here’s to many more years.

See the video below for my TEDx talk where I tell my story in full and Pudsey gets a staring role.

Britt xo
Pusey 2015


Bonfire Cupcakes

11/18

These Bonfire Cupcakes are super simple to make and look really effective! Perfect for a bonfire and fireworks night! A step by step video on how to make these is below.

For this, I’m using my flat topped chocolate cupcakes which are perfect for decorating. You can find the recipe here.

I’m using brown cupcake cases and concentrated Sugarflair food colouring in Red Extra, Tangerine and Melon. Also my open star nozzle is a 1M and using large disposable piping bags. All equipment is available from Iced Jems.

You will need;

  • 12 cupcakes
  • 250g unsalted butter
  • 500g icing sugar
  • Matchmakers (I’m using the orange ones)
  • Red, orange and yellow food colouring
  • Piping bag
  • Open star nozzle – 1M

Method;

  1. Cream the butter for a few minutes
  2. Add in the icing sugar and mix well
  3. If flavouring your buttercream, put the flavouring in now
  4. Divide the buttercream into three bowls
  5. Colour the buttercream red, orange and yellow
  6. Fit a piping bag with an open star nozzle
  7. Put the piping bag into a stand or pint glass
  8. Fill with all three colours
  9. Squeeze down the buttercream and twist the bag at the top to stop buttercream coming out
  10. Starting in the middle of the cupcake, squeeze out a large star shape
  11. Then, from the outside squeeze the buttercream out and go around the outside of the star twice and into the middle
  12. Stop squeezing and pull away
  13. Using halves of Matchmakers press them into the sides of the buttercream swirl to create a ‘bonfire’ look

Store in a cool, dry room in a cake/cupcake box and enjoy within 2-3 days!

If you want to turn your baking hobby into a career, check out my book Cakes, Bakes & Business for everything you need to know about running a successful baking business, including pricing, marketing, insurance and much more!

Give it a try and let me know how you get on either on Facebook or Twitter or Instagram.

Happy baking!

Britt xo
How To Make A Bonfire Cake For Fireworks Night

11/18

This is my favourite time of the year! From Halloween, comes Bonfire Night, leading up to Christmas! The best are months in my opinion. This Bonfire Cake is simple to make and fantastic to look at, making it the perfect show stopper to make for your parties this season! Click here for the tutorial on the matching cupcakes.

I have used my chocolate madeira cake recipe but feel free to use any flavour you like! I would recommend using a strong and stable cake that is suitable for carving and stacking, which is what a madeira is perfect for.

The models and decorations (Guy, hedgehogs and leaves) can be made ahead of time. Use modelling paste for stability and keep in a cake box or another container that the air can get to (not in a sealed box, otherwise they may melt). For more on types of icing, check out my blog post here.

Once baked and decorated, this cake will last 4-5 days. Make sure to properly crumb coat so no air can get into the cake and make it dry. You can read more about my cake timelines here.

Equipment

  • Wilton Wonder Mould Tin/7″ round tin
  • 8″ round thin cake card
  • 11″ round drum
  • 1kg orange sugar paste (For the board)
  • Brown, yellow, peach, orange, black and white modelling paste
  • Paintbrushes
  • Edible glue
  • Small palette knife
  • Small piping nozzle
  • Large rolling pin
  • Icing spacers
  • Royal icing
  • Cornflour
  • Small circle cutters
  • Brown and white dust colours
  • Rejuvenator spirit
  • Paint palette
  • Leaf cutters & veiners
  • 4 packs of Matchmakers
  • Chocolate buttercream
  • 1 meter 15mm brown ribbon
  • Double sided tape
  • Small rolling pin

For the board

Paint your board with water.

Knead your orange sugarpaste until it’s a workable consistency. If the icing is sticky or your hands are very warm, sprinkle lightly with cornflour. Lightly dust your smooth work surface also to prevent it sticking.

Roll out your sugar paste to a 1/4 of an inch thickness. If it helps, you can use icing spacers which are perfect for this.

To keep the sugar paste from sticking, lift and move it around as you roll. Add more cornflour if needed.

Gently lift icing over rolling pin to move and lower it onto your damp board and push down to secure. Cut around your board with a sharp knife to remove the excess icing. Apply double sided tape to the outside rim of the board and stick on your 15mm brown ribbon.

For the cake

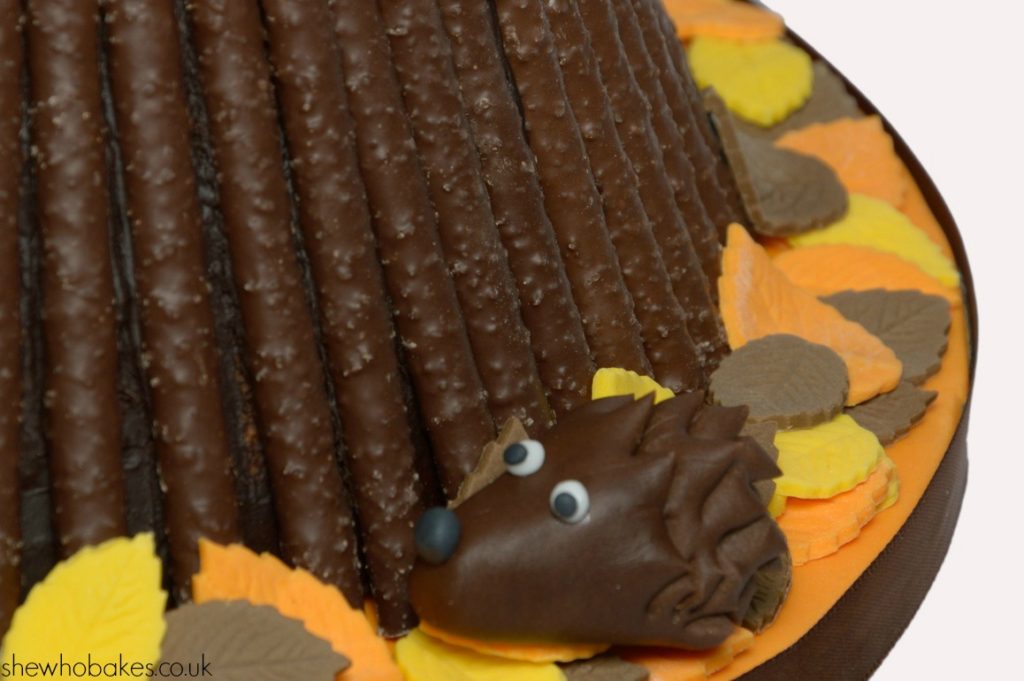
Bake your favourite chocolate madeira (you can find my recipe here) in either a Wilton Wonder Mould Tin or two 7″ round cakes, stacked and carved into a pyramid shape. Cut a small ledge into the front of your cake for your ‘Guy’ to sit.

Split and fill your cake with your desired buttercream or ganache and secure your cake to the thin board using buttercream.

Lightly coat your cake with buttercream or ganache.

Fix this to your cake drum with a little royal icing.

Starting at the back, apply your Matchmakers to your coated cake in the style of a bonfire. Continue all the way around and add a second layer on top. Then fill in any gaps you may have with smaller cut pieces of Matchmakers.

bonfire-2

For the leaves

Roll out your yellow, brown and orange modelling paste and cut out lots of different sized leaves. Shape these if desired by twisting them around a cocktail stick and leave to dry on foam. When these are dry, stick onto your cake using a little edible glue.

For the hedgehogs

Roll balls of brown modelling paste and shape and pinch the front into a cone. Using small scissors, snip into the back of the hedgehog to create the spikes. Roll two small white balls of modelling paste for the background of the eyes. Roll three small balls of black modelling paste and glue into place for the middle of the eyes and nose.

bonfire-1

For the Guy

Roll a thick sausage of brown modelling paste and cut up the middle 3/4 of the way. Round off the bottoms of the two halves. These will be the legs. Bend the legs onto a thick piece of foam so it is ‘sitting down.’ Leave this to dry.

Roll a ball of yellow modelling paste and shape into a thick teardrop. This will become the torso. Mark a line down the middle with a small palette knife and indent ‘buttons’ using a small piping nozzle. Leave this to dry.

Roll out a square of brown modelling paste, not too thin and shape this around the torso shape to make the back and collar of the coat. Apply with a little edible glue.

Roll two sausages of brown modelling paste and affix to the outside of the coat to create the arms. Then wrap a small strip of brown modelling paste around the bottom of the arms to create cuffs. Apply with a little edible glue.

Roll two balls of black modelling paste and flatten them to become shoes and stick these to the bottom of the legs. Then wrap a small strip of black modelling paste around the bottom of the legs/top of the shoes to create boots. Apply with a little edible glue.

Roll two smaller balls of black modelling paste and again, flatten slightly. Cut into the side to create a ‘thumb’ and shape the rest of the ball to become a ‘glove’. Repeat with the second ball and apply with a little edible glue.

Roll a ball of peach modelling paste for the head and leave to dry. Once dried, apply a smaller ball of peach modelling paste to the front of the face to become the nose. Roll a small sausage of brown modelling paste and apply under the nose to create the moustache, make some hair lines in the moustache with your small palette knife.

Paint on the eyes and eyebrows using dust colours mixed with a little rejuvenator spirit. Roll out two strips of brown modelling paste and affix to the sides of the head to create hair. And finally roll out a large circle of brown modelling paste and a thick smaller circle of brown modelling paste and affix to the top of the head to create the hat.

Roll out a long strip of yellow modelling paste and lay strips of brown modelling paste horizontally across. Roll over it all again to create the striped scarf effect. Cut to size to fit your guy and apply with a little edible glue.

Give it a go and let me know how you get on, either on Facebook or Twitter or Instagram.

If you want to turn your baking hobby into a career, check out my book Cakes, Bakes & Business for everything you need to know about running a successful baking business, including pricing, marketing, insurance and much more!

All of my Online Cake Decorating Courses are currently 50% off! Grab a bargain here.

Happy baking!

Britt xo
 

Happy Halloween 2018!

10/18

It’s that time of year again! Time to get SPOOKY!

Halloween, and Autumn in general, is my favourite time of the year. I love everything about it. From the crisp mornings to the falling leaves, the nights drawing in, all pumpkin everything and of course, Halloween itself.

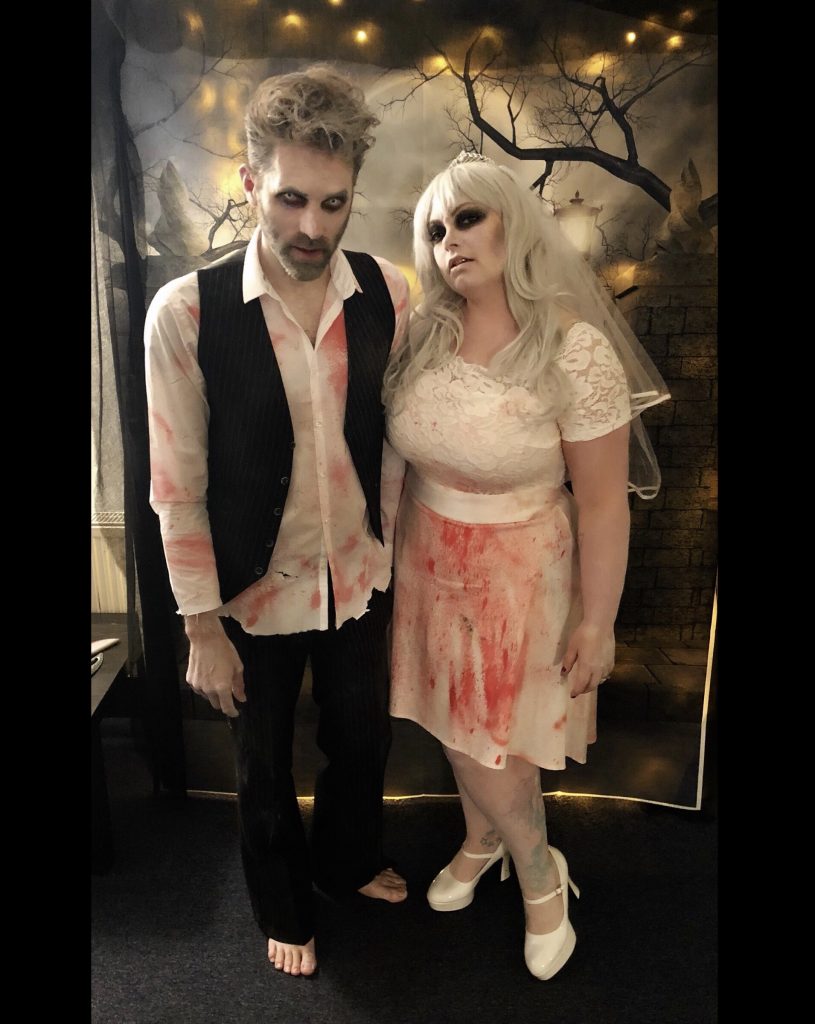
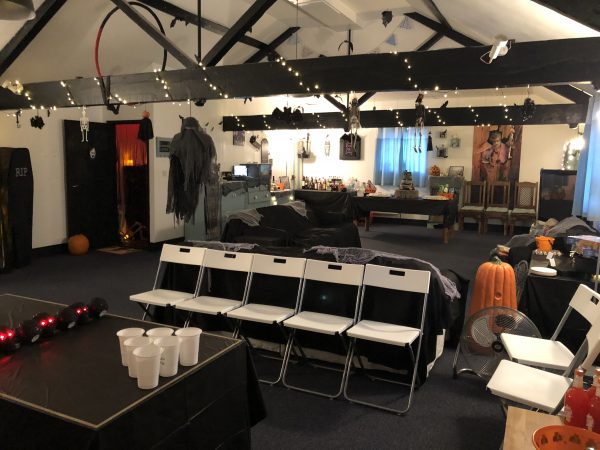
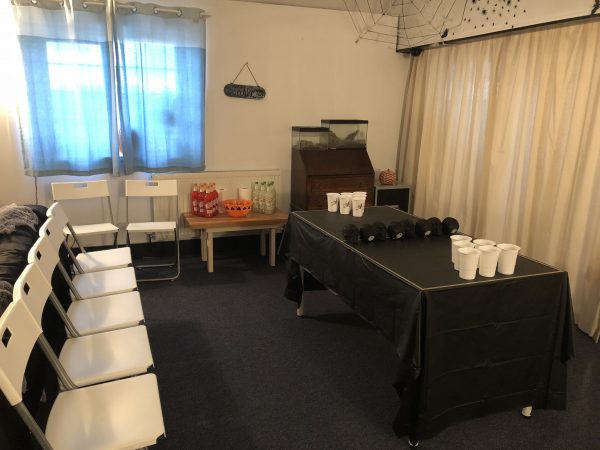
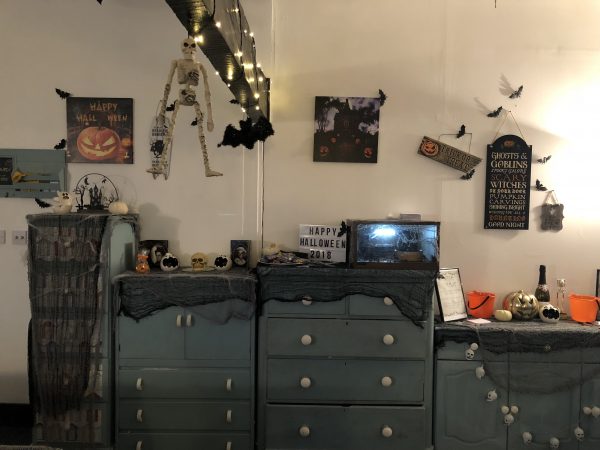
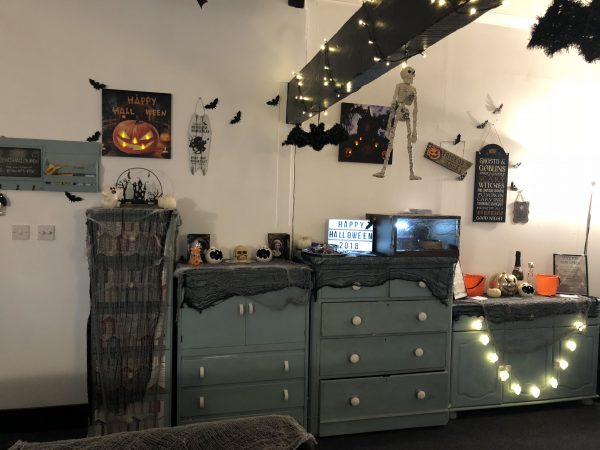
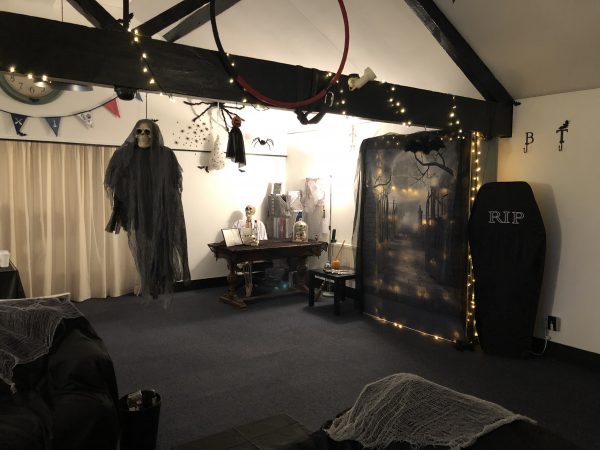
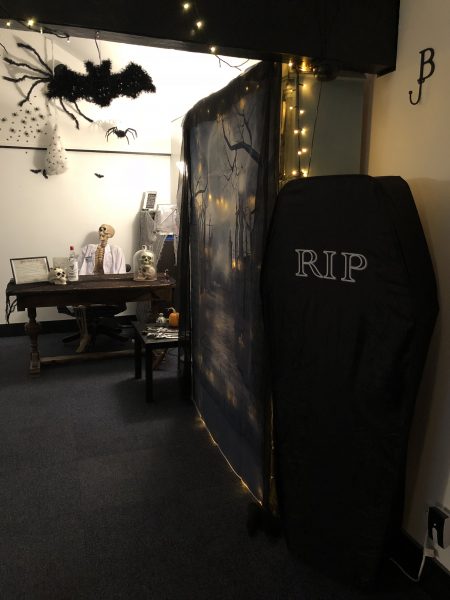
My husband Tim and I throw a Halloween party every year and despite 2018 being a pretty big year for us already party-wise what with my Harry Potter themed 30th, our wedding and reception, nothing was going to stop us from throwing our annual spooktacular!

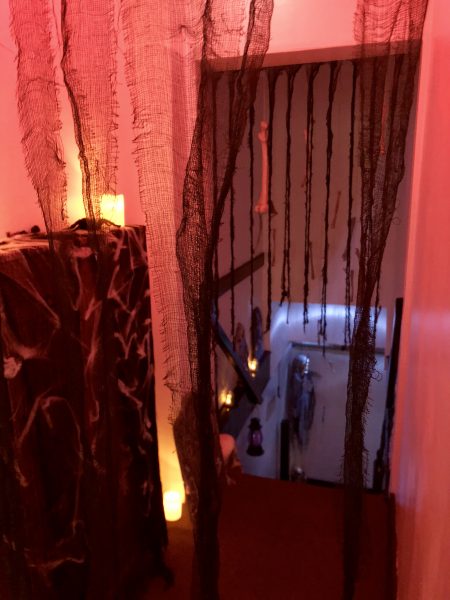
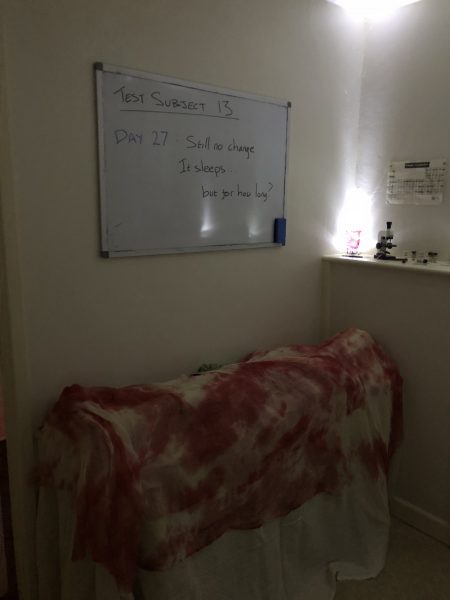
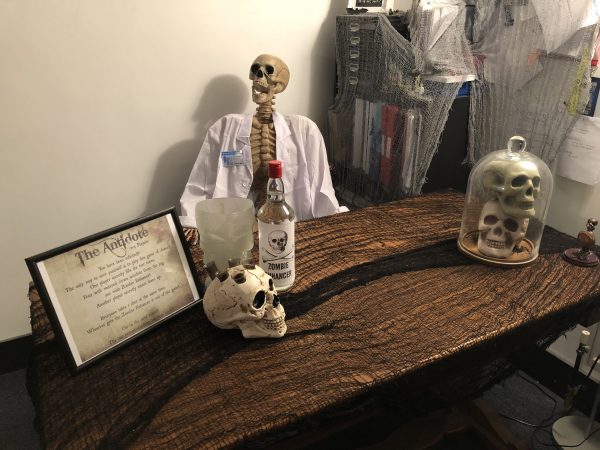
This year we went even bigger with actual scare actors dressed and made up like zombies to scare greet our guests as they arrived, an experimental lab gone wrong bathroom complete with body on a stretcher, a haunted graveyard stairwell and a funeral parlour-esque party zone!

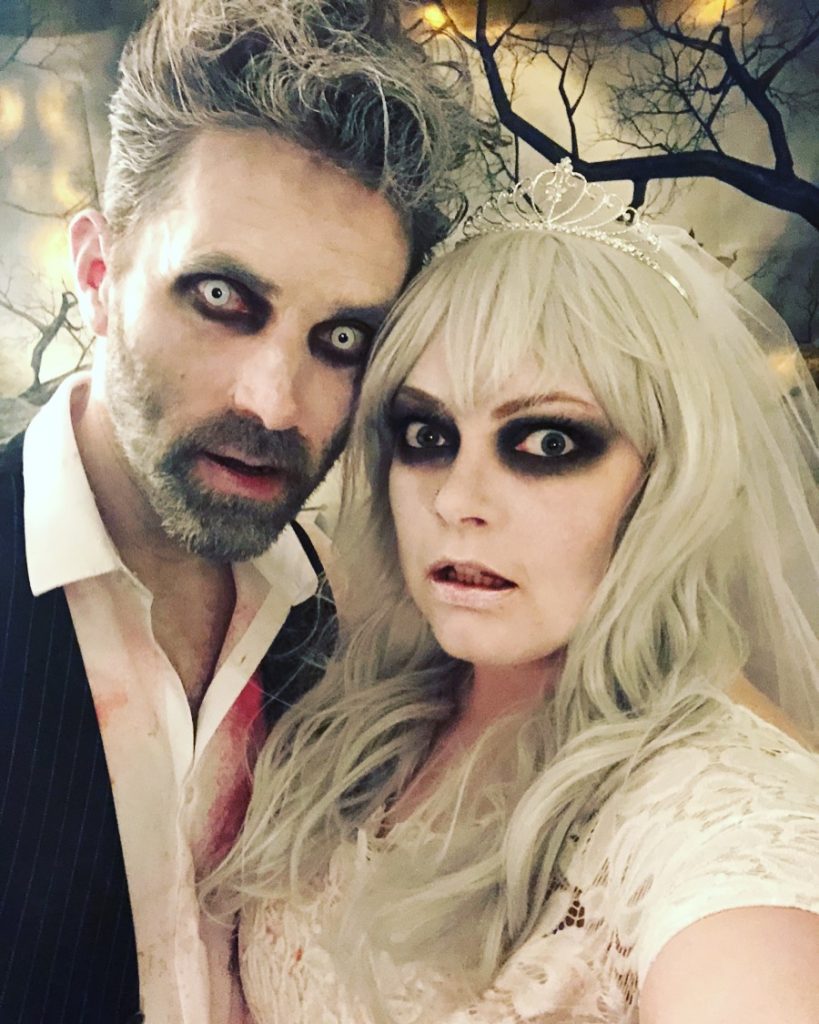
With a bit of a zombie theme going on, we decided it was only fitting for the newlyweds to go as a zombie bride and groom!

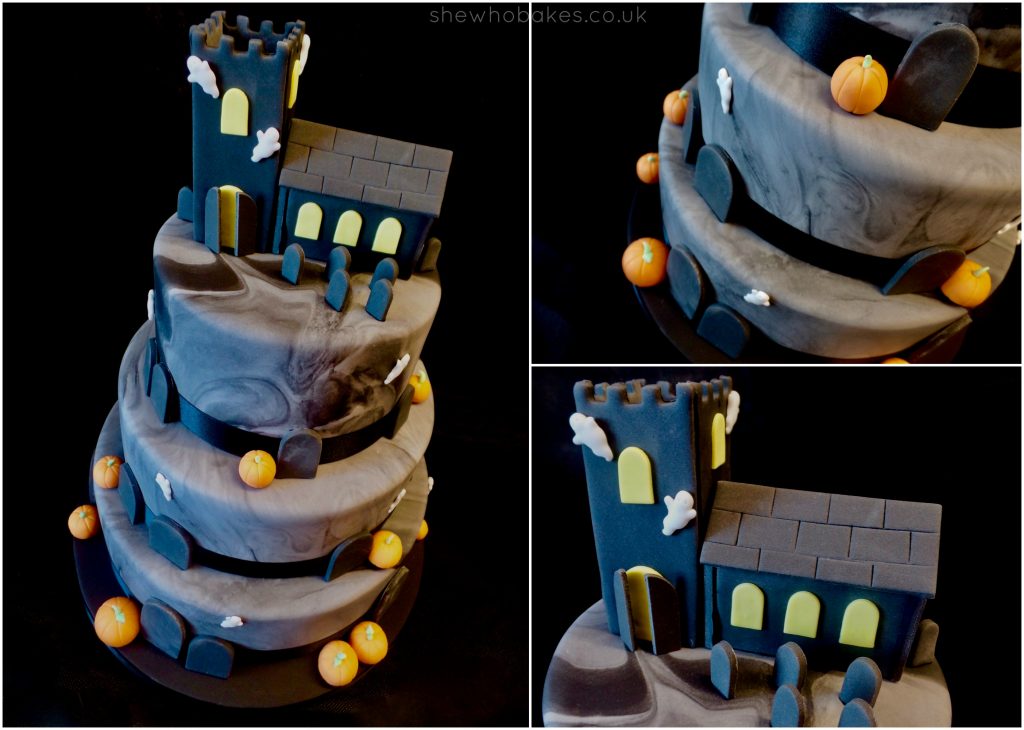
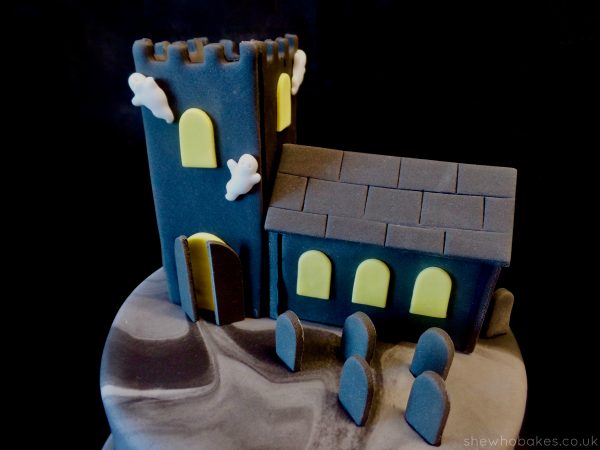
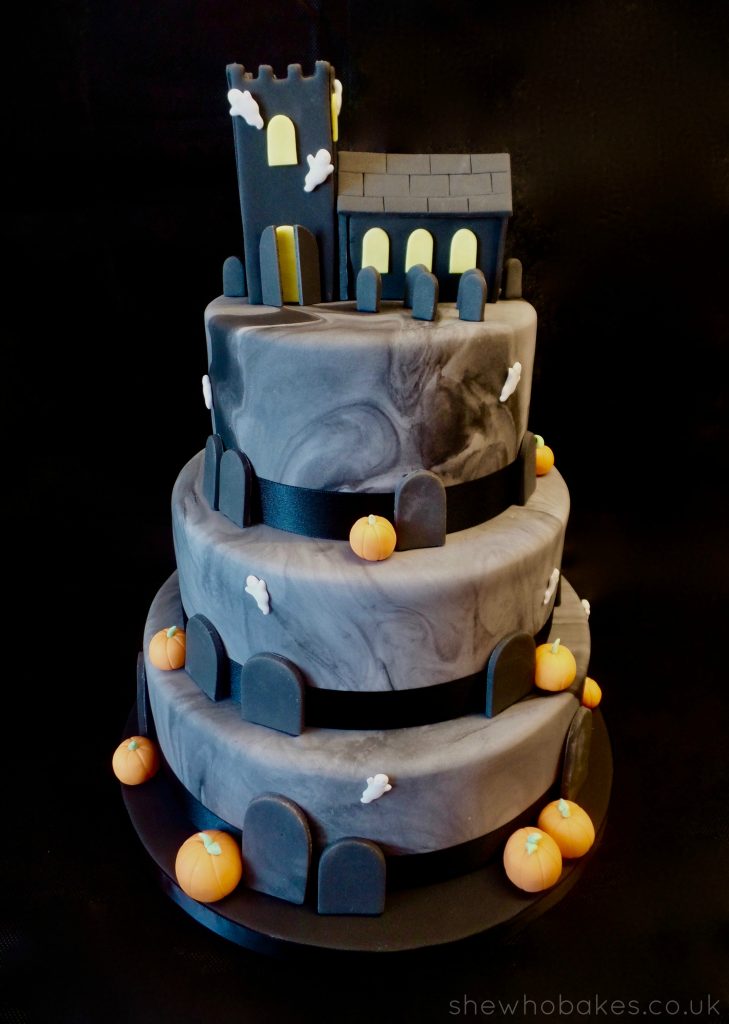
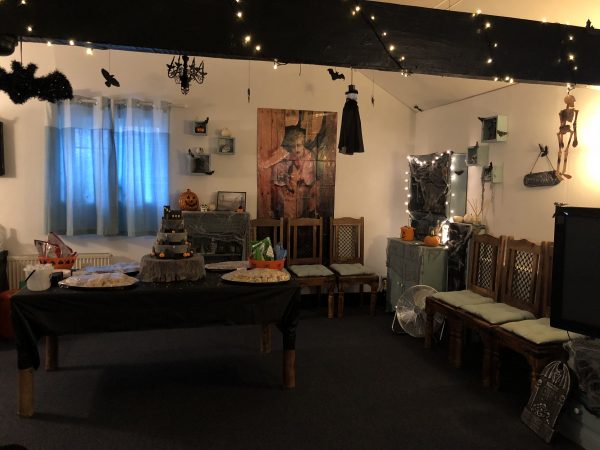
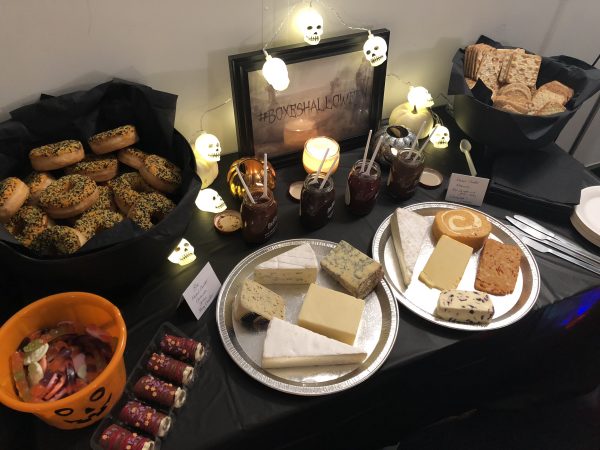
We also make lots of food, put on tasty snacks and sweet treats and I, of course, make a dessert. This year I continued the haunted graveyard theme from the stairwell and transferred that to a 3 tier cake!

Here’s how it was made –

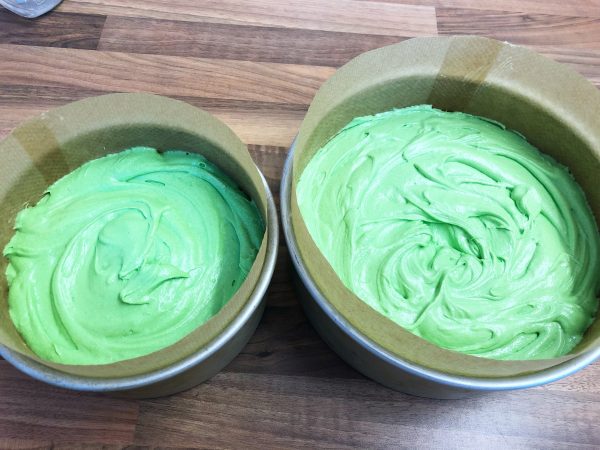
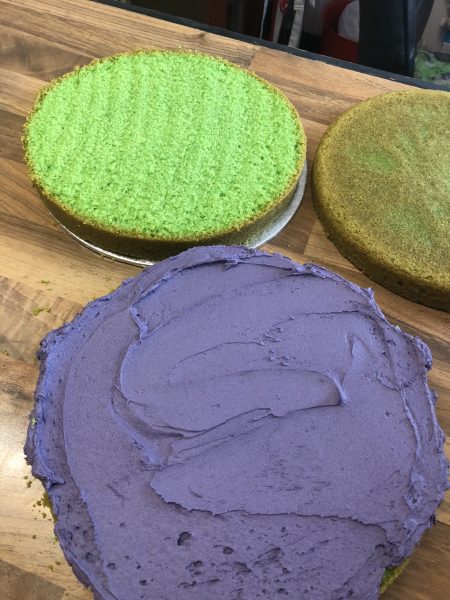
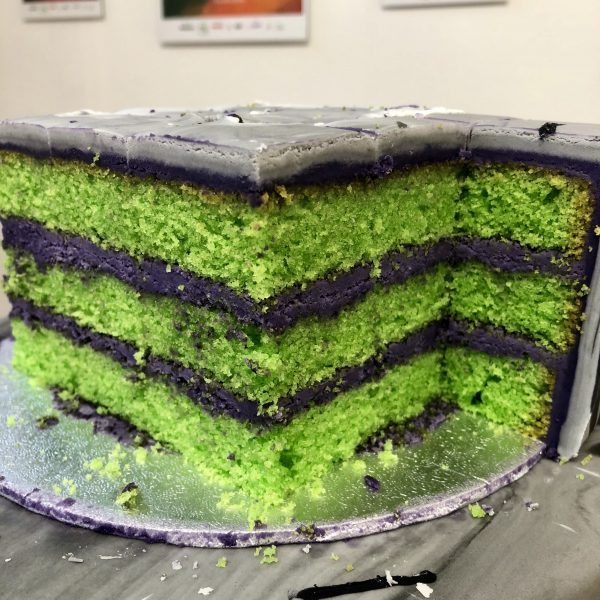
I wanted a bright colour sponge inside to contrast with the black and grey icing on the outside, I also wanted a crowd pleasing flavour everyone would like so I went with a classic madeira cake recipe and coloured it red using Sugarflair Party Green. I wrapped the cakes in clingfilm and let them sit overnight. Then the following day I split the cakes and filled them with a contrasting purple vanilla buttercream by using the recipe here and colouring it with Sugarflair Grape Violet.

I then crumb coated the cakes with buttercream and covered the tiers in a later of marbled white and black Renshaw Sugarpaste (I’ve got an article on how to do that here on Food Heaven) and smoothed them with Flexi Smoothers (I’ve got an article about them here). I then let them firm up overnight. Once this was set, I dowelled the bottom two tiers and stacked carefully, sticking together with royal icing.

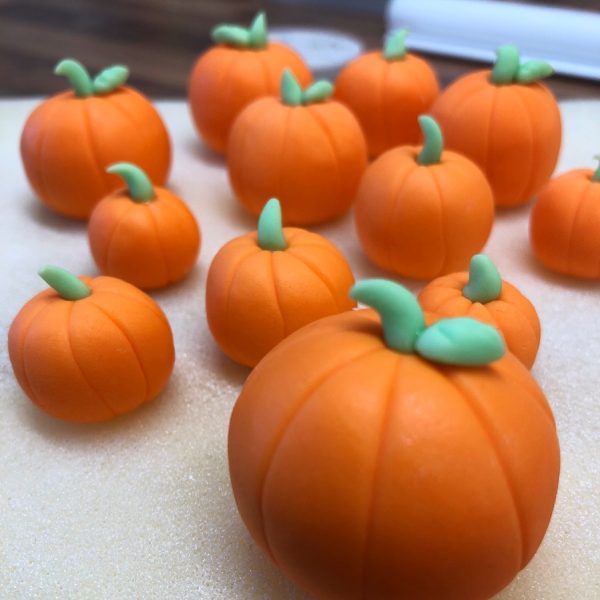
I made the little pumpkins and gravestones out of Karen Davis Marshmallow Paste which I find great for modelling. I’ve got a little tutorial on how to make the pumpkins here. I just stopped before doing the face. The gravestones were made using a variety of gravestone cutters I have collected over the years.

The fully edible (but I’m gonna keep it forever instead) church topper I made using Renshaw pre-coloured black modelling paste (because life is far too short to colour anything that dark) and this metal church cutter set I got years ago. I made little windows using yellow modelling paste and little ghosts using a silicone mould and white modelling paste. I stuck everything down with black royal icing.

I finished the cake with black 25mm ribbon, a black sugarpaste covered 12″ cake board and 15mm black ribbon around the outside of that, stuck down with double sided sticky tape.

I really loved making this cake and I loved how it looked on the table at the party!

Check out last years cake here and below for more pictures from this year’s Halloween party and have a look at my Instagram for all the videos!

Happy Halloween!

Britt xo

Halloween Recipes & Tutorials

10/18

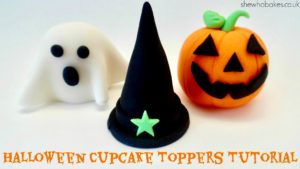
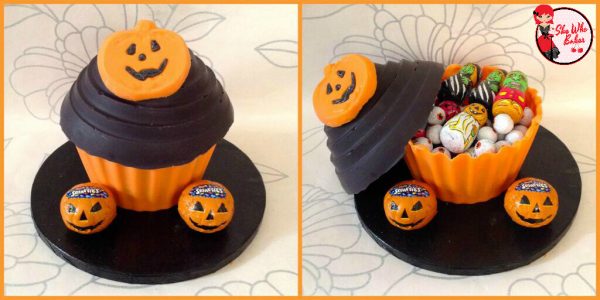
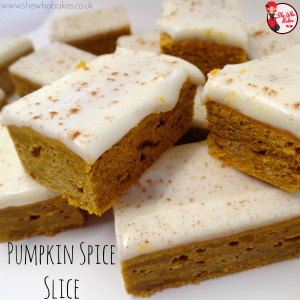
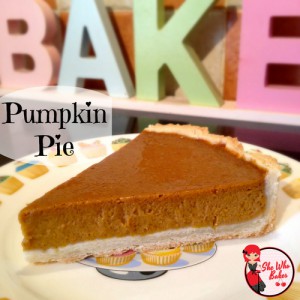
I love Halloween! Below are some of my Halloween themed and Pumpkin flavoured recipes. I’m adding more all the time so make sure to check back! Click on the picture below to be taken to the recipe.

If you want to turn your baking hobby into a career, check out my book Cakes, Bakes & Business for everything you need to know about running a successful baking business, including pricing, marketing, insurance and much more!

Give it a try and let me know how you get on either on Facebook or Twitter or Instagram.

Happy Halloween and happy baking!

Britt xo

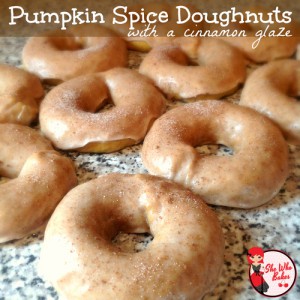
Halloween CookiesPumpkin & Ginger Cookies by She Who Bakes

Pumpkin Spice Slicetumblr_inline_ne65cfK8y41qf7teq

tumblr_inline_ncihtpXyVH1qf7teqtumblr_inline_nd6sljZ2ye1qf7teq

tumblr_inline_nbpdht5aa71qf7teqHow To Make A Pumpkin Cupcake For Halloween by She Who Bakes

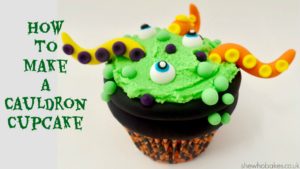
How To Make A Jack Skellington Cupcake For Halloween by She Who Bakes How To Make A Cauldron Cupcake For Halloween by She Who Bakes

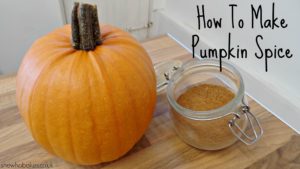
How To Make Pumpkin Spice by She Who Bakes

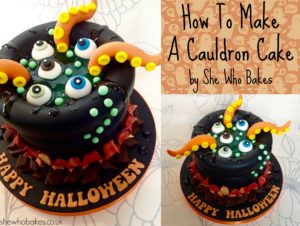
How To Make A Cauldron Cake for Halloween by She Who Bakes


Ideal Home Show – Christmas 2018!

10/18

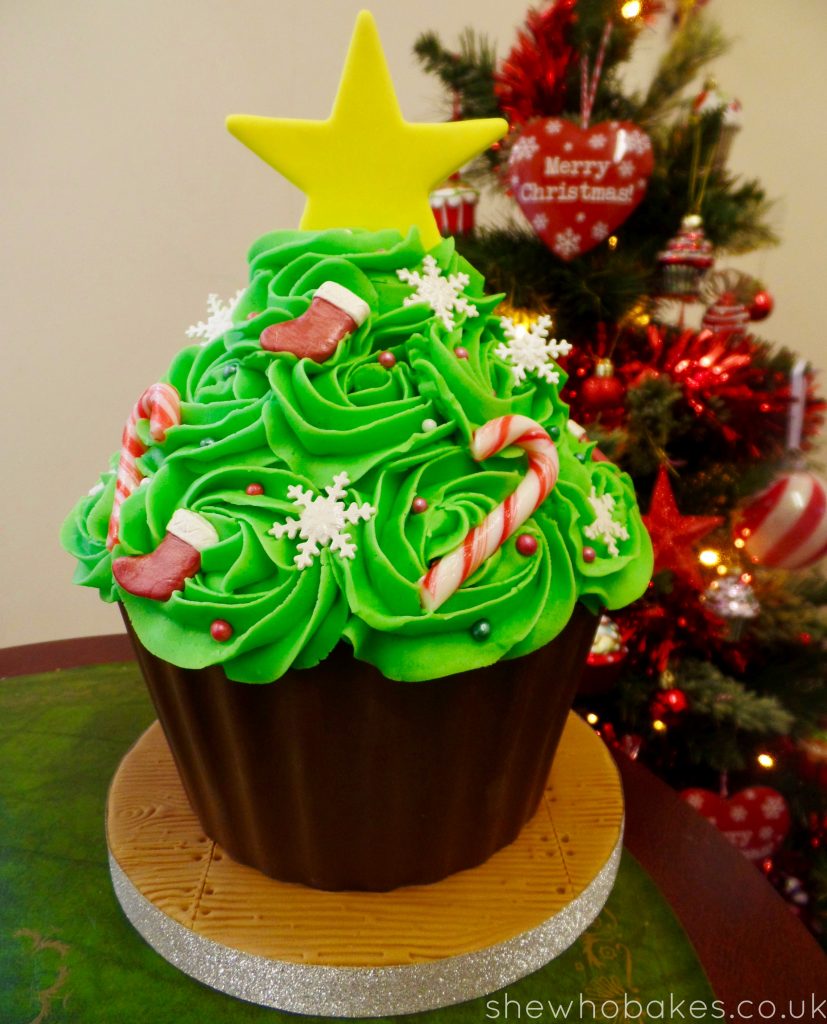
I’m so pleased to announce this year I will be demonstrating at the Ideal Home Show Christmas! I’ll be on stage at The Christmas Kitchen in the Eat & Drink Festival section showing you how to make a giant cupcake Christmas tree on Friday 23rd November at 1:45pm and on Sunday 25th November at 10:45am!

I would love for you to join me in the festivities! I’ve been given a 2 for 1 offer on tickets exclusively for my readers! Simply head over to the Ideal Home Show Christmas website and use my code – SWB241

This year’s show is set to be the best edition to date, bringing together all of the seasonal essentials to help you create the ultimate Christmas at home. Surrounded by trees and covered in twinkling lights, you’ll feel like you’ve stepped into a fairy tale yuletide celebration. As you walk show, you can discover the most imaginative and awe-inspiring Christmas products available this year – including everything you could possibly wish for to douse your home in Christmas magic. With over 600 exhibitors, you’re sure to find some new festive favourites – from hand-crafted gifts and hanging decorations, to home decor and hampers for the foodies. Plus, your ticket will also get you free access to Eat & Drink Festival Christmas, offering the ultimate festive foodie experience, with top celebrity chefs Rosemary Shrager, Theo Randall, Aldo Zilli, Rachel Green and Ed Baines as well as yours truly, all on hand to offer their top tips and expert advice on perfecting the ultimate festive feast.

*T&Cs: Book before 25 November 2018. 2 for 1 tickets offer applies to the adult on the door price only (£19 Weekday/ £21 Weekend). Calls cost 7p per minute plus your company’s access charge. A £1.70 transaction fee applies. Kids age 15 and under go FREE when accompanied by a paying adult (maximum 2). Tickets include free entry to Eat & Drink Festival Christmas.

Getting a clean oven with OvenClean!

10/18

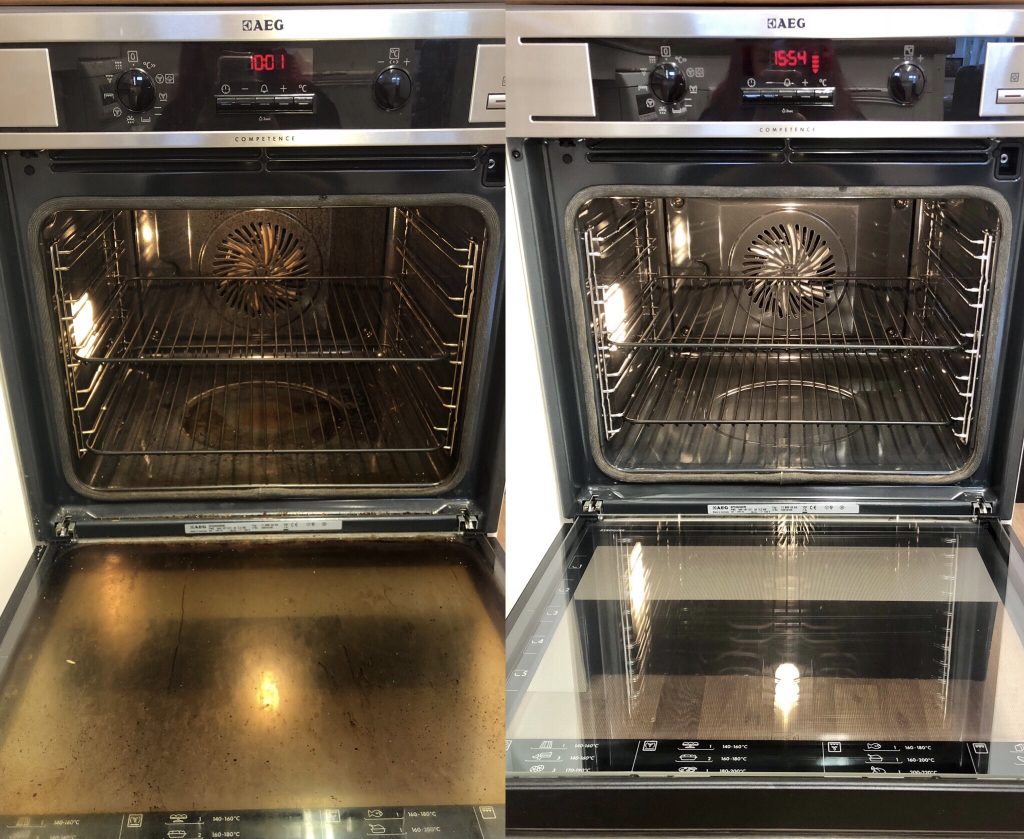
When you’re a baker or you’re using your oven ALL THE TIME, it can get quite greasy, quite quickly. Not only do I really dislike cleaning my oven, but I’m really bad at it! So when OvenClean got in touch and asked if I fancied having my oven sparkle again, I jumped at the chance! I wouldn’t say it’s dirty but it’s certainly well used (and well loved!) and needs a bit of attention. Please don’t judge me for the ‘before’ photo. I’m busy and I hate cleaning haha.

Stuart from OvenClean arrived on time and was really polite and professional. My husband (still not used to saying that yet!) showed Stuart to the kitchen and the oven and he got to work. Turning the oven on to make it warm, which makes the cleaning easier, and taking all the wire racks out to the van to be soaked and scrubbed for a deep clean.

Within two hours Stuart told me he’d finished and when I went into the kitchen to see, for a second I thought he had replaced my oven with a brand new one! I was so impressed. The racks were sparkling, the tray which was once covered in thick charcoal and rust was new again and the inside of the oven looked brilliant. It’s given my oven a brand new lease of life and I can’t wait to get baking in it!

I promise to try to take better care of her now but on the off chance I don’t, I know I’ll be giving OvenClean a call! I can highly recommend them and their services!

Happy baking!

Britt xo

N.B Cleaning service gifted by OvenClean, but my views are my own, impartial and honest.


The Importance Of Using Quality Eggs In Baking

09/18

So, a bit of a funny story in case you didn’t know. I’m a baker who is allergic to eggs. I know, I know, how on earth do I cope? Well, I have quite a specific egg allergy (because, of course I do). Sadly as of a few years ago I can no longer have tasty scrambled egg, poached egg, omelettes or quiches, even mayonnaise is out of the question for me! But I can indulge and enjoy cakes, cookies and biscuits.

This is because the type of allergy I have unfortunately developed is to uncooked egg proteins. If you get an egg and throw it in a pan for a few minutes it will very probably make me sick, but if you bake it at a high temperature for a longer period of time (as you do in baking and also known as ‘baked’ egg), the higher temperature changes the nature of the proteins enough that my body can tolerate them. Which is pretty cool.

Basically it means that eggs in my breakfast is a no (unless I just have cake for breakfast), but eggs in baking are thankfully a yes!

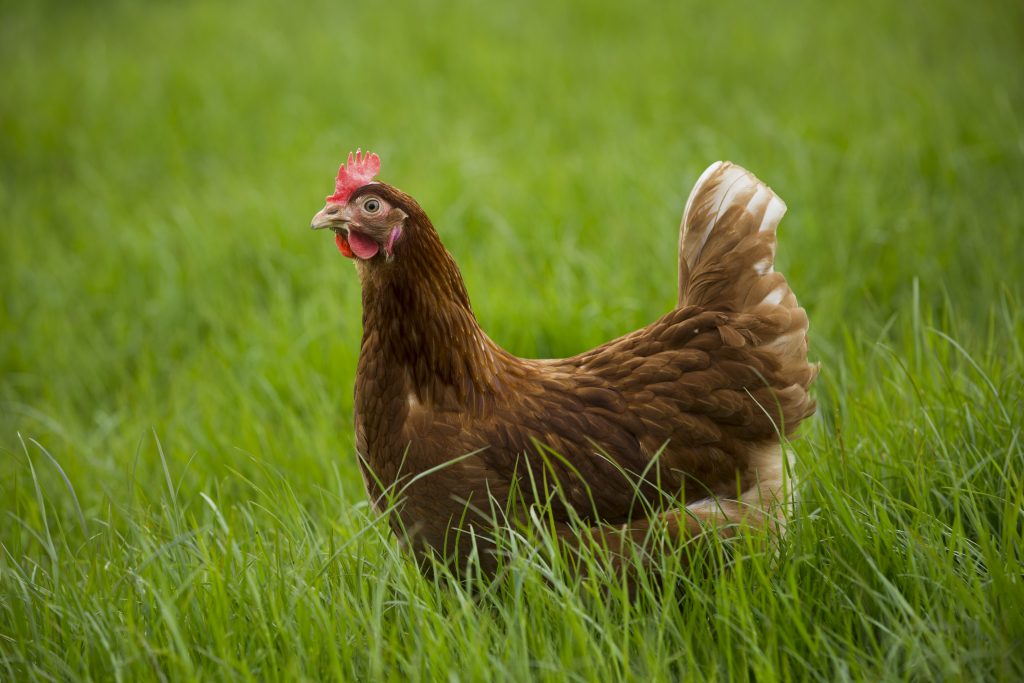
Laying hen farm. High Park Wall Farm. Barnard Castle. Co. Durham. United Kingdom.

Eggs play such a big role in traditional baking. The fats and proteins in eggs provide flavour, create structure and stability to cakes, add moisture, bind biscuits and cookies, help thicken and emulsify sauces and custards, act as a glue or glaze and even create delicate meringues.

But have you ever really thought about where your eggs come from and what kind you are using in your kitchen?

When I first started baking (and didn’t really know what I was doing) I was using the cheapest ingredients, and to be honest with you, this included using caged eggs. I’m not proud of it now but back then I couldn’t see a difference between the stacks of similarly shaped egg boxes in the supermarket, except for the price. I’d heard of ‘free range’ and ‘high welfare’ eggs but I didn’t really understand what that meant for me, my bakes, or for the chickens.

As my knowledge of baking and the importance of quality ingredients grew, but I learned about the truth of ‘caged eggs’.

The tiny spaces the chickens are confined to sometimes for their entire life makes living conditions uncomfortable and even physically painful. Having such a poor quality of life is not only cruel and unfair, but of course, it impacts the quality of eggs they are able to lay.

When the hens are looked after and cared for properly, given room to roam around, fresh air as well as decent food and living conditions, the eggs they lay are naturally more nutritious and tasty (based on research by Compassion in World Farming on the nutritional value of higher welfare eggs vs. battery/ caged hens. The main benefits seem to be more omega-3, antioxidants and Vitamin E). They are generally deeper in the colour of the yolk and richer with a buttery flavour which makes for a much better and more consistent bake.

But sadly, around 50% of egg laying hens in the UK are still kept in battery cages.

So how can you be sure you’re buying good quality, high welfare eggs?

There are a number of phrases and logos to look out for on packages. The Lion Mark that you see on most eggs shows you that they were laid in Britain and that they keep to food safety standards. Free-range, ‘woodland’ and barn are all phrases you will see on egg boxes, but to know that the chickens have truly been looked after, you need to look out for the RSPCA Assured logo as well.

RSPCA Assured is an ethical food label dedicated to farm animal welfare. It sends assessors and farm livestock officers out to the farms to make sure that they meet strict welfare standards, which lays out the kind of food, shelter and environment that the chickens must have access to. This includes things like plenty of space, perches and litter for dustbathing and foraging.

Once the assessors are sure the farm is following these practices to give the chickens their best life, the eggs are given the special RSPCA Assured mark. This mark can be found on 90% of non-caged eggs sold in the UK, and 50% of all UK eggs, so they are very easy to get hold of. They are only just pennies per egg more than the low quality, low welfare alternatives.

L to R: Graham Atkinson (Contract Supplies Manager, Noble Foods), Stuart Richardson (farmer), Rob Howorth (Freedom Food Assessor). Laying hen farm. High Park Wall Farm. Barnard Castle. Co. Durham. United Kingdom.

I stopped buying caged eggs many years ago and I believe that my bakes have vastly improved in quality and taste since then. As someone who buys eggs regularly as a baking ingredient, it’s important to me to buy the right ones and doing so gives me a sense of doing something good. By buying higher welfare eggs and spending our money wisely, we can all show large corporations (retailers, farmers and the food industry) that happy hens are important to us as consumers.

I implore every baker out there to do their own independent research when it comes to where their ingredients come from and the ethics and welfare standards which surround them. If I could go back in time and use higher welfare eggs sooner, I would.

Happy hens lay better quality eggs, which make better quality bakes. Better for you, better for the chickens.

Happy baking!

Britt xo
Laying hen farm. High Park Wall Farm. Barnard Castle. Co. Durham. United Kingdom.

This is a sponsored post in partnership with RSPCA Assured.  All views and opinions are my own.

Happy 1st Birthday Chrome Pole Studio!

09/18

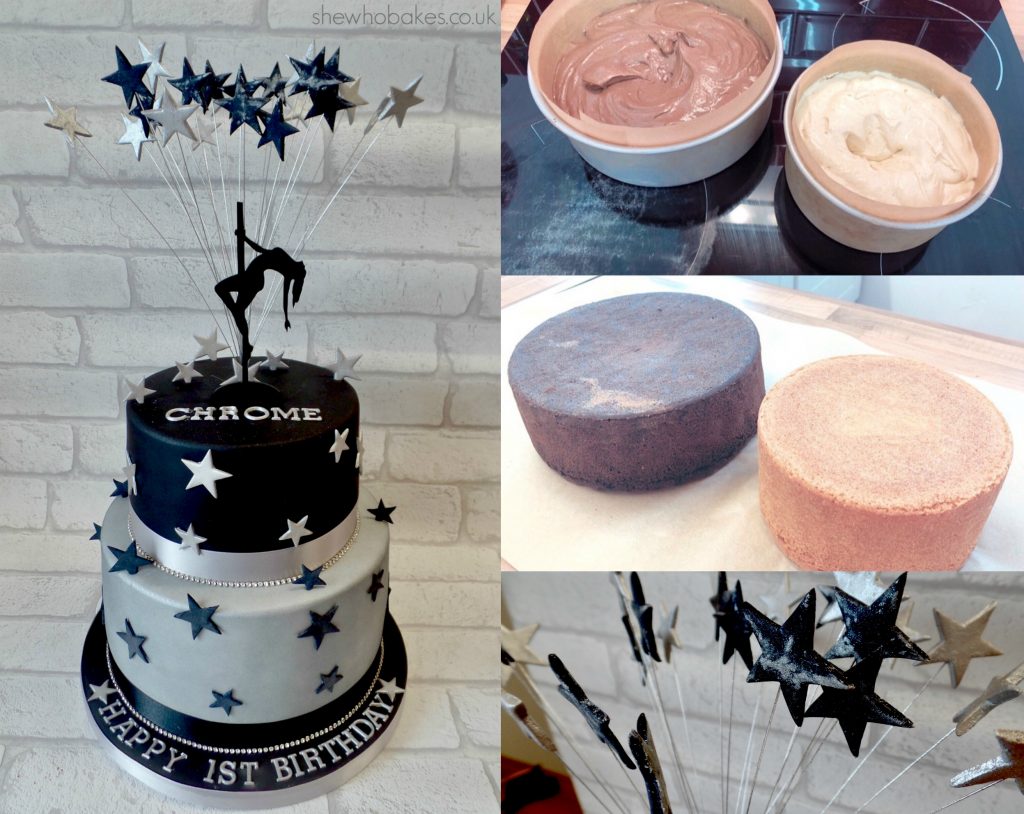
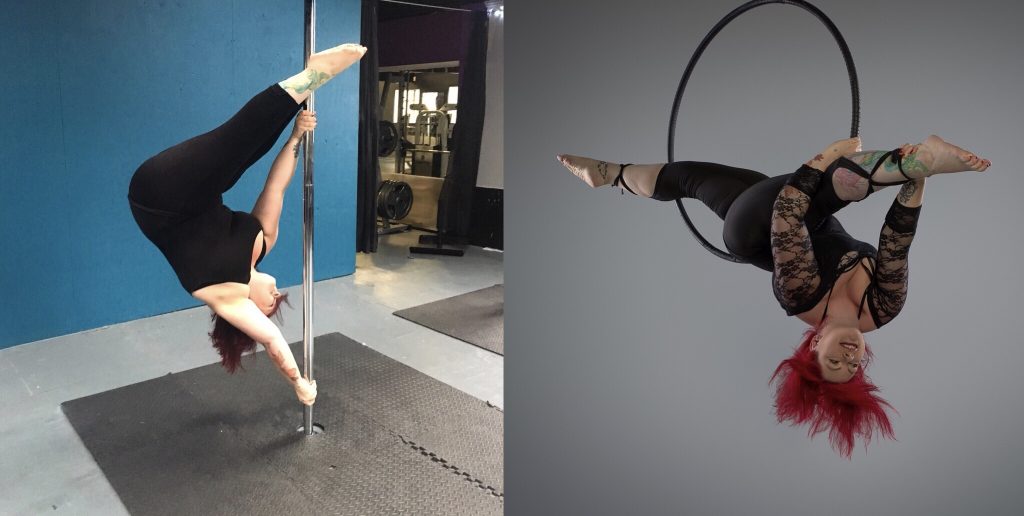
If you follow me on Instagram you may know one of my other passions is aerial fitness (check out my aerial Instargam here!). The two I love and do regularly are pole fitness and aerial hoop.  I’ve been doing it on and off for 10 years and went back properly two years ago. This week marks the first birthday of the the pole school I learn with, Chrome. We had a birthday party at the weekend and I offered to make a cake for the occasion!

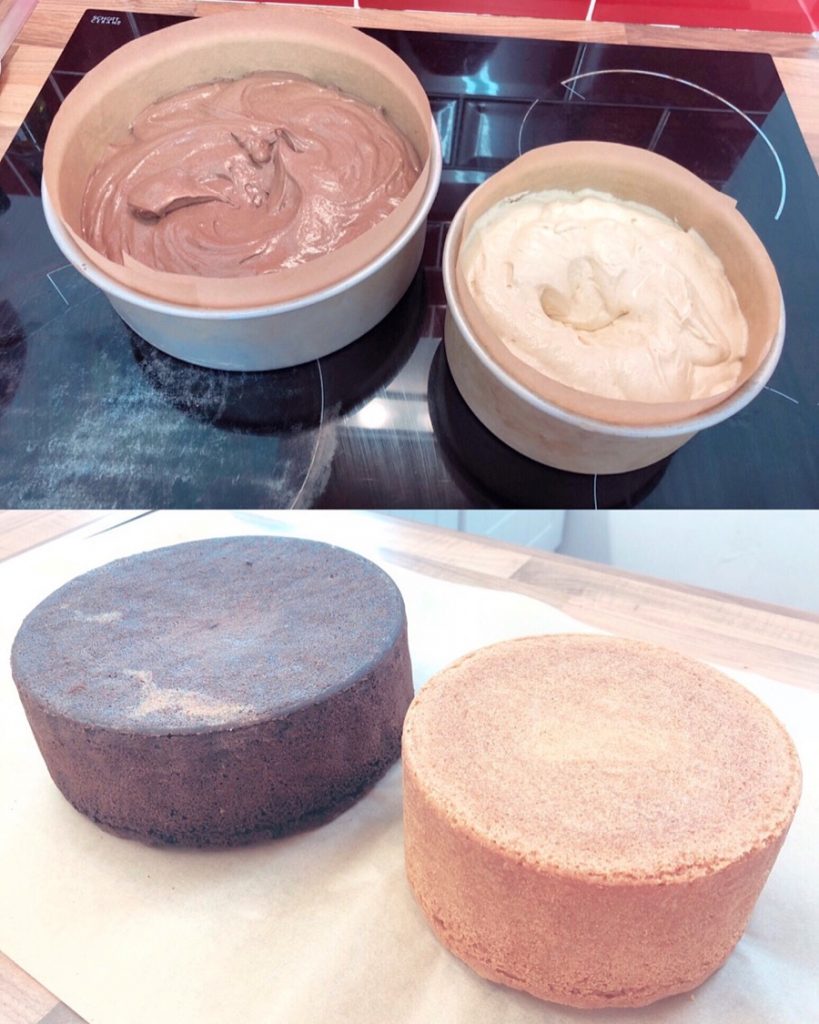
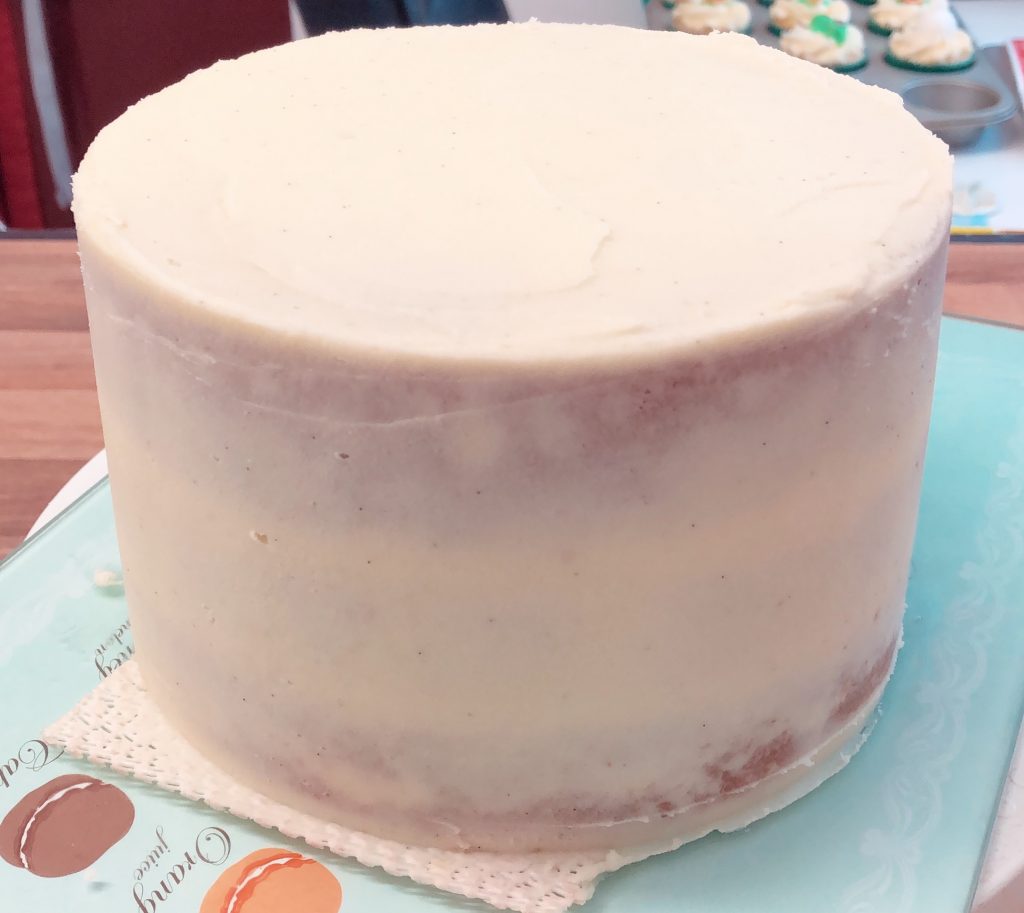
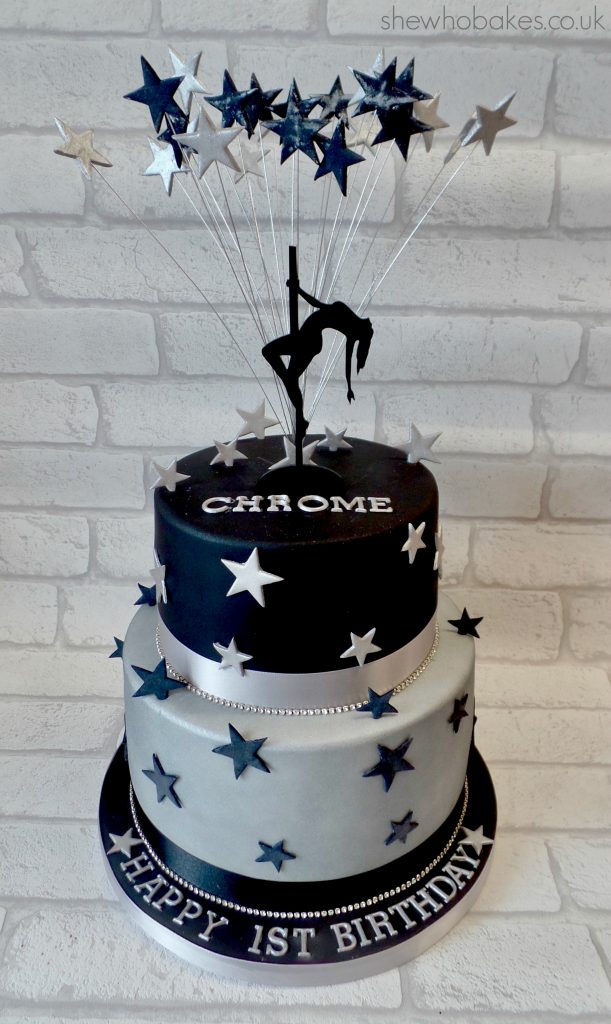
It’s a 6″ round vanilla madeira cake and an 8″ round chocolate madeira cake, both made using my recipe here where you can find a link to a cake calculator to work out the mix for different size tins. The 6″ was split with a cake leveller, filled and crumb coated with vanilla buttercream before being iced with Renshaw black sugarpaste. I usually mix up my own colours but I have a few exceptions, black being one of them. Life is too damn short to colour icing that dark so for the sake of my sanity I spend a little more and buy pre-coloured. My buttercream recipe can also be found on my madeira cake recipe page here.

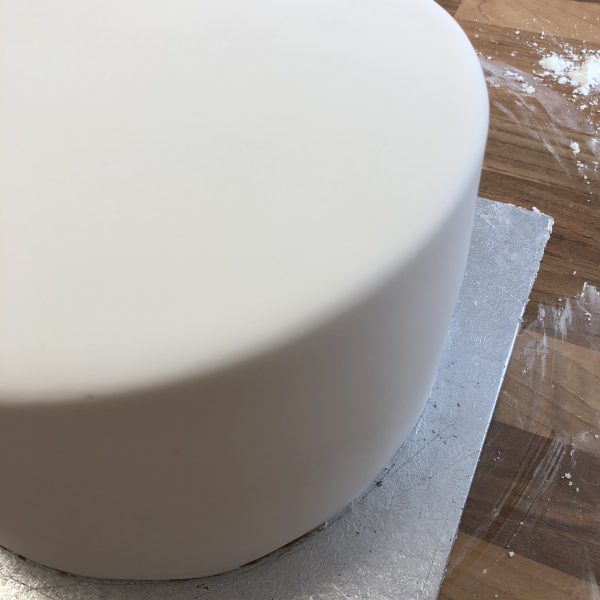
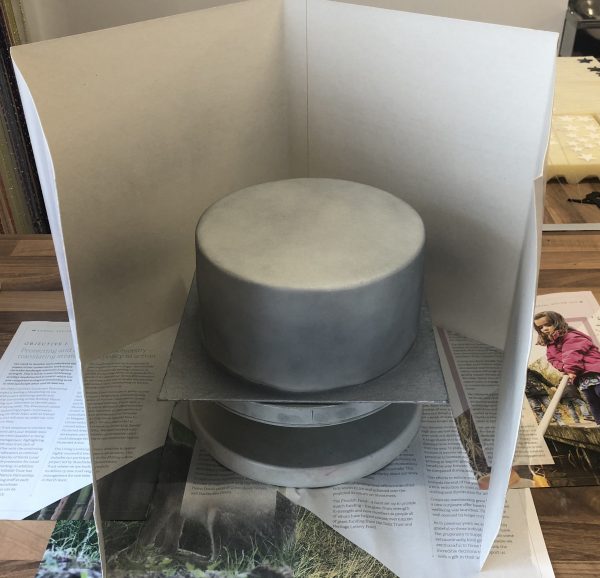
The 8″ round chocolate madeira was split with a cake leveller, filled and crumb coated with lovely chocolate buttercream. This was then iced white with Renshaw Extra (I really like this stuff!) smoothed with Super Sharp Edge Smoothers and left to set overnight. Once the sugarpaste had hardened, I sprayed it using a PME Silver Lustre spray. This was much easier and quicker than hand painting it.

Once that tier had dried, I measured and cut 5 wooden dowels to go into it as the 6″ would be stacked on top. I then carefully lifted this tier and stuck it to the middle of a 10″ round cake drum  which I had iced with black supermarket icing the day before. I tend to use cheaper icing to cover my boards with as it’s not going to be eaten and I don’t have to worry about the strength of the sugarpaste. It doesn’t matter what kind of icing you cover your boards with, just as long as you COVER YOUR DAMN CAKE BOARDS. I stuck the tier down with a thin spread of royal icing. The cement of the cake decorating world.

I then spread a layer of royal icing on top of the 8″ cake, making sure to cover the tops of the dowels, and carefully placed on the 6″ round. I then left this to set and dry a little before decorating.

For the decorations I cut out a lot of stars in different sizes and I made a silver and black starburst by using black flower paste and white Mexican paste which I painted silver with lustre dust and rejuvenator spirit. I also used an acrylic pole dancer topper I got from eBay.

I stuck some of the stars to the cake with royal icing and pushed a few into the sides of the cake once they had dried completely overnight.

I then used double sided tape to add a 15mm silver ribbon to the cake drum and a little tape to add a 25mm black ribbon for the base tier and silver ribbon for the top tier. I finished this off with a string of diamantes which I secured at the back of the cake with a little royal icing.

I also cut out a personalised message and name of the studio using tappit cutters and Mexican paste. I painted these silver the same way I painted the stars.

I’m really pleased with how it turned out and it looked so good at the party!

To learn more about how to stack and decorate a tiered cake, check out my wedding cake course here – currently 50% off!!

Happy baking!

Britt xo
If you want to turn your baking hobby into a career, check out my book Cakes, Bakes & Business for everything you need to know about running a successful baking business, including pricing, marketing, insurance and much more!


My TEDx Talk!

08/18

Oh my goodness. It’s finally here! My TEDxFolkestone talk is now live on the TEDx YouTube channel!

Back in June I fulfilled one of my lifetime ambitions by doing a TEDx talk. This is one of my proudest achievements, something I’ve always wanted to do and I’m so happy I get to share it with you all.

My talk is about my journey, mental health and how baking played a big part in it all.
Thank you so much to everyone for all of your kind words and support leading up to this. I’m overwhelmed. Here’s to TEDx 2018.

It was so stressful, but an absolutely brilliant experience that I will remember for the rest of my life!

Britt xo
 

Sign Up to my Newsletter
Subscribe here to my newsletter!

Designed by Clockwork Moggy