How To Freeze Cakes

03/18

Wether you want to bake in advance, have a TON to get baked or you’ve inadvertently made a cake on the wrong date (guilty!), freezing cakes and cupcakes can be a handy tool to add to your skill set.

It requires a little patience and preparation but can save you a lot of time in the long run allowing you to bake ahead of schedule, perfect for a large orders, weddings and parties.

Also, flash freezing fruit cakes is a quick way of ‘maturing’ it! Well, the defrosting process is. If I bake a fruit cake and don’t have months to let it come to it’s best, a quick overnight trip to the freezer does the job!

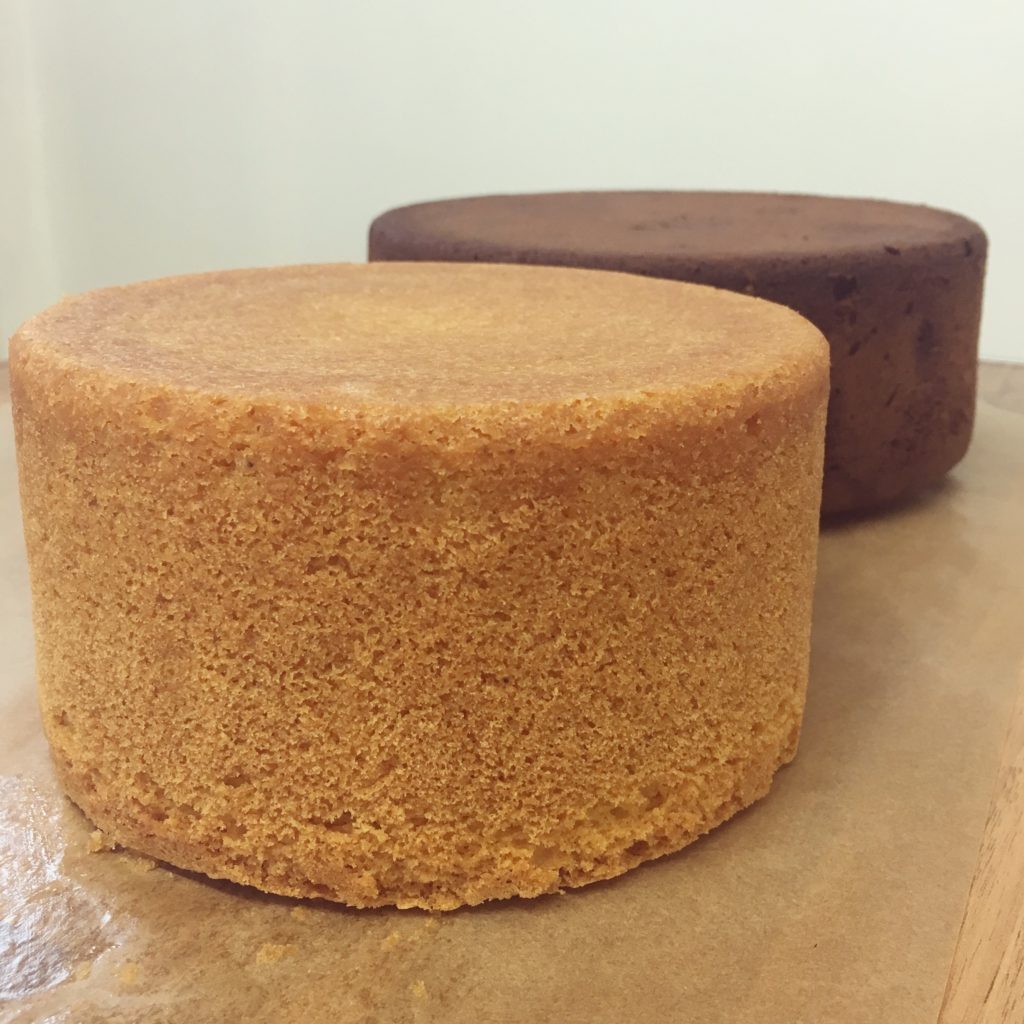
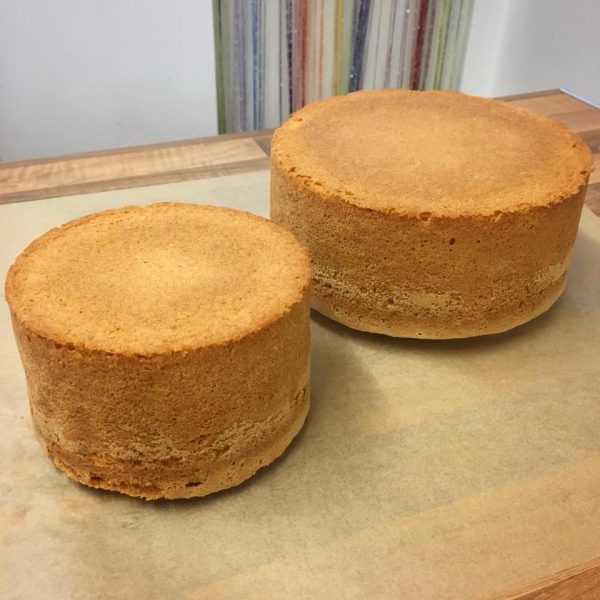
You will be able to freeze most cakes. I find that madeira cakes (and their chocolate and lemon counterparts) freeze wonderfully without too much hassle, as do most cakes with a high fat content. It is very important that once your cakes are baked, you leave them to cool completely. If they are still warm this will create condensation which can cause cakes to get the dreaded ‘soggy bottom’.

Once they are cooled, it’s also important to wrap them well, otherwise they may get very dry when frozen (freezer burn isn’t tasty), which isn’t what we want. I find the best way to do this for sponge cakes is two layers of cling film and then a tight layer of foil. However for fruit cakes, I tend to use a layer of greaseproof paper and then a tight layer of foil.

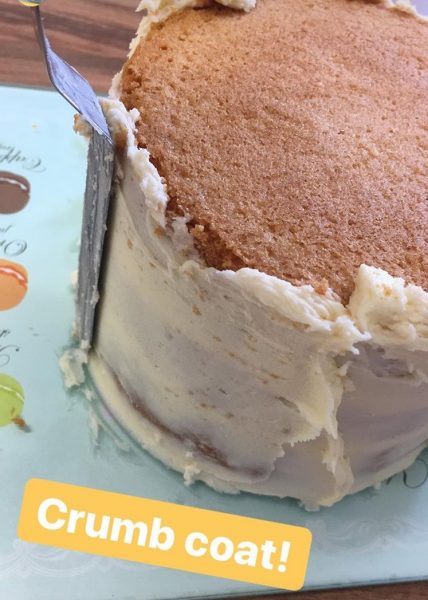
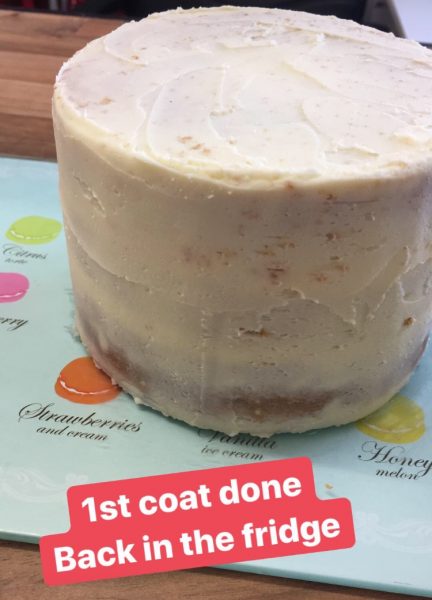
It’s also ideal to freeze cakes that you plan to carve, mainly because the crumb structure is more solid so it will keep it’s shape better and there’s less chance of it crumbling when shaping and crumb coating.

If you are freezing cupcakes, firstly make sure to bake them in greaseproof or foil cases as this will prevent the dreaded peeling cases when you defrost them, (for more cupcake troubleshooting, check out my other blog post here) then pop them in a sandwich bag and make sure they have enough space on the freezer shelf and they aren’t squashed.

Here’s a few key hints and tips that will help you chill your bakes;

  • Freeze naked! I find to get best results, freeze cakes and cupcakes un-iced and before you split them to fill them. This will stop them going dry and also stop any frosting and icing ‘sweating’ over your cake when it’s defrosting.
  • Take your cake or cupcakes out of the freezer a few hours (preferably overnight) before you plan to decorate them. This will ensure they have fully defrosted.
  • To defrost, leave on the kitchen side and not in the fridge. Also, I take off the layer of tin foil but leave it wrapped in cling film.
  • Make sure they are fully defrosted before decorating as again, this can also cause condensation and promote mould growth.
  • Don’t freeze for longer than three months. Everything has a shelf life and I find if you leave it longer than this, the cake is simply past its peak. Anytime before this will taste fine, however.
  • Label and date your cakes. This is good practice for all food health and hygiene. Pop on a little sticker saying what it is and when you put it in.
  • Putting your cake back in the tin once wrapped then putting the whole thing in the freezer can help it keep its shape if you’ve got quite a ‘busy’ freezer.

Does a frozen cake taste different? I honestly would say no. I’ve tried all manner of cake over the years and I have never been able to taste a difference if a cake has been frozen or not, some argue that it actually makes it taste better! If you’re unsure, give it a practice run. Any excuse to enjoy a slice of cake!

Give it a go and let me know how you get on, either on Facebook or Twitter or Instagram.

If you want to turn your baking hobby into a career, check out my ebook How To Start A Cake Business From Home for everything you need to know about running a successful baking business, including pricing, marketing, insurance and much more!

Happy baking!

Britt xo

Sharp Edges and Pole Fitness

03/18

For several years I ran a cake business from home. I made cakes for all occasions; weddings, birthdays, Christening’s, you name it. I was making quite a few cakes a week and I was always battling with the much sought after sharp edge.

As a self taught baker, I relied on internet advice, tools and tricks I had picked up along the way to make my edges as sharp as I could, but they were always slightly rounded. I was happy with this and liked the way it looked but today my world has been turned upside down! (Stranger Things reference…)

I haven’t decorated a cake in a while and don’t make commission cakes to order anymore, with my blog going more the way of tasty bakes as opposed to centred around sugarcraft it’s not something I usually do unless there’s a specific need. This week there was just that need! For those who follow me in Instagram you will know one of my other passions is pole fitness. I’ve been doing it on and off for 10 years and went back properly last year. This week marks a year that the school I learn with, Polepatations, has been in it’s current studio in Chatham. We’re having a birthday party and I wanted to make a cake for the occasion! Because, that’s what I do!

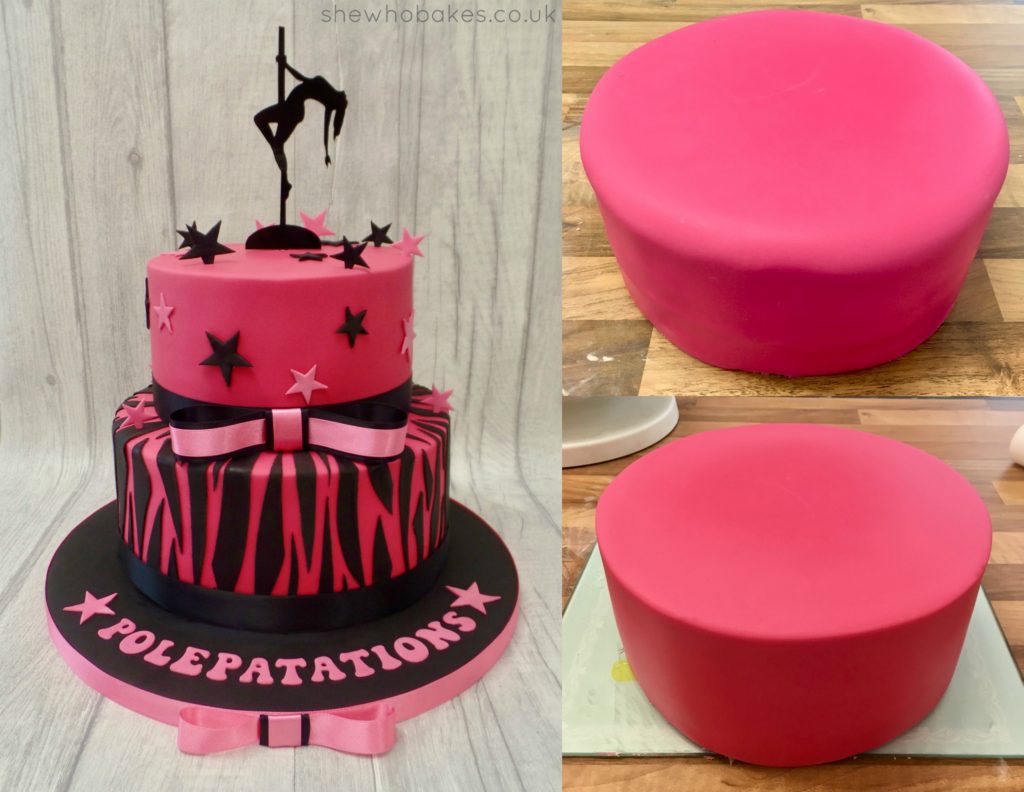
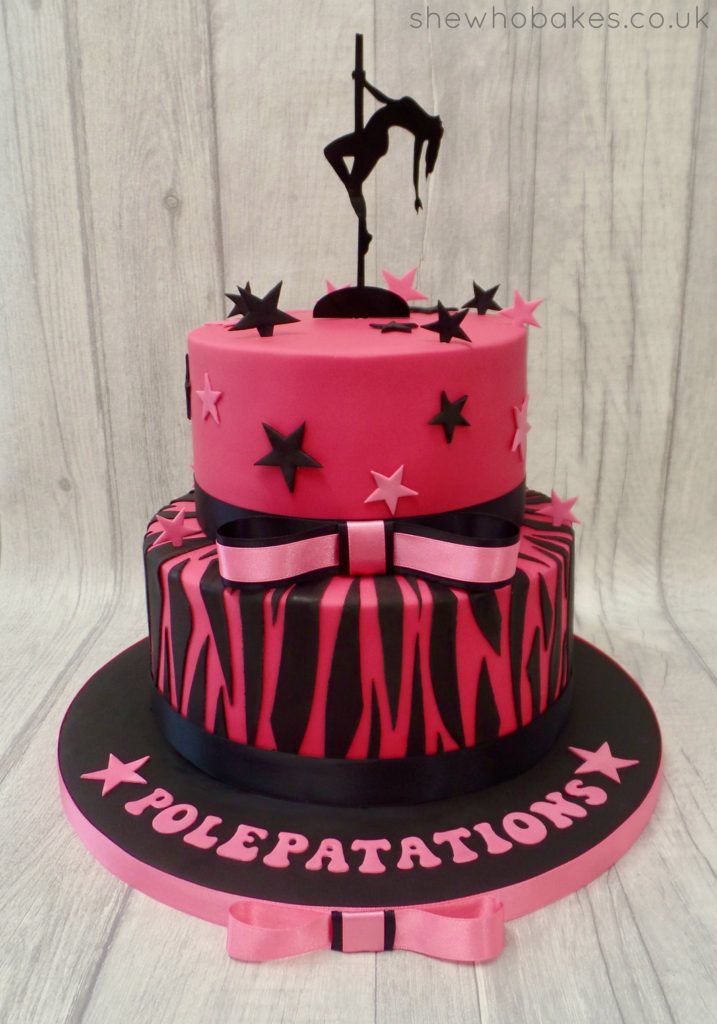
Themed black and hot pink to match the studio with an acrylic topper and zebra design, I love it, but what I love more about it are the sharp edges!!

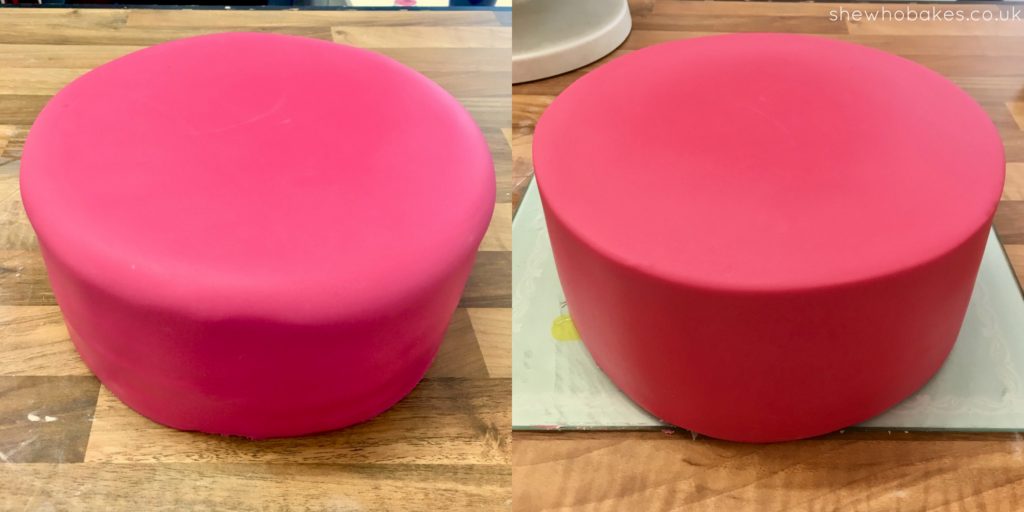
My good friend and fellow baking blogger Jemma from Iced Jems sent me some of her Super Sharp Edge Smoothers a few weeks ago and this was my first go with them and I am SO impressed. Up until now I have been using the plastic ones with the handles but not any more! A few goes around and on top with these bad boys and my cake was as sharp as my wit and sweet style. Below is the bottom tier. Left was before smoothing and the one on the right, after.

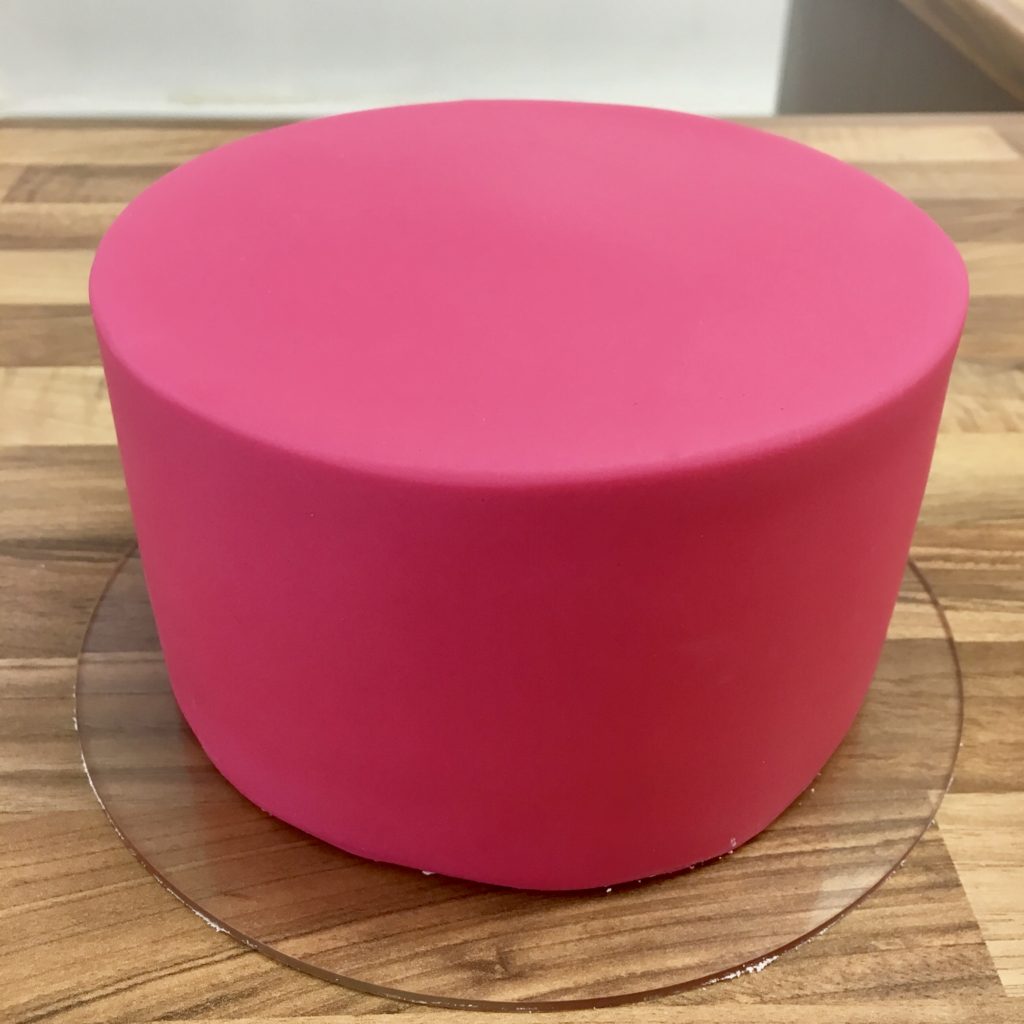
I mean just LOOK at it! I’m in love. This is the top tier.

I’m completely converted.

Jemma has also made a tutorial video on how to use them which I watched before decorating. It really helped as they are so different to the smoothers I’ve been used to, it was good to watch someone who knew what they were doing first!

You can grab a pair for yourself for only £3.99 from Jemma’s website here.

I should point out, this isn’t an advertisement, nor has Jemma paid me to mention this, but I loved them so much I wanted to tell you all as I struggled for so long to get lovely sharp edges and I was so happy with the result of my cake I did a little dance around the kitchen! Everyone should feel as happy with their cakes as I felt about mine this afternoon.

I’m completely converted. So, enough of the smoothers! Back to the cake.

I made a two tier cake comprising of a 6″ round vanilla madeira and an 8″ round chocolate madeira, both made using my recipe here where you can find a link to a cake calculator to work out the mix for different size tins.

They were both split with a cake leveller, filled and crumb coated with bright pink (obviously) vanilla buttercream coloured with Wilton Rose concentrated colour, which is almost the same shade as the sugarpaste, which is Renshaw Fuchsia Pink. Stacked using cake cards and dowels and decorated in a zebra style bottom tier with edible stars and Polepatations name (made using Windsor Groovy Clikstix), both made from flower paste and acrylic topper (from eBay). Finished off with black 25mm and pink 15mm ribbon.

My buttercream recipe can also be found on my madeira cake recipe page here.

To learn more about how to stack and decorate a tiered cake, check out my wedding cake course here – currently 50% off!!

I loved making this one!

What have you been baking lately? Come let me know on FacebookTwitter or Instagram.

Happy Baking!

Britt xo

If you want to turn your baking hobby into a career, check out my book Cakes, Bakes & Business for everything you need to know about running a successful baking business, including pricing, marketing, insurance and much more!

Feedspot Top 50 UK Baking Blogs

02/18

What fabulous news! In a new list by Feedspot of the Top 50 UK Baking Blogs, She Who Bakes has been listed number two!!

I am so thrilled to be ranked so highly among some very fabulous bloggers!!

Thank you very much to Feedspot and most importantly to every single one of you reading this. When I started writing my blog back in 2013 I had no idea where it would take me, or how it would save me. Thank you for being on this journey with me.

Lots of love and happy baking!

Britt xo

Love Hearts Cake

02/18

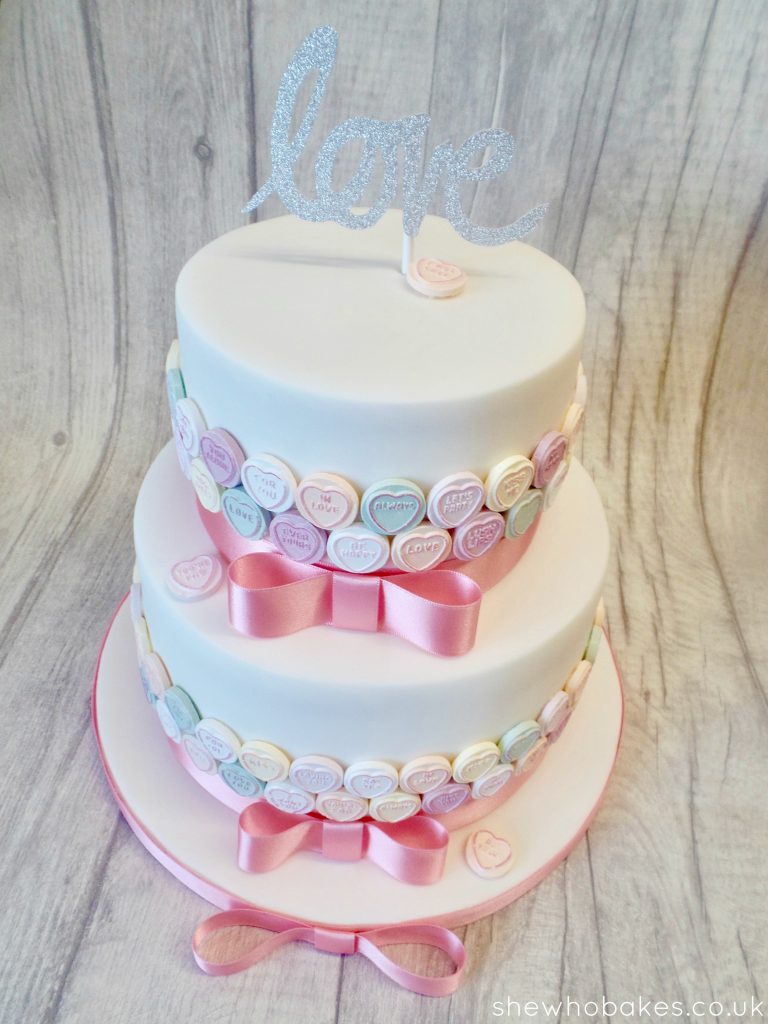
This sweet Love Hearts cake is perfect for Valentine’s Day or as a simple but stylish wedding cake.

Here’s a little bit about how it was made;

The cakes themselves are a 7″ round and 5″ round vanilla madeira (you can find the recipe I use here as well as a link to a converter if you wanted to bake it in other sizes). They are split twice and filled with vanilla buttercream, the recipe I use can also be found here. I baked them and then left them to cool upside down on greaseproof paper as I always do with celebration cakes. I then wrapped them well in cling film and left them overnight to firm up, ready to split, fill and ice the following day.

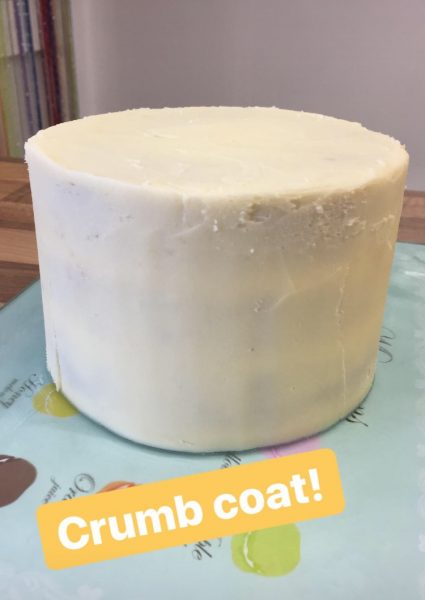
I crumb coated them with more vanilla buttercream. I do two layers of buttercream, using a scraper and my palette knife to smooth it down to the cake which creates a lovely base to decorate. The following pictures are taking from my Instagram stories which I highly recommend to watch as I often post how to videos and step by step tutorials whenever I’m in the kitchen.

After crumb coating it, it was time to cover in a layer of sugarpaste. If you follow my social media you may have seen I was asking for opinions on a new type of Renshaw sugarpaste called ‘Extra’. I normally use Renshaw as my preferred brand of sugarpaste when decorating my cakes. I always find I get a good finish with it and it doesn’t tend to crease or tear. When I recently did my book signing and Q&A at Iced Jems, I picked up a pack of it with this very cake in mind. I was excited to try it as on the box it said it was ‘extra firm and extra elastic’.

I must say I was very impressed with the product. It kneaded well, rolled well and most importantly, covered my cakes well. It felt strong and secure and it didn’t feel like it was creasing in any way. Sometimes when icing a cake, it’s the top edge that can tear under the weight of the sugarpaste but there were no marks and it was really easy to smooth too. It’s definitely one I’ll be using again especially as I’ve got a lot of cakes to make this year; my 30th birthday party, my hen party, our wedding cake and my annual Halloween cake!

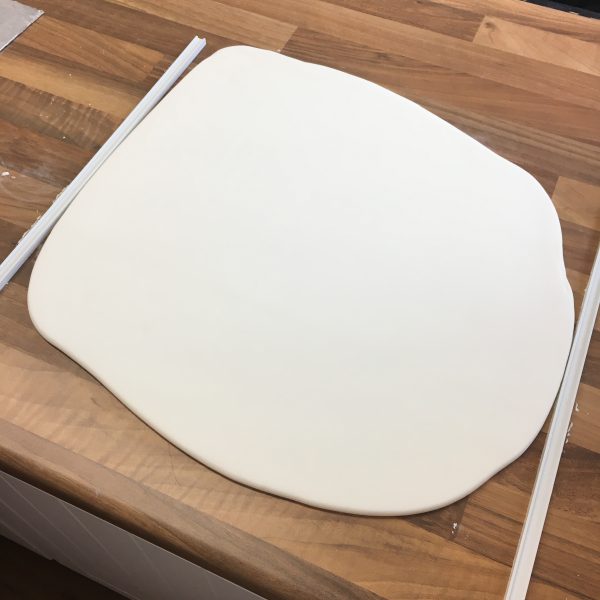
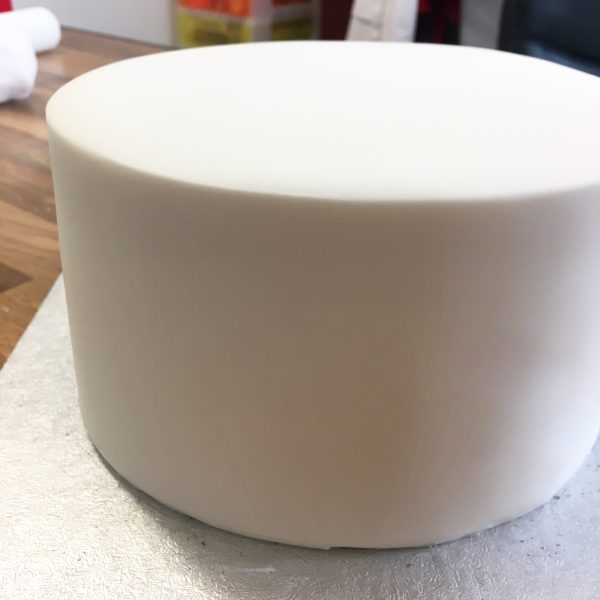
Next step was to smooth the cake. Last year I completely converted from my usual plastic smoothers to the Super Sharp Edge Smoothers from Iced Jems. I have a full article and review on them here. They REALLY make a difference to your finished cake and I’m still amazes at what two little bits of acetate can do! Below is a picture of the sugarpaste rolled out, then placed onto the cake before smoothing and then after smoothing. I mean LOOK at the difference!!

I then left my cake to set and the icing to firm up. Ideally I would do this overnight but I as on a time limit with this cake and so I left it as long as I could (a few hours) and then started to stack it. Normally however, I would always leave an iced cake overnight before decorating, moving or stacking it. I like to allow the icing to firm up completely so I can move the cake around without any accidental damage to the icing. To stack the cake safely I firstly stuck down the bottom tier onto an already iced 10″ cake drum (always cover your cake boards!!). Then I placed five wooden dowels cut to size in a pattern into the middle of the bottom tier then I carefully stuck the top tier on with a little buttercream.

Once my cakes were stacked, I stuck a 25mm baby pink ribbon around each of the tiers with a little double sided sticky tape on the back of one end of the ribbon. I also stuck 15mm baby pink ribbon around the iced cake board too. I then added bows to the middle. I’ve got a little photo tutorial on how to make fabric bows for cakes here.

Finally to decorate I stuck on Love Hearts sweets around the cake just above the bow. I did two layers and for a 7″ round and 5″ round cake I used 5 full sized packs of Love Hearts with a few leftover for me to enjoy. I stuck them on using a little melted white chocolate in a piping bag. You can also use Royal Icing but I didn’t have any in or edible glue.

Lastly, to top the cake I’ve used a silver glittery ‘Love’ cake topper from Iced Jems. I felt it was a really nice finishing touch!

And there you have it! I loved making this one! If you’ve got any other questions on this cake, pop them below and I’ll do my best to answer them.

What have you been baking lately? Come let me know on FacebookTwitter or Instagram.

Have a sweet Valentines Day and happy baking!

Britt xo

If you want to turn your baking hobby into a career, check out my book Cakes, Bakes & Business for everything you need to know about running a successful baking business, including pricing, marketing, insurance and much more!


Nutella Filled Pancakes

02/18

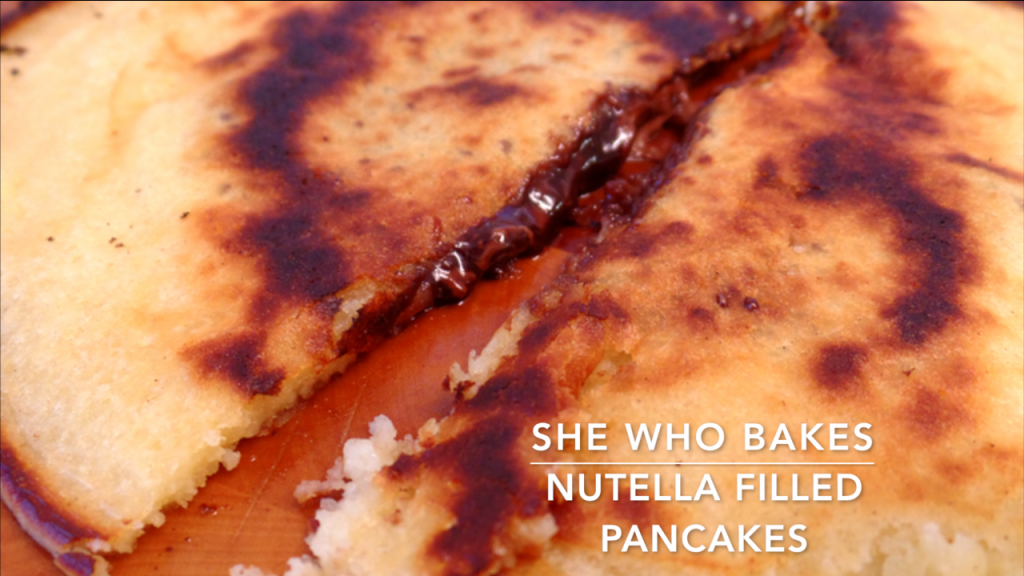
Nutella Filled Pancakes! Quick and easy and perfect for Pancake Day!

Ingredients:

  • 250g Plain Flour
  • 2 tablespoons Baking Powder
  • 150g Unsalted Butter
  • 2 Eggs
  • 400ml Warm Milk
  • Nutella

Method:

  1. Mix the flour and baking powder with the milk and mix well until it is smooth and lump-free.
  2. Add the eggs.
  3. Add the butter.
  4. Mix well.
  5. Pour into a jug.
  6. Melt Nutella in the microwave for 1 minute or until a pourable consistency. (IMPORTANT – Remove any and all foil from the jar before putting in the microwave!)
  7. Melt butter in a pan.
  8. Pour in a little batter.
  9. Top with melted Nutella.
  10. Cover the Nutella with a little more batter.
  11. Cook for 1 minute.
  12. Flip!
  13. Cook for a further 2 minutes.

These are best straight from the pan. If they have cooled, zap in the microwave for gooey Nutella-ness.

Give it a try and let me know how you get on either on Facebook or Twitter and Instagram.

If you want to turn your baking hobby into a career, check out my book Cakes, Bakes & Business for everything you need to know about running a successful baking business, including pricing, marketing, insurance and much more!

Happy baking!

Britt xo

Time To Talk Day 2018

01/18

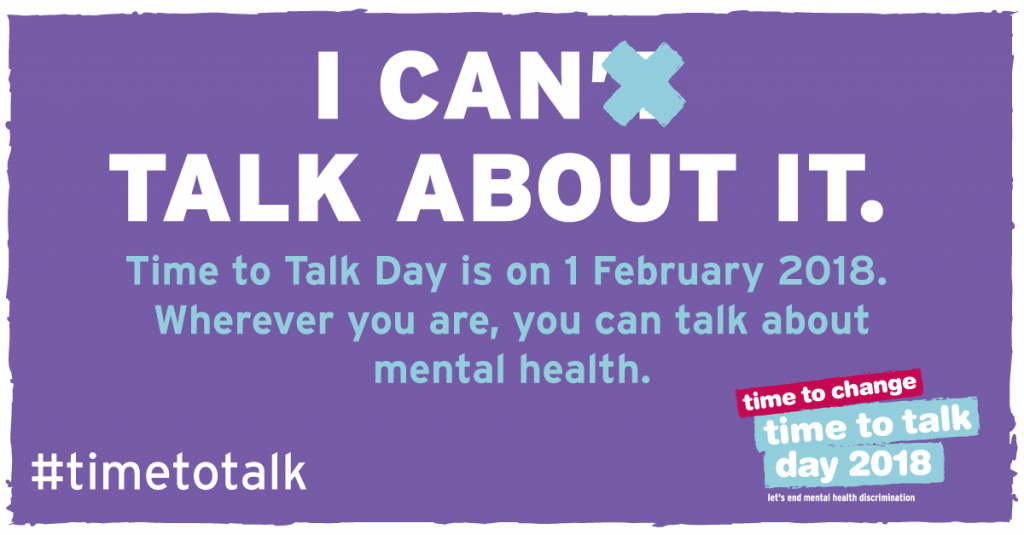
Time to Talk Day, run by Time to Change, will take place on Thursday 1st February 2018.

The aim is to get as many people as possible across England talking about mental health. By joining together on one day, we can break the silence that often surrounds mental health, and show that talking about this once-taboo issue doesn’t need to be difficult.

The aim of Time to Talk Day is to get as many people as possible across England talking about mental health. By joining together on one day, we can break the silence that often surrounds mental health, and show that talking about this once-taboo issue doesn’t need to be difficult. With tens of thousands of individuals and hundreds of organisations speaking out together at the same time, we can make a huge impact and show that it really is time to talk.

Those of you who know my story will know how important raising awareness for mental health issues is to me. (Make sure to check out my article Baking My Way Out Of Depression.)

When I first started baking and long before I started blogging, I was suffering very badly with depression and anxiety. I was on strong medication and I really couldn’t see a way out. I didn’t talk to anyone about my mental health. I didn’t want sympathy, I just wanted to ‘get on with it.’

But I was wrong.

Talking to someone is the most important thing. If it’s a friend, a loved one, a colleague, it doesn’t matter. You can’t keep things bottled up and expect them to go away. I wish I had known that sooner, then maybe I wouldn’t have gone through years of medicated heartbreak.

1 in 4 of us will have a mental health problem. That’s an awful lot. It isn’t something to shy away from. The more we talk about what’s going on in our heads the better. It’s time to break down any barrier, get rid of any stigma and just have a chat.

When I had depression, I can remember being in college and a friend of a friend telling people she had been diagnosed with bi-polar. This was over 10 years ago and it wasn’t spoken about very much at all then. No one knew what to do, what to say. But that’s the thing, you don’t have to say anything specific. I’ve had a few people approach me over the years who knew me when I was at my lowest and openly admit ‘we didn’t know what to say.’ Little did they know a simple ‘are you ok?’ and a good cup of tea would have been a great start.

Now, years later, I want to help change the way mental health is spoken about and break down any stigma attached to it. I’ve worked with Time to Change in a few campaigns now, such as their Small Things campaign last year and now Time To Talk Day 2016 with Good Morning Britain. I’m very proud to be doing stuff with this fantastic charity.

As it’s #TimeToTalk day, I wanted to share this video my fiancé Tim and I took part in with the mental health organisation Time to Change back in 2015.
My mental health has suffered somewhat over the years since I was 16 and whilst I am pleased to say I am in a much better place than I have ever been, the darkness that nearly consumed me and so many other people face every day is nothing to be ashamed or embarrassed of.
The more we talk about our mental health, the more we can de-stigmatise it.
I can remember not wanting to tell my manager at the time that I was in such a bad place. I was scared I would lose my job for fear of looking ‘unreliable’. It was only after I had that initial conversation with him though I discovered how supportive he and the company I used to work for were.
If you’re struggling, please talk to someone.

My partner, Tim, is the person I can talk to about anything. It doesn’t matter if it’s big and emotional or small and trivial, he listens. Sometimes, he knows there’s nothing he can say to help and that’s great too, just getting it out in the open is usually enough. But, we look at what’s going on and try to do something about it.

So, take the opportunity today to start a conversation. Sit down with a friend, send them a text, show up at their door with a pack of custard creams, it’s up to you. It all starts with those three little words:

“How are you?”

You’re not a burden, you’re not being awkward, you’re not alone. You are you and you are amazing.

Britt xo


Happy 5th Birthday to She Who Bakes!

01/18
Today is a very special day for me! My little blog has tuned five years old! On this day back in 2013, I published my first ever baking blog post. I had no idea back then what it would become or where it would take me. I didn’t start it for a purpose or a reason, I started it to make myself smile in a time when there were more dark days than light.
 
Those who have followed me for a while may know my story. You will often hear me say that I ‘baked my way out of depression’ and it’s true. Teaching myself how to bake, creating cakes and writing about them got me out of such a bad time in my life and I’m so grateful for it.
Before I found a passion and creative spark, I was two suicide attempts down and on a whole host of medication just to keep me going. All that is different now.
 
I may not get time to bake as much as I used to but each and every time turn the oven on and start to weigh out ingredients, I absolutely love it.
Now I can also say I am a published author, with my first book ‘Cakes, Bakes & Business’ getting to number one in two Amazon charts. My mum would be so very proud of me.
 
I just wanted to personally say a massive thank you to everyone reading this. Thank you to every one of you who reads my blogs, has read my book, uses my recipes, tips or tutorials, watches my videos and likes what I do. Whether you have been following me for all five years, five months or even five days, I am so grateful to you all.
 
I look forward to many more wonderful years of She Who Bakes.
 
Happy baking,
 
Britt xo

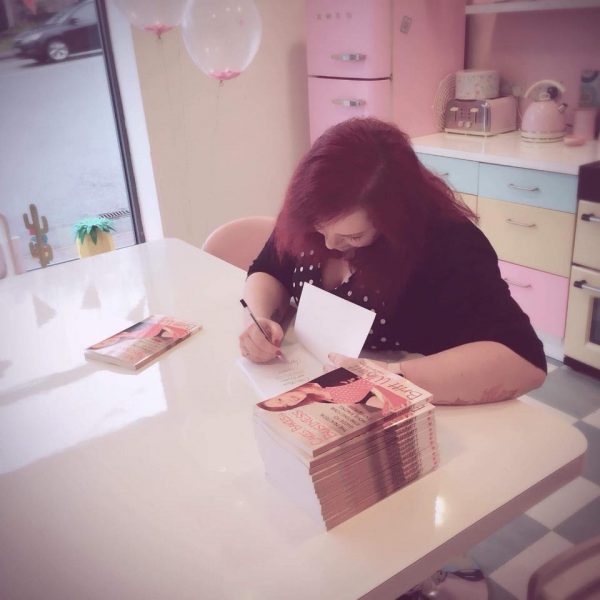
Book Signing and Q&A at Iced Jems!

01/18

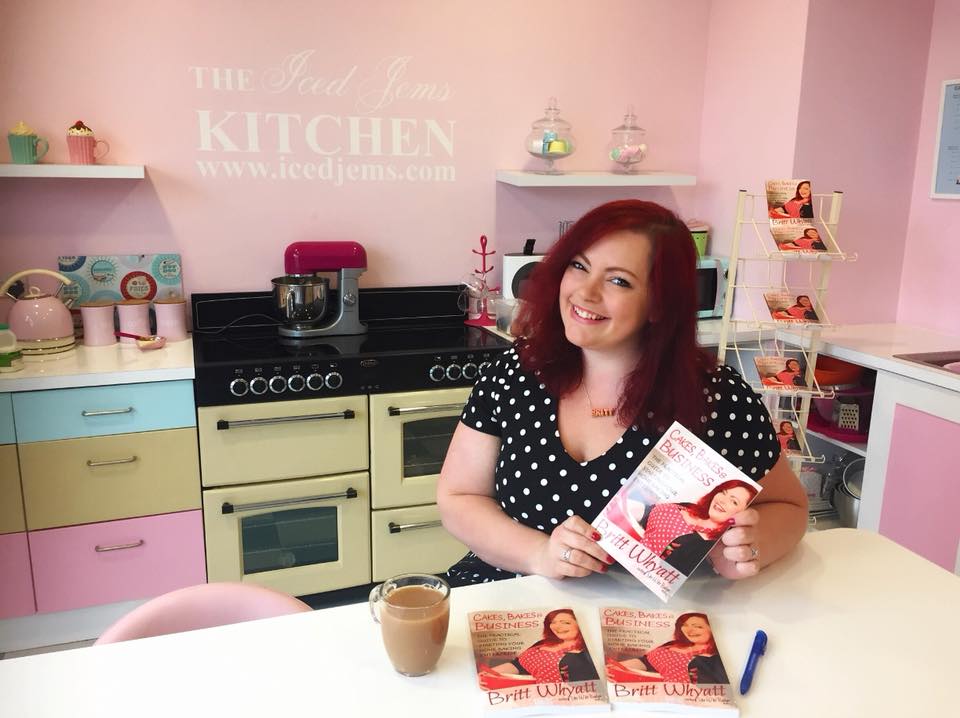
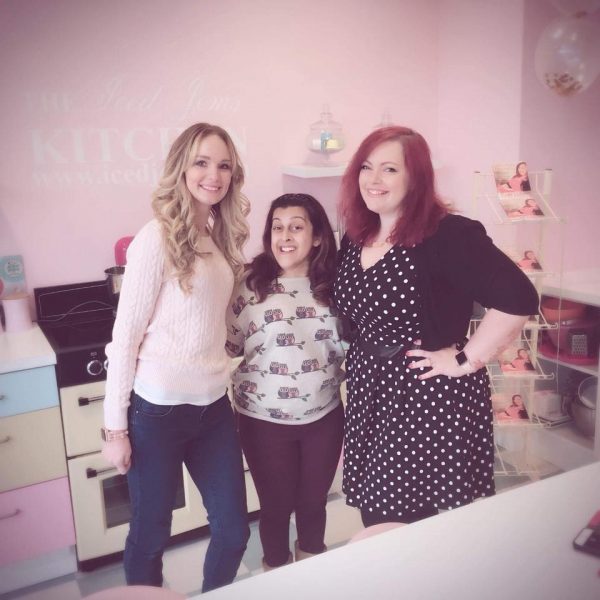
I feel so very fortunate to have some of the most amazing people in my life. One of whom is Jemma, who runs a shop called Iced Jems. I say shop, it’s more of a fully realised pastel dream filled from top to bottom with all of your cake based desires. Jemma and I have been close friends for a number of years now and I am very grateful to have her and her unwavering support in my life. She is one of the people responsible for me writing a book in the first place!

I’ve taught classes at Jemma’s shop up in Stourbridge over the years and *spoiler alert* I may be back later this year teaching again (watch this space). So when my book came out and we spoke about me doing a book signing and Q&A event in her beautiful store, I was so excited!

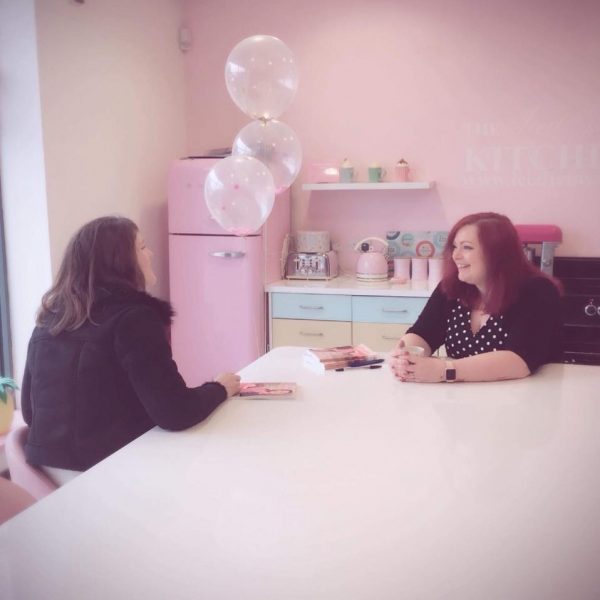
The event took place last Saturday 27th January and I had such an amazing time! I really enjoyed chatting to super talented and passionate bakers about taking the next step in their cake career. A massive thank you so much to everyone for coming to say hi!

I’ve been overwhelmed at the support and kind words for my book Cakes, Bakes & Business! 

Thank you again to Jemma for hosting and thank you of course to my wonderful future husband Tim for coming along to support me as always!

I met some incredible people and had such a wonderful time.

Britt xo

Tim’s Birthday Cake 2017

12/17

This week was my darling fiancé Tim’s birthday!
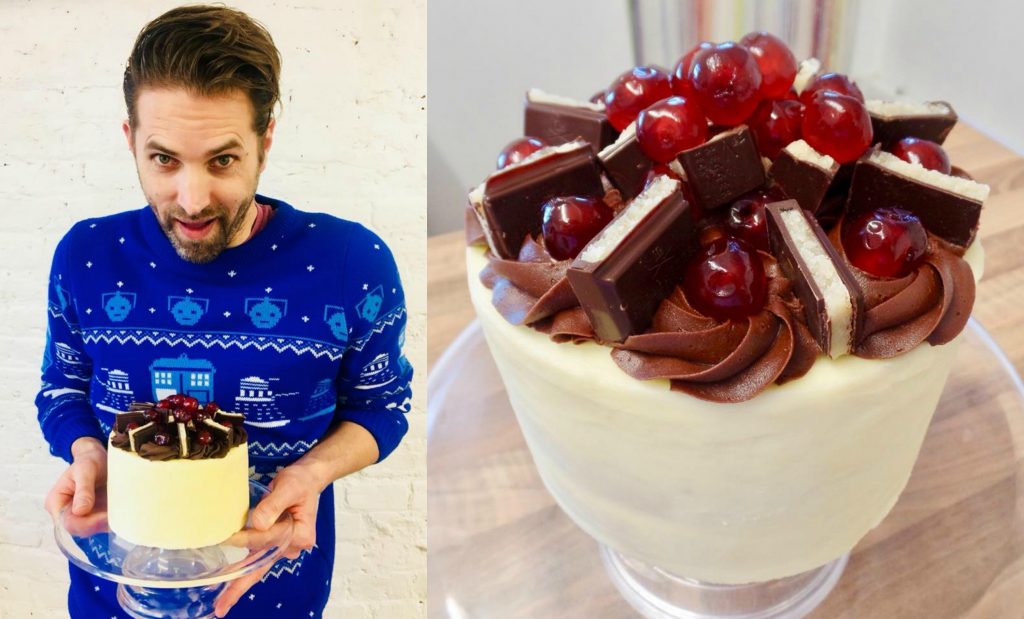
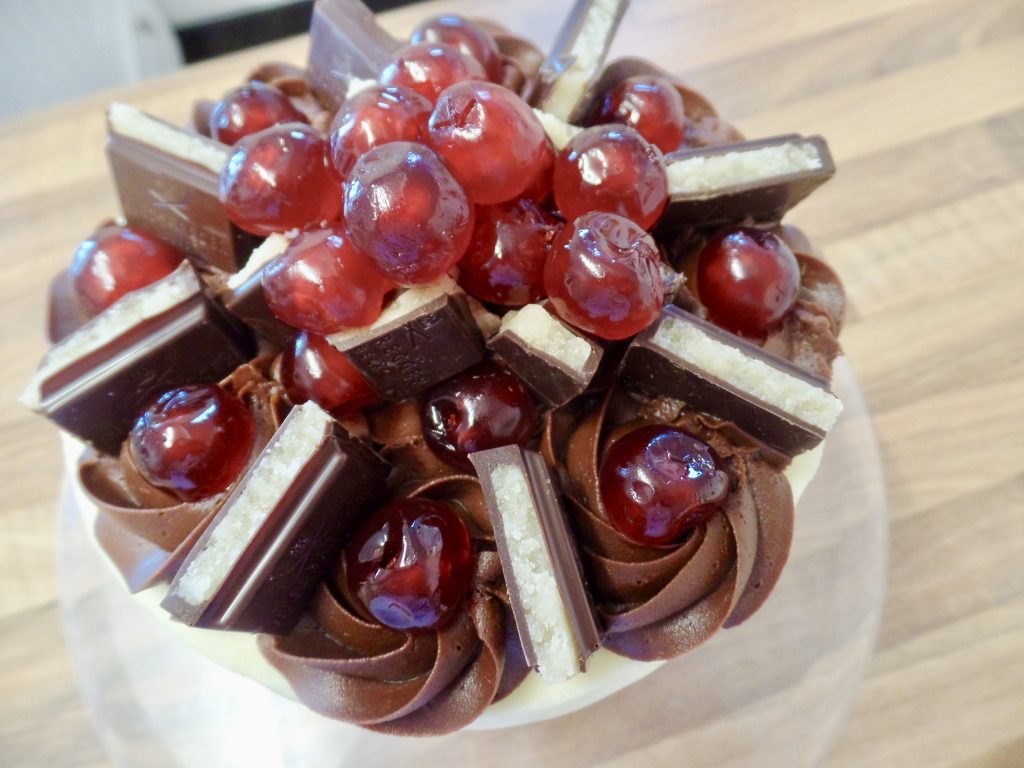
I couldn’t let it go by without baking him something tasty! I’ve incorporated all of his favourite flavours in this 6″ almond cake with almond buttercream and black cherry jam. Topped with dark chocolate ganache swirls, pieces of marzipan dark chocolate bar and glacé cherries.

A little bit of information about the cake!

I used the Classic Madeira Birthday Cake recipe I like to use but instead of all the plain flour I used half so 25g and added 25g ground almonds. I also used almond extract instead of vanilla. I also didn’t convert the recipe size even though I was using a smaller tin, this is because I wanted a tall cake. I will often bake a size bigger recipe in the tin if I want a deep cake.

For the almond buttercream, I used 250g unsalted butter, 500g icing sugar and 2 teaspoons of almond extract. No water or milk, just nice soft butter to make a creamy buttercream.

I used the dark chocolate ganache recipe I have here for the chocolate swirls on top.

I used marzipan chocolate and glacé cherries from the supermarket.

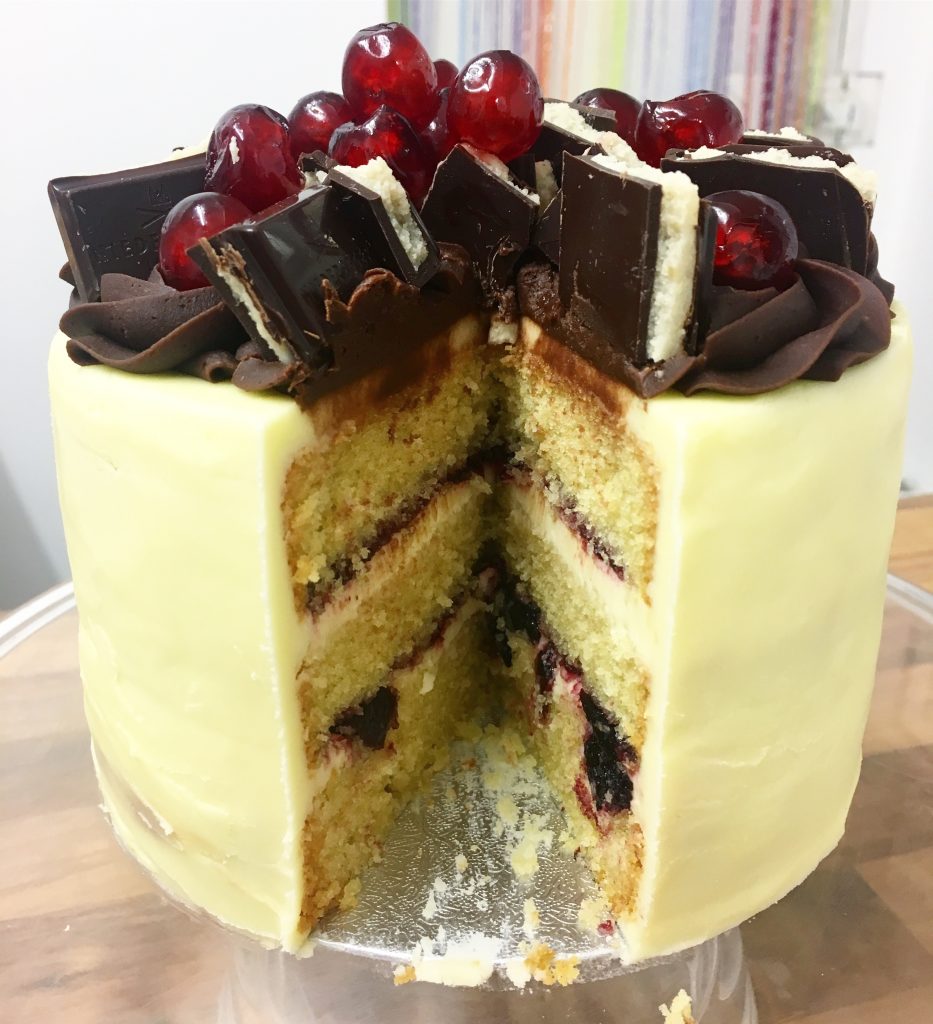
Here’s a lovely shot of the inside!

Cut with a cake leveller and filled with chunky cherry jam and almond buttercream! Delicious!

Happy birthday handsome. I hope you had an amazing day!! I love you so very much.

Britt xo


How To Make A Santa Cake

12/17

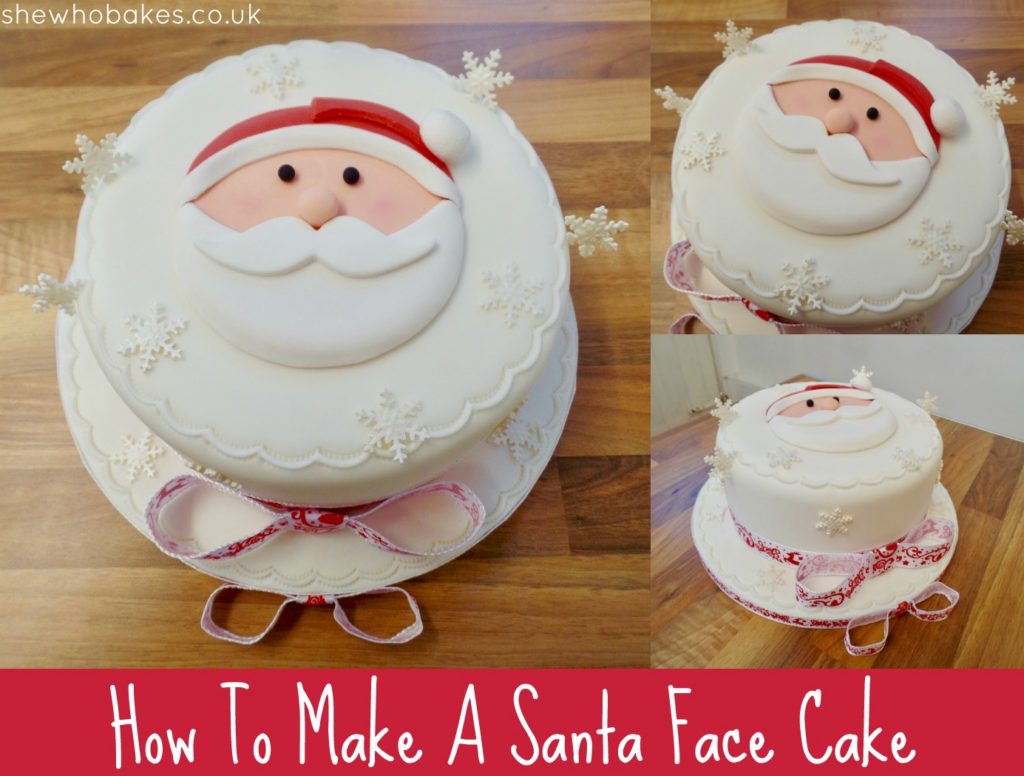
At this years Manchester Cake & Bake Show, I demonstrated in the Baking & Decorating Classroom, how to make this fun and festive Santa Face Cake!

Follow my below tutorial to make your own for a fabulous centrepiece for your Christmas celebrations.

I’m using my 7″ round madeira cake recipe and vanilla buttercream. Both recipes can be found here.

For my cake timeline, which takes you thorough when you can bake and decorate your cake, click here.

I recommend using modelling paste to make the face as it’s less fragile. It can also be made on a smaller scale and used to decorate cupcakes!

The face and snowflakes can be made ahead of time, keep decorations in a cake box or another container that the air can get to (not in a sealed box, otherwise they may melt). For more on types of icing, check out my blog post here. Ideally, leave your decorations to dry overnight until they are firm before using to decorate.

I recommend using actual edible glue as opposed to water as water can make your shapes soggy. My top tip with edible glue is less is more! Only use a small amount.

For this I have used white modelling paste and coloured what I needed using Sugarflair colours Paprika/Flesh. I use pre-coloured red and black modelling paste.

Equipment can be purchased from Iced Jems.

Equipment
  • 7″ round tin
  • 7″ round thin cake card
  • 10″ round drum
  • 1kg white sugar paste
  • 100g Red modelling paste
  • 100g Peach modelling paste
  • Small piece of black modelling paste
  • Small bowl of caster sugar
  • White flower paste
  • Snowflake plunger cutter
  • Moustache cutter
  • Cutting wheel
  • Crimpers
  • Dusting brush
  • Pink edible dust colour
  • Paintbrush
  • Edible glue
  • Large rolling pin
  • Icing spacers
  • Smoothers
  • Royal icing
  • Christmas ribbon
  • Double sided tape

For the snowflakes

Roll out flower paste very thinly and use a snowflake plunger cutter. Leave these snowflakes to dry on foam overnight and when dry, attach with edible glue and by gently sticking the snowflakes into the side of the cake. I have also sprayed mine with shimmer spray but this is up to you.

For the cake

Split and fill your cake with your desired buttercream or ganache and secure your cake to the thin board using buttercream.

Prepare cake by lightly coating with buttercream or ganache.

Before rolling out icing, knead until it’s a workable consistency. If the icing is sticky or your hands are very warm, sprinkle lightly with cornflour. Lightly dust your smooth work surface also to prevent it sticking.

Roll out your sugar paste to a 1/4 of an inch thickness. If it helps, you can use icing spacers which are perfect for this.

To keep the sugar paste from sticking, lift and move it around as your roll. Add more cornflour if needed.

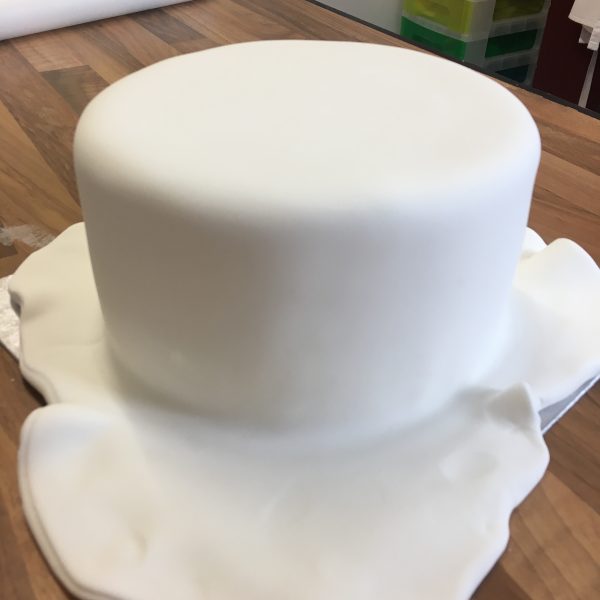
Gently lift icing over rolling pin to move and lower it onto your cake

Shape sugar paste to sides of cake using your hands and then your smoothers. I recommend using a smoother because the pressure of your hands may leave impressions on your sugar paste.

Beginning in the middle of the cake top, gently rub the sugar paste onto the cake. Start on one side and by a process of gently lifting any creases out and lifting down onto your cake, you can secure the sugar paste all the way around. If an air bubble appears, use a scribe to gently pop the bubble and smooth the air out.

Use your smoother to mark the sugar paste at the base of the cake and trim the excess using a palette knife or sharp knife.

Repeat this process to ice the board, sticking the icing down with a little water or piping jelly.

Using a crimper, crimp the edges of your icing, starting at the back of your cake and board. Go around evenly and decisively.

Fix your iced cake to your iced cake drum with a little royal icing.

Your cake is now ready to decorate!

For the Santa face

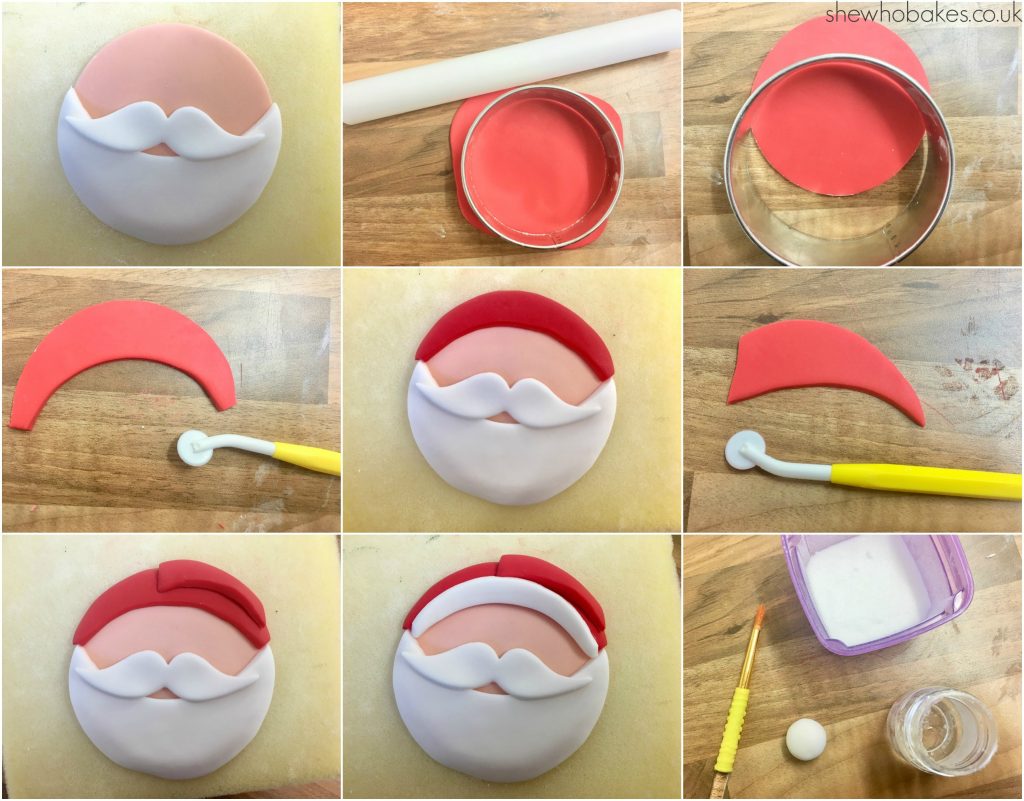
Roll out peach coloured icing to ¼” thick. Cut out a circle using a large circle cutter. This will be Santa’s face. Leave the face to dry on a piece of foam.

Roll out white icing to the same thickness. Cut out the same sized circle as the face then cut a third of that circle out with the same cutter, creating a crescent shape. This will be his beard. Using a little edible glue, stick the beard to the bottom half of the face making sure to cover the bottom ridge of peach icing. Then cut out a white moustache using a cutter or cut one out freehand using a cutting wheel. Glue this onto the beard.

Roll out red icing and cut out the same sized circle as the face then cut two thirds of that circle out with the same cutter, creating a smaller crescent shape. This will be his hat. Stick this to the top of the face using a little edible glue.

Then, using a cutting wheel, cut out an elongated triangle, gluing it to the hat, starting in the middle.

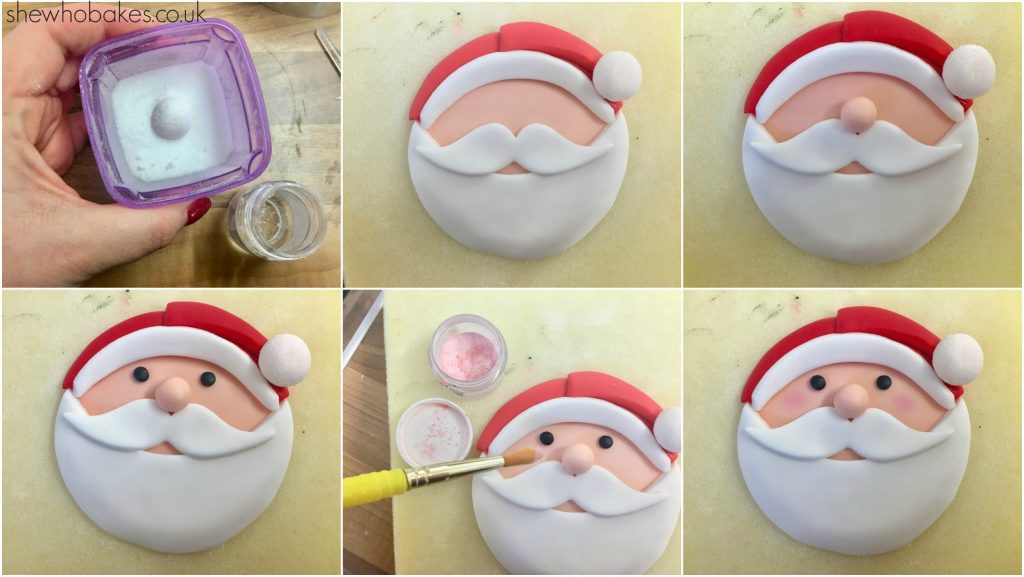
Then, for the bobble, roll out a small ball of white icing, paint thinly in edible glue and roll in caster sugar. Glue this at the end of the hat point.

Roll out a thin strip of white icing and glue this around the base of the hat to create the rim.

To finish the face, roll a small ball of peach icing and glue just above the moustache to create the nose.

Roll two smaller balls of black icing and glue in place for the eyes.

For the flush cheeks, use a large dusting brush and pink edible dust colour. Dab a little colouring onto the cheeks.

When your Santa face has dried, glue this to the centre of your cake using a little edible glue.

Finish your cake with a ribbon and bow around the base of the cake and the rim of the board.

If you want to turn your baking hobby into a career, check out my book Cakes, Bakes & Business for everything you need to know about running a successful baking business, including pricing, marketing, insurance and much more!

Give it a try and let me know how you get on either on Facebook or Twitter or Instagram.

Merry Christmas and happy baking!

Britt xo
All of my online cake decorating courses are currently HALF PRICE! Grab a bargain here.

Santa Face Cake by She Who Bakes

Sign Up to my Newsletter

Subscribe here to my newsletter!

Designed by Clockwork Moggy