One of my favourite places to be is Disneyland Paris. Walking down Main Street with my Minnie Ears on, snacking on a tasty treat and looking ahead to the beautiful pink castle that overlooks the whole park. *Sigh*
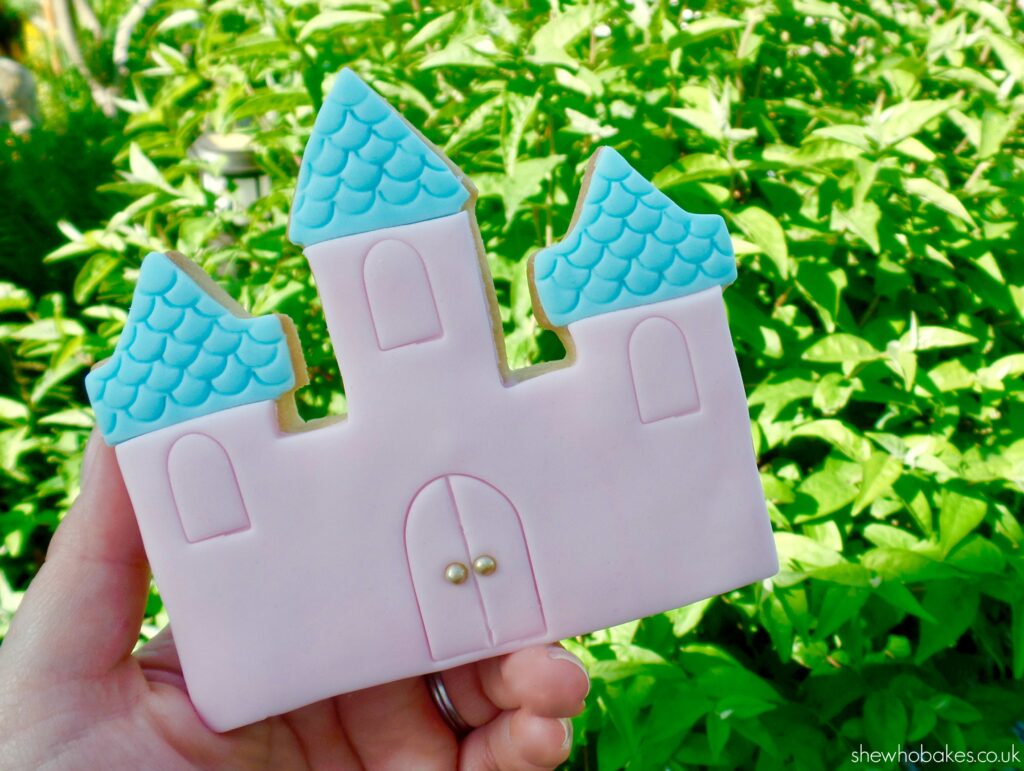
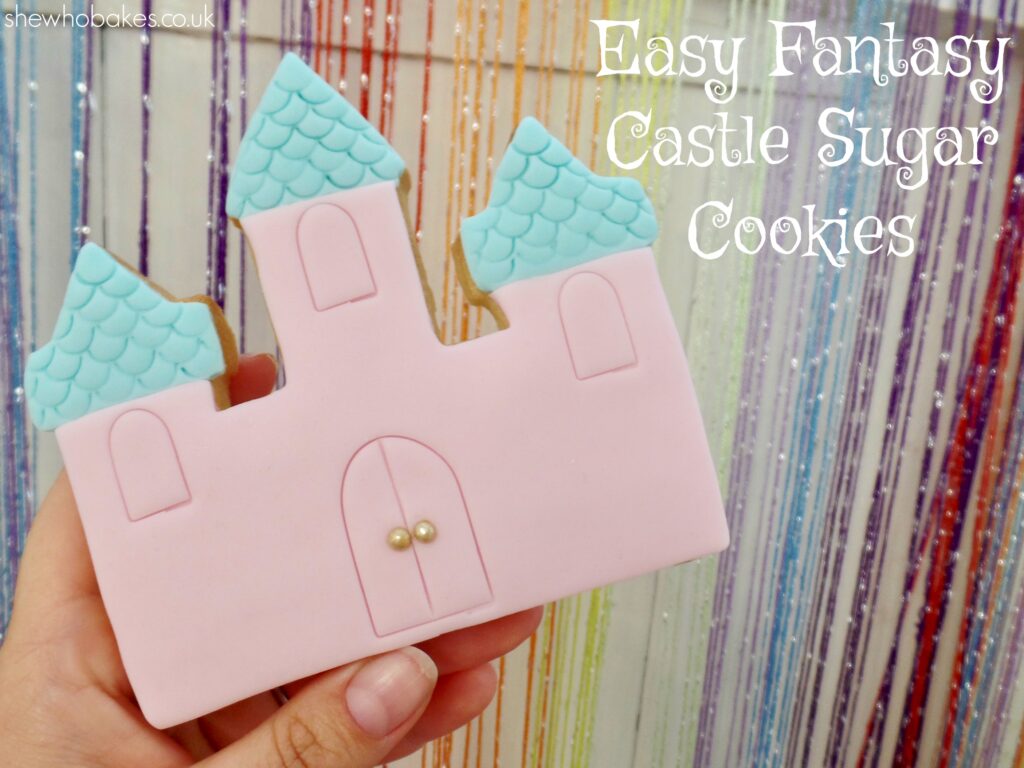
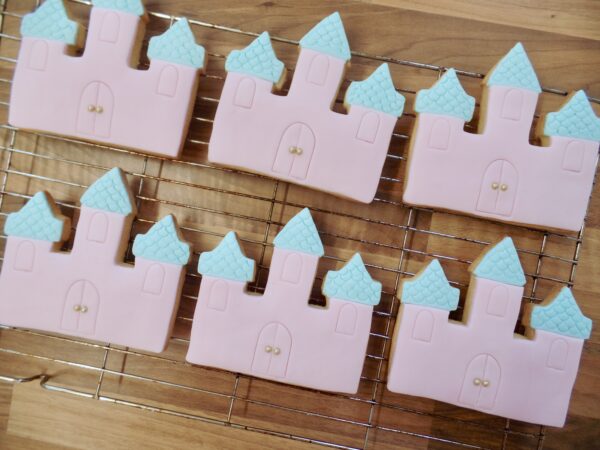
While these cookies might not be as detailed as the castle itself, they are sure to add a little Disney magic to your kitchen.
To make these, I’ve used my super reliable no-spread sugar cookie recipe which you can find here. As the cutter is quite big (which is great as I love cookies), I got six of cookies out of this recipe.
I cut out the castle shape with this cutter and after baking them for the full 15 minutes, I left them to cool completely.
To decorate, I used a 500g pack of ready to roll sugarpaste/icing. I coloured ¾ of it pink using Sugarflair Pastel Baby Pink and ¼ of it blue with Sugarflair Pastel Aqua. I highly recommend using professional colours like Sugarflair which are concentrated and you apply with a cocktail stick as opposed to cheaper colours that are mostly water and will melt your sugarpaste.
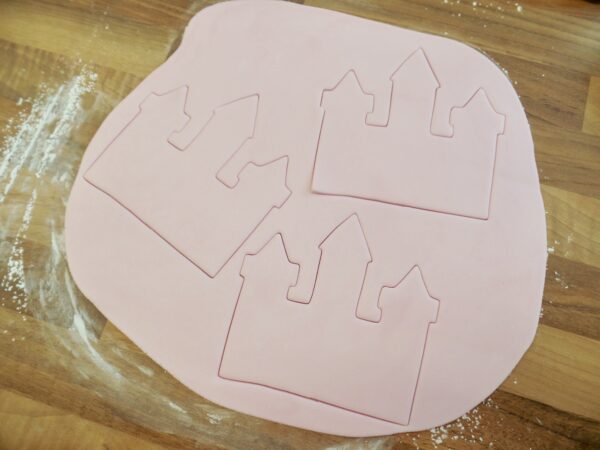
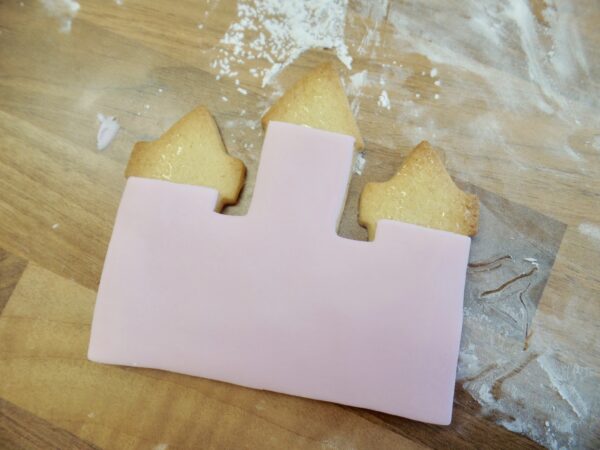
Once colures, I rolled out the pink on a surface dusted with cornflour using a large rolling pin and icing spacers. I then cut out the castle shape using the cookie cutter.
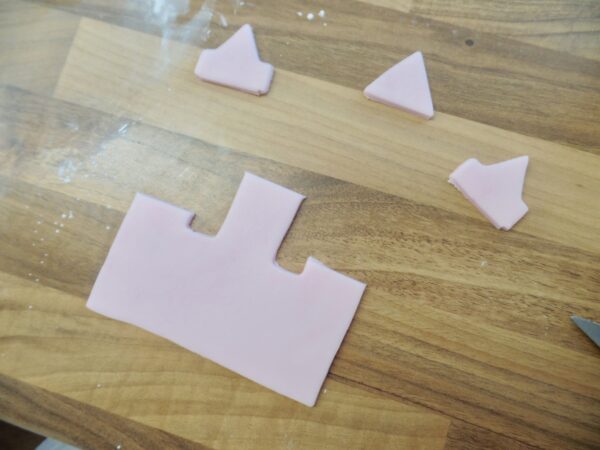
To copy the design of the Disneyland Paris castle, I then cut the turrets off (as I will be cutting them out in blue later), but feel free to have the castle all one colour if you like!
Once the turrets were cut off, I painted the cooled cookies with a little piping gel using a silicone brush. Edible glue works well too. I then gently lifted the sugarpaste shape from the surface and smoothed onto the top of the cookie, lining up the turret shapes.
Be careful at this point because the icing is super soft, gently push it down making sure to not leave any finger marks.
Once you’ve done this for all six of your cookies, roll out the blue sugarpaste in the same way.
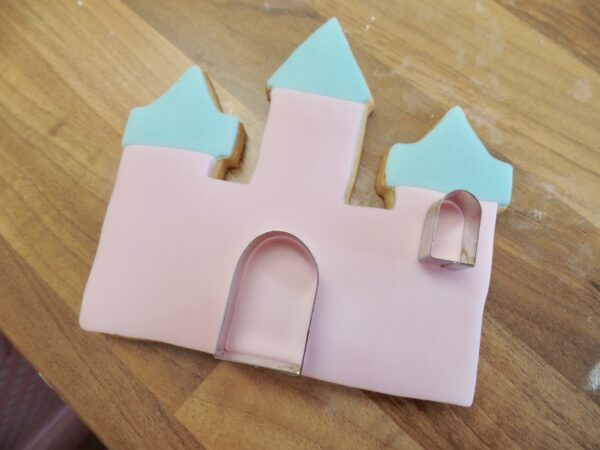
This time, using the cutter, only cut out the top turrets and trim them to size. Stick them down to the top of the sugar cookie, again using a little piping gel or edible glue.
For the door and the windows, I’ve used an old cutter I have which is actually for gravestones! I can’t remember where I got them from but I did manage to find some similar ones on eBay here. You could always use any cutter you have thats similar or do it by hand.
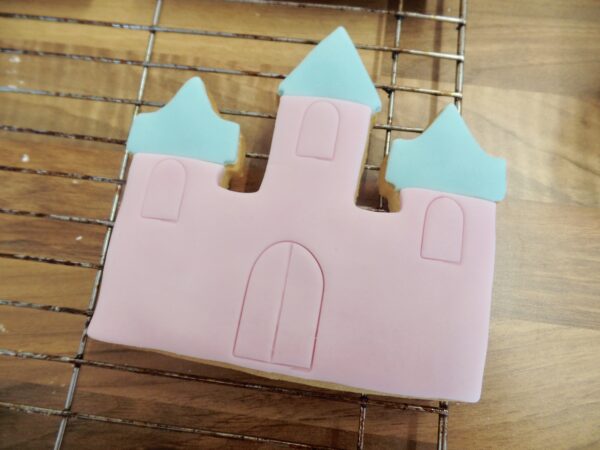
I gently pressed in the cutters to indent the shape. Then using a sharp knife, I made the line down the middle of the doorway.
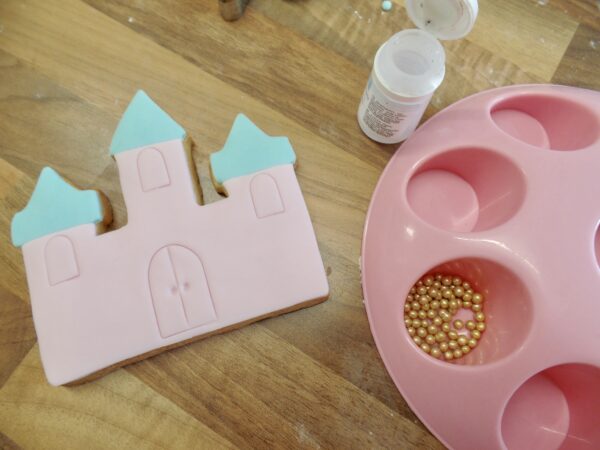
For the doorknobs, I used a ball tool to indent into the cookie and then painted a little bit of edible glue into the hole. I then gently pressed in an edible gold pearl.
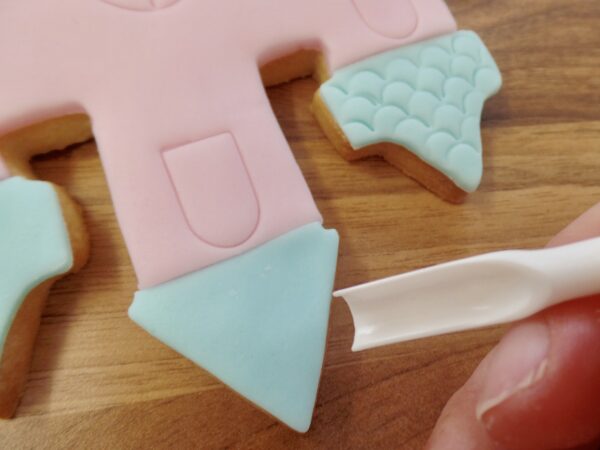
Finally, for the turret design, I used a ‘smile’ tool and gently pressed it in from the top, in rows to create a rooftop tile pattern.
Leave the cookies to set, preferably overnight, and then enjoy!
Kept in an airtight container they will last up to two weeks.
You can buy all of the equipment I have mentioned from Iced Jems.
You can find my other Disney themed bakes, including Mickey & Minnie Cookies, Mickey Rice Krispie Treats and Chocolate Chip Mickey Cookies here.
f you’re baking any of my recipes or using any of my blogs, let me know how you get on, either on Facebook or Twitter or Instagram.
Happy baking!
Britt xo
