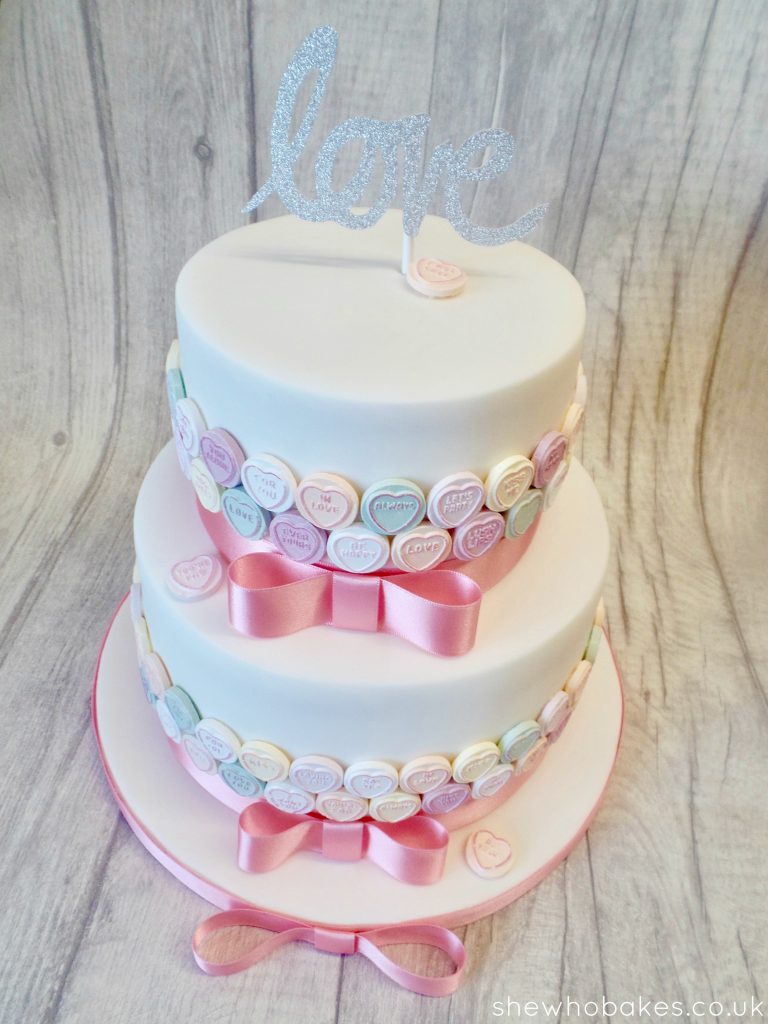
This sweet Love Hearts cake is perfect for Valentine’s Day or as a simple but stylish wedding cake.
Here’s a little bit about how it was made;
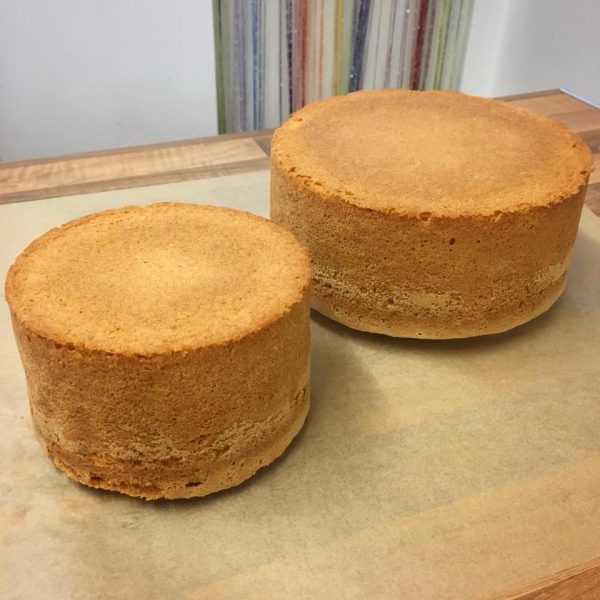
The cakes themselves are a 7″ round and 5″ round vanilla madeira (you can find the recipe I use here as well as a link to a converter if you wanted to bake it in other sizes). They are split twice and filled with vanilla buttercream, the recipe I use can also be found here. I baked them and then left them to cool upside down on greaseproof paper as I always do with celebration cakes. I then wrapped them well in cling film and left them overnight to firm up, ready to split, fill and ice the following day.
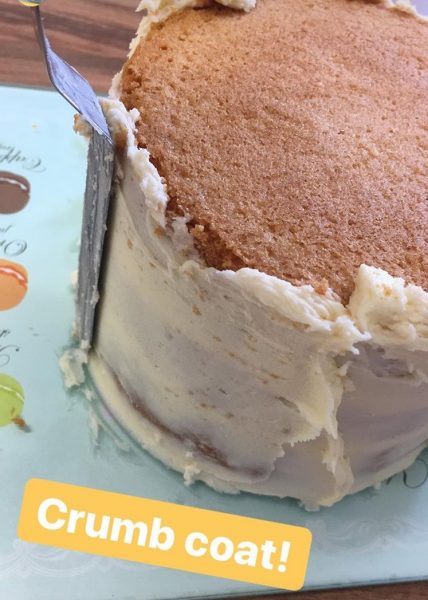
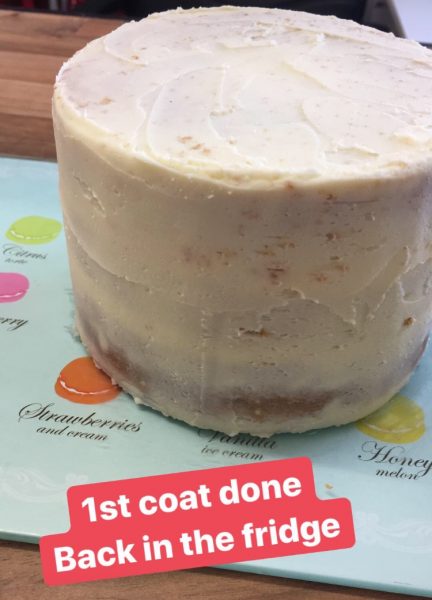
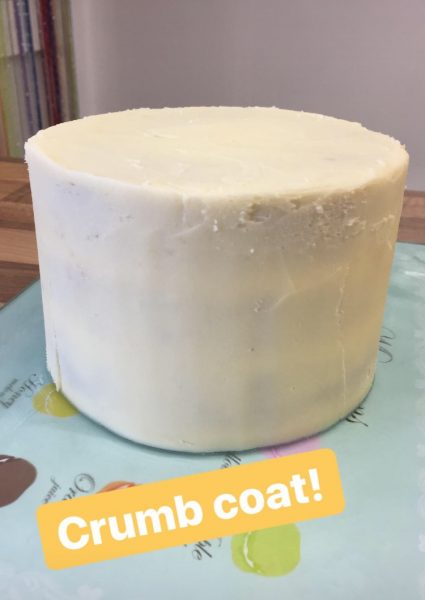
I crumb coated them with more vanilla buttercream. I do two layers of buttercream, using a scraper and my palette knife to smooth it down to the cake which creates a lovely base to decorate. The following pictures are taking from my Instagram stories which I highly recommend to watch as I often post how to videos and step by step tutorials whenever I’m in the kitchen.
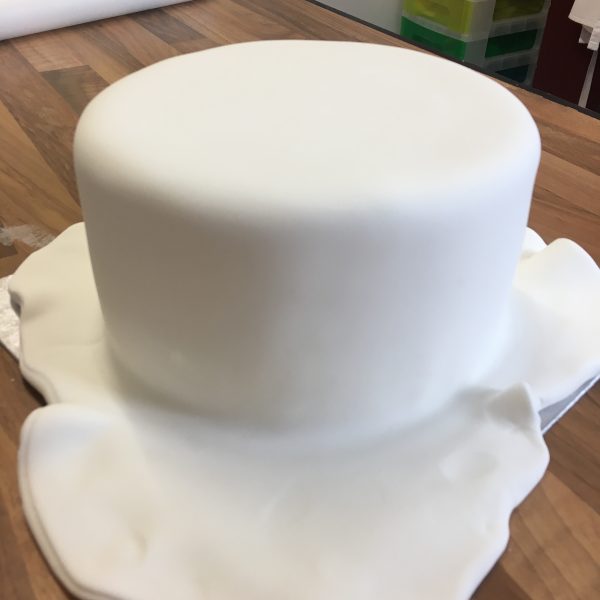
After crumb coating it, it was time to cover in a layer of sugarpaste. If you follow my social media you may have seen I was asking for opinions on a new type of Renshaw sugarpaste called ‘Extra’. I normally use Renshaw as my preferred brand of sugarpaste when decorating my cakes. I always find I get a good finish with it and it doesn’t tend to crease or tear. When I recently did my book signing and Q&A at Iced Jems, I picked up a pack of it with this very cake in mind. I was excited to try it as on the box it said it was ‘extra firm and extra elastic’.
I must say I was very impressed with the product. It kneaded well, rolled well and most importantly, covered my cakes well. It felt strong and secure and it didn’t feel like it was creasing in any way. Sometimes when icing a cake, it’s the top edge that can tear under the weight of the sugarpaste but there were no marks and it was really easy to smooth too. It’s definitely one I’ll be using again especially as I’ve got a lot of cakes to make this year; my 30th birthday party, my hen party, our wedding cake and my annual Halloween cake!
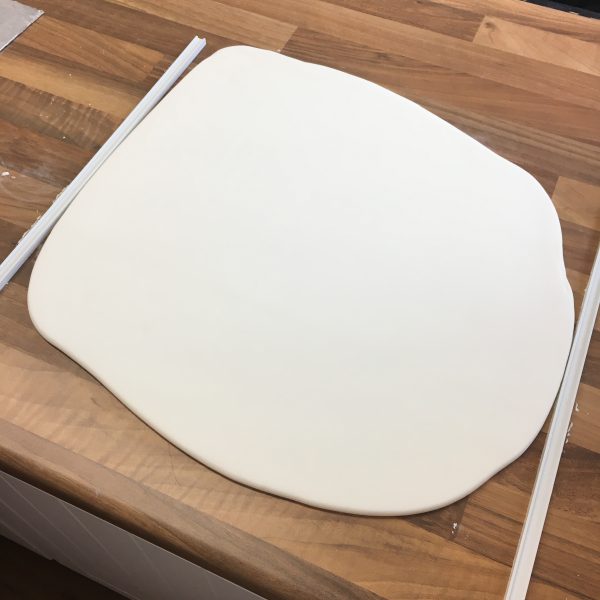
Next step was to smooth the cake. Last year I completely converted from my usual plastic smoothers to the Super Sharp Edge Smoothers from Iced Jems. I have a full article and review on them here. They REALLY make a difference to your finished cake and I’m still amazes at what two little bits of acetate can do! Below is a picture of the sugarpaste rolled out, then placed onto the cake before smoothing and then after smoothing. I mean LOOK at the difference!!

I then left my cake to set and the icing to firm up. Ideally I would do this overnight but I as on a time limit with this cake and so I left it as long as I could (a few hours) and then started to stack it. Normally however, I would always leave an iced cake overnight before decorating, moving or stacking it. I like to allow the icing to firm up completely so I can move the cake around without any accidental damage to the icing. To stack the cake safely I firstly stuck down the bottom tier onto an already iced 10″ cake drum (always cover your cake boards!!). Then I placed five wooden dowels cut to size in a pattern into the middle of the bottom tier then I carefully stuck the top tier on with a little buttercream.
Once my cakes were stacked, I stuck a 25mm baby pink ribbon around each of the tiers with a little double sided sticky tape on the back of one end of the ribbon. I also stuck 15mm baby pink ribbon around the iced cake board too. I then added bows to the middle. I’ve got a little photo tutorial on how to make fabric bows for cakes here.
Finally to decorate I stuck on Love Hearts sweets around the cake just above the bow. I did two layers and for a 7″ round and 5″ round cake I used 5 full sized packs of Love Hearts with a few leftover for me to enjoy. I stuck them on using a little melted white chocolate in a piping bag. You can also use Royal Icing but I didn’t have any in or edible glue.
Lastly, to top the cake I’ve used a silver glittery ‘Love’ cake topper from Iced Jems. I felt it was a really nice finishing touch!
And there you have it! I loved making this one! If you’ve got any other questions on this cake, pop them below and I’ll do my best to answer them.
What have you been baking lately? Come let me know on Facebook, Twitter or Instagram.
Have a sweet Valentines Day and happy baking!
Britt xo
If you want to turn your baking hobby into a career, check out my book Cakes, Bakes & Business for everything you need to know about running a successful baking business, including pricing, marketing, insurance and much more!