No-Spread Sugar Cookies
Shopping List
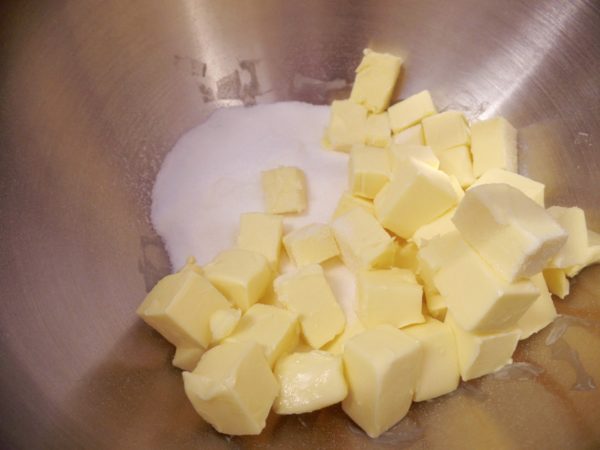
- 125g cold unsalted butter
- 125g caster sugar
- 250g plain flour
- 1 egg
- 1 teaspoon vanilla
We’ve all been there.
We lovingly and hopefully follow a biscuit recipe, we cut out fun shapes, bake them for the instructed time, take them out of the oven and…
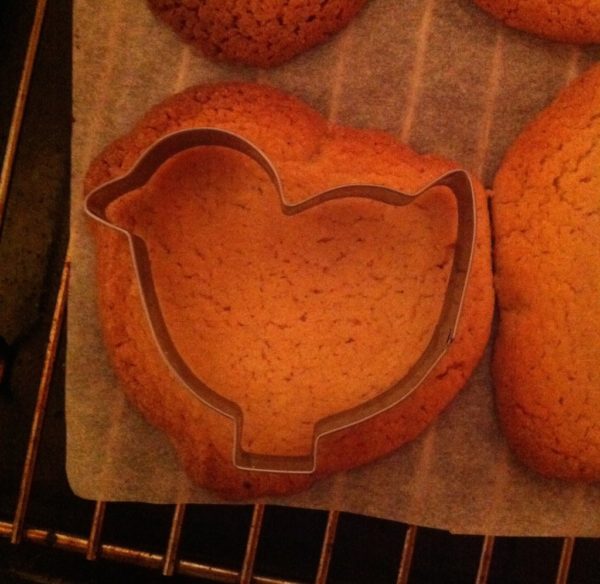
Suddenly they don’t look so cute anymore…
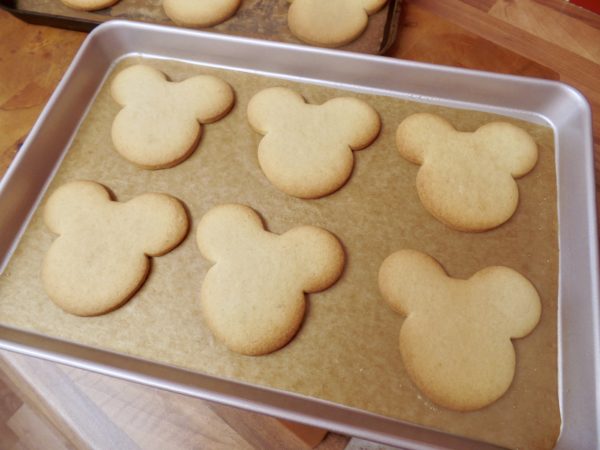
By the way, this picture isn’t one I’ve got off Google. It’s one of mine. Years back when every single shaped cookie I tried to make spread. But that’s before I switched things up a bit, tried a different recipe and method and nowadays, I’m pleased to say every cookie that goes into my oven, comes out looking the exact same!
So, how do you achieve this?
Well, firstly you need proper butter. I’m not talking about Stork or marg, they have their place but it isn’t here. I don’t use any fancy butter, just supermarket own unsalted does me just fine. But it has to be actual butter. The reason for this, is that when the dough is chilling (more on this later), it firms up because of the butter. If you use a spread, it will stay soft and not give the crisp result you may be after.
Secondly, chilling time. I chill my dough once it’s made AND once it’s been cut out. Perhaps a little excessive but I trust it and it works. Let’s get started.
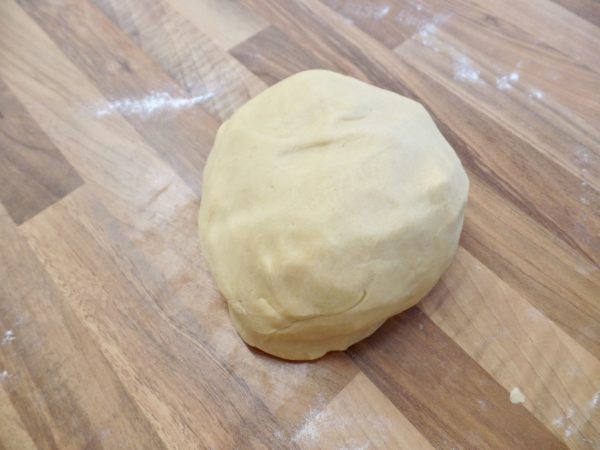
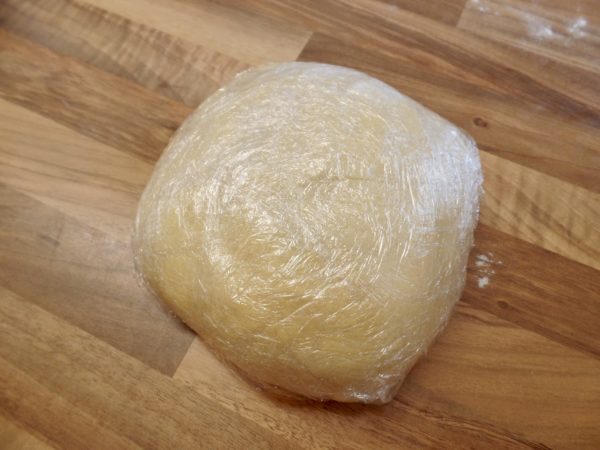
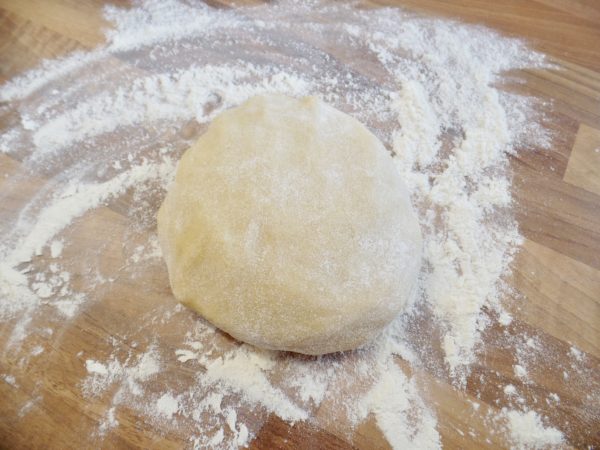
Wrap this ball well in cling film and chill in the fridge for a minimum of 30 minutes. The dough at this stage will last 4-5 days in the fridge and freeze for up to 3 months, in case you need to make it in advance.
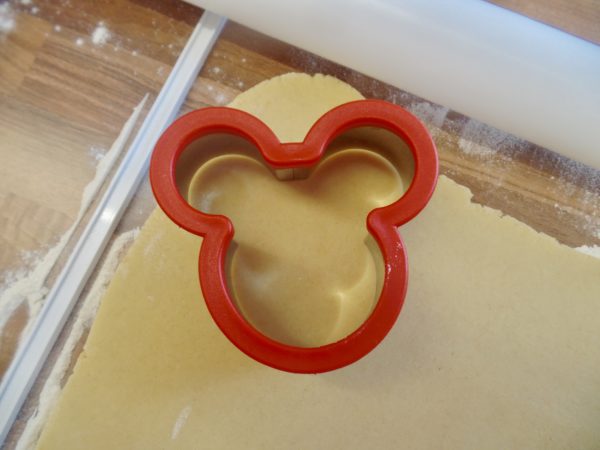
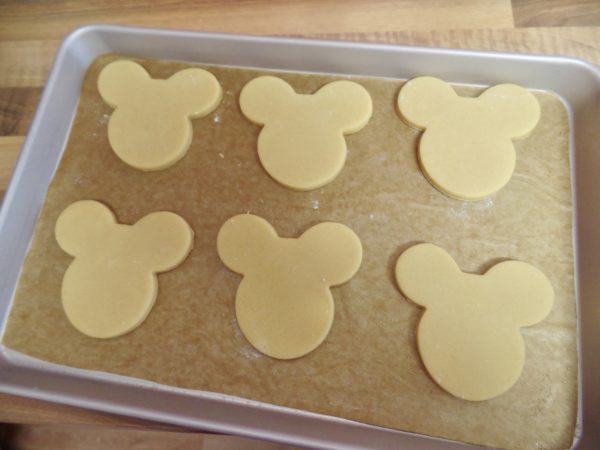
Place your shapes on a baking tray lined with greaseproof paper. NOTE – the shapes should easily cut and come out of the cutter without losing shape or going soft. If they aren’t doing this, your dough needs to chill for longer, wrap it back up and put it in the fridge until it is much firmer.
Put this tray of cut out shapes back in the fridge to chill for a minimum of 30 minutes. Then bake at 180C (fan assisted) for 12-15 minutes or until the edges start to brown.
Easy as that! No more cookie spreading mishaps!
If you want to see what these cookies went on to look like, check out my blog post for Mickey & Minnie Cookies here.
Give it a go and let me know how you get on, either on Facebook or Twitter or Instagram.
Happy baking!
Britt xo
For more information on how to decorate your cake and go from home bake to showstopper, check out my list of latest online cake decorating courses here.
If you want to turn your baking hobby into a career, check out my book Cakes, Bakes & Business for everything you need to know about running a successful baking business, including pricing, marketing, insurance and much more!

