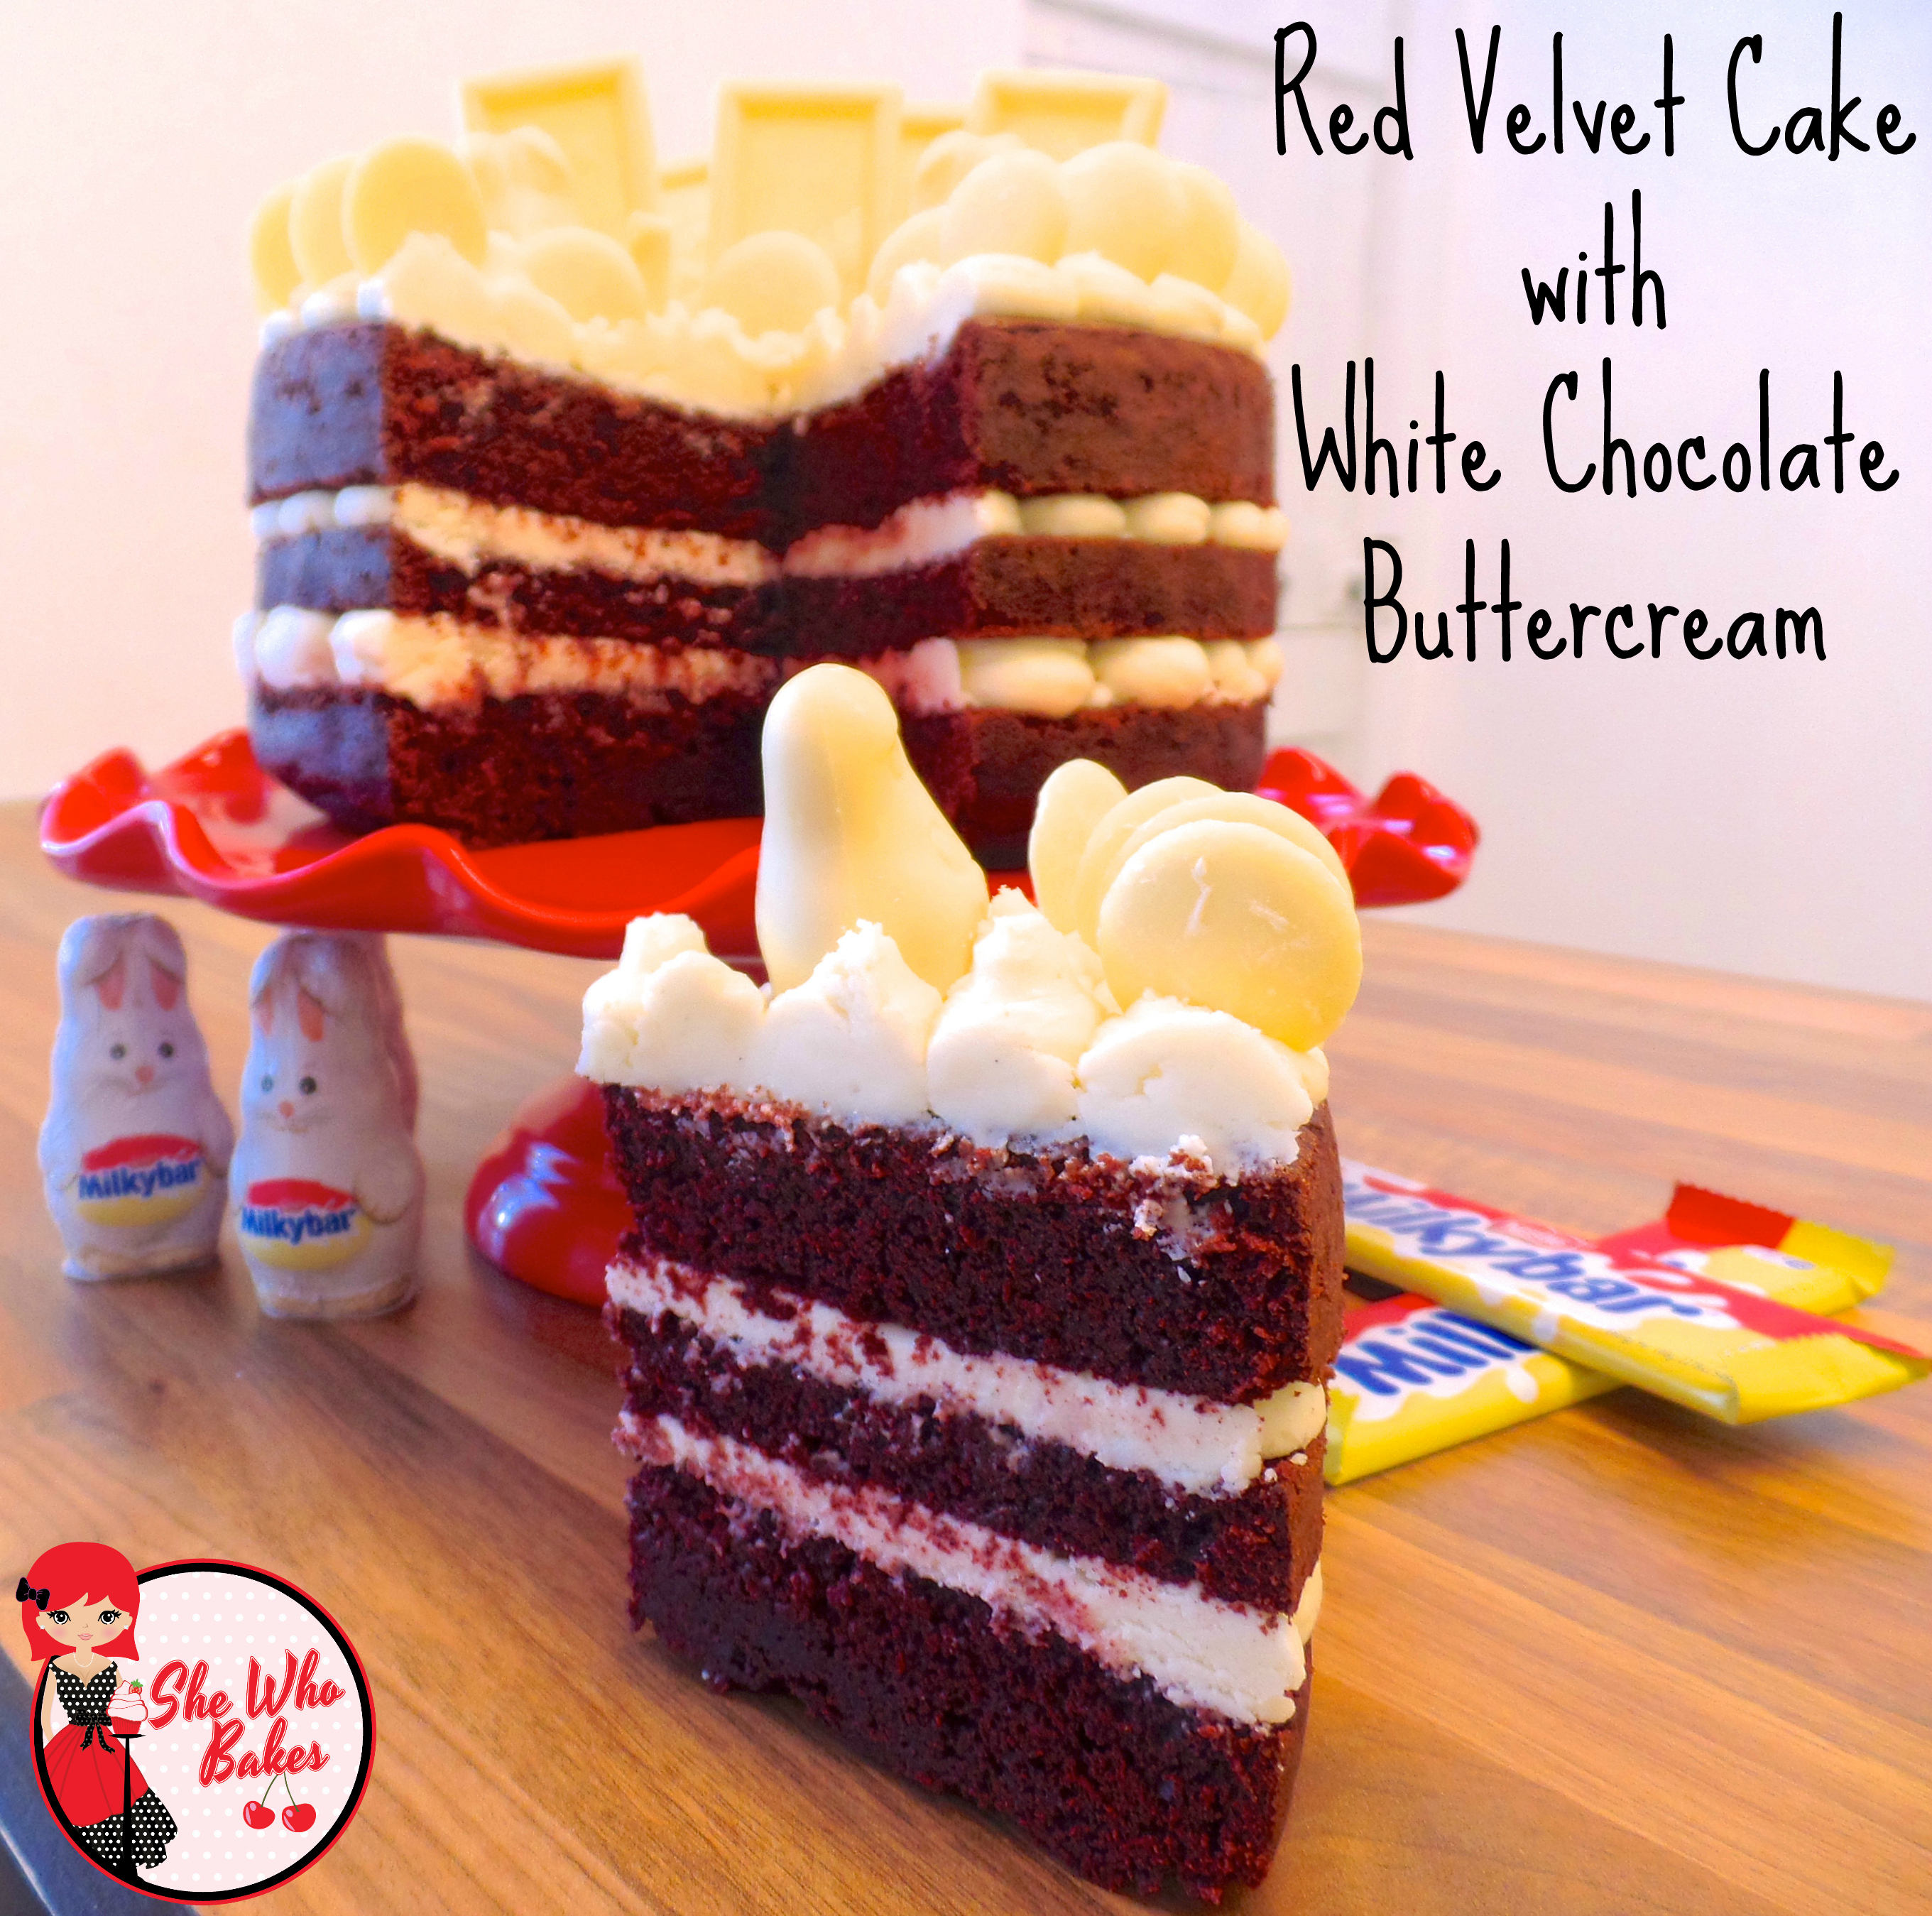
Red Velvet Cake with White Chocolate Buttercream
Shopping List
For the cake:
- 185g unsalted butter
- 285g caster sugar
- 285g self raising flour
- 70g cocoa powder
- 4 eggs
- 284ml buttermilk
- 1 tsp salt
- 1 ½ tsp cider vinegar
- 1 tsp bicarbonate of soda
- red food colouring
For the buttercream:
- 125g unsalted butter
- 500g icing sugar
- 300g melted white chocolate
This rich, indulgent and decadent red velvet cake with white chocolate buttercream is perfect for any occasion!
Milkybar white chocolate is my favourite. When I was growing up, it was always the Easter egg I received each year. When I was shopping, I spotted some Milkybar bunnies on the shelf and I had to create something with them, they were too cute to leave!
I posted a little teaser on my Facebook page earlier this week of my army of bunnies and my favourite comment came from Louise Troubridge who said: “Oh no….. don’t melt the bunnies!!!” Don’t worry Louise, I didn’t melt them… just chopped them up a bit!
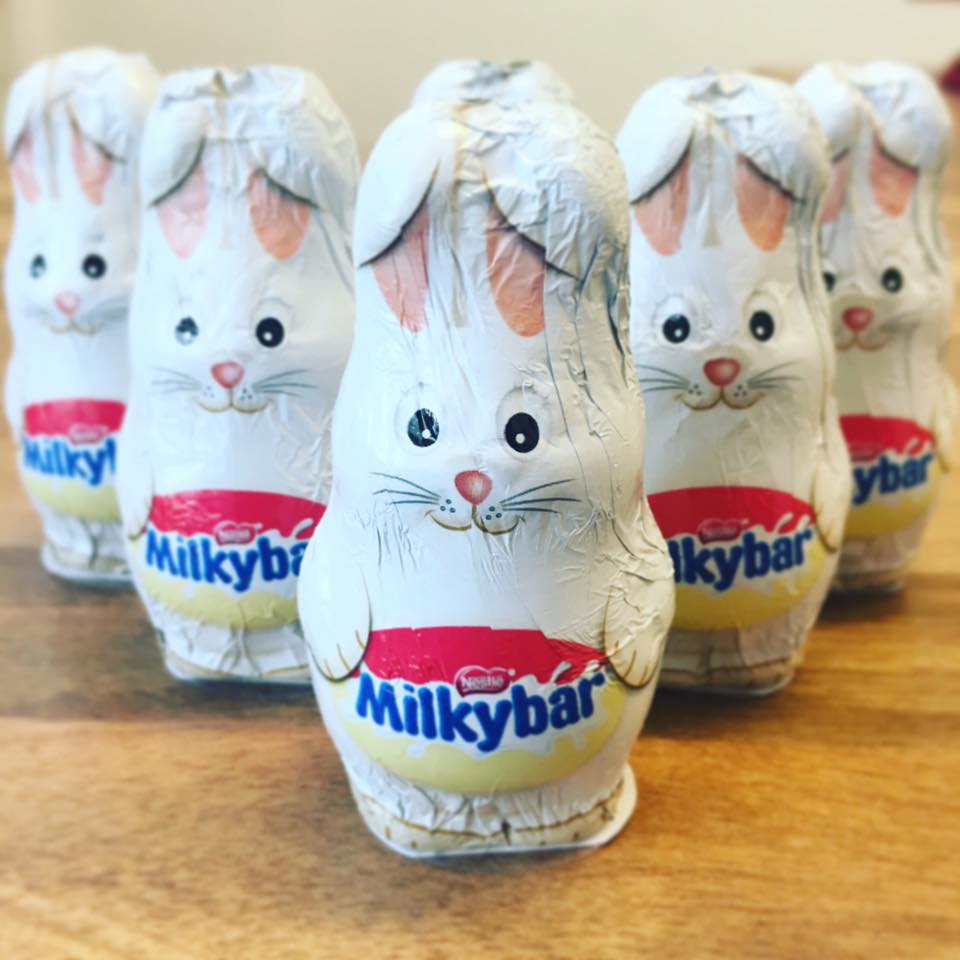
As well as using Milkybar, I’ve also been looking for an excuse to make a luscious red velvet cake. It matches my kitchen perfectly!
I found this cute story of the red velvet cake on 1-800bakery.
The Mystery of the Red Velvet Cake Origin
The true origin of the Red Velvet Cake is a mystery. The earliest story or documentation involving this decadent chocolate cake was believed to be around 1959, when a woman dining at the elegant Waldorf-Astoria hotel in New York City was served the dessert. She was so pleased with this early Red Velvet Cake that she asked for the recipe. The kitchen obliged to her request, but she found out later she was charged $100 (or $200, depending on the version of the story) for the recipe itself.
To get her revenge on the NYC Hotel, she shared the kitchen’s Red Velvet Cake recipe in the form of chain letters, which she sent to hundreds of individuals, therefore exposing the “secret” and exploding the popularity of and demand for the Red Velvet Cake as a birthday cake and elegant dessert.
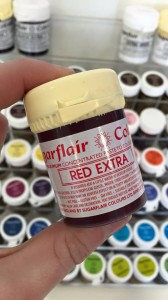
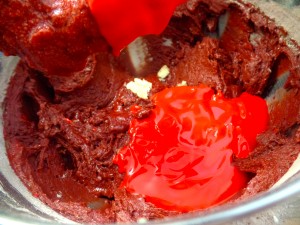
For this deep red velvet cake, I’m using Sugarflair Concentrated Paste in Red Extra. This is a fantastic colour to use as you don’t need to use a lot. It’s super concentrated and much better than the liquid counterparts you can pick up in supermarkets. You can buy this from Iced Jems.
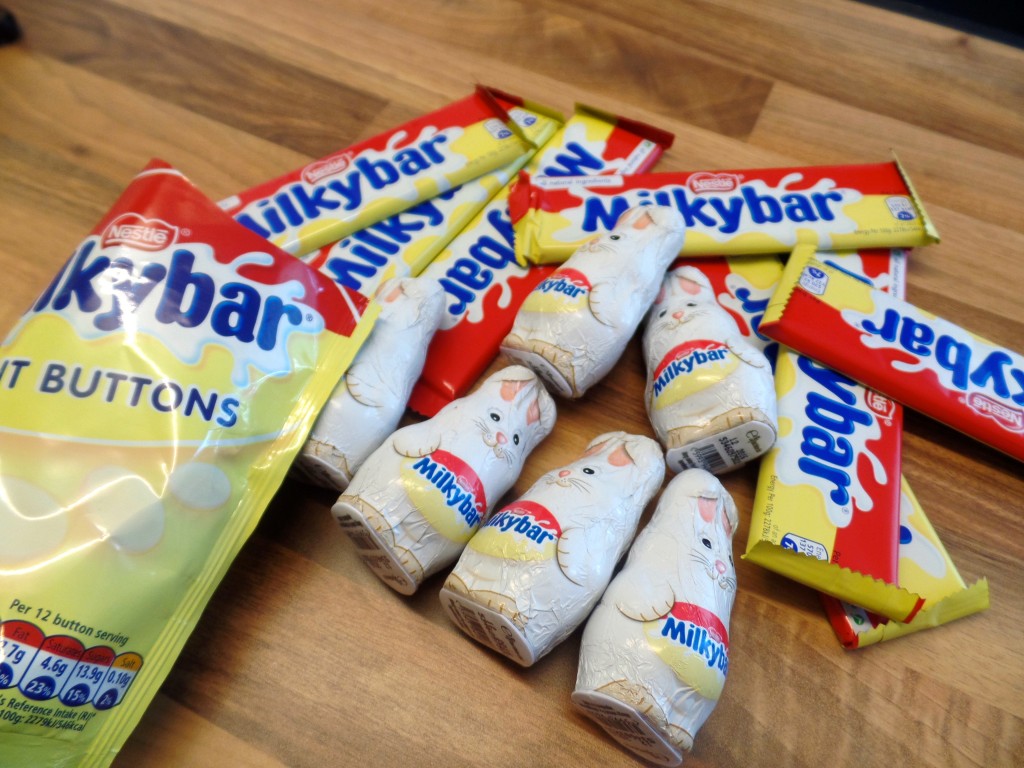
This recipe is for an 8″ round cake. Once baked and decorated, it will keep in an airtight tin for 4-5 days. Don’t keep it in the fridge or it will go too hard.
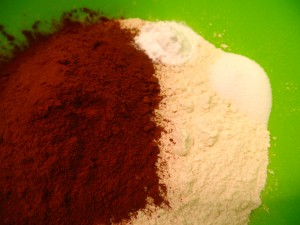
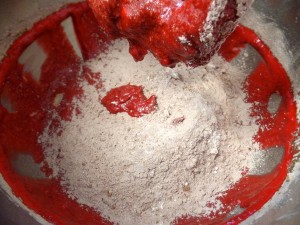
In a bowl, mix together your self raising flour, cocoa powder, salt and bicarbonate of soda. Leave to one side.
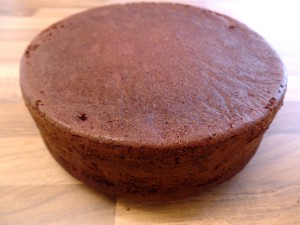
Pour this into a lined 8″ tin and bake at 140C for 1 hour and 30 minutes or until a skewer comes out clean.
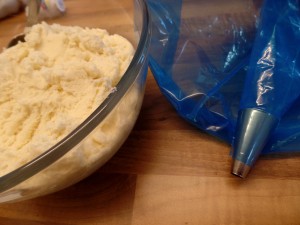
Make the buttercream by mixing together the butter and icing sugar, then add in the white chocolate.
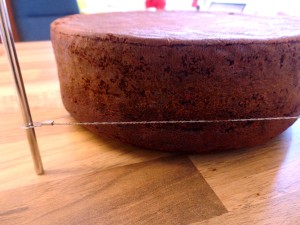
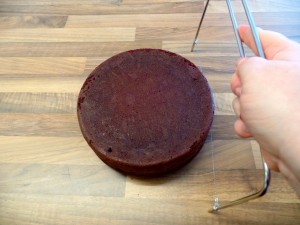
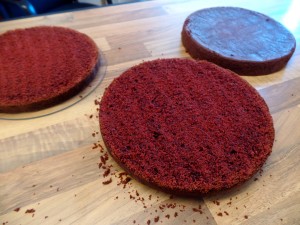
Using a cake leveller, we’re going to split our cake into three sections. Measure a third of the way up your cake.
Behead some Milkybar bunnies! (Not a sinister as it sounds. I wanted just the little heads sticking out of the cake, like they were burrowing. Plus, you can eat the bunny bums while you’re baking! Ha!)
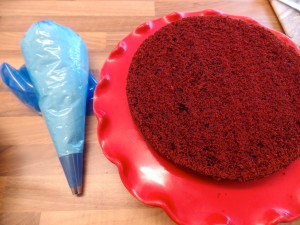
Lift up the top two ‘layers’ of your cake. I find it’s always easier to start decorating from the bottom up.
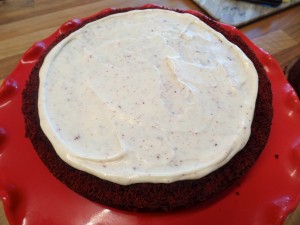
Spread a little white chocolate buttercream over this layer, but don’t go all the way to the edge. If the buttercream is too hard, mix it with a little water to achieve a spreadable consistency.
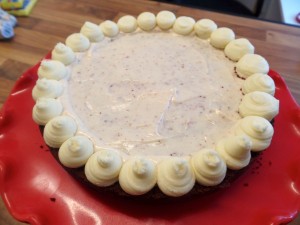
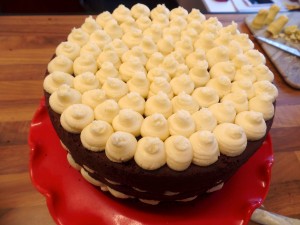
Then, pipe rounds of buttercream by pushing firmly out of the bag and pulling the nozzle upwards slightly. Always release pressure then pull the bag away to get a clean ‘cut’.
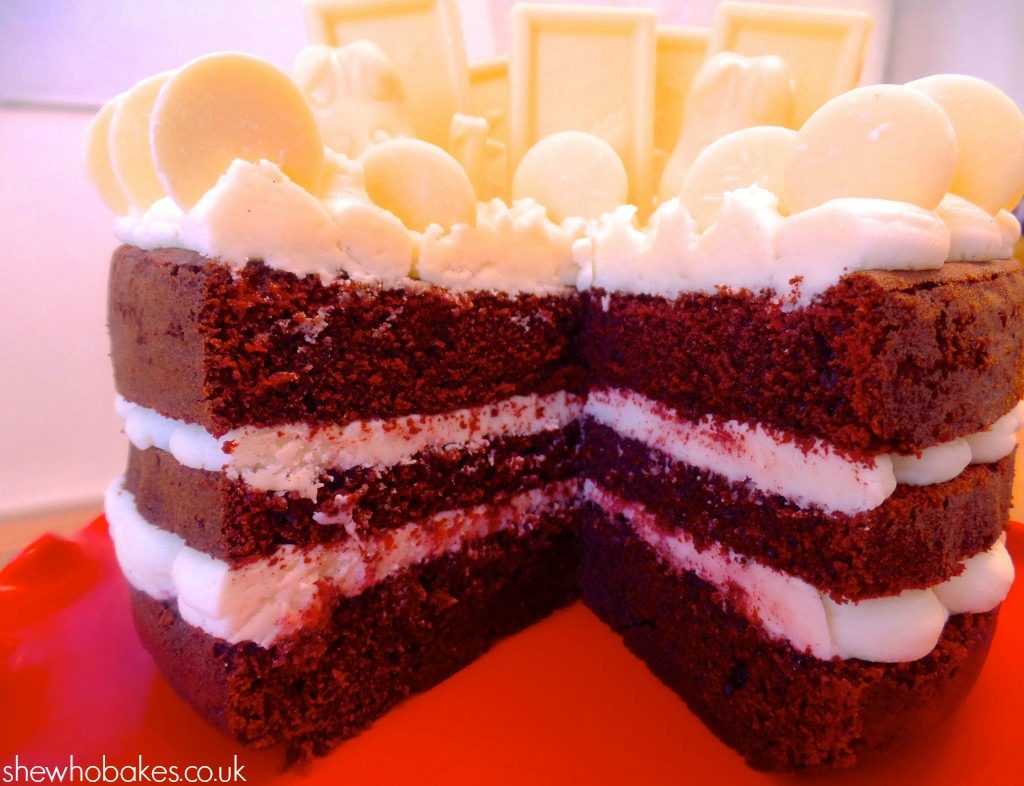
Simply gorgeous!
Enjoy! Let me know how you get on, either on Facebook, Twitter or Instagram!
Also, check out the new videos on my YouTube channel!
Happy baking!
Britt xo
If you want to turn your baking hobby into a career, check out my book Cakes, Bakes & Business for everything you need to know about running a successful baking business, including pricing, marketing, insurance and much more!

