The Depressed Cake Shop

05/13

Hey muffins.

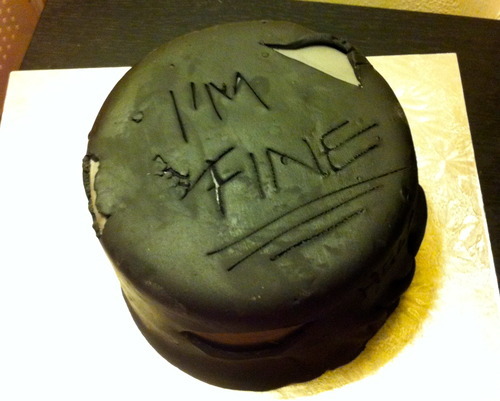
I can now reveal something I will be involved in later this year that I am very excited about. Miss Cakehead is a fabulous lady who is a freelance creative director. This year, Miss Cakehead’s charity project is The Depressed Cake Shop; ‘A unique pop up cake shop where every single cake on sale will be grey, colour only revealed on the inside.’

Please have a look at her fabulous blog and press release here.

Basically one in four of us will experience a mental health problem at some point in our lives. And from someone who has first hand experience, this is something I am very proud to be a part of.

I will be updating you more nearer the time as the pop up shop will be in London from the 2nd-4th August.

Britt xo

Giant Cupcake Shell Tutorial

05/13

I really like giant cupcakes. I love cupcakes in general so making it 24 times bigger is a plus in my opinion. But I get a lot of people asking the best way to finish off the base. Now there are many different options. You can buttercream it, similarly to the top. You can ice it with sugarpaste or you can leave it on it’s own in all it’s glory. But my favourite option has to be making a candy or chocolate shell to sit the base into. I think it’s very clean and neat, gives it a fab finish and it super easy to do!
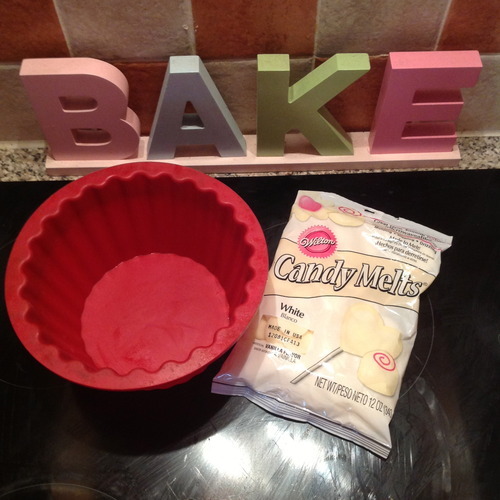
You will need the base of your giant cupcake baking kit. I use the silicone one as it is much easier to get the base out than if you use a metal tin. And you will need some candy melts or Belgian chocolate. I have found that if you use standard chocolate bars, it may crack when you are trying to get it out and it also sometimes melt when you are handling it. I also advise painting the inside of your mould or tin with a little cake release first before pouring in the chocolate to make it easier to come out.
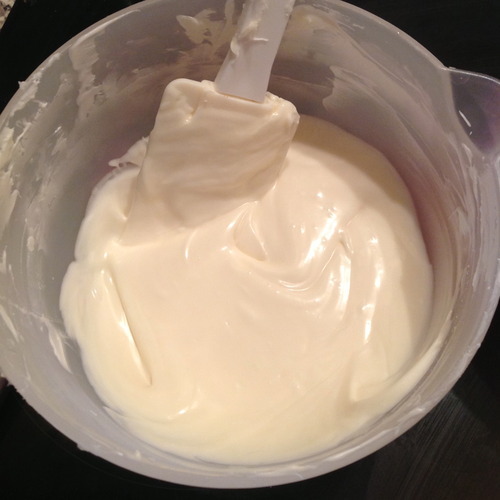
Melt your candy melts/belgian chocolate.
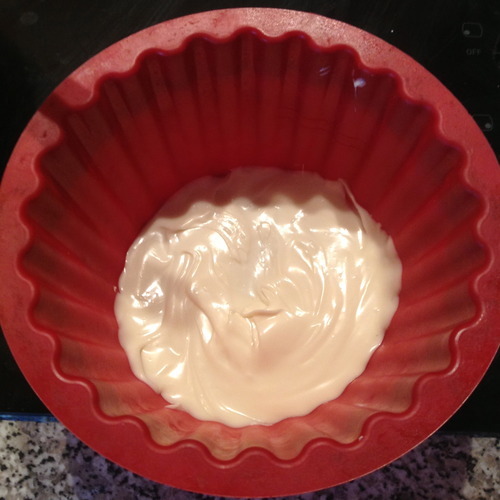
Pour half of this into your giant cupcake base.
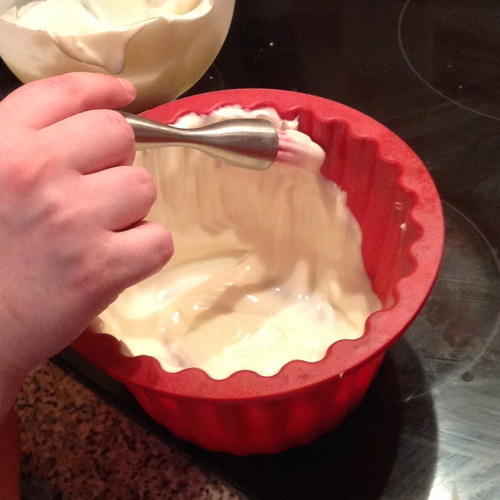
With a silicon brush, paint the candy/belgian chocolate up the sides of the case, being quite quick but firm.
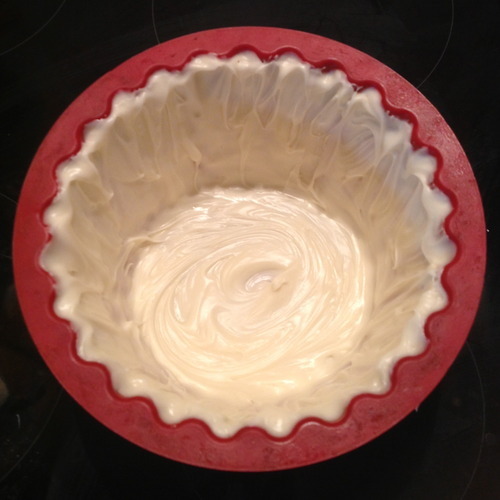
It should look like this! Then pop it in the fridge to set for twenty minutes or so then take it out and give it a second coat repeating the first few steps. You may need to remelt your candy/chocolate. Then put back in the fridge for a further twenty minutes.
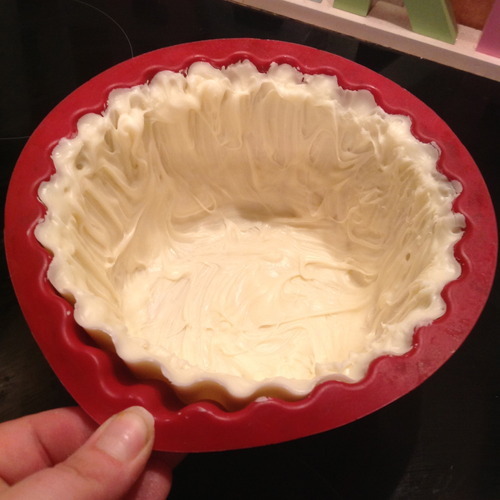
Gently peel the top of the case away from the shell to check it has set. Then go around the shell only releasing the top like this.
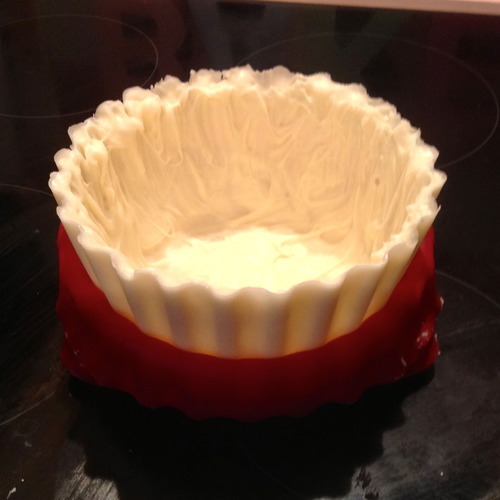
Then pull the sides of the base down away from the shell like so.
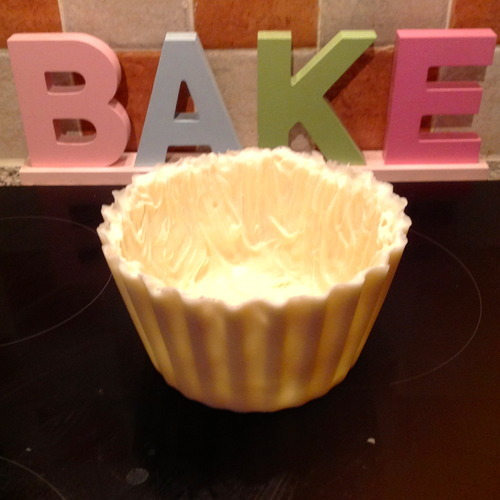
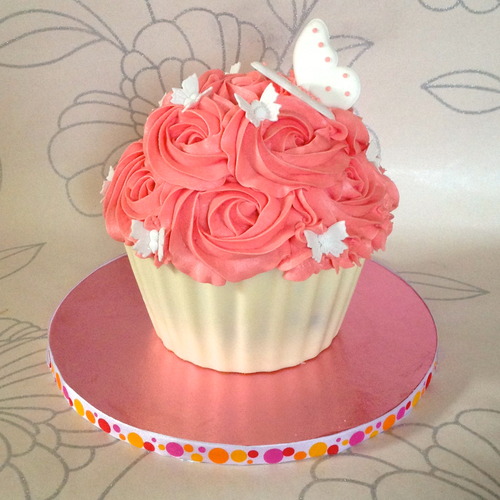
And there you should have your giant cupcake base shell!

You will need to trim the cake that was baked in this shell as we have now make the base a little thicker. So trim, split and fill then place the cake inside the shell gently. Once it’s in, decorate as desired!

You can also repeat the process for the top to create an edible shell to fill with delicious treats like I’ve done here for Halloween –
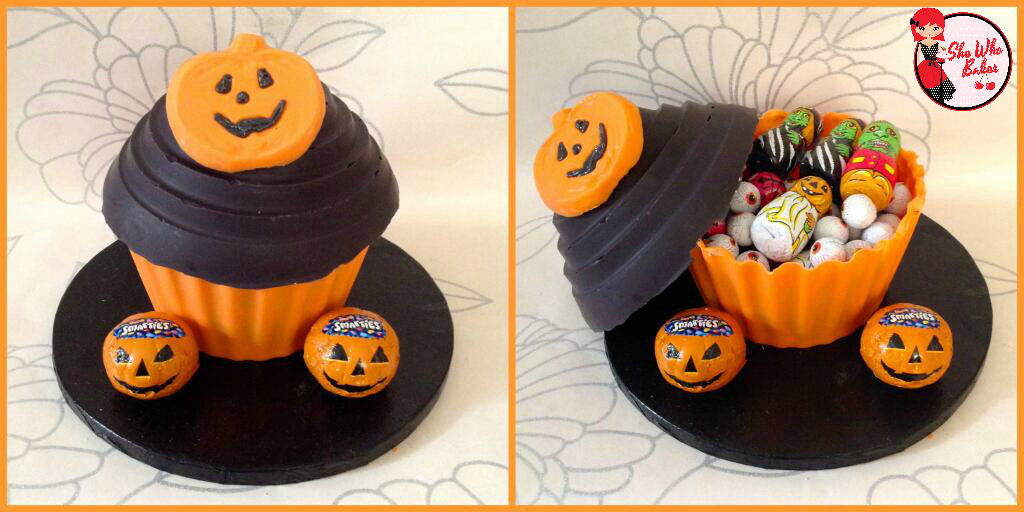
halloween-giant-cupcake

Check out my other Halloween inspired recipes and tutorials here.

If you want to turn your baking hobby into a career, check out my book Cakes, Bakes & Business for everything you need to know about running a successful baking business, including pricing, marketing, insurance and much more!

Give it a try and let me know how you get on either on Facebook or Twitter or Instagram.

Happy baking!

Britt xo
Sattina Sugrpaste

05/13

Hello muffins. Hope you are all ok!

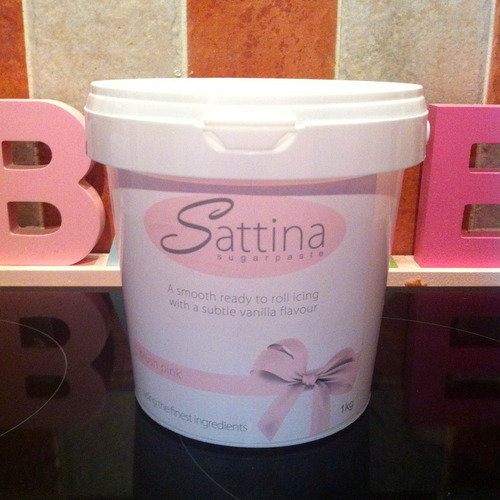
This blog post is about Sattina sugarpaste. I had never used this before but when the fab people at Cake Craft World recommended it, I had to give it a go. AND it just so happened to be a friends birthday this week so what a perfect opportunity to use it to it’s full potential.

I’m using the Sattina sugarpaste in blush pink and in the tub, it looks a little something like this;

image

The packaging is fab. When I opened it, the small of vanilla was there, but subtle and not overpowering. I also tried a little bit and it’s gorgeous!!

image

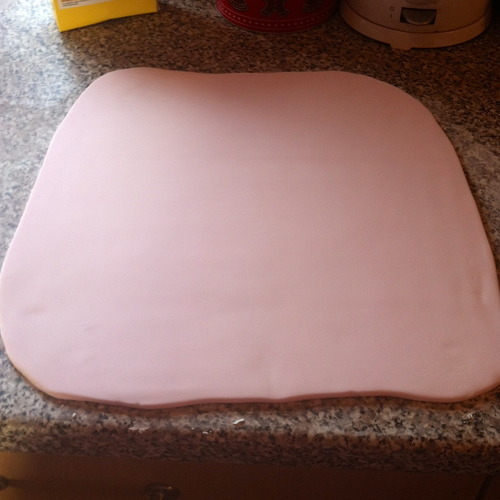
It was really easy to knead and roll out and was smooth and crack free!

Here’s a peek at what the cake looked like underneath;

image

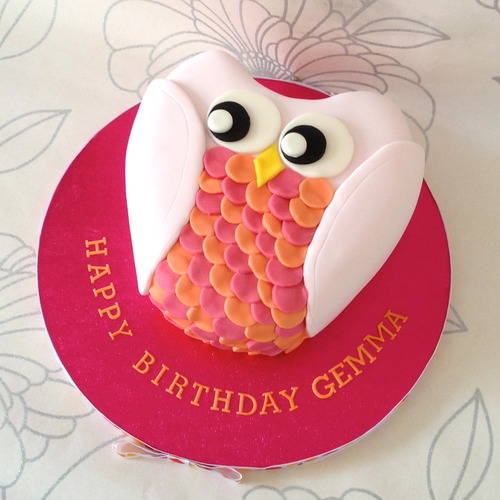
And the finished product;

image

If you want to give Sattina Sugarpaste a go, you can get it from Cake Craft World and it comes in lots of different colours!

Let me know how you get on either on Facebook or Twitter.

Happy baking!

Britt xo
Chocolate Moulds

05/13

I’ve never really played around with chocolate moulds that much but that all changed when I saw the fantastic Baked By Me website!

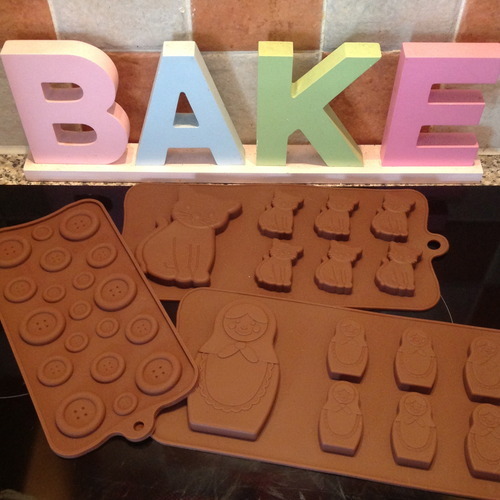
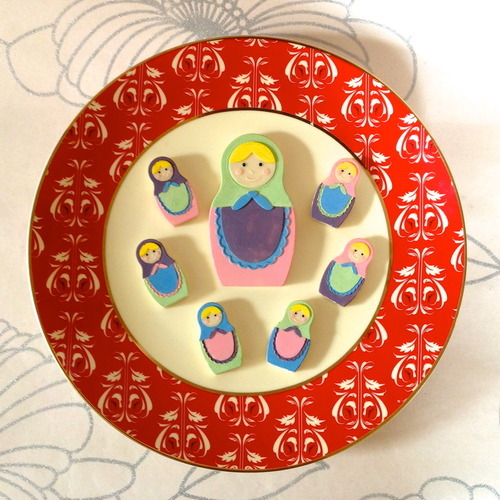
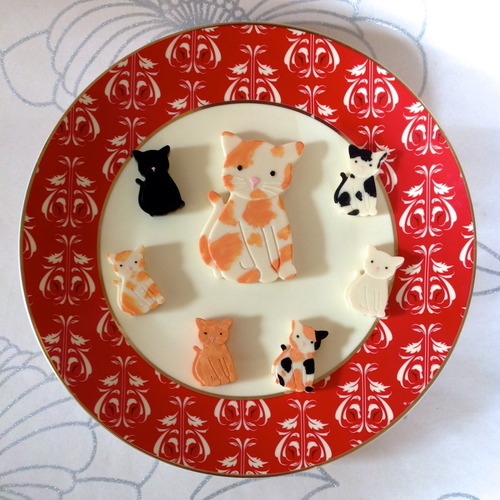
They have got some AMAZING moulds for chocolate. I fell in love with the Russian Dolls, Kittens and buttons. When they arrived I couldn’t wait to try them out. So I thought I’d show you the results!

Look how adorable these moulds are! I used white chocolate, poured it in and then let them set for about an hour. The chocolate just peeled straight off, they were super easy to use! Once they were out, they looked fab as they were, but it’s a Sunday and I had some spare time, so I decided to paint them with edible paints. Here’s what I ended up with;

I’m aware the buttons are missing! They got eaten before I could photograph them! Haha!

Anyway, if you’ve never had a go with the chocolate moulds, get yourself over to Baked By Me and check them out.

Let me know how you get on, either on Facebook or Twitter!

Happy baking,

Britt xo

Fab news

05/13

I have an AMAZING pieces of news to share with you all today!!

I have been chosen by Sainsbury’s to be one of their official food bloggers!!! I am SO excited!!!!

I am now listed on their media pages and they have given me this review;

‘She who Bakes, aka blogger Britt, certainly knows how to keep her kitchen sugary sweet. Challenge yourself to keep up with her step-by-step guide to creating ‘gooey nutty marshmallow chocolate fudge’, testing your taste buds as well as your talents. There are simpler ideas too; her meringue kisses are a simpler way to satisfy your sweet tooth.’

Check out their ‘Meet the Bloggers’ page and find me here.

image

Sign Up to my Newsletter

Subscribe here to my newsletter!

Designed by Clockwork Moggy