Christmas Chocolate Ombre Cake with Stork

12/16

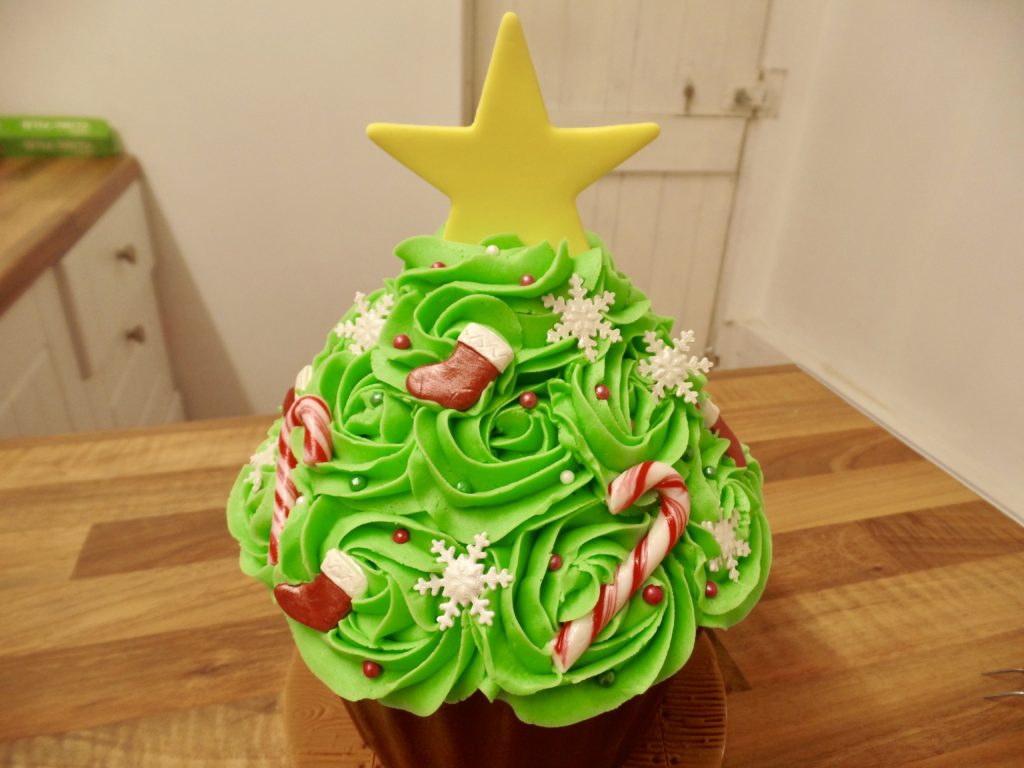
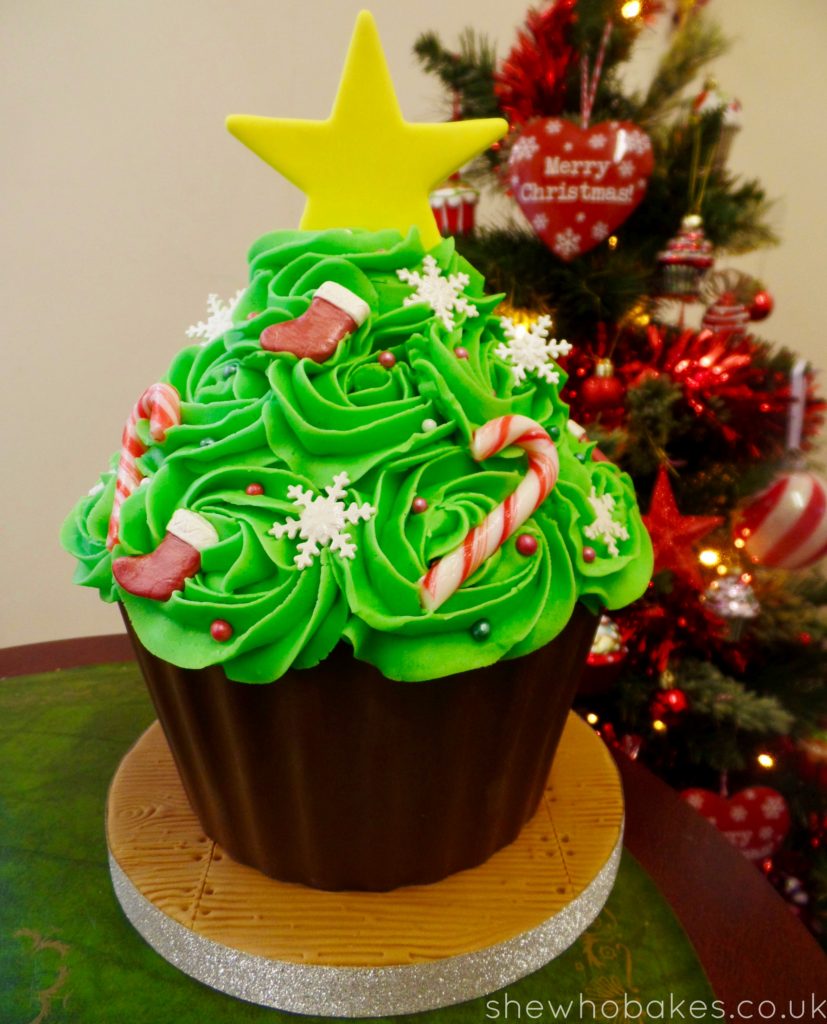
This week I’ve been part of something very exciting! Stork wants to help the novice and avid baker to get creative in the kitchen and wow their friends and family this Christmas through creating a show-stopping, crowd- pleasing cake! As part of this campaign, I’ve been invited to recreate their Christmas Chocolate Ombre cake created by Ruth Clemens and put my own festive spin on it!

For those who follow my posts and recipes, you’ll see I use Stork in a number of my bakes. It always makes for a light and fluffy sponge and is perfect for a classic Victoria sponge. I also highly recommend it in Maderia cakes and I use it in my Classic Birthday Cake recipe. Their Stork with Butter is perfect for soft sponges and smooth fillings alike so I couldn’t wait to get baking!

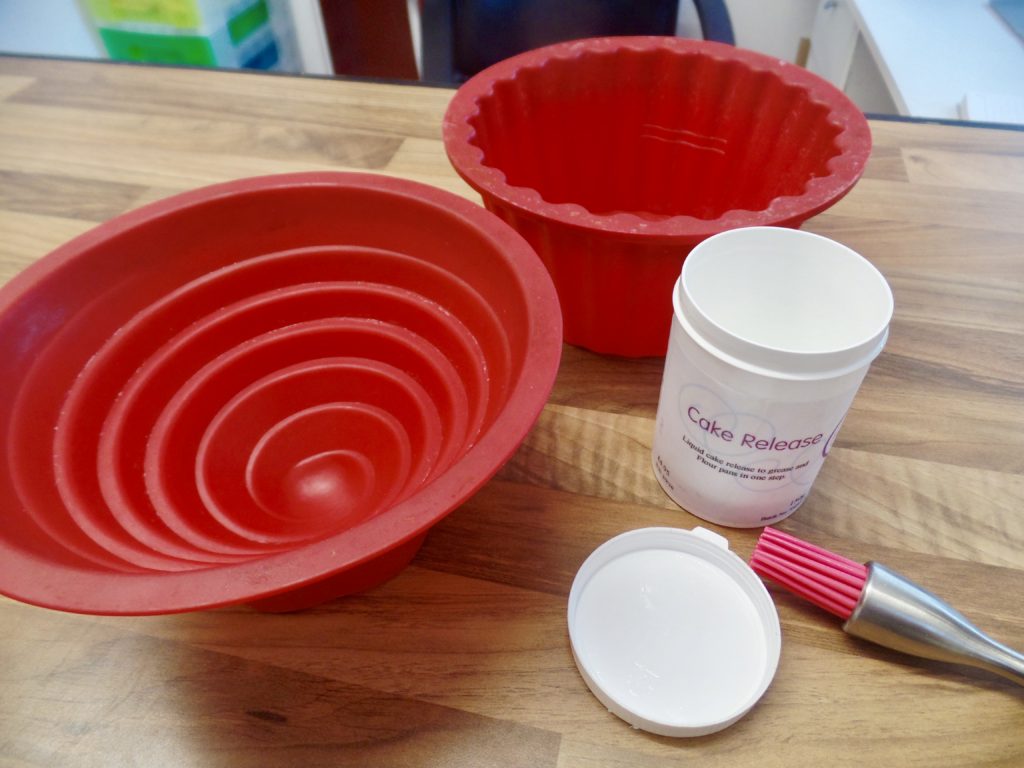
You may or may not know that I’ve currently got one working hand after breaking a bone in my left hand last month but that hasn’t stopped me from making some tasty treats in my lovely red kitchen.

One thing that is pretty cool about this product, is that it can be used straight from the fridge! How many times have I forgotten to get the butter out to bring it to room temperature and had to wait ages before I could get my apron on and get baking! It’s lovely and smooth and has a nice buttery taste.

Baking The Cake

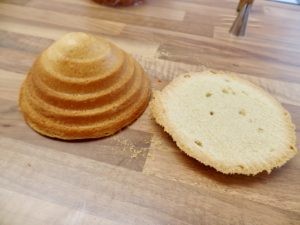
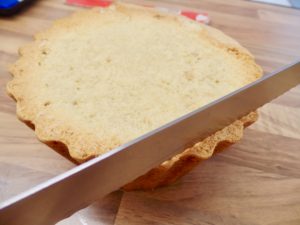
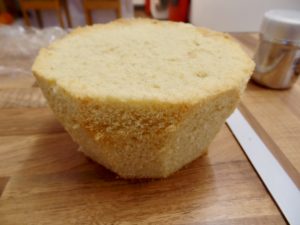
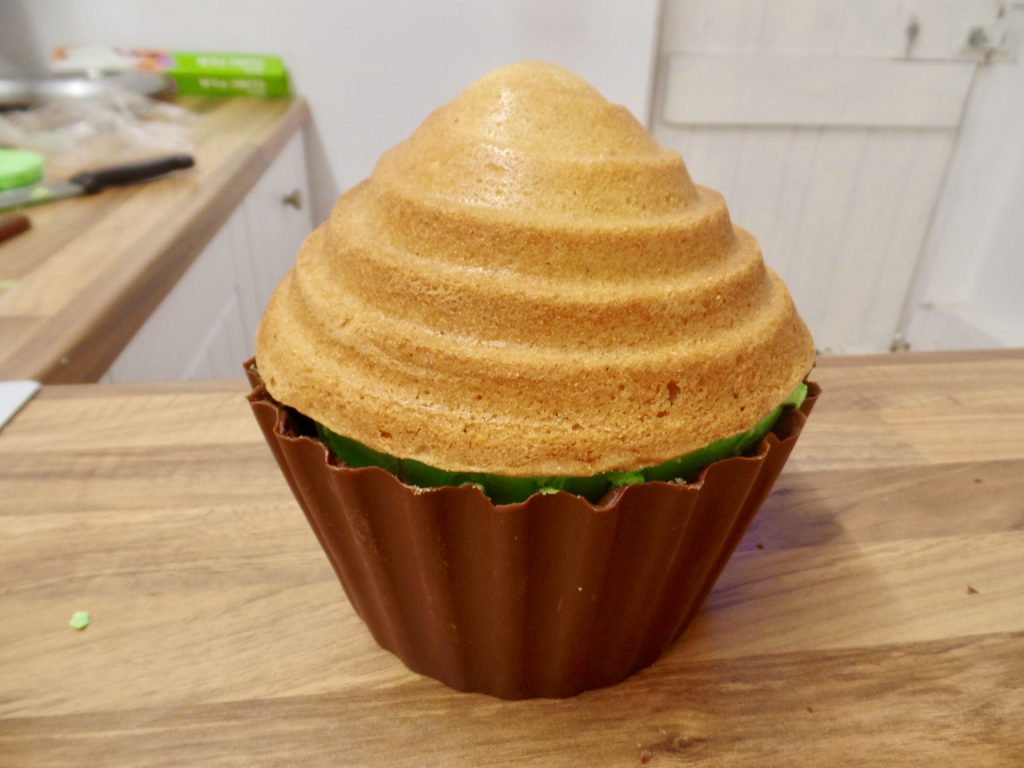
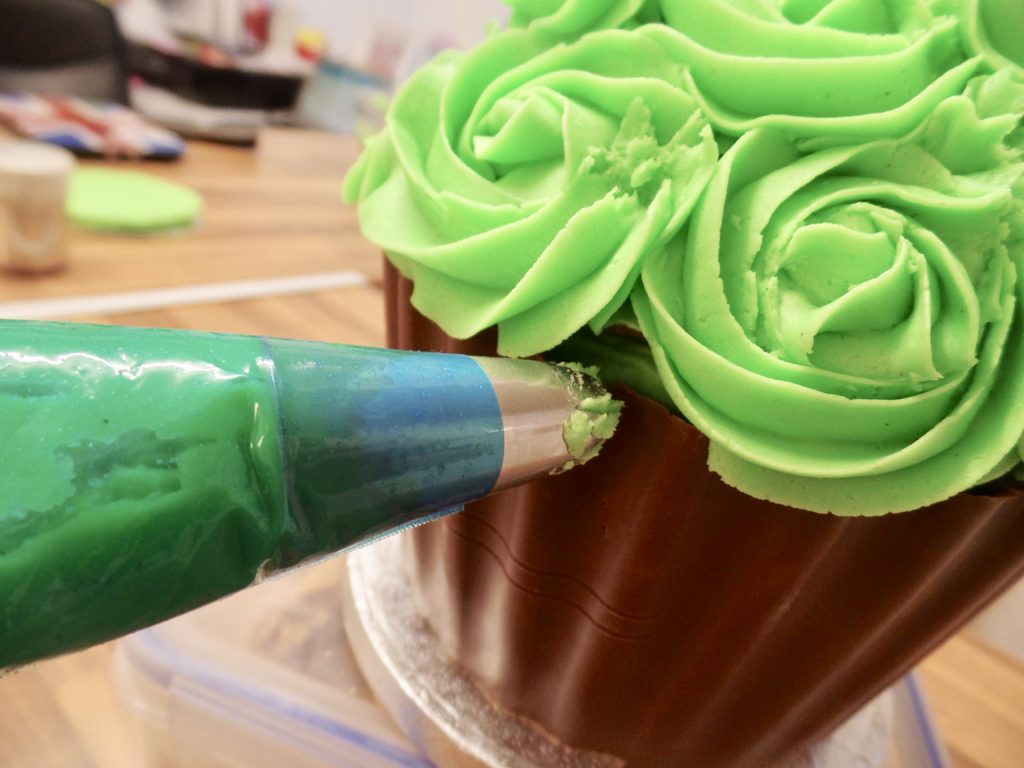
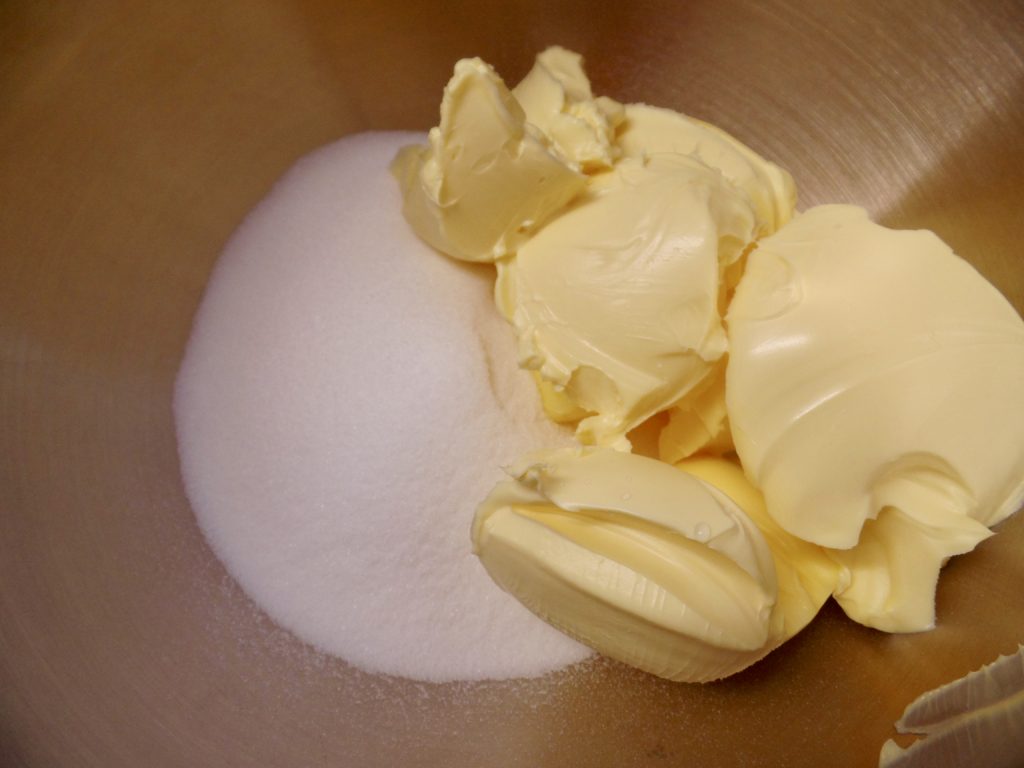
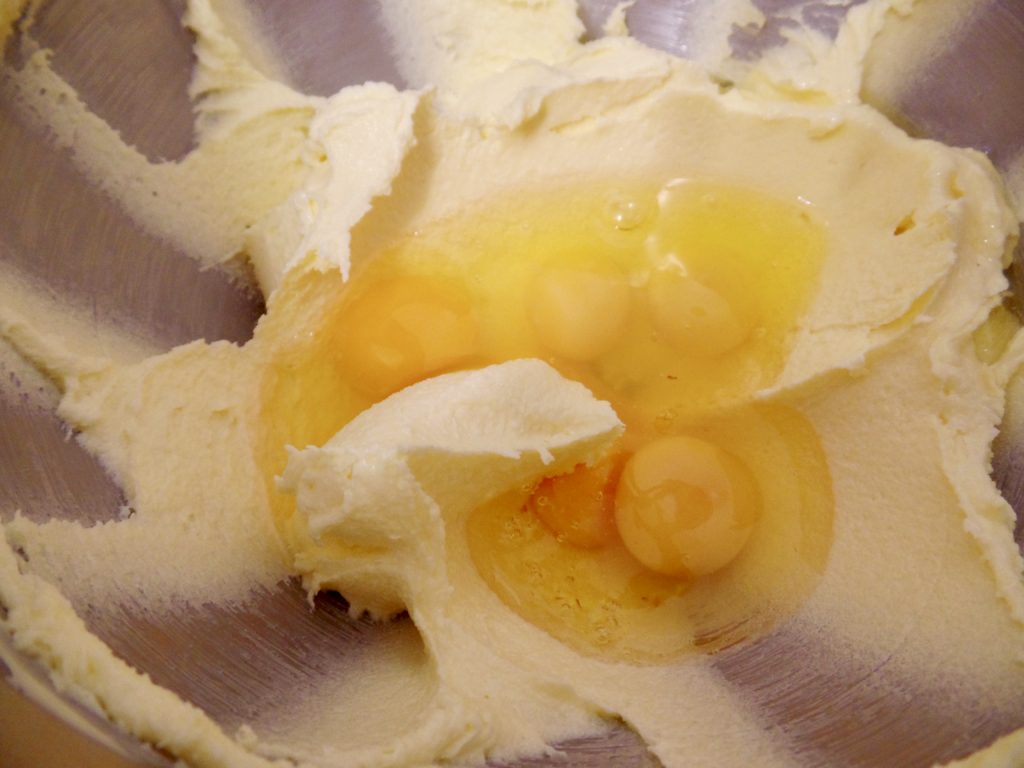
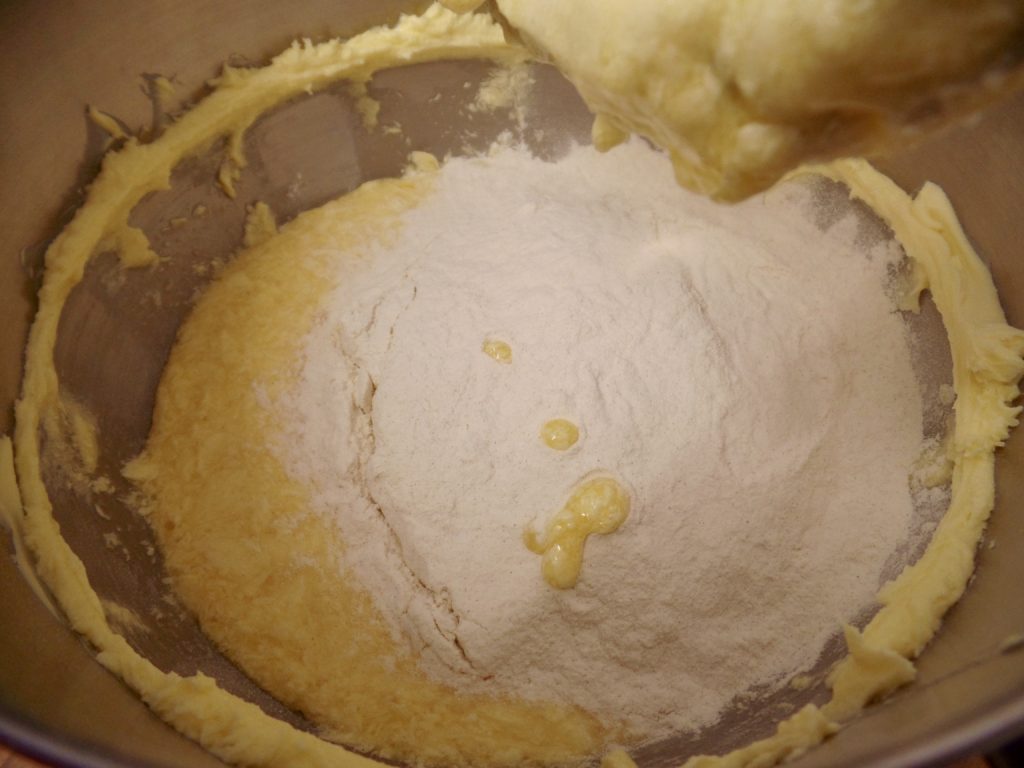
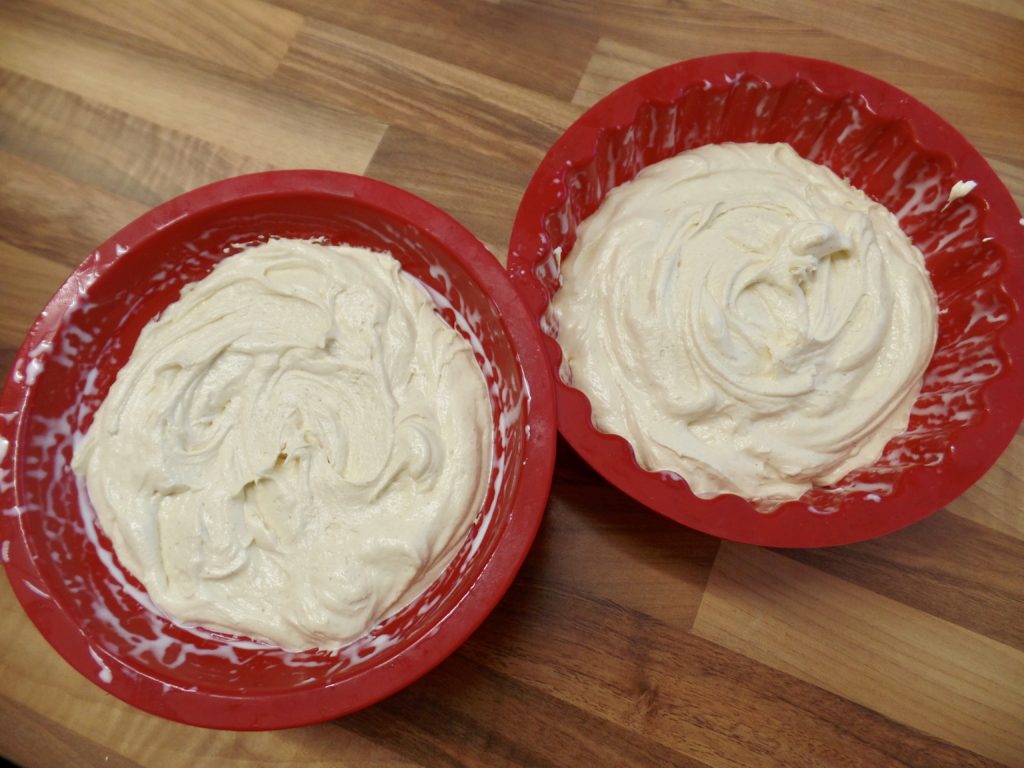
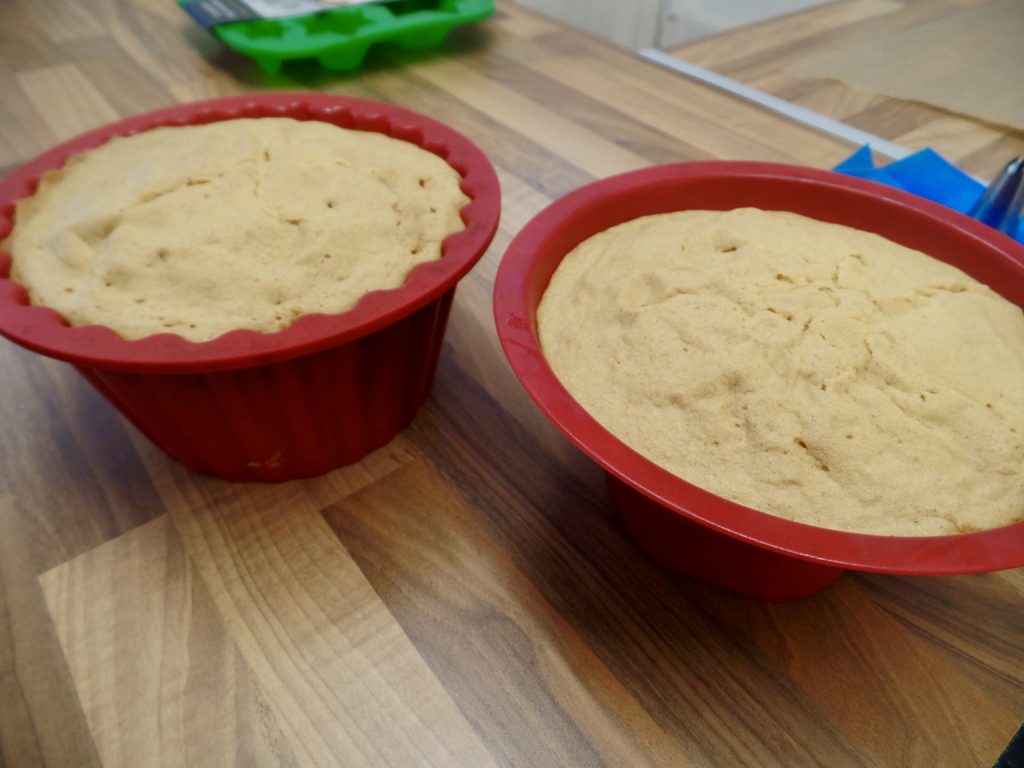
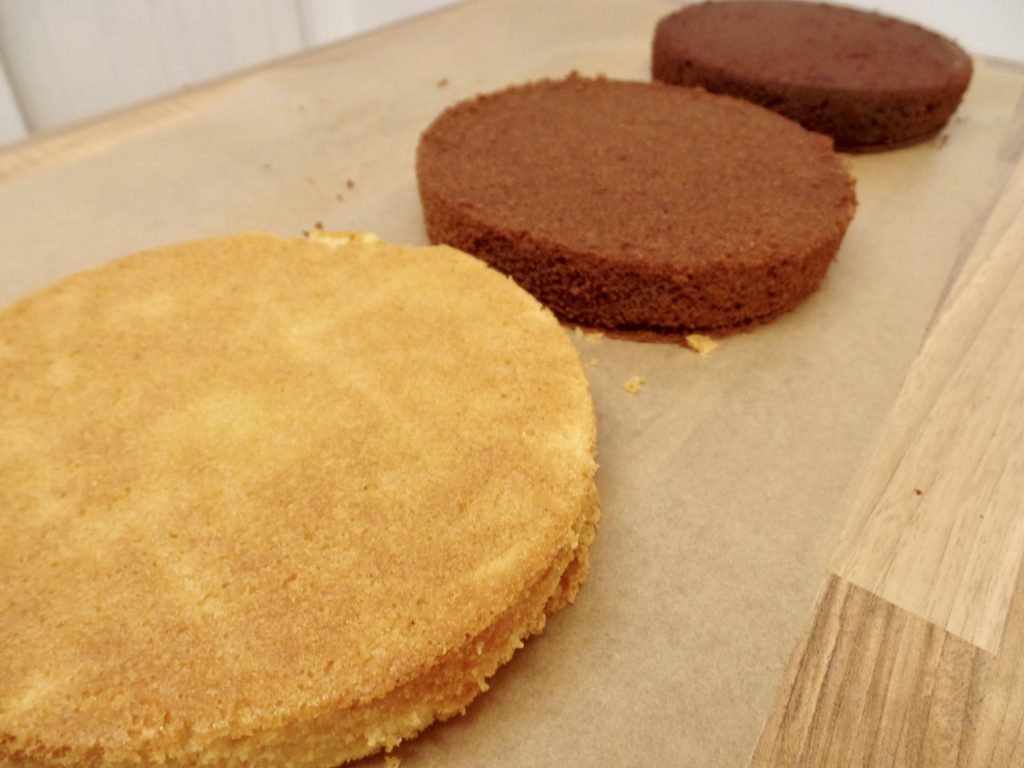
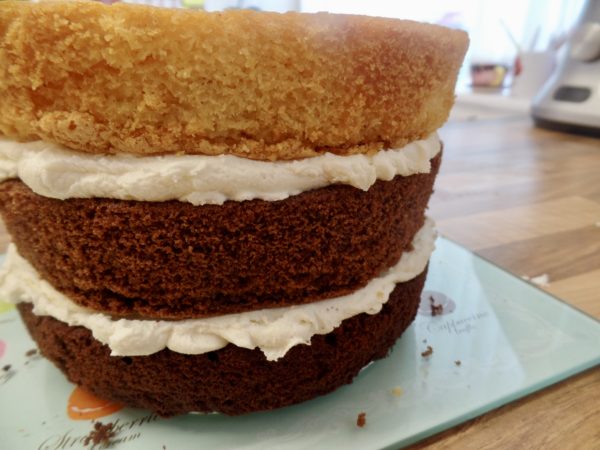
Using Ruth Clemens’ Christmas Chocolate Ombre cake recipe, I made three sponges; a vanilla, medium chocolate and full chocolate. Stork with Butter creates more volume as you mix, producing a lighter, fluffier texture! I baked them for the time stated and left to cool completely. I then wrapped them in cling film and left them in a cool room overnight. This is one of my baking top tips as when you are stacking and decorating, as we will be doing with this cake, it’s best to let the crumb structure ‘firm up’ as once made a cake can be very fragile. By leaving it wrapped well overnight, there is less chance of crumbs falling off or the cake breaking apart when you handle it.


The Buttercream

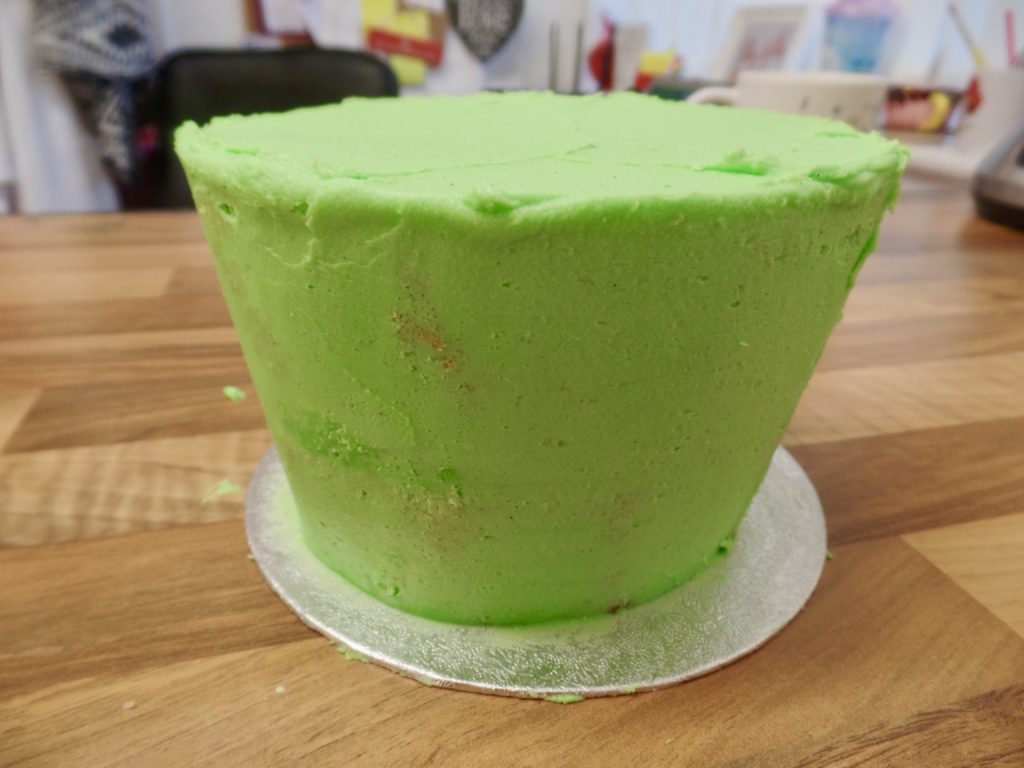
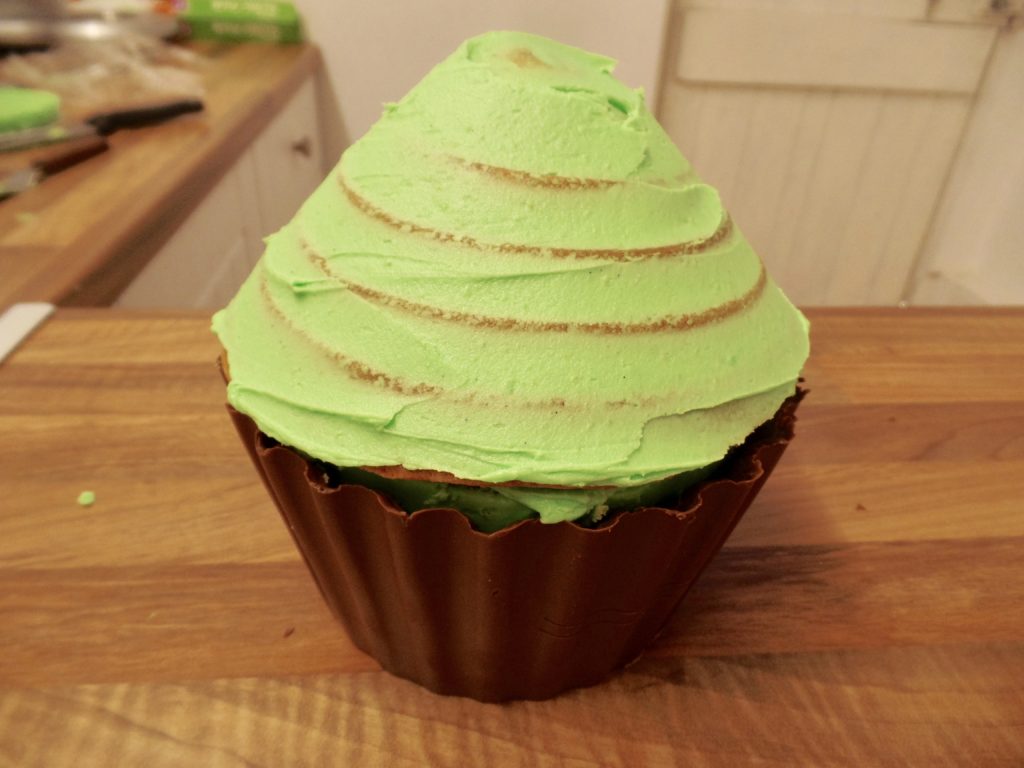
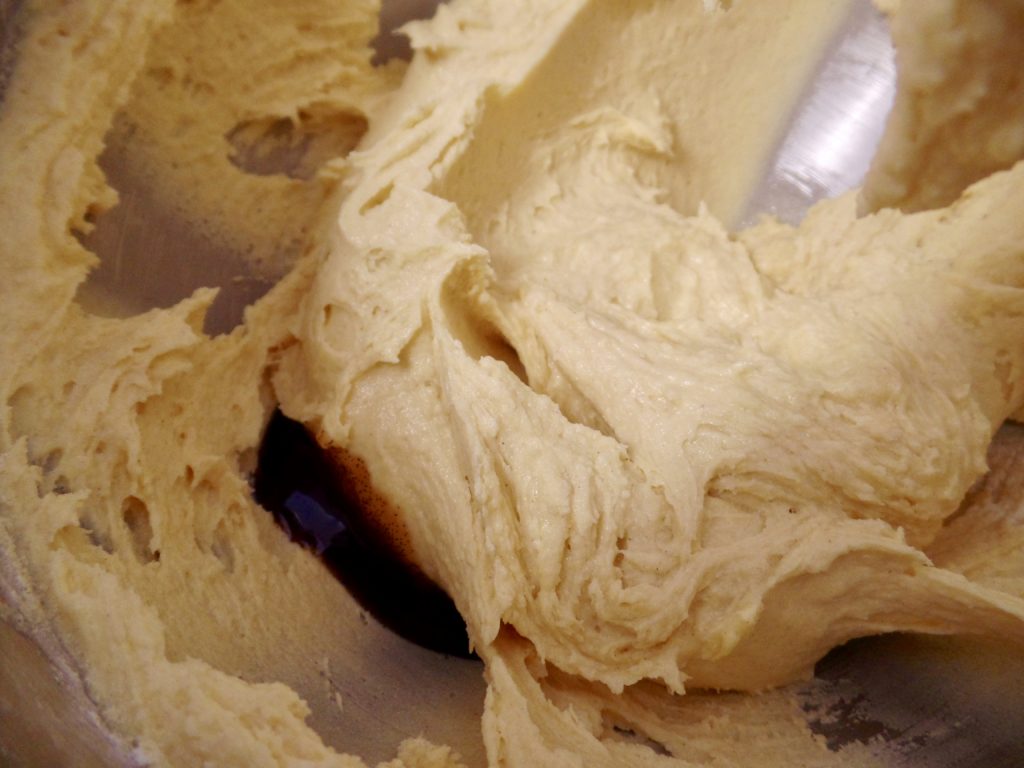
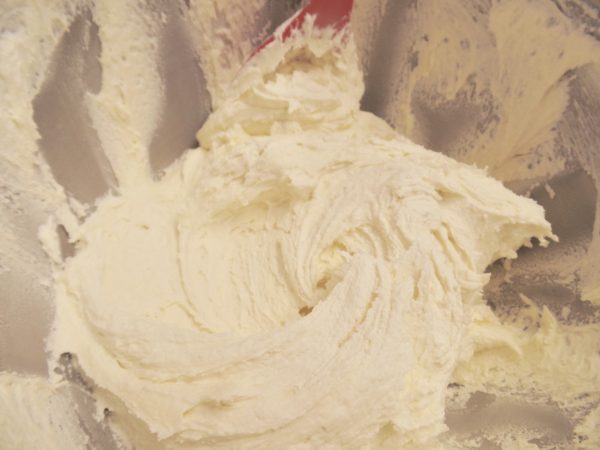
Again, following the recipe on the Bake with Stork website, I made the delicious soft buttercream using Stork with Butter. I have adapted it slightly by not using coca powder and instead using almond extract. As I wanted quite a pale colour buttercream to contrast with my decorations, I firstly beat the Stork with Butter on it’s own on a high speed for about 5 minutes. This aerated it and made it go a much paler colour. I then added in the icing sugar and mixed well. Finally, just to get a nice pale colour, I added in a teeny tiny bit of purple concentrated food colouring as this neutralises any yellow. You can read more about this here.

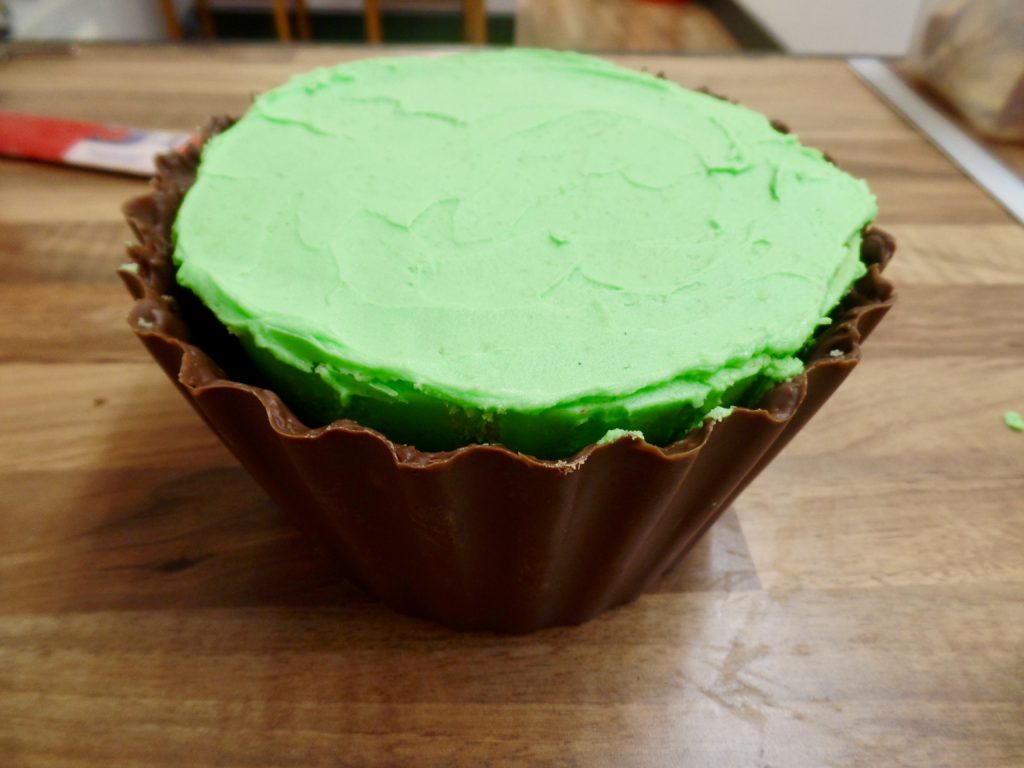
Then to stack the cake I started with the most chocolate sponge, then a layer of luscious buttercream, then the mid chocolate sponge, more buttercream and finally the vanilla sponge. Then I covered this all in a thin layer of buttercream and chilled for 15 minutes before taking it out and covering in a second and final layer just to cover up any crumbs or dark sections of chocolate sponge showing through.
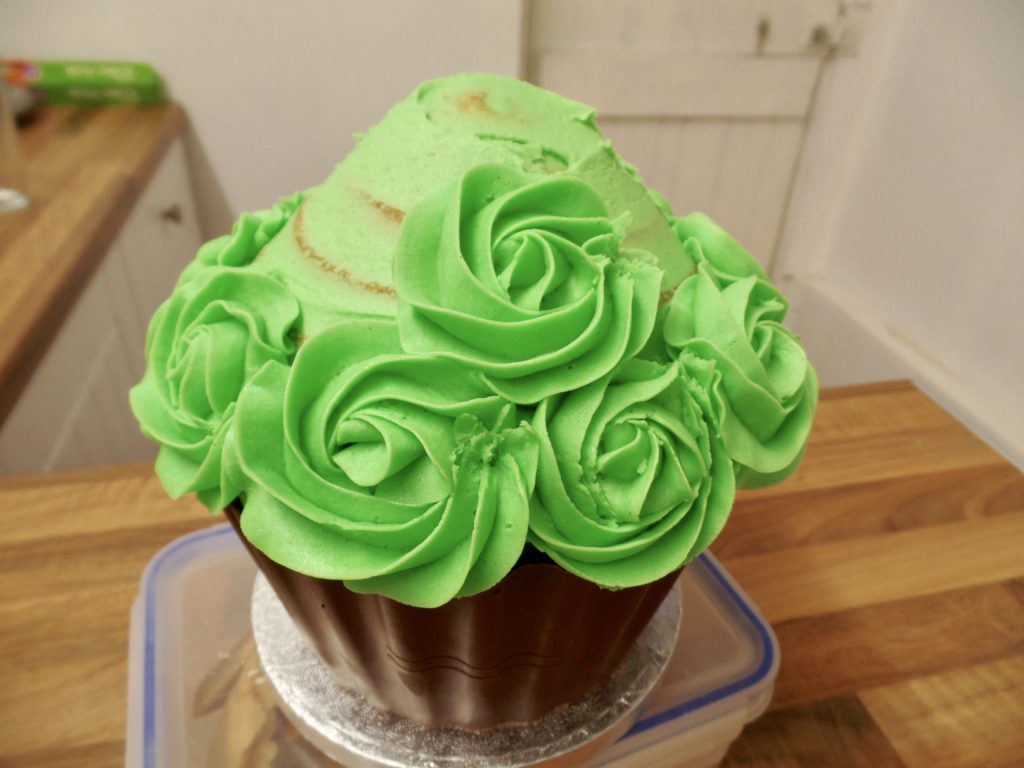
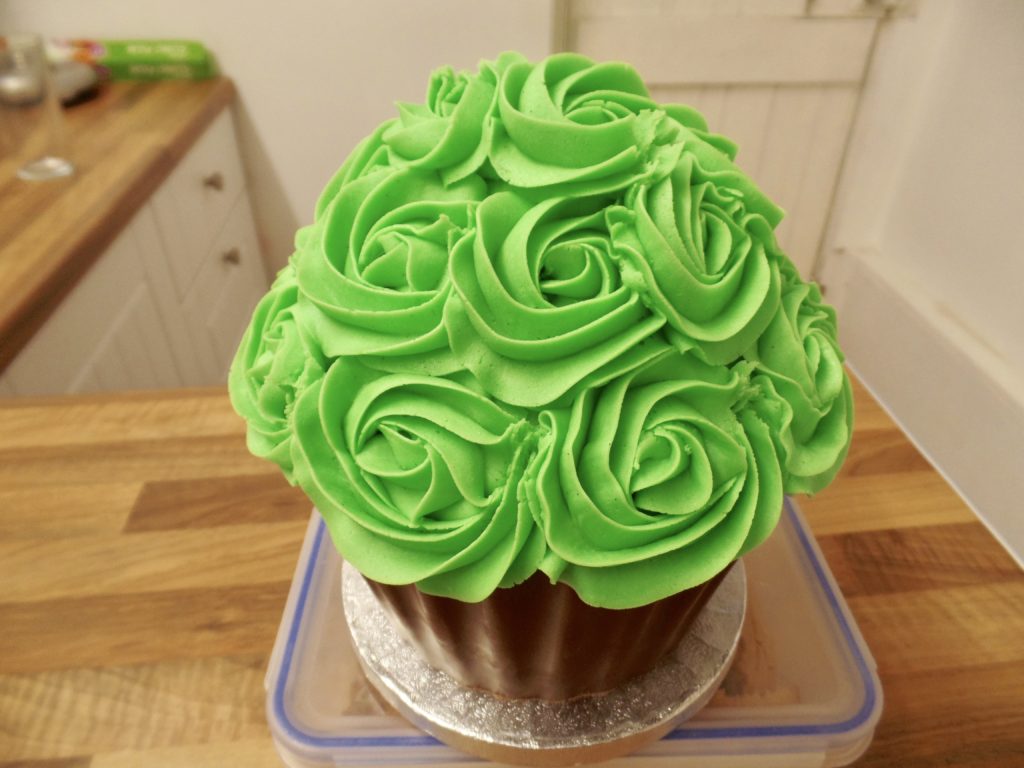
The Decorations

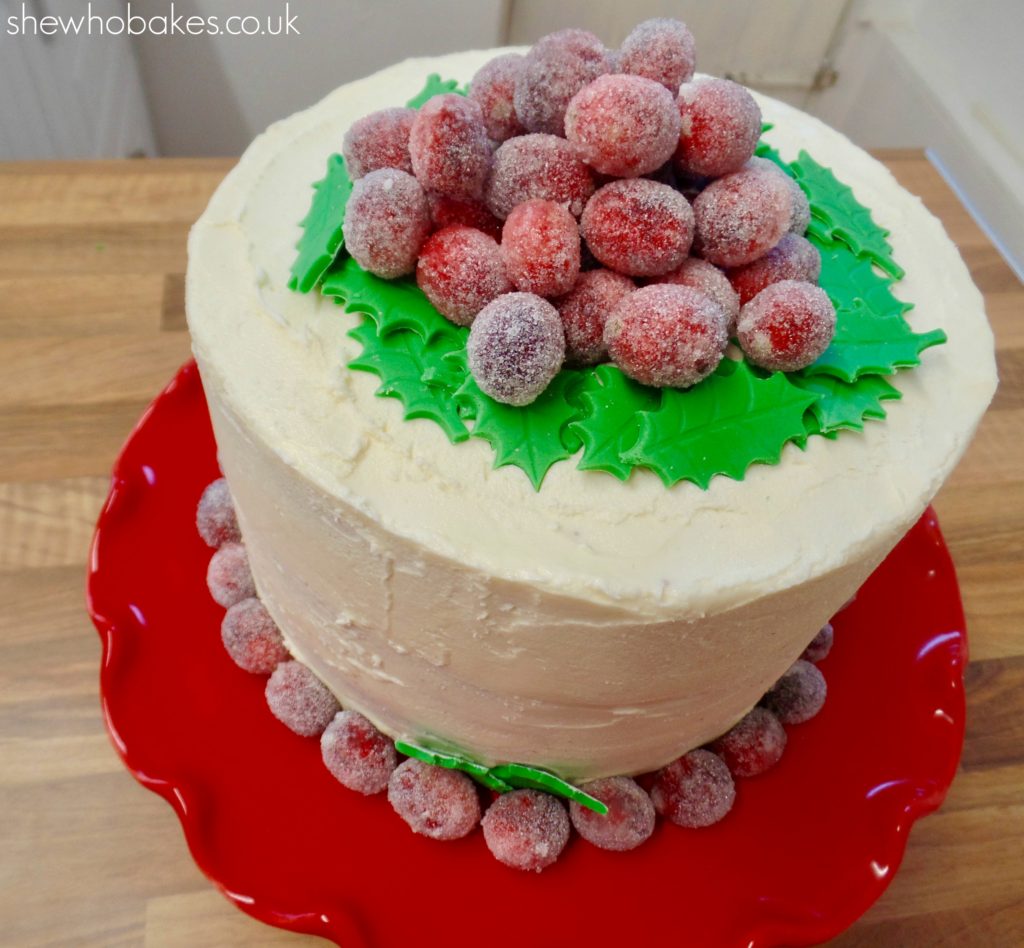
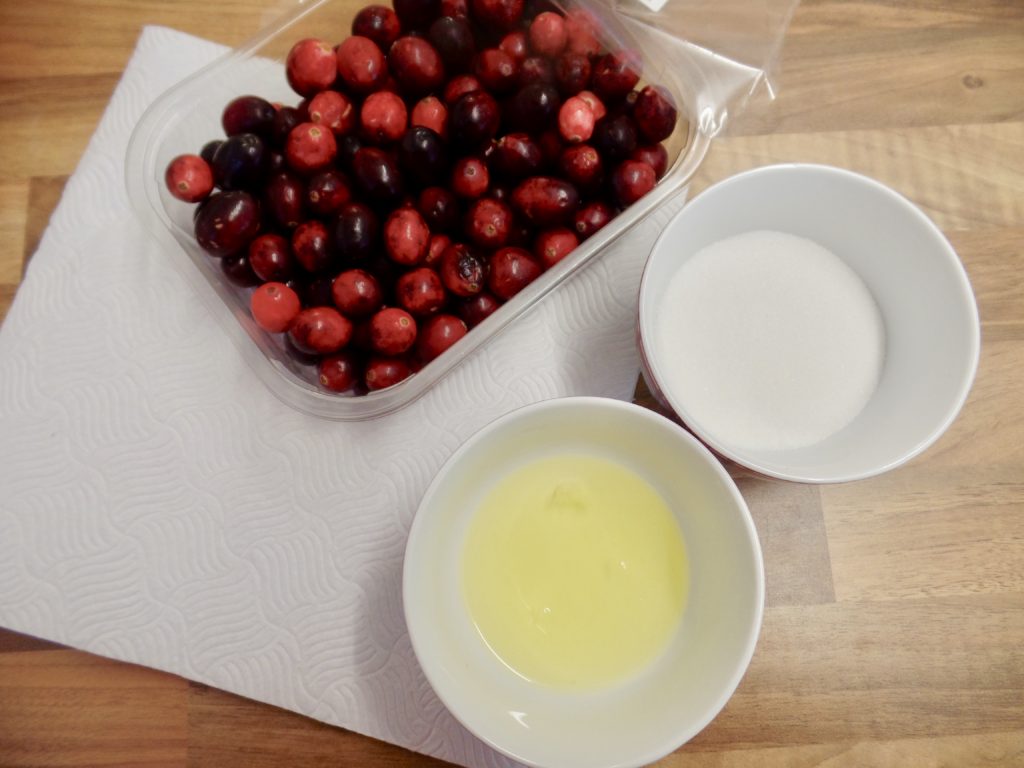
I wanted to decorate my cake in a very festive way so I’ve gone for the classic colours of red and green. To top the cake I’m making frosted cranberries and edible holly leaves.

For the frosted cranberries you will need;

  • Cranberries
  • 1 egg white
  • 50g caster sugar
  • Kitchen roll
  • 2 forks
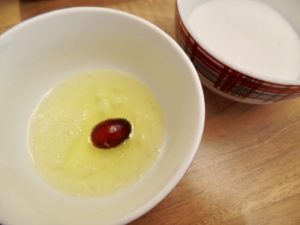
  1. Into a bowl pour in 1 egg white, whisk lightly with a fork.
  2. Drop a cranberry into the egg white and make sure it is covered nicely.
  3. Remove with a fork and drop this into the bowl of sugar. Shake the bowl around and move the cranberry to coat it nicely in sugar.
  4. Remove and pop on some kitchen roll to dry.

Try not to touch them with your fingers when they are wet as you may rub the sugar off.

For the holly leaves you will need;

  • Green sugarpaste (ready to roll icing)
  • Rolling pin
  • Cornflour
  • Holly leaf cutter or a sharp knife to cut them free hand
  • Drying foam or kitchen roll
  1. Roll out green sugarpaste onto a surface dusted with cornflour
  2. Using a cutter or sharp knife, cut out your holly leaves
  3. Leave these to dry on foam or kitchen roll

To Decorate

This is completely up to you! You can do pairs of berries with leaves, do a random pattern, or like I’ve done, stack frosted cranberries in the centre of the cake to form a festive pyramid and surround that in holly leaves! I’ve also made a border of frosted cranberries, with a few leaves on the side.

However you decorate your cake, you know it’s going to taste fantastic! Stork with Butter has unique qualities make it perfectly designed for baking as it’s the best choice for light and fluffy cakes with rich creamy icing and buttery taste!

You can see the Chocolate Ombre Cake recipe on Stork’s website here.

Give them a go this festive season and impress your guests with a Christmas showstopper! I’d love to see how you get on, tweet or Facebook me and use the hashtag #bakewithstork so that I can see them.

Merry Christmas and happy baking!

Britt xo

Cake serves: 16

Each serving contains:                         Percentage per serving*

Energy: 2161kj/513kcal                                      26%

  • Fat: 28.1g                                            40%
  • Saturates: 11.1g                                  56%
  • Sugars: 62.6g                                      70%
  • Salt: 0.7g                                             12%

*% of Reference Intake of an average adult (8400kJ/2000kcal)

This cake is intended as an indulgent festive treat

This is a sponsored post in partnership with Stork – Bake with Stork Christmas Campaign to encourage everyone to get baking this festive season! All views and opinions are my own.

How To Make A Giant Cupcake Christmas Tree

12/16

Merry Christmas!!

Tis the season of festive bakes and you don’t get much more festive than an edible Christmas tree! This fun cake design is easy to make and sure to impress your guests this season.

I’ve based it on a Giant Cupcake but you could easily do this with two 7″ round cakes carved to make a similar shape.

For this cake, I recommend making the cake, decorations and covering the board on the first day, leaving everything to set and then coming back to stack and decorate the following day.

You’re going to need;

  • Giant Cupcake (you can find my recipe here)
  • Small cake board (I’m using a 6″ round)
  • 250g sugarpaste in your chosen colour
  • A pack of milk chocolate candy melts, candy buttons or 300g milk chocolate
  • Ingredients to bake buttercream (see below)
  • A large piping bag
  • 2D nozzle
  • Green buttercream (you can find my recipe here, I’ve coloured with Sugarflair Party Green)
  • Christmas themed moulds/cutters for decorations/pre-made decorations or sweets
  • A small bit of royal icing
  • 15mm ribbon & double sided sticky tape OR washi tape

Equipment can be purchased from Iced Jems.

The first thing you’ll need is a Giant Cupcake, you can follow my step by step tutorial on how to make one here. I recommend making it the day before you want to decorate to give it time to firm up so it doesn’t fall apart when we are decorating. Make sure to leave it wrapped well in cling film in a cool dry room. I don’t advise decorating cakes the day you make them for this very reason. Read more about my cake timeline here.

Next, we’re going to make the star to top the tree as well as any other decorations you would like. To make the star you will need;

  • Yellow modelling paste
  • Large star cutter
  • Cornflour
  • Small rolling pin

Start by colouring modelling paste yellow (if starting with white), using a concentrated colouring. I’m using Sugarflair Melon. Then roll it out onto a surface dusted with cornflour and cut out a large star. Leave to dry overnight on foam.

Then, go on to make any other decorations you would like. Using flower paste and a plunger cutter I have made snowflakes and using modelling paste and silicone moulds I have made small stockings which I have painted with edible food paint and I’m using small store bought candy canes. You can make whatever you like or alternatively use pre-made edible Christmas decorations readily available in cake shops and supermarkets alike.

Next, we’re going to cover our board. I am a firm believer in covering cake boards with sugarpaste (read more about my crusade here) as I feel it adds a professional touch to your bakes and makes them look a bit more special. So for this you will need 100g sugarpaste (ready to roll icing) in whatever colour you like. I’m using a brown as I will be texturing the board to look like wood grain.

To do this, roll out your icing to 5mm thick on a corn floured surface, turning the sugarpaste as you roll to get an even shape and to stop it sticking. Spray your drum lightly with water and then using your rolling pin to lift your sugarpaste, lay it gently on the drum, securing it with your hand and cutting off the excess with a sharp knife. To see a video of me covering a board in sugarpaste, check out my post here.

Before I leave my board to set, I’m going to texture it with a textured mat. Starting at one end of the board, push the pattern onto the sugarpaste in an even fashion. Leave to set overnight.

Then, using either double sided tape and 15mm ribbon or washi tape (I’ve used sparkly silver washi), decorate the edge of your cake drum.

On to day 2!

The first thing we are going to do today is make the cupcake shell. I’m using milk chocolate candy buttons, to resemble the trunk of the tree but you can use whatever colour you like. You can also use candy melts or anything similar or milk chocolate instead. If using chocolate I recommend using good quality Belgian chocolate. I have found that if you use standard chocolate bars, it may crack when you are trying to get it out and it also sometimes melt when you are handling it. I also advise painting the inside of your mould or tin with a little cake release first before pouring in the chocolate to make it easier to come out.

  1. Melt your candy melts/belgian chocolate.
  2. Pour half of this into your giant cupcake base.
  3. With a silicone brush, paint the candy/belgian chocolate up the sides of the case, being quite quick but firm.
  4. Pop it in the fridge to set for twenty minutes or so then take it out and give it a second coat repeating the first few steps. You may need to remelt your candy/chocolate.
  5. Put back in the fridge to set for a further twenty minutes.
  6. Gently peel the top of the case away from the shell to check it has set.
  7. Then go around the shell only releasing the top.
  8. Then pull the sides of the base down away from the shell.

So now we have our shell and our board and decorations from the day before. Time to put it all together!

You will first need to level both cakes, using a cake leveller so they sit flat and then you will need to trim the base cake slightly as now the shell is a little thicker thanks to the candy buttons.

Then, split the base cake in two and fill with whatever filling you would like! I’m using a vanilla buttercream I’ve coloured green with Sugarflair Party Green, you can find my recipe here.

Crumb coat the base cake by spreading a thin layer of buttercream around the outside. Once set, gently put your base cake into it’s chocolate shell. Spread a little buttercream on top of the base cake.

Gently place on the cupcake top. Press down gently but firmly to ensure it is stuck down. Crumb coat the top of your cake by spreading on a thin layer of green buttercream, this will help your piping to stick and stop any cake from showing through.

Next, we’ll decorate the top with buttercream swirls. Fit a large piping bag with a nozzle of your choice, I’m using a 2D, and then fill the bag with green buttercream.

Starting around the base of your cupcake top, pipe swirls starting on the inside and working your way out gently but firmly, making sure to allow a little room between your nozzle and the cake for the design to come out. Go around the base of your cupcake top and then in between these on a second layer. Repeat until you are at the top and then pipe one large swirl on the very top of your cupcake. Pipe small stars in any gaps by squeezing firmly, stopping squeezing and then pulling away. You can find out more about piping on my online Cupcake Course.

Decorate as desired, placing the large star into the buttercream at the top of your cake and then any other shapes you like.

Once decorated, carefully fix your cake onto your iced board using a little buttercream.

Leave in a cool dry room until serving! This will last about a week if decorated fully (so no air can get to the sponge!) and then 3 days once cut into if wrapped well in cling film. Make sure to not leave it in a room that gets too warm for too long or the buttercream and chocolate casing may start to melt!

A perfect centrepiece for your Christmas table and a nice alternative to traditional desserts!

If you want to turn your baking hobby into a career, check out my book Cakes, Bakes & Business for everything you need to know about running a successful baking business, including pricing, marketing, insurance and much more!

Give it a try and let me know how you get on either on Facebook or Twitter or Instagram.

Merry Christmas and happy baking!

Britt xo

Giant Cupcake Christmas Tree by She Who Bakes


Christmas Tree Cupcakes

12/16

It’s feeling very festive in the She Who Bakes kitchen this week!

I’ve made these gorgeous white chocolate cupcakes with white vanilla buttercream and desiccated coconut, topped with an edible white chocolate Christmas tree, exclusively for Party Cakes & Bakes Cake Craft Guide; a magazine from Cake, Decoration & Sugarcraft Magazine!

Grab your copy either in your local supermarket or online here.

Merry Christmas and happy baking!

Britt xo

How To Make A Giant Cupcake

12/16

What’s better than a cupcake? A GIANT cupcake!

I love giant cupcakes and have made so many over the past few years, it’s one of my favourite baking moulds. This Giant Cupcake Silicone Mould was originally given to me as a Christmas present and it’s so easy to use. Many places sell them and they are easy to find with a quick google. This recipe and method also works with the metal giant cupcake tin.

I’ve adapted my popular Classic Maderia Birthday Cake Recipe to fit the mould.

To get your mould ready to bake in you will need;

  • Giant Cupcake mould/tin
  • Silicone pastry brush
  • Cake Release (shop bought or homemade)
  • Two oven trays (if using separate silicone sections like me)

Firstly make sure your giant cupcake mould or tin is nice and clean and grease free.

To grease the mould I highly recommend using cake release. It’s what I use every time I bake to either grease my tins or to stick down my greaseproof paper, you can read more about what it is and why I use it here. I much prefer using it to butter or oil as that can leave a greasy residue on the outside of cakes when used to grease a tin.

Paint cake release liberally over both sections of your giant cupcake and set aside.

Then, we move on to baking. For best results you want to make sure you have weighed out all of your ingredients carefully and that they are at room temperature.

Giant Cupcake Madeira Cake Recipe

  • 300g self raising flour
  • 300g caster sugar
  • 300g Stork/butter
  • 85g plain flour
  • 5 medium eggs
  • 1 ½ tsp vanilla
  1. Cream together the Stork and caster sugar.
  2. Add in your eggs.
  3. Add in your flour.
  4. Add the vanilla.
  5. Mix for 4-6 minutes on a high speed.
  6. Pour just over half of the mixture into the bottom mould and just under half into the top mould, the mixture should fill the mould ¾ full.
  7. Put both halves of the mould onto baking trays and bake at 140C (fan assisted) for 1 hour 20 minutes or until a skewer comes out clean. (Check after 1 hour)
  8. Once baked, leave to cool in the mould then, CAREFULLY turn the cake out onto a sheet of greaseproof paper by peeling the case back and leave to cool completely.
  9. Once cooled, wrap in clingfilm overnight to ‘settle’.
  10. Once split, filled and iced, this cake will last 5-7 days and will freeze well for 3 months.

For a chocolate giant cupcake;

Follow the recipe above and replace the plain flour for cocoa powder and add 100g melted dark chocolate. For chocolate buttercream, follow the recipe below and add two tablespoons cocoa powder and 50g melted dark chocolate.

For a lemon giant cupcake;

Follow the recipe above and add the zest of two lemons and 2 teaspoons lemon extract. For lemon buttercream, follow the recipe below and add two teaspoons of lemon extract and the zest of one lemon.

Once cooled, there are a number of ways you can decorate your giant cupcake. You can split, fill and ice it as per any other cake, taking care to use the parts separately. You can also create a chocolate or candy shell for the base of your cupcake, you can check out my tutorial for this here. You can pipe roses, swirls, stars or any other pattern onto the top. You can mix and match designs, the choice is yours! For a festive cupcake, check out my tutorial on how to make a Giant Cupcake Christmas Tree.

My favourite way to decorate a giant cupcake is to create a candy shell, pipe roses onto the top (you can find my buttercream recipe here), add a few decorations and sit it proudly on a covered board with ribbon.

Equipment can be purchased from Iced Jems.

For more information on how to decorate your cake and go from home bake to showstopper, check out my list of latest online cake decorating courses here.

Give it a go and let me know how you get on, either on Facebook or Twitter or Instagram.

If you want to turn your baking hobby into a career, check out my book Cakes, Bakes & Business for everything you need to know about running a successful baking business, including pricing, marketing, insurance and much more!

Happy baking!

Britt xo

All of my online cake decorating courses are currently HALF PRICE! Grab a bargain here


Vote For She Who Bakes In The UK Blog Awards 2017

12/16
Hi all! I wanted to ask a favour!
I’ve been nominated for a UK Blog Award which is very exciting! Now it’s onto the public vote and I need your help!
If you have ever used my blog or my recipes or any of my tips in this group have helped you along your baking journey I would love your vote on this link!
I started She Who Bakes and #BakersHour as a way of expressing myself after baking saved my life. Thank you to all the members who contribute and continue to inspire me daily. If you have ever made any of my recipes, followed my tutorials, read my blogs or used any of my baking tips and tricks I would really appreciate your vote in the UK Blog Awards! Click here to vote for me!

Thank you so much in advance!

Happy baking!

Britt xo


Reverse Advent with Coop!

12/16

This year, I’m taking part in a Reverse Advent!

Each day of December, pop an item or two in a box. On Christmas Eve, or when your box is full, donate it to someone in need.

All you need is:

  • A cardboard box. (I have a lovely blue one suppled by Coop!)
  • Items to donate. What you include may depend on who you’re planning to give it to. Some ideas are non-perishable food items like tins and packets, treats with the shorter shelf life, toothpaste, toothbrushes and other toiletries, clothing items like socks and underwear, first aid kits.
  • And the willingness to give back this Christmas.

If you decide to get involved tweet using the #ReverseAdvent hashtag!

I’ve started today and have put in some chocolate biscuits, a couple of tins and toothpaste. I’ve looked up my local FoodBank to see what items they are in need of and I’ll be working from that.

Happy giving!

Britt xo

fullsizeoutput_2797


Sign Up to my Newsletter

Subscribe here to my newsletter!

Designed by Clockwork Moggy
503 Service Unavailable

Service Unavailable

The server is temporarily unable to service your request due to maintenance downtime or capacity problems. Please try again later.

Additionally, a 503 Service Unavailable error was encountered while trying to use an ErrorDocument to handle the request.