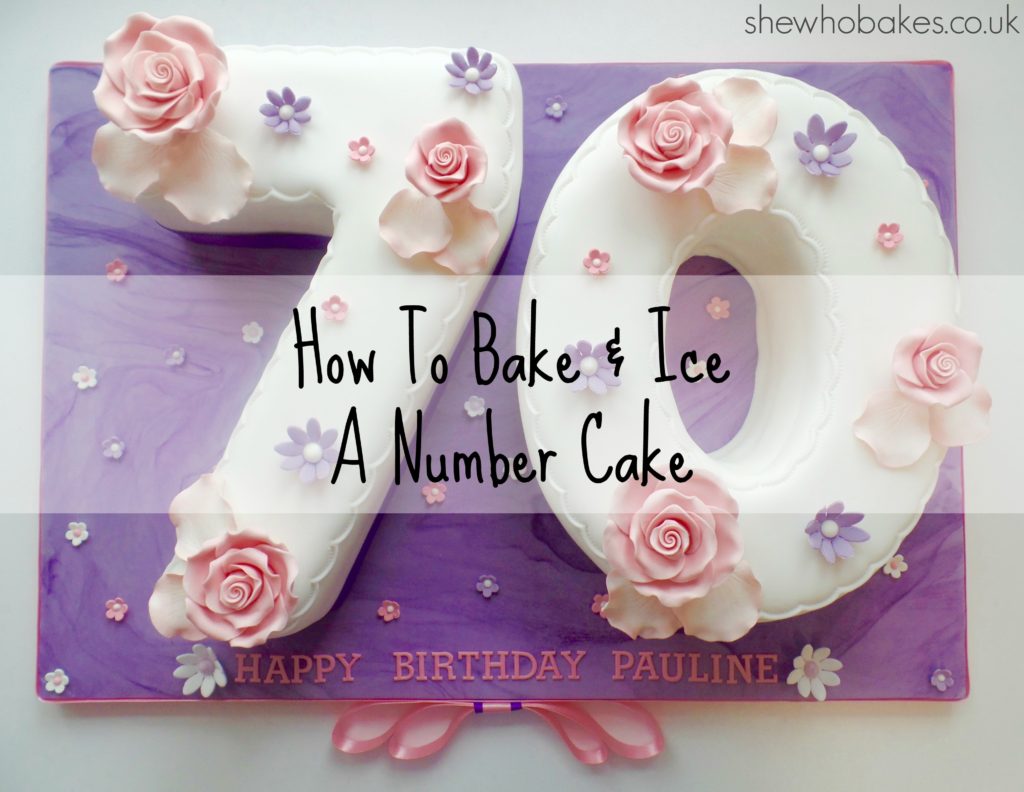
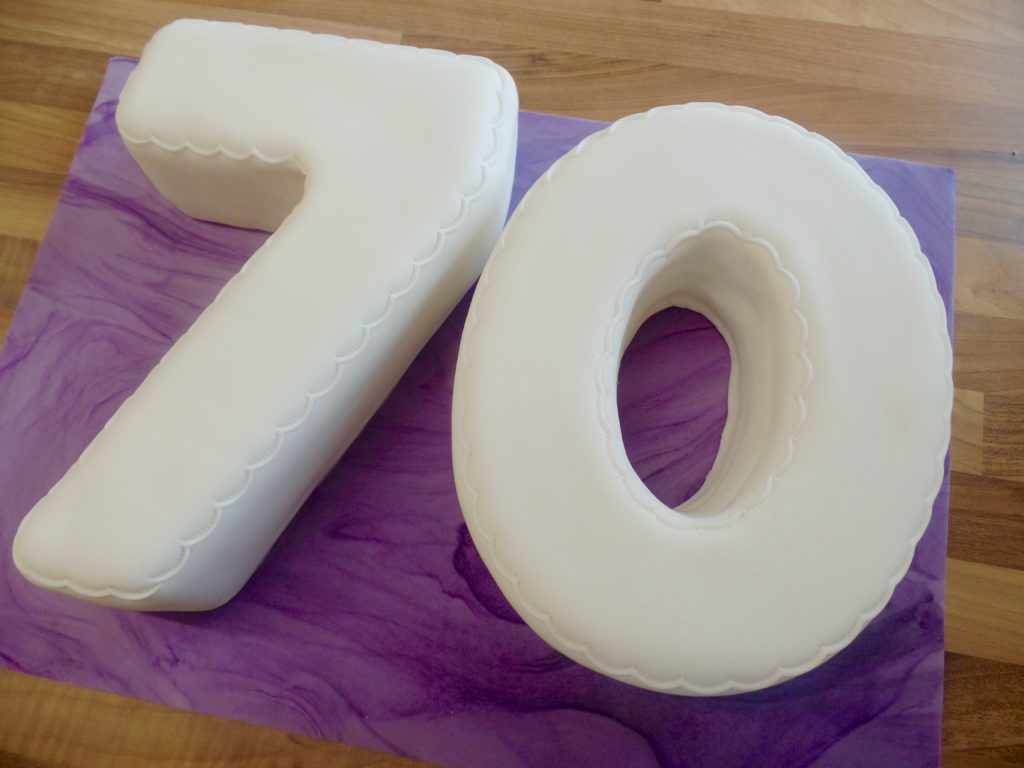
This week, I made a 70th birthday cake for my partner Tim’s wonderful mum, Pauline. Back when I was making cakes every week, I made my fair share of number cakes and I can remember when I first started doing them, what a nightmare they were! So, I took the opportunity to document what I did and how I did it in the hopes it may help you when baking and icing number cakes in the future!
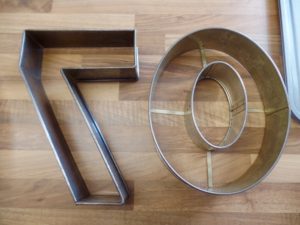
The first thing you will notice with a lot of number tins, is that they are bottomless. They are basically shaped frames to bake in. I hired these from my local cake shop.

Lining The Tin
So, the first thing we need to do is create a bottom for the cakes and line them, and for that you will need a few things;
- Number tins
- A baking tray per number
- Greaseproof/baking paper
- Tin foil
- Scissors
- Pencil
- Cake release
- Silicone pastry brush

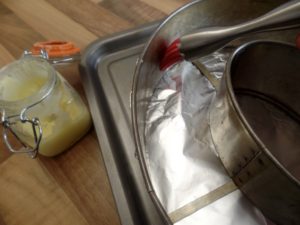
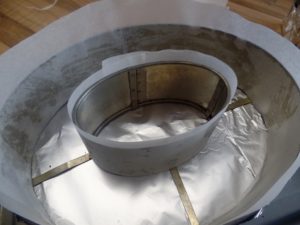
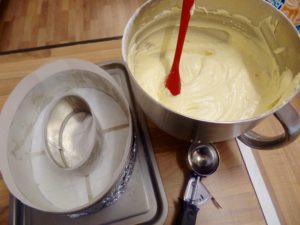
Because I flip my cakes over and use the top as the bottom to make it nice and level, I need to make sure I flip my tin over so it bakes the wrong (right) way around, otherwise I will have a back to front 7! As per picture 1.
Draw around the inside of your numbers onto the greaseproof paper and cut them out. Put these to one side for now.
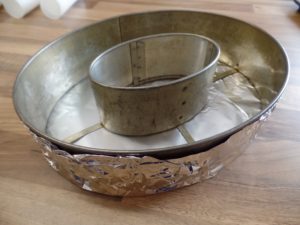
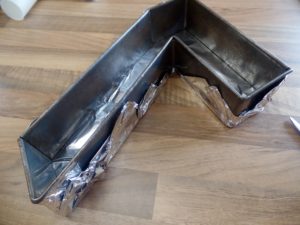
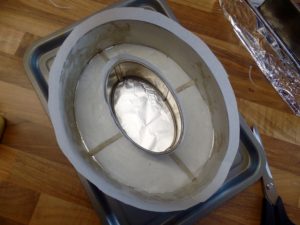
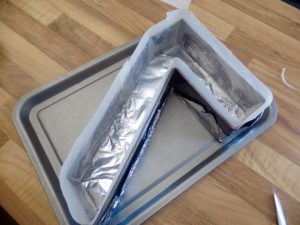
To create the ‘bottom’, place the number onto a sheet of tinfoil, then, fold up the sides of the tinfoil tightly around the number.
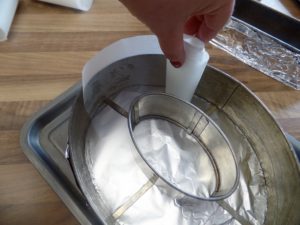
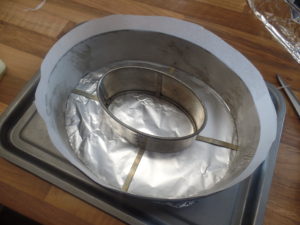
To properly line the tin, paint the inside with cake release. Then, gently unravel a strip of greaseproof paper along the inside, pressing it firmly against the sides to stick down (to know how to get the right size strip, check out my lining a tin step by step here). Then, do the same for the middle of the number, wrapping this in a strip of greaseproof paper also.
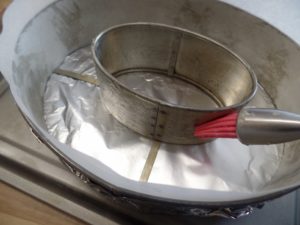
Then, paint the bottom of the foil ‘tin’ we have made and stick down the greaseproof number we cut out earlier. Repeat this for any other numbers you are doing. *Note* When lining a zero, make sure to cut the inside hole a little bigger to fit over the frame.
Baking The Cake
For this cake, I am using my vanilla madeira recipe which I have adjusted. This recipe will also fit an 8″ round cake.
This recipe makes one number cake in these tins.
Ingredients
- 300g self raising flour
- 300g caster sugar
- 300g Stork/butter
- 85g plain flour
- 5 eggs
- Teaspoon vanilla
Method
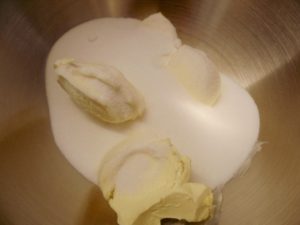
- Cream together the caster sugar and Stork/butter
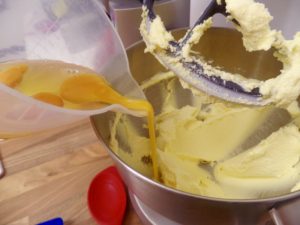
- Pour in the eggs, mix well
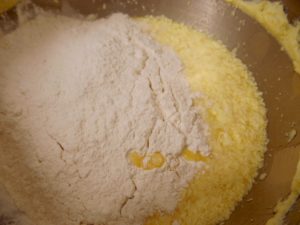
- Add in the flour, mix well
- Finally, add the vanilla
- Mix on a high speed for 4-6 minutes
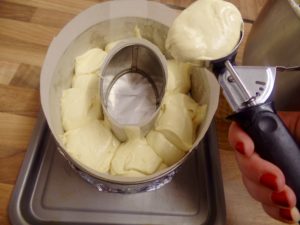
I find the best way to get cake mix into awkwardly shaped tins is by using an ice cream scoop. You have more control over it and you’re less likely to get it all over your greaseproof paper and sides.
Bake this at 140C for 1 hour 30 minutes or until a skewer comes out clean.
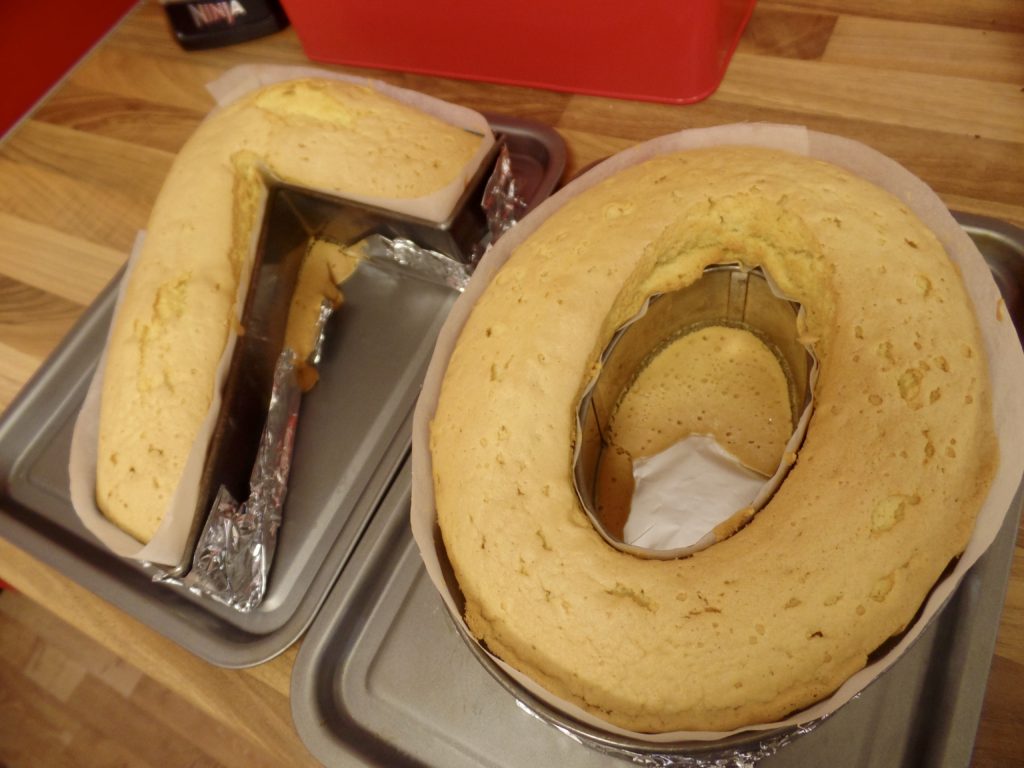
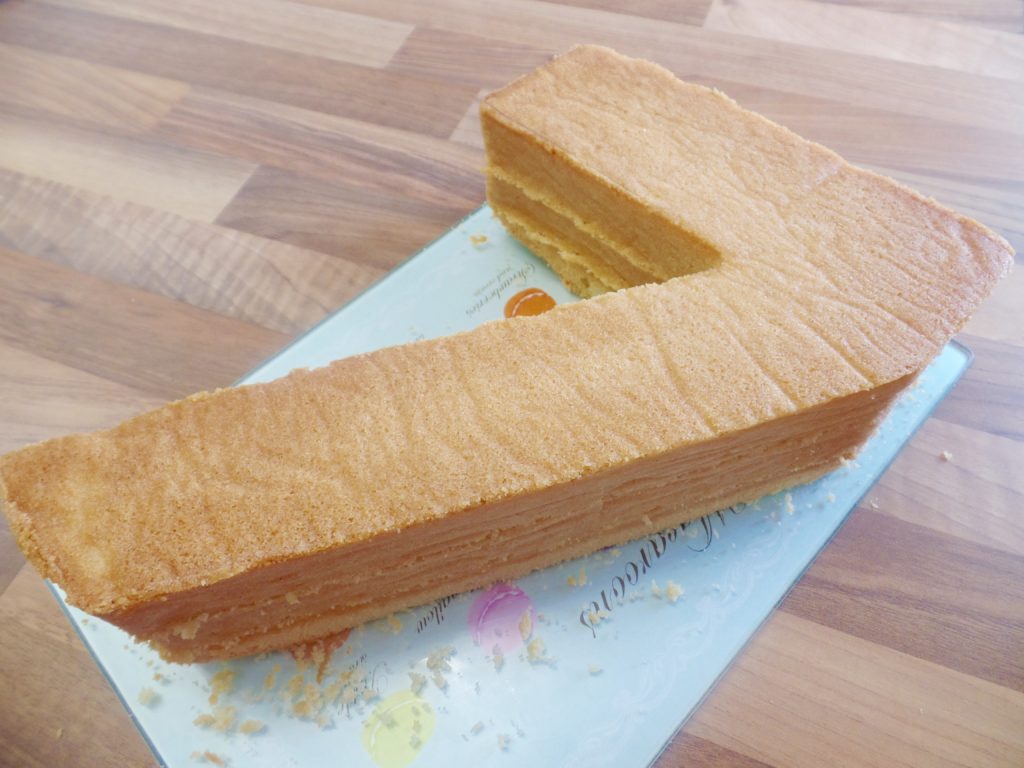
Now that the cake is baked, you can see there was a slight bit of leakage when it was baking in the corner of the 7 and the hole of the 0 but a little bit is absolutely fine, it means we get a little snack! Normally I would say to turn the cakes upside down and leave them to cool on greaseproof but I don’t use this method for number cakes as they can be very fragile. Instead, I let them cool like this in the tin for a few hours with a tea towel over the top just to make sure nothing can get into it. I’ll turn them upside down later.
Once cool, carefully slip them out of the tin and wrap in clingfilm and leave overnight. Because these can be so delicate, giving it time to firm up will really help us when we come to split and fill it.
Splitting & Filling
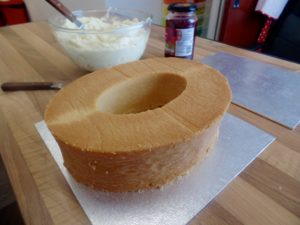
Firstly, level the cake by cutting off and excess rise using a cake leveller. I highly recommend using one of these over a knife for precision. Then very gently flip the cake over. I put a silver cake board on top if it and then used the green one below it to flip it over carefully.
I will be filling my cake with a dense vanilla buttercream for stability. I have used 500g unsalted butter to 1kg icing sugar and two teaspoons of good vanilla and this was enough for both numbers. If you’re only doing one number you can halve this recipe.
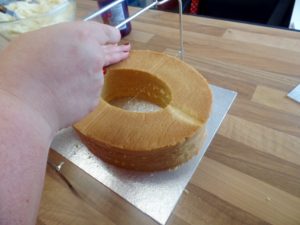
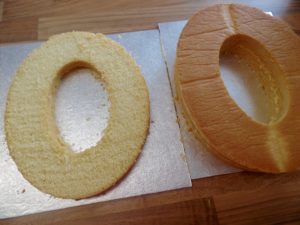
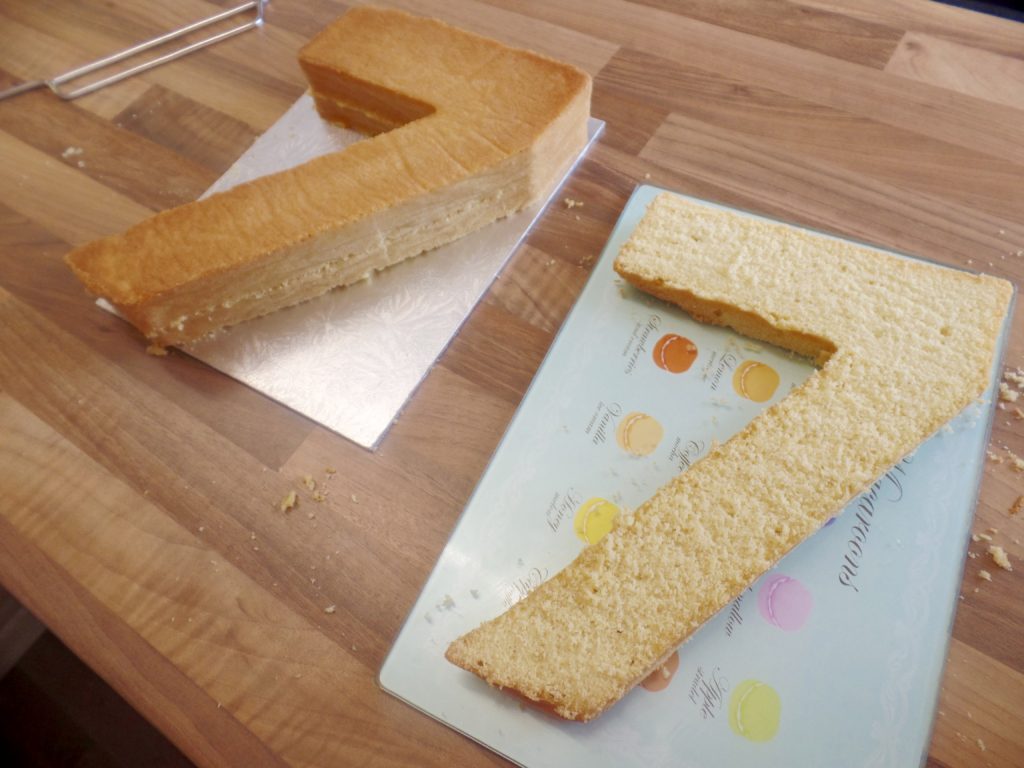
Using a cake leveller, cut into your cake. I always split mine twice so I can even out the filling and it looks pretty when you cut into it too! So I make the first cut 1/3 of the way up the cake, and another halfway between the first cut and the top of the cake.
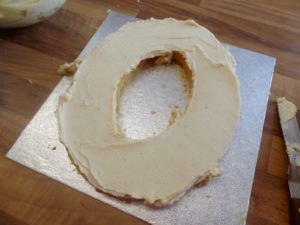
Use another thin cake board to slip between the layers and lift up the rest of the cake, otherwise you may risk breaking the sponge as it will be thin around the edge. Spread over your buttercream filling and jam if you’re using it and by using the thin cake board, you can slide the top section of the cake back onto the filled section. Repeat for the second layer.
Pop this into the fridge to firm up for 15 minutes while you do the same for the second number.
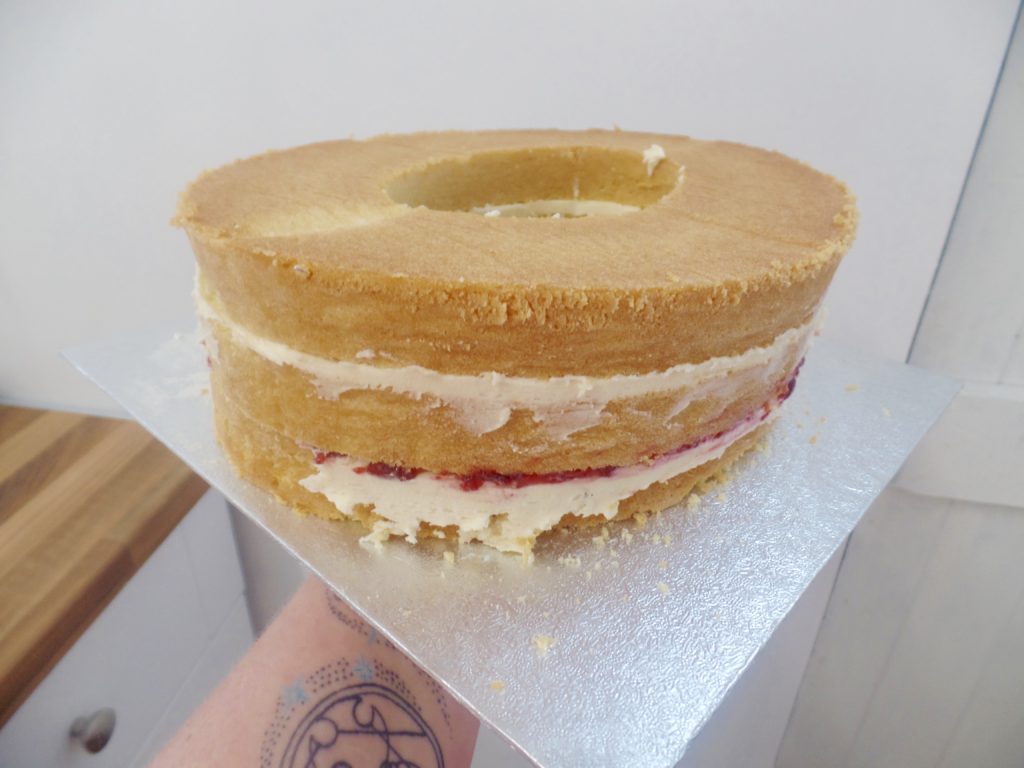
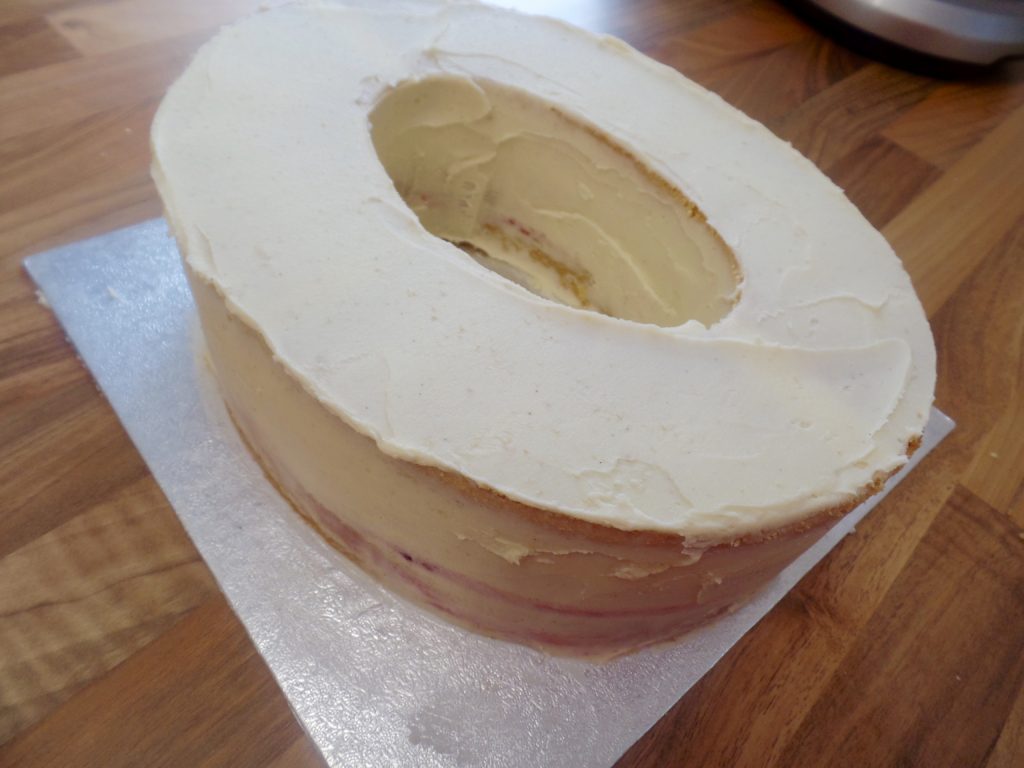
Once your cake has chilled you can ‘crumb coat’ it. This is when you spread a layer of buttercream on the outside of the cake to keep the crumbs in, help keep the cake fresh and to act as an adhesive for the sugarpaste/icing. Once you have done one layer, pop it back in the fridge briefly for about 5 minutes then do a second layer. This ensures a nice and smooth finish under the suparpaste/icing.
Icing The Cake
I am going to be covering my number cakes in a layer of sugarpaste, also known as icing. For this, I am using 1KG of icing per number. Roll out your icing onto a surface dusted with cornflour between spacers or to ¼” thick.
Using your rolling pin, gently lift up the icing and place gently over your cake. Start to smooth it with your hands in a ‘scooping up’ movement so as not to tear the edges. Then, carefully cut away the excess icing.
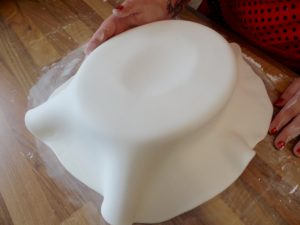
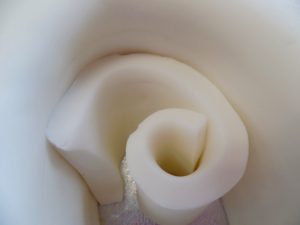
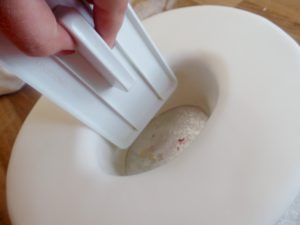
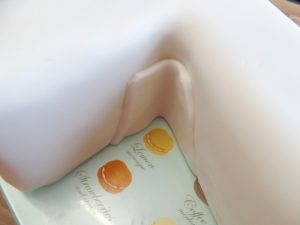
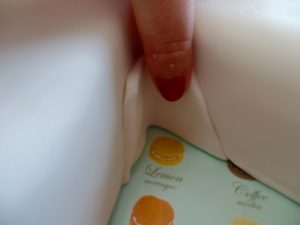
For the hole in the middle, make a small cut using a sharp knife in the middle of the hole and smooth down the icing into the hole as far as it will go. Don’t try and make it touch the bottom as there won’t be enough and you risk ripping and tearing the inner edge. Instead, cut a strip of sugarpaste and place it in the middle of the hole like the middle picture. Using your hands, gently push this onto the cake, smoothing down as you go. There will be a small trace of a line, but nothing noticeable. Complete this with a smoother as per picture three and smooth the rest of the cake too.
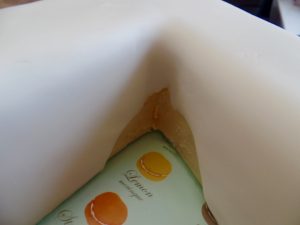
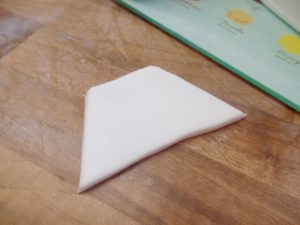
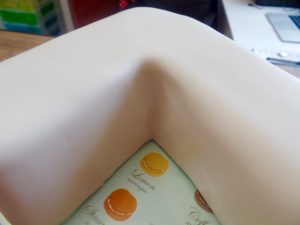
For the 7, the place you will have difficulty is the inner corner as you can see in picture 1 above. To cover this, cut a shape loosely like the gap and push this into place. Smooth it down with your fingers at first in circular motions to stick down, then use a smoother to finish. If you’re going to “crimp” the outline of your cake as I have done, do this now.
Leave these cakes to set overnight before trying to move them or decorate them. It’s much easier to work with harder, set icing than soft icing where you risk damaging it.
Now is when I recommend icing the board too. I’ve gone for a marbled purple style but the choice is yours! I’ve used a 20″ x 14″ cake board to fit both numbers. A single number would only need an 18″ x 14″ board. To find out more about how and why to cover boards, check out my article here.
Assembling The Cake
It’s now the following day and it’s time to assemble the cake. The best way to stick down a cake to an iced board is by using royal icing, the cement of the cake decorating world. Having measured roughly where I wanted to place my cake onto the board, I have painted an 0 with royal icing as you can see in the picture one above. I’m then using two large palette knives to carefully lift the number into place. Be careful when pulling the palette knives out. Pull them out straight and not angles otherwise you risk damaging your sugarpaste/icing.
Then, leave the cake to set on the board before decorating as desired! I have used edible flowers and petals on the cake, small sugar blossoms on the board and a 25mm purple ribbon around the border of the cakes, stuck down with a dab of royal icing. I have also given the board a ribbon edge using 15mm satin ribbon and thin 3mm double sided sticky tape.

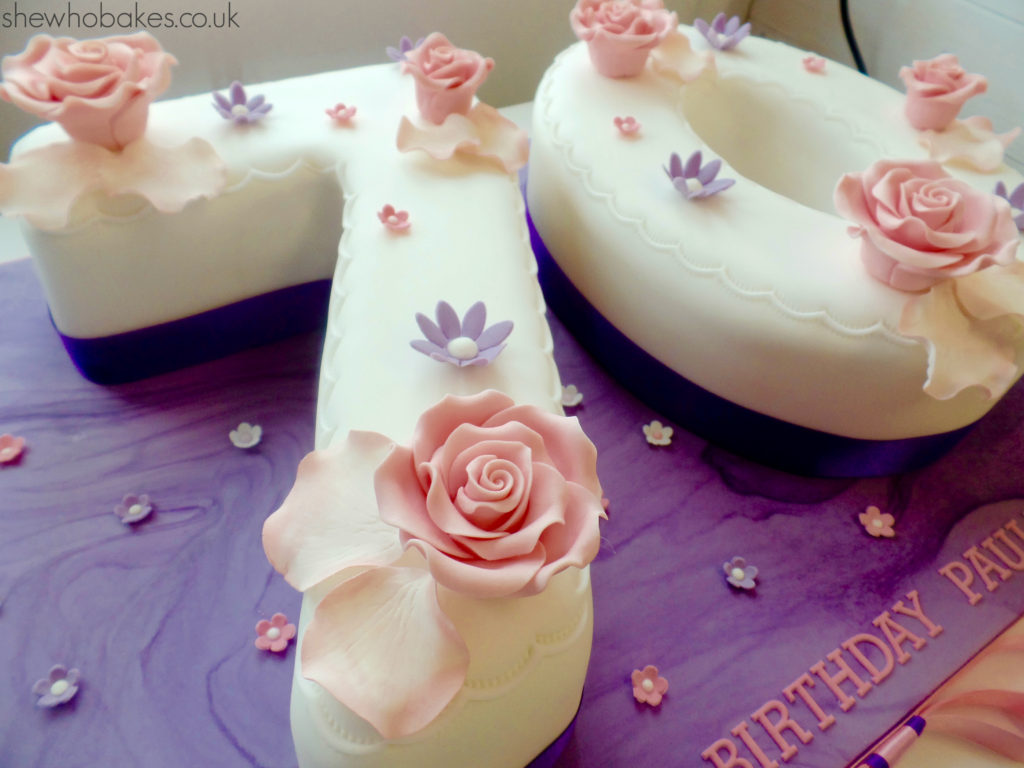
And there you have it! How to bake and ice a number cake start to finish! This madeira cake recipe will last up to two weeks from the day you bake it, about a week once split and filled and 3-4 days once you’ve cut into it.
You can watch me bake a madeira cake in real time on my Facebook page here; PART 1. PART 2.
Give it a go and let me know how you get on, either on Facebook or Twitter or Instagram.
If you want to turn your baking hobby into a career, check out my book Cakes, Bakes & Business for everything you need to know about running a successful baking business, including pricing, marketing, insurance and much more!
Happy baking!
Britt xo

