Well, my 32nd birthday was very different to what I thought it would be! We has originally booked a trip to Disneyland Paris and I had imagined walking down Main Street, with my Minnie Ears on, holding a Mickey balloon and eating a magical snack.
Sadly, thanks to the global pandemic it wasn’t to be. We sadly had to cancel the trip and organise a different kind of birthday.
My amazing husband Tim gave me the best lockdown birthday I could have hoped for! I was surprised in the morning with my own little corner of Disneyland Paris in the spare room, complete with fairy lights, castle backdrop, Mickey & Minnie balloons, Main Street music being played and the smells of the Disney bakery on the wax burner. It was truly magical! I opened my presents and the surprises just kept coming! He had also created such a thoughtful and emotional video for me of messages from so many of my friends. If you fancy seeing what made me cry on my birthday, you can watch this video on YouTube here.
Tim had sneakily organised my friends in a timetable so I got to see lots of people in a socially distant way and I’m so grateful for it. I had a few visitors pop over with pressies in the afternoon and then in the evening we had an outdoor picnic in a friend’s garden. I had the most amazing time.

Because I wasn’t having a bit party, I only wanted to make a little cake and didn’t want to spend too much time on it. This i actually the tenth birthday cake I’ve made for myself since I started baking in 2010! I’ve done all manner of things now; Unicorns, Mermaids, Slytherin themed, and last year was my massive Captain Marvel cake!
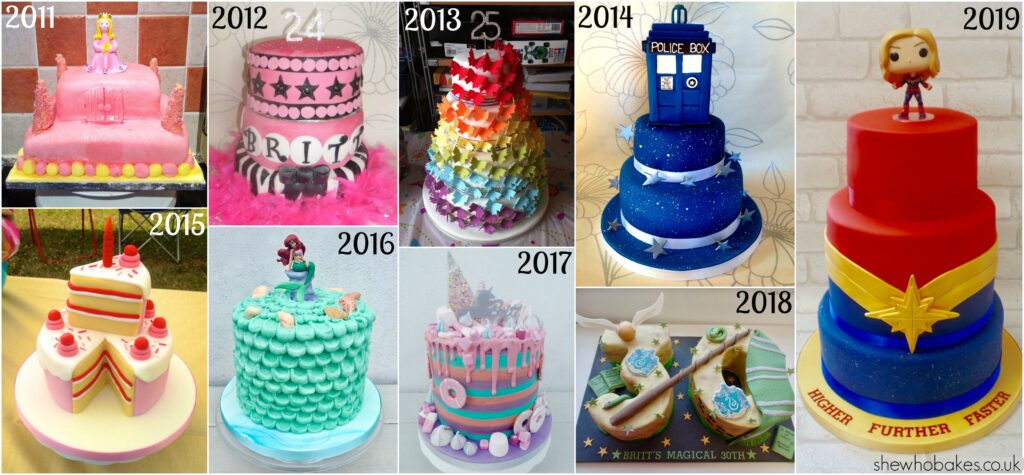
They have all been so different and it’s been so lovely to see my growth each year. They are all special to me in their own way.
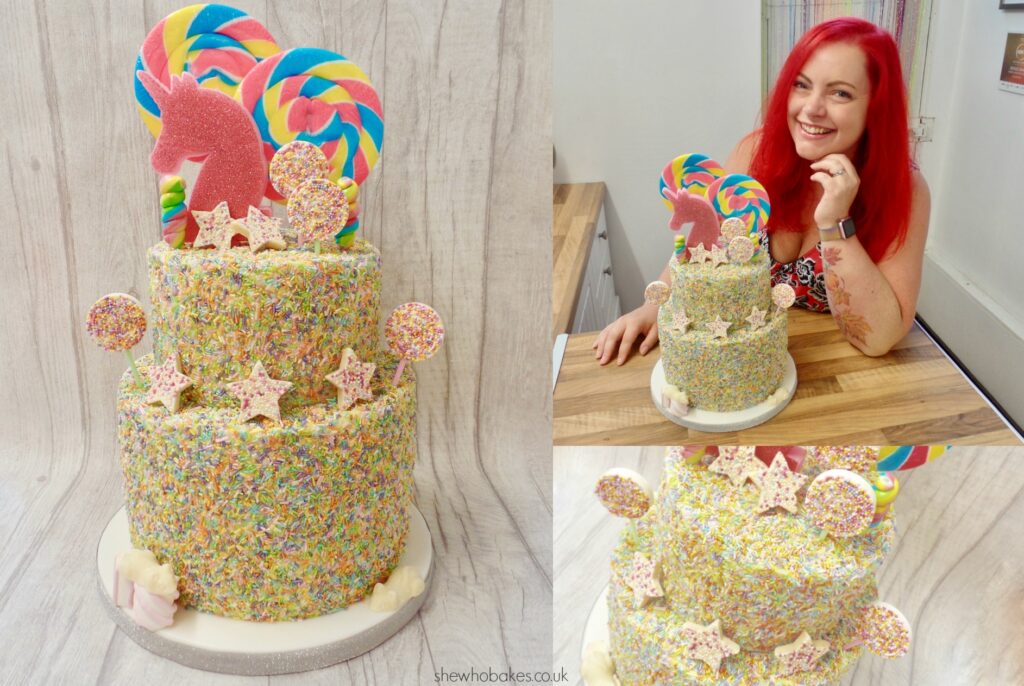
I had originally planned to do a Disney theme this year to tie in with the trip but I’m going to save that design for another year. Instead, I decided on a sweet shop themed, little two tier covered in rainbow sprinkles and decorated with some of my favourite sweets.
Baking The Cake
I wanted a deeper bottom tier and so I baked 1 and ½ 8″ cakes and a 6″ top tier.
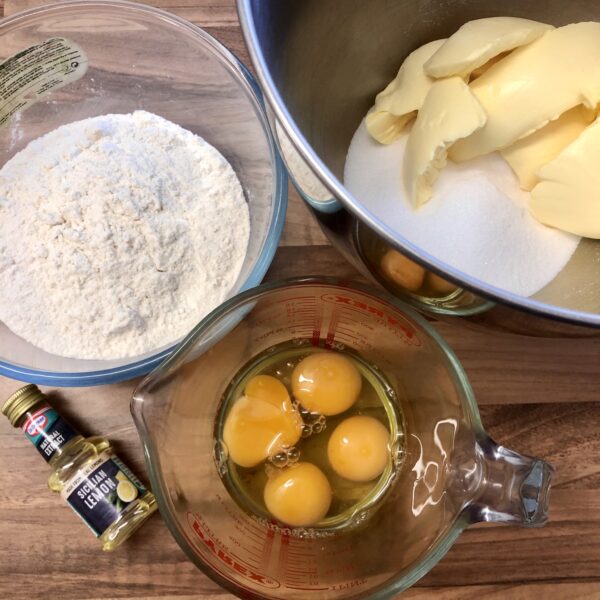
For the 8″ and the ½ 8″, I used an adapted version of my Salted Caramel, Fudge and White Chocolate Cake. I omitted the melted white chocolate and fudge pieces, making it a simply salted caramel cake, and I also used all golden caster sugar rather than a mix of that and light brown. So the final recipe looked like this –
- 300g self raising flour
- 300g golden caster sugar
- 285g Stork
- 75g plain flour
- 5 eggs
- 4 tablespoons salted caramel sauce
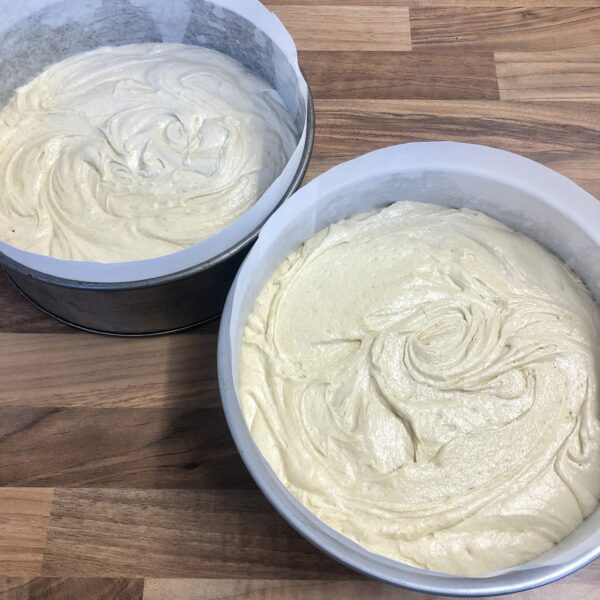
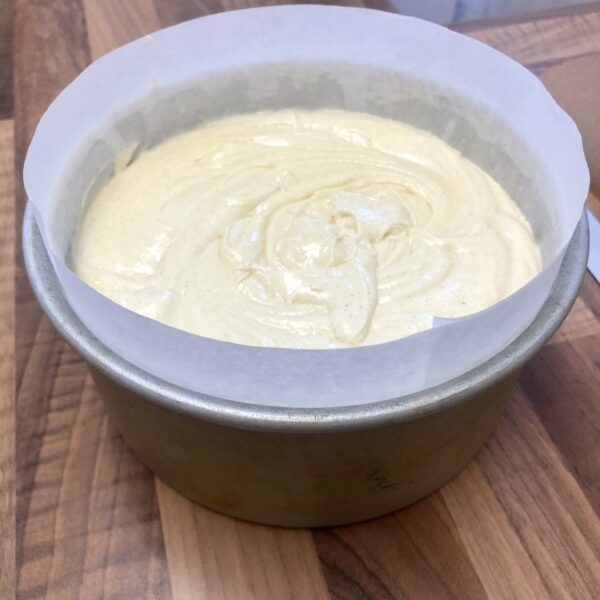
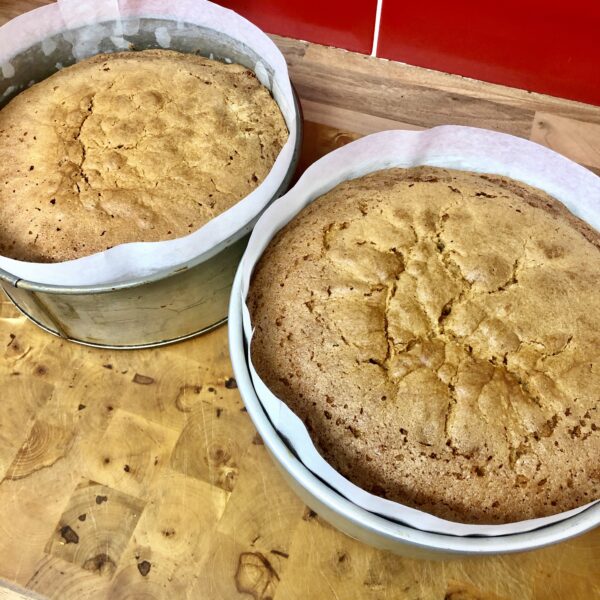
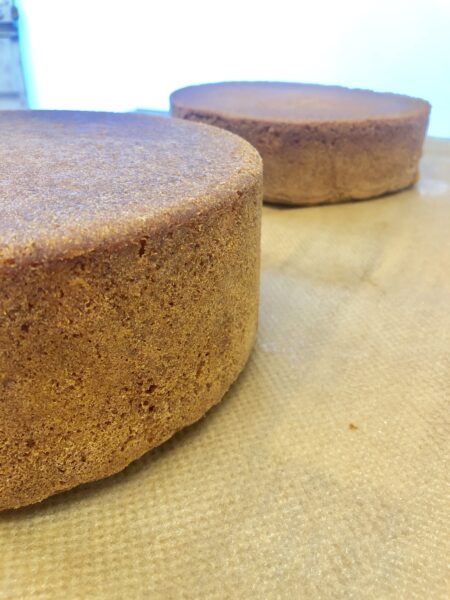
It was made in exactly the same way though by creaming the Stork and golden caster sugar, then adding in the eggs and mixing well, then adding in the plain and self raising flour, and finally adding in the salted caramel sauce and mixing for a few minutes before pouring into a lined tin and baking at 140C (fan assisted) for 1 hour 50 minutes. Once baked, I turned them out straight away onto a sheet of greaseproof paper and left to cool upside down.
For the ½ depth 8″ cake, I used the same ingredients but changed the amounts. This half depth 8″ cake recipe can also be used to make a full 7″ cake and this took 1 hour 30 minutes in the oven at 140C (fan assisted) –
- 200g self raising flour
- 200g golden caster sugar
- 185g Stork
- 50g plain flour
- 4 eggs
- 2 tablespoons salted caramel sauce
For the salted caramel sauce, I used this one I found on Amazon by Joe & Sephs. It’s delicious!

I wanted a lighter and fluffy cake so I used Stork instead of butter, which I tend to reserve for richer bakes, I used Tesco’s own golden caste sugar and obviously Homepride Flour.
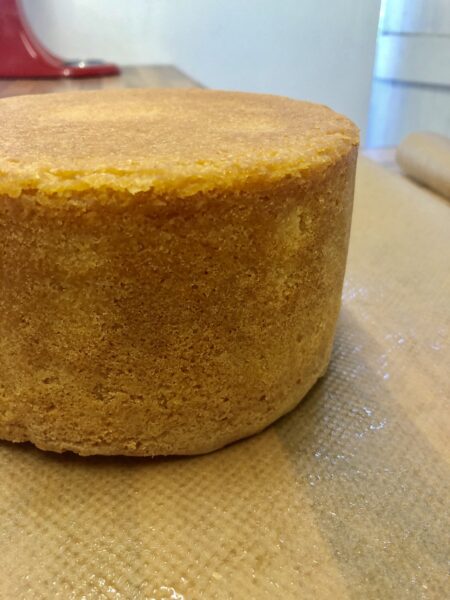
For the 6″ cake, I went with a lemon flavour. I also wanted it a little deeper than average so I used a mix I would normally use in a 7″ tin for the extra height. I find if you want a deeper cake you can go up a recipe size with a madeira cake mix really easily and it still bakes through nicely.
I used the exact lemon madeira recipe listed halfway down the page here.
I wanted a buttercream flavour that would compliment both cakes as I only wanted to make one batch (fun fact, I hate making buttercream!) and so I’d decided on a white chocolate buttercream. Originally I was going to add in melted white chocolate as I’ve done previously here but when I was in Tesco, I came across this white chocolate spread. Similar in consistency to Nutella but white chocolate and I was intrigued. I got it home and tried it and oh my goodness, it was delicious!
I’d decided to use the spread in the buttercream instead and went with a recipe that I’ve used for Nutella buttercream before and it worked really well. NOTE – this recipe is for filling both my 1 ½ height 8″ round cake and my deep 6″ cake as well as crumb coating them both twice, plus a third layer to stick on the spinkles. If you’re making a normal size cake you won’t need this much buttercream and can halve the recipe easily –
- 200g white chocolate spread
- 500g unsalted butter
- 1500g icing sugar
Cream the butter on it’s own for a few minutes, add in the icing sugar and mix until creamy and then add in the spread and mix well.
I baked all three of the cakes and made the buttercream on the Tuesday. Once the cakes were cooled I double wrapped them in cling film and left them in a cool, dry place. I also transferred the buttercream to a plastic box, laid a sheet of cling film over the top of the buttercream to prevent crusting, added the lid and left in the fridge overnight.
Cakes can last a long time once baked if stored correctly. You can read more about my process in this article. Buttercream, if tired this way, will last in the fridge until the expiry date on the pack of butter that you’re using. I also always recommend to use proper butter for buttercream if you can.

Decorating The Cake
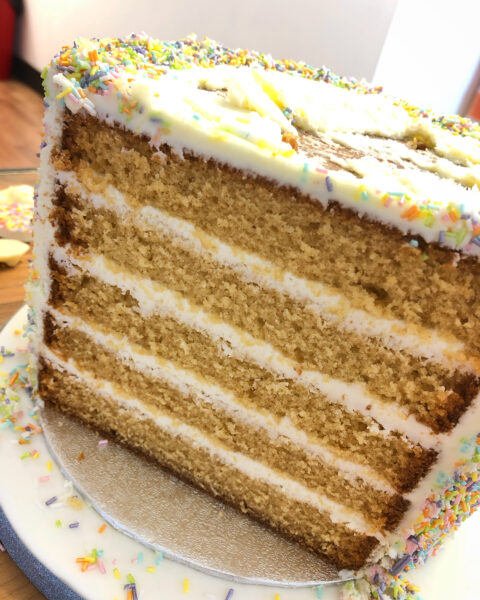
Wednesday came and with it came the day to decorate the cakes. Using a cake leveller, I levelled the top of the cakes (which were pretty flat anyway thanks to the low and slow baking and leaving to cool upside down on greaseproof paper) I split the full 8″ cake and the 6″ cake twice, then split the half size 8″ once.
I rejuvenated the chilled buttercream by first zapping it in the microwave for 15 seconds and then putting back in my mixer to beat it until it was spreadable.
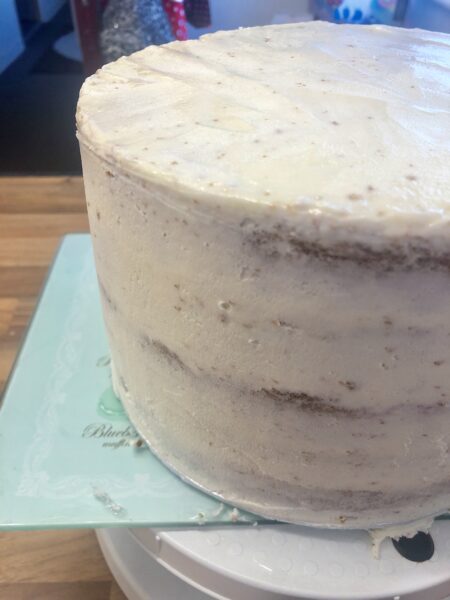
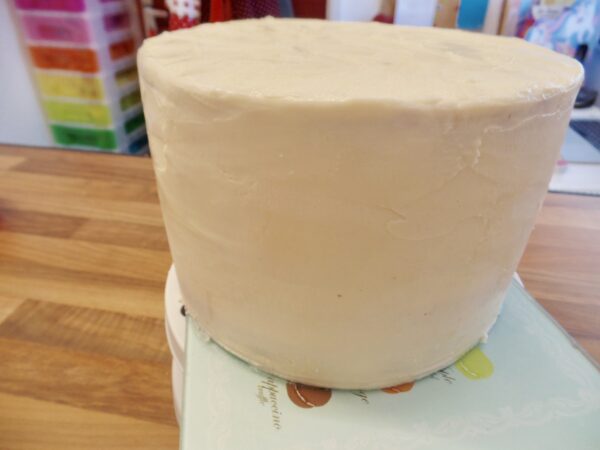
Using a cranked palette knife, I filled each layer with buttercream. I stacked all five layers of the now monstrous 8″ bottom tier and then did the three layers of the 6″ top tier. I then left these to chill in the fridge for the butter to firm up (this is why I use butter). Once firmed, I spread a thin layer of buttercream on the top and sides of both cakes, crumb coating them. I took off the excess with a side scraper. I then chilled them in the fridge to allow this outer layer to firm up.
I repeated this process a second time. I always like to crumb coat a few times, especially if i’m not covering in sugarpaste icing. This gives it a really nice finish and stops any air getting in, allowing the cake to stay fresh. I then chilled again.
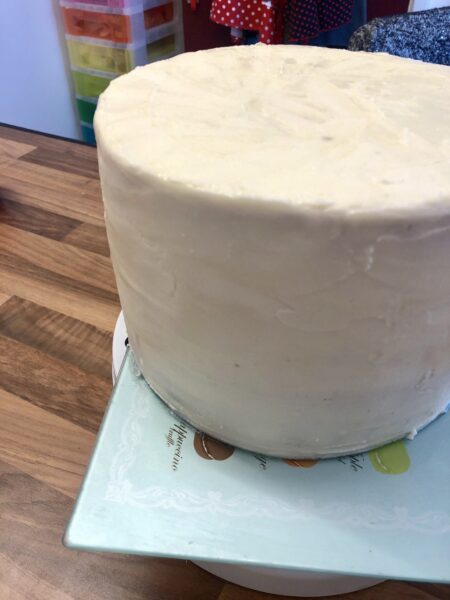
Finally once the buttercream was firm, I did a third, much thinner layer of buttercream simply to act as a glue for the sprinkles.


Sprinkles
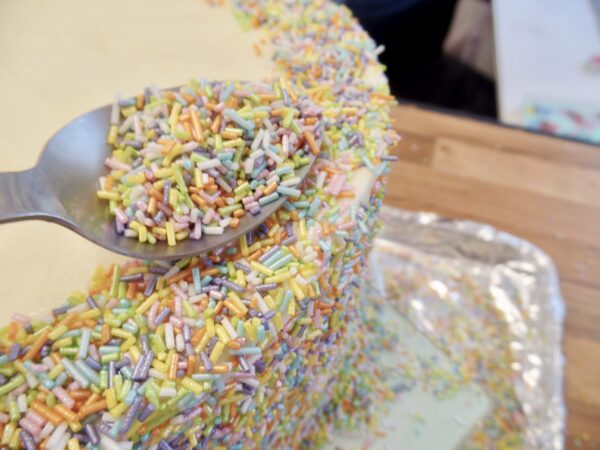
To decorate this cake, I’m using a rainbow of Scrumptious Sprinkles which I made myself using seven of their colours from their Glimmer Strands and Rods range; Mother Of Pearl, Light Pink, Yellow, Violet, Orange, Turquoise and Lime.
Adding the sprinkles is messy business. I’ve tried to do it many different ways and I’ve found, for me, the best way is the messiest way!
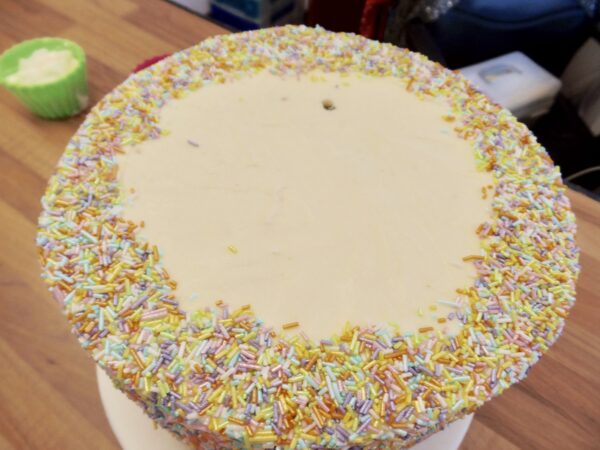
I lined a baking tray with foil, then in the middle I put a cake tin smaller than my bottom tier at 7″. I started with the bottom tier and placed the cake on top of the tin. As I didn’t want to coat the top where I wanted to stick down the top tier, I traced round a 6″ greaseproof paper circle with a scribe to make a sprinkle free circle.
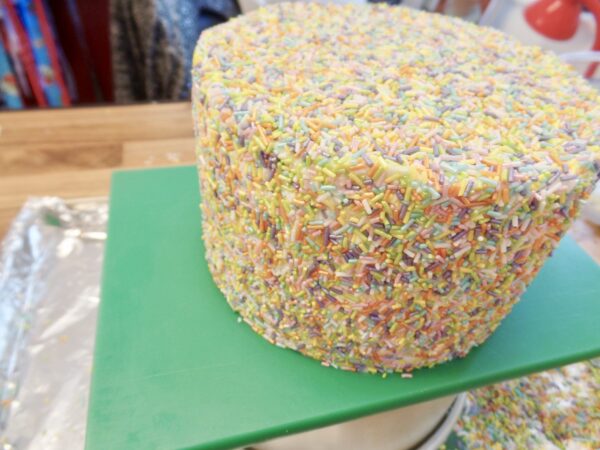
I then took handfuls of sprinkles and pushed them firmly on to the sides of the cake, rotating to get it completely covered. Then, for the top, avoiding the circle I had traced on, I spooned on sprinkles and press them down gently. I went around the cake a few times to completely cover it.
Once the cake was fully covered with sprinkles, I chilled the cake for a further 15 minutes to set. I used this time to roll up the foil and pour the unused sprinkles back in the pot.
I repeated this for the top tier and again, left it to chill.


Assembling The Cake
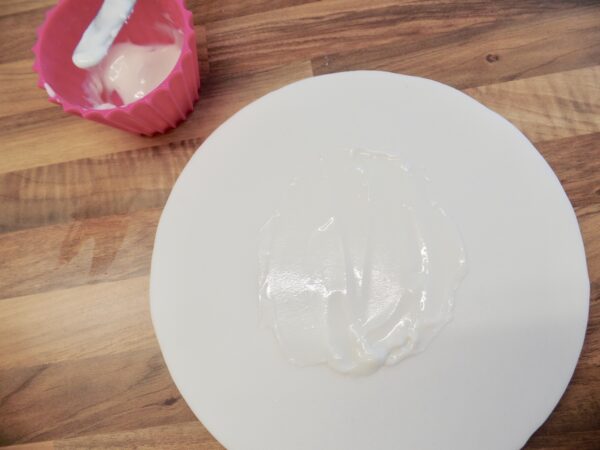
Once the sprinkled covered tiers has set completely, I stacked them. I’m using a 10″ round board I’ve already iced earlier in the week using a bit of spare white sugarpaste, sticking it down with piping gel. I’ve applied silver glitter washi tape around the edge of the board from Iced Jems.
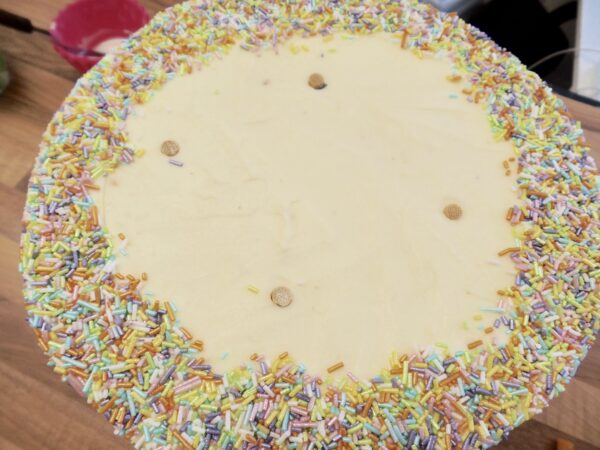
I spread a little royal icing, made up from royal icing powder, into the centre of the iced board, then gently lifted up the 8″ tier and carefully set it down onto the iced board. I then stuck bamboo dowels into the cake to support the top tier (this is super important if you’re making a tiered cake) and cut them to size.
Next, I painted a little more royal icing into the non-sprinkled middle, covering the top of the dowels and carefully set down the 6″ cake on top. I then left it in a cool room to set.
Once set, I topped it with two giant round pastel lollies I got from eBay, jazzie lollies I also myself (see below) and two small twist lollies. I also used white mice and jazzie stars, from eBay.

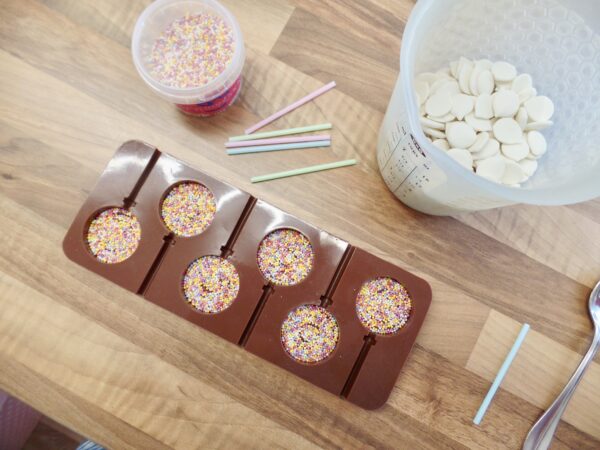
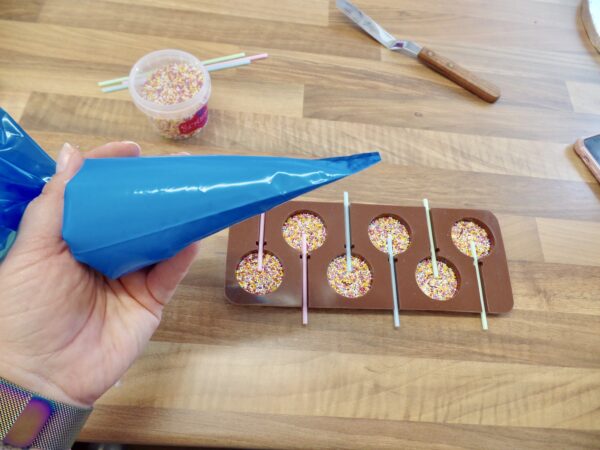
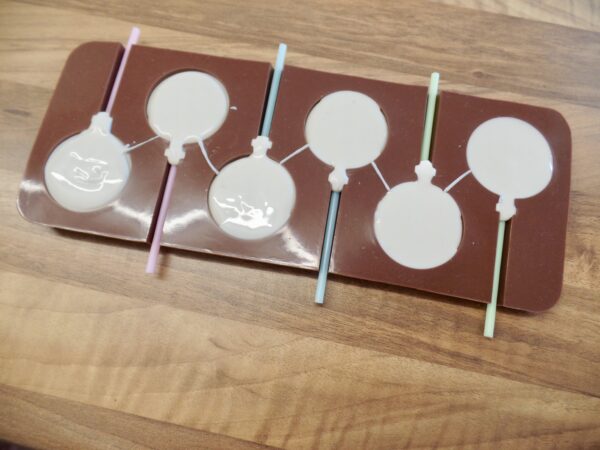

I made the jazzie lollies by using this mould from Iced Jems, as well as some lolly sticks, candy melts and hundreds and thousands. I poured the sprinkles into the mould, then melted the candy melts, poured it in and pushed half a stick into the melted candy. I then left them to set in the fridge.
I then left the whole cake to set completely.
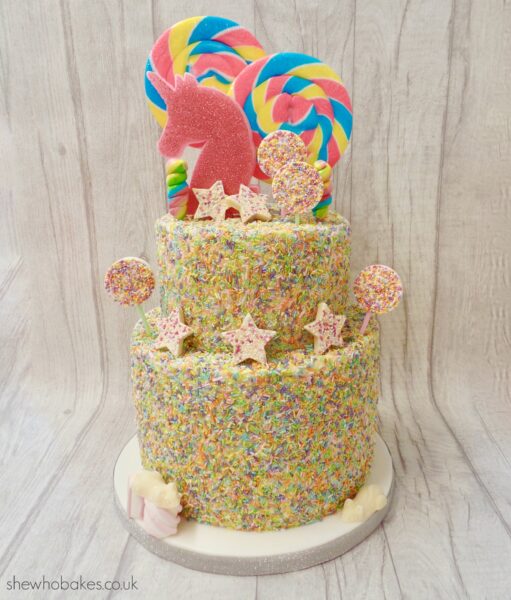
I had a bit of a nightmare the day I assembled the cake. It was really really hot and two of the decorations I’d made that were supposed to go onto to the cake fell apart! So a quick nip to Tesco to pick up an emergency sparkly unicorn was in order! I think it sets off the cake nicely!
It’s a shame my friends won’t be able to see the finished cake in person this year, but I’ll be packaging up some pre-cut slices for them instead.
I hope you’ve enjoyed all of these tips and tricks. I always love writing about the cakes I make in the hope that it may help someone else making something similar!
If you’re baking any of my recipes or using any of my blogs, let me know how you get on, either on Facebook or Twitter or Instagram.
Happy baking!
Britt xo

For more information on how to decorate your cake and go from home bake to showstopper, check out my list of latest online cake decorating courses here.
If you want to turn your baking hobby into a career, check out my book Cakes, Bakes & Business for everything you need to know about running a successful baking business, including pricing, marketing, insurance and much more!