Classic Madeira Birthday Cake Recipe

05/22

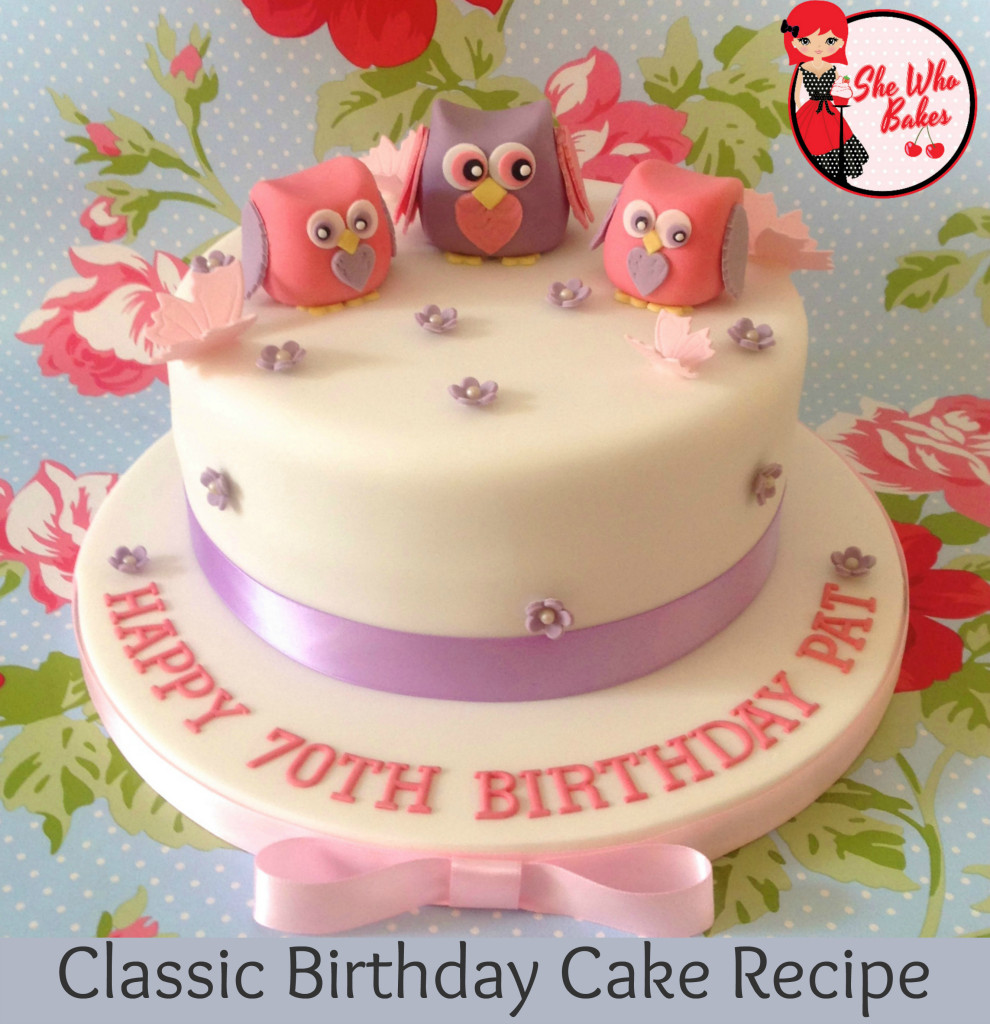
A classic birthday cake will have a few elements to it. A soft vanilla sponge, tart seedless raspberry jam, smooth vanilla buttercream and a layer of sugarpaste (ready to roll icing).

Contrary to popular belief, most birthday cakes aren’t a ‘Victoria sponge’. A Victoria sponge is a soft light sponge, baked in two sandwich tins then put together with jam and fresh cream. Lovely for an afternoon tea, but doesn’t lend itself well to be covered in sugarpaste (ready to roll icing). For this, you are better off using a madeira recipe. It’s close textured and firm, whilst still being light and soft to eat. The inclusion of plain flour makes it stronger and better for decorating.

It’s also perfect for carving cakes too, although if you are carving, I recommend popping the cake in the freezer for about 15-20 minutes before starting work. This will reduce crumbs and make your life a lot easier! For more about freezing cakes, click here.

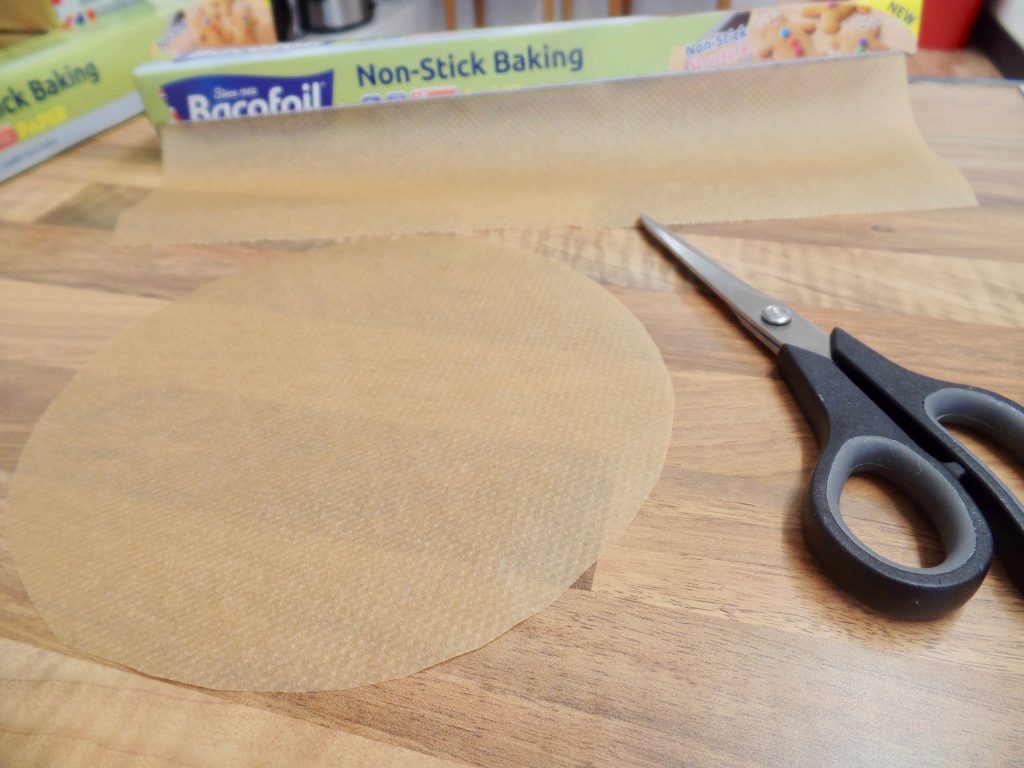
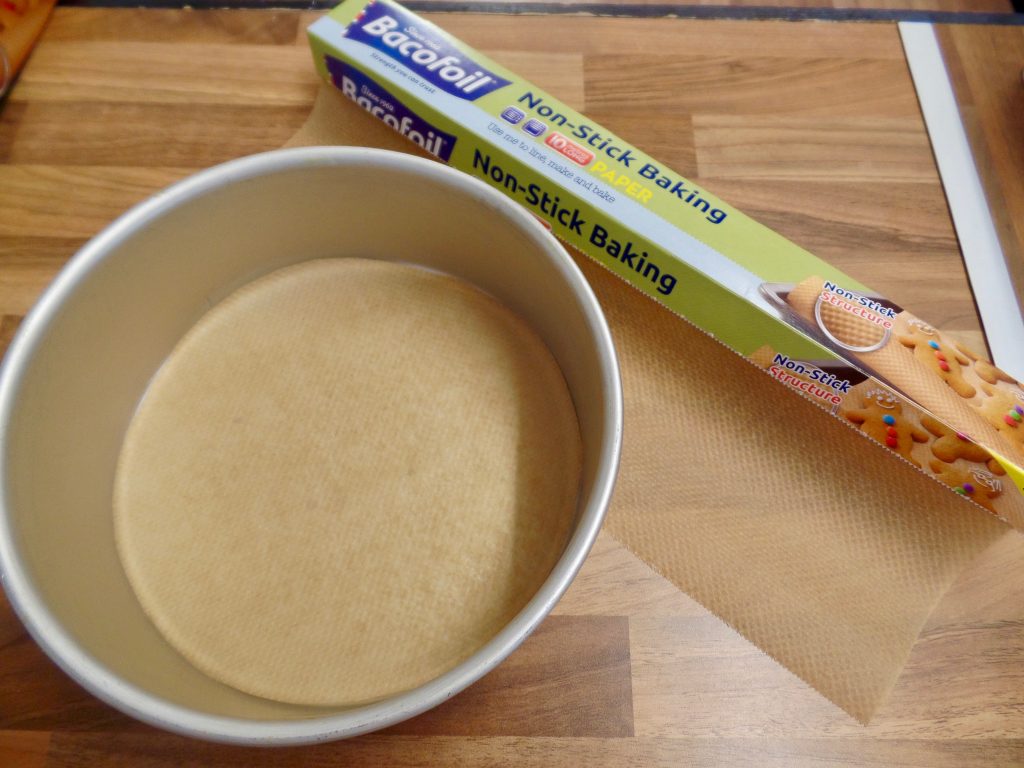
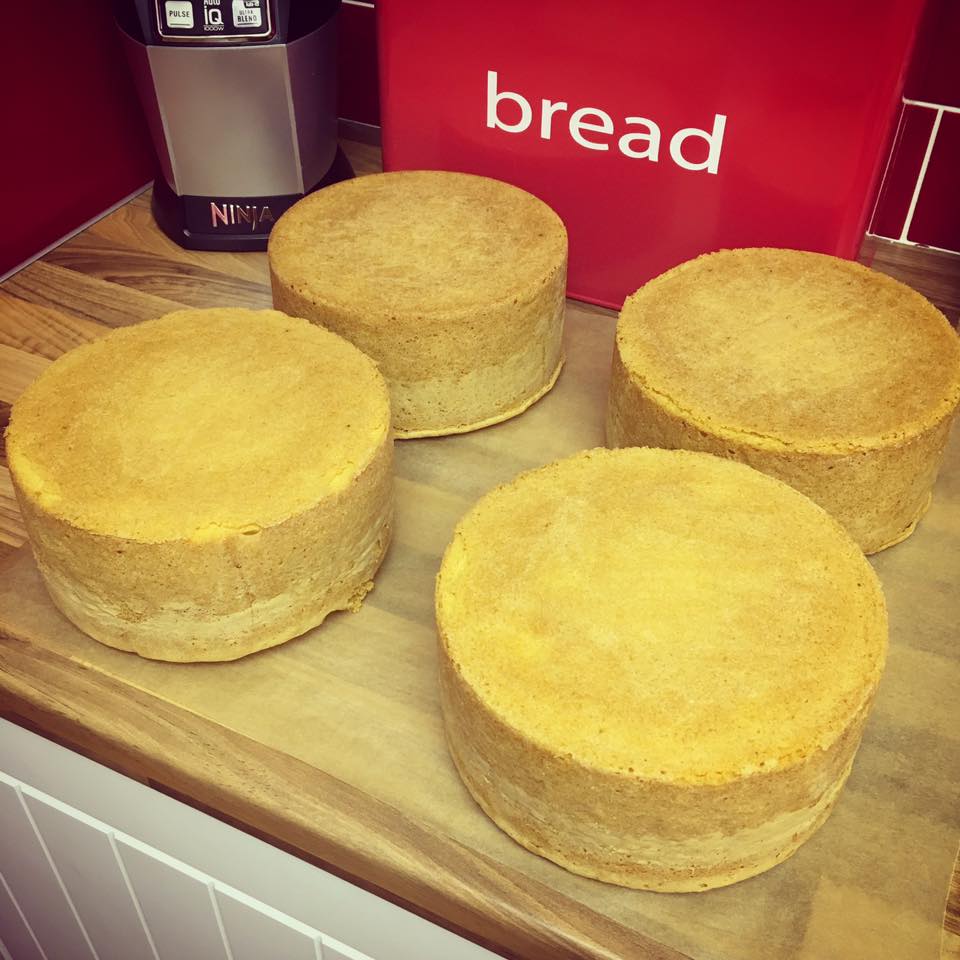
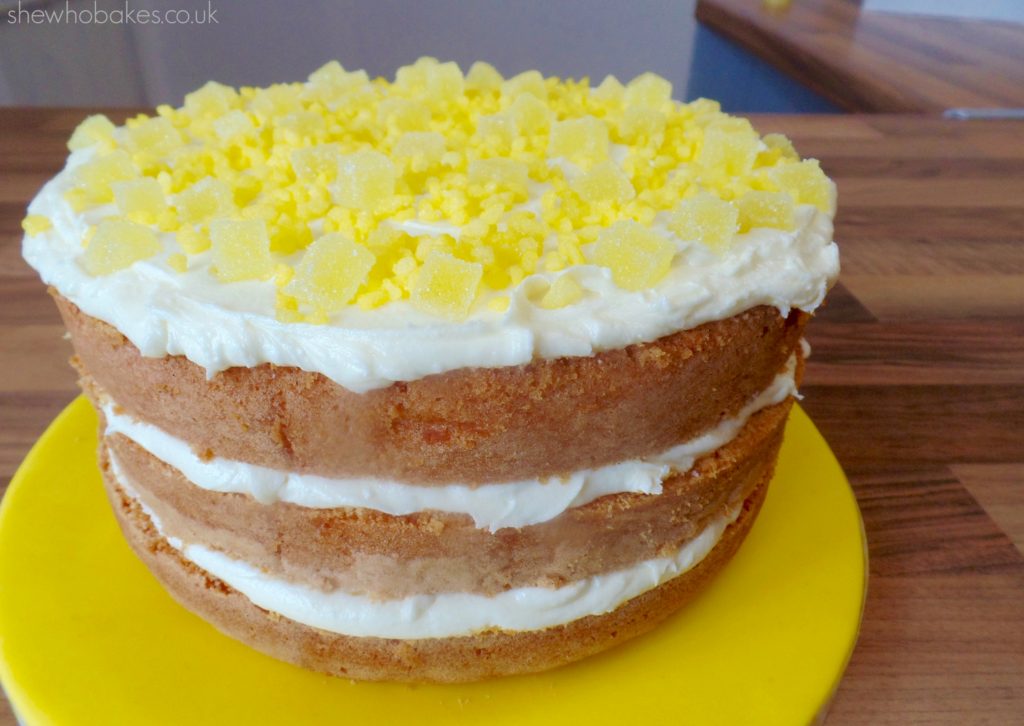
Below is my 7″ round (my most popular size of birthday cake ordered) vanilla madeira recipe and vanilla buttercream recipe. It also is perfect to make 12 cupcakes, for more on cupcakes click here. Make sure all of your ingredients are room temperature as this will help make a better bake! I also recommend lining your tins. I bake one deep cake and use a cake leveller to cut my cake into there sections (see lemon cake below) as opposed to using individual tins, however, this recipe can be used in sandwich tins, just lower the baking time to 35-40 minutes. I use 3″ deep PME tins that are seamless tins made from professional quality anodised aluminium.

If the cake isn’t baked fully when you cut into it, or it’s squidgy in any way, it needed longer in the oven. Ever oven is different and these timings are an approximation. If in doubt, leave it in a further 10 minutes. Due to the low temperature it won’t dry the cake out and will ensure it’s fully baked. The cake needs to spring back to the touch, be golden brown and a skewer come out clean. This will come with experience, the more you bake, the more you’ll know a fully baked cake on sight.

Should you wish to scale the recipe up or down, a number of helpful charts to work this out are easy to find with a quick google. The convertor on CakeFlix is great and they also have a handy app.  I also like this one found on The Pink Whisk or you can use the water trick I explain here.

To make the cute owl toppers in the above picture, check out my tutorial here.

For more information on how to decorate your cake and go from home bake to showstopper, check out my list of latest online cake decorating courses here.

Madeira cakes

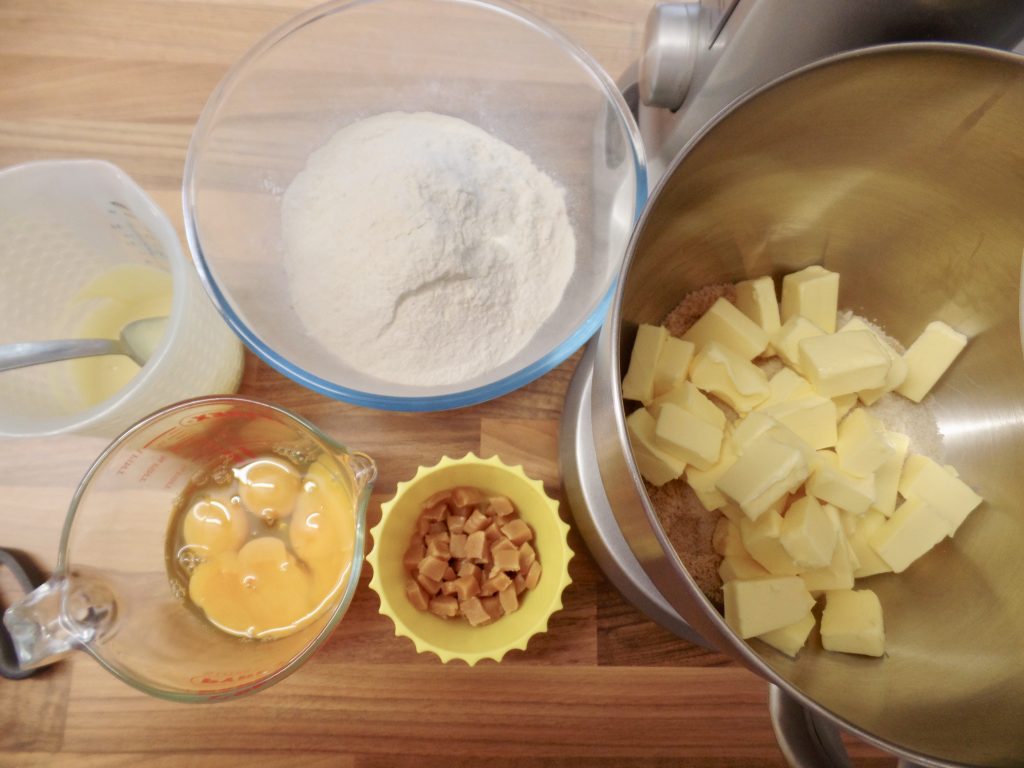
Vanilla Madeira Cake Recipe

  • 200g self raising flour
  • 200g caster sugar
  • 200g Stork/butter
  • 50g plain flour
  • 4 medium eggs
  • 1 tsp vanilla
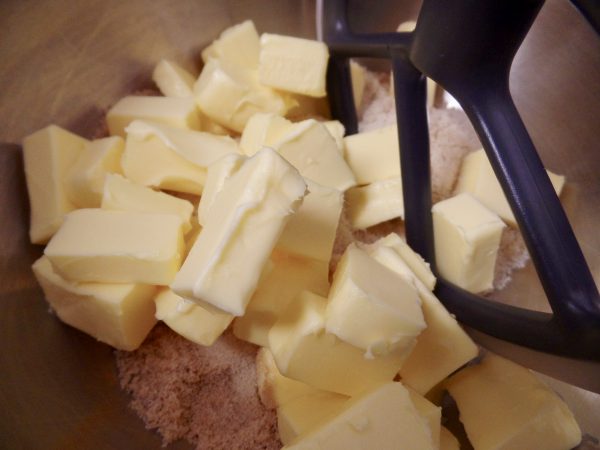
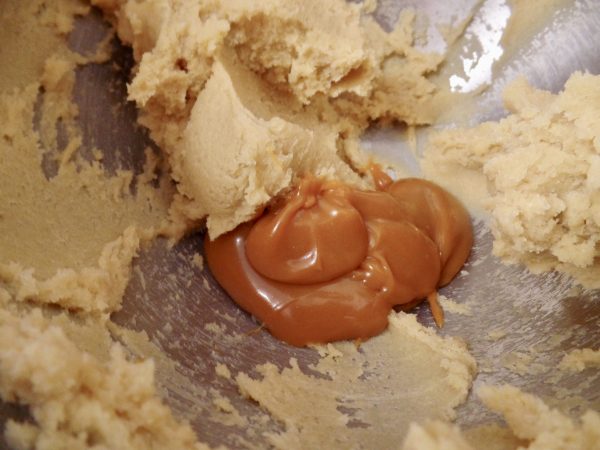
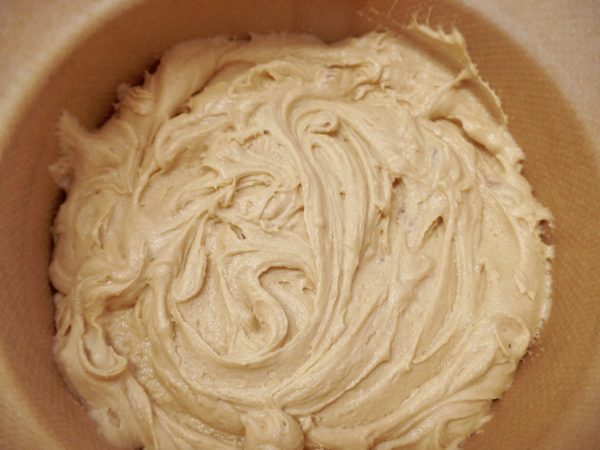
  1. Cream together the Stork and caster sugar.
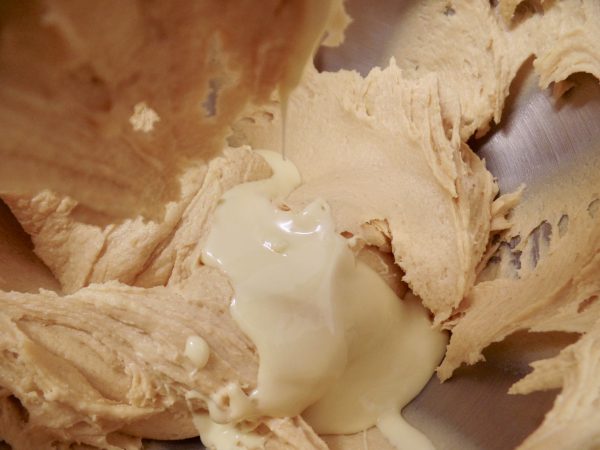
  2. Add in your eggs and mix.
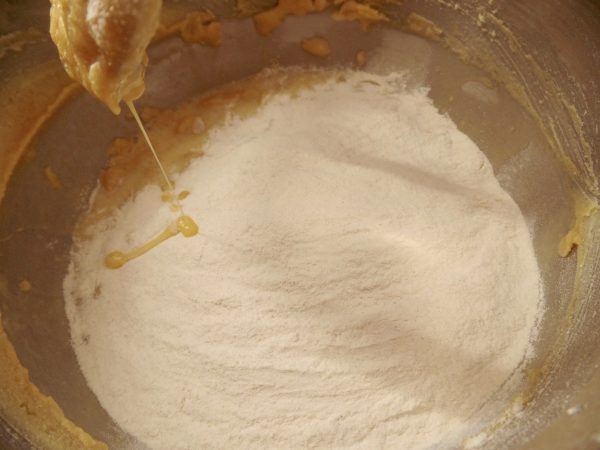
  3. Add in your flour and mix.
  4. Add the vanilla and mix again.
  5. Mix the whole thing for 2-4 minutes on a high speed.
  6. Pour mixture into a greaseproof paper lined, 7″ cake tin. 
  7. Bake at 140C (fan assisted) for 1 hour 40 minutes or until a skewer comes out clean, the cake is golden brown and springs back to the touch. (Check after 1 hour)
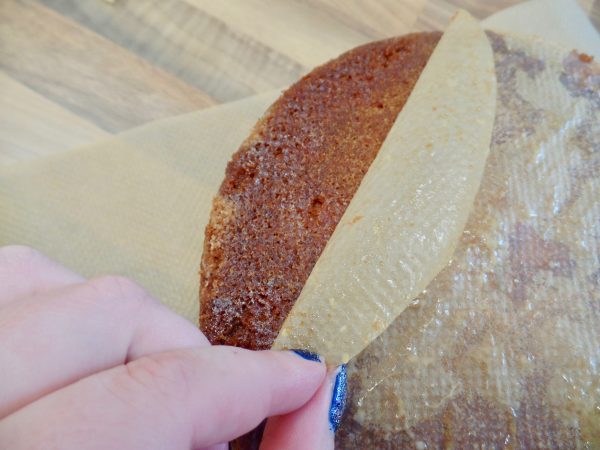
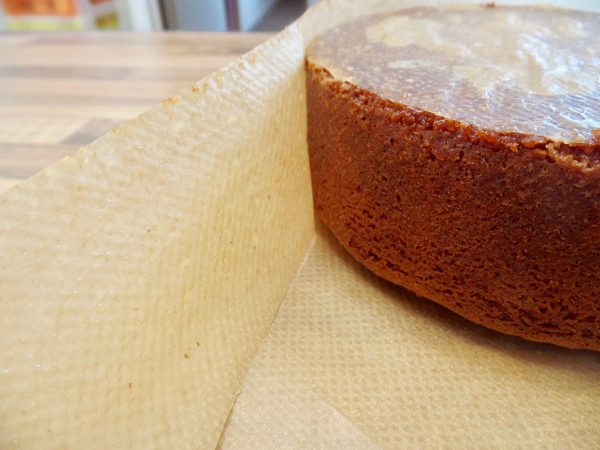
  8. Once baked, after 5 minutes on the side, turn out onto a sheet of greaseproof paper and leave upside down to cool. This ensures a nice flat top.
  9. Once cooled, wrap in clingfilm overnight to ‘settle’.
  10. Once split, filled and iced, this cake will last 7-10 days and will freeze well for 3 months.

NOTE: This recipe is for a 7″ round tin. It is not enough mixture for bigger tin sizes. For this, you will need to convert the recipe here.

For a chocolate madeira;

Follow the recipe above and replace the plain flour for cocoa powder and add 100g melted dark chocolate. For chocolate buttercream, follow the recipe below and add two tablespoons cocoa powder and 50g melted dark chocolate.

For a lemon madeira;

Follow the recipe above and add the zest of one lemon plus two teaspoons of lemon extract. For lemon buttercream, follow the recipe below and add two teaspoons of lemon extract and the zest of one lemon.

Vanilla Buttercream Recipe

  • 250g unsalted butter
  • 500g icing sugar
  • 1 tsp vanilla
  1. Cream the butter on it’s own for a few minutes.
  2. Add icing sugar.
  3. Add vanilla.

You can watch me bake this cake in real time on my Facebook page here; PART 1. PART 2.

Give it a go and let me know how you get on, either on Facebook or Twitter or Instagram.

For more information on how to decorate your cake and go from home bake to showstopper, check out my list of latest online cake decorating courses here.

If you want to turn your baking hobby into a career, check out my book Cakes, Bakes & Business for everything you need to know about running a successful baking business, including pricing, marketing, insurance and much more!

Happy baking!

Britt xo

Lemon Madeira by She Who Bakes

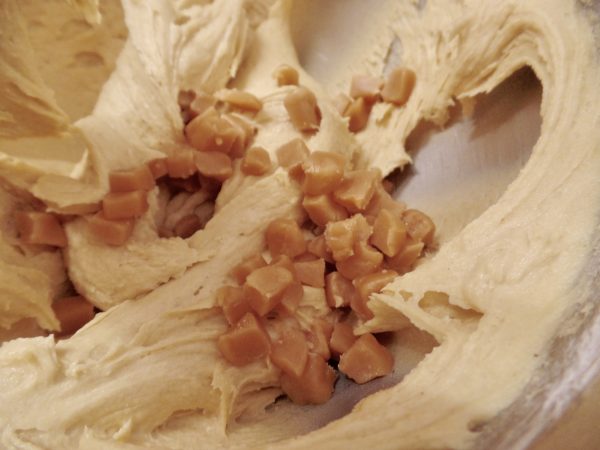
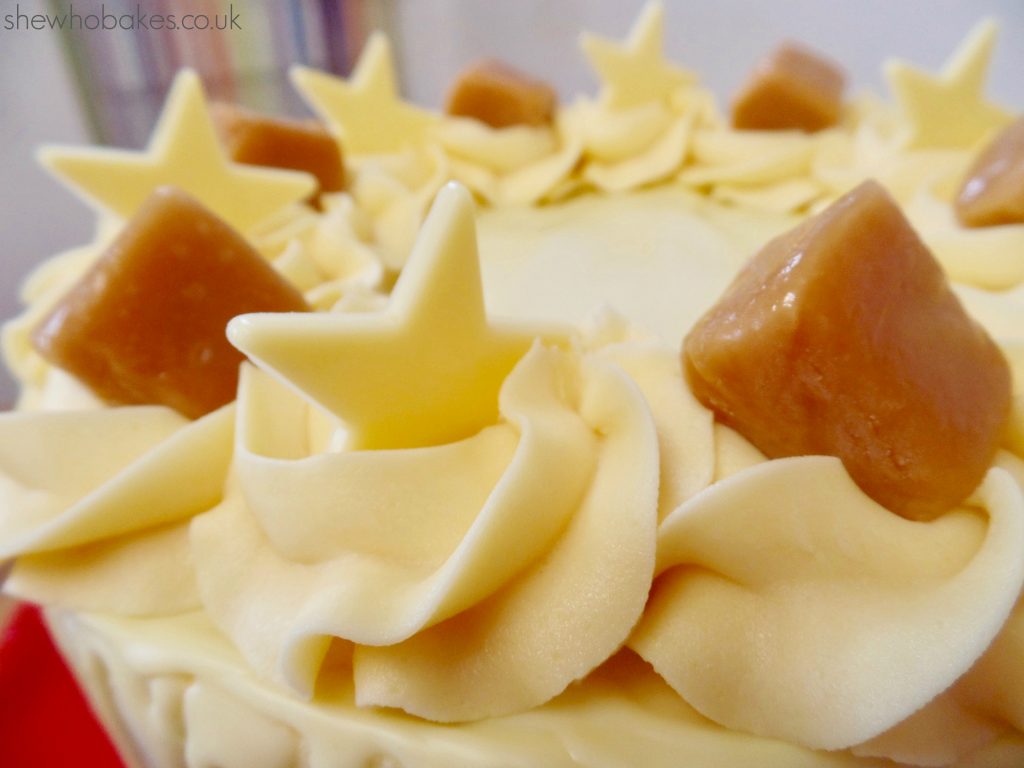
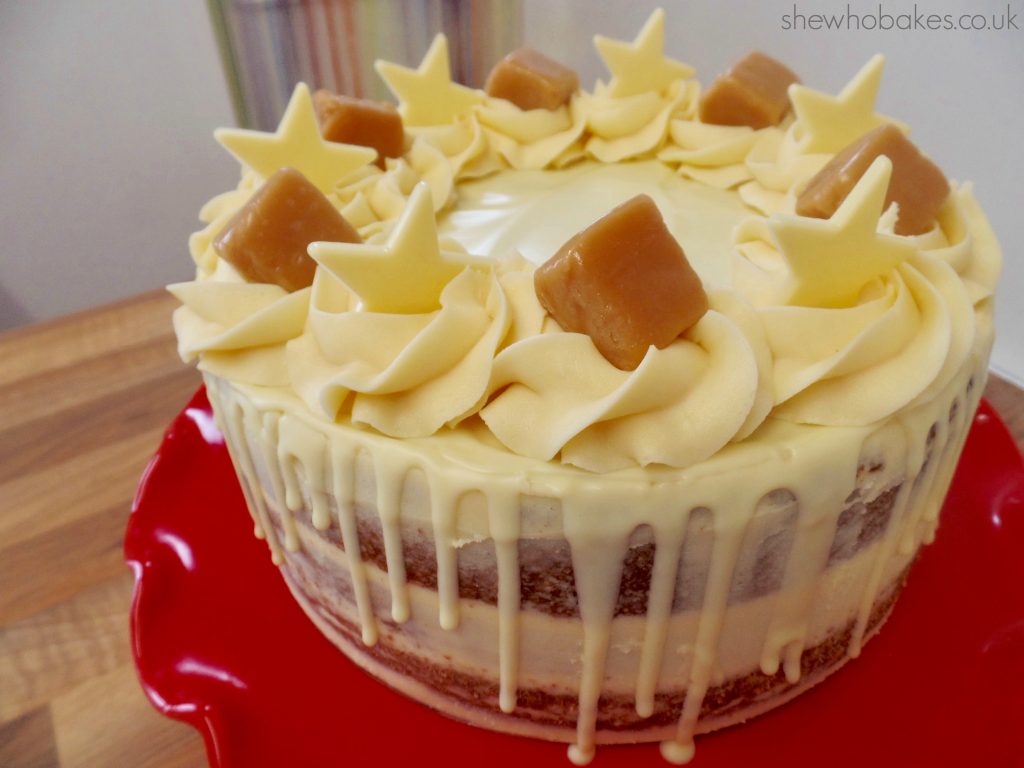
Topped with Scrumptious Sprinkles Lemon Crunch & Lemon Jelly Squares! I LOVE them!! xo

Salted Caramel, Fudge & White Chocolate Cake

05/22

[AD] Well, baking season is well and truly upon us! I know for some of us, myself included, baking is a year round joy but with The Great British Bake Off returning to our screens we turn our attention away from the sunny BBQ’s of summer and on to the falling leaves, cosy nights, tasty home bakes and all the joys of Autumn!

This week, I partnered with Bacofoil® to try out their Non-Stick Baking Paper.

I had never used it before but had seen it on the supermarket shelves so I was both intrigued and excited to try it. I wanted to create a recipe that included super sticky ingredients, notorious for sticking to the tin. So I went with three of my favourite flavours; fudge, salted caramel and white chocolate.

With all three ingredients included in the cake, I felt it was a good way to put this product to the test! The Non-Stick Baking Paper felt different to other baking papers I’ve used in the past. This is because it has an innovative and unique Non-Stick textured surface – the little dimples on the paper mean there is less surface area in contact with the bake so everything bakes evenly and food just slides off, making cake mess and cookie disasters a thing of the past! It’s also non-stick on both sides which makes quick baking much easier!

I’m lining my cake tin with Bacofoil® The Non-Stick Baking Paper and as it’s non-stick, there’s no need to grease the tray! This also means it saves on the washing up. Win!

For this bake, you have a choice. Depending on how adventurous you feel.

You can make your own salted caramel, which is actually really simple, the biggest worry is not letting it burn, and if you would like to I have included the ingredients and method below. Or you can use store bought salted caramel sauce. The results are the same, so it’s completely up to you!

Salted caramel ingredients –

  • 225g golden caster sugar
  • 60ml water
  • 175ml double cream
  • 50g unsalted butter
  • 1 ½ teaspoon sea salt

To make the salted caramel:

  • Mix together the water and sugar on a medium heat. Shaking the pan every so often.
  • When it starts to bubble, take it off the heat.
  • Mix in the butter, pour in the double cream and whisk well.
  • Add in the sea salt and leave to cool.

Cake ingredients –

  • 300g self raising flour
  • 140g golden caster sugar
  • 140g light brown sugar
  • 285g unsalted butter
  • 75g plain flour
  • 5 eggs
  • 50g melted white chocolate
  • 50g fudge pieces
  • 4 tablespoons salted caramel sauce

To make the cake:

  • Cream together the unsalted butter and sugar.
  • Add in the salted caramel and mix well.
  • Add in the eggs and mix again.
  • Fold in the self-raising flour and plain flour.
  • Pour in the melted white chocolate and add the fudge pieces.
  • Spoon this mixture into a 8” round tin lined with Bacofoil® The Non-Stick Baking Paper.
  • Tap on the side to get out any air bubbles.
  • Bake at 140C for 1 hour 45 minutes or until it is fully baked and a skewer/cake tester comes out clean.

Once the cake is baked, I like to turn it out from the tin soon after removing it from the oven. One of the main reasons I do this is to ensure a nice flat top. If you take the cake out of the tin and leave it to cool upside down on the side (not on a wire rack), then any bumps on the top flatten, leaving you with a lovely flat, even cake to decorate later!

Using oven gloves, as the tin will still be hot, turn out the cake onto a strip of Bacofoil® The Non-Stick Baking Paper on the side. The great thing about Bacofoil® The Non-Stick Baking Paper is that as the paper comes away from the cake so easily, bakes look perfect and nothing sticks to the paper!

Leave to cool completely. I also like to leave my cakes until the next day before cutting into and filling so once the cake has cooled, wrap it well in two layers of cling film and leave overnight.

Decorating the cake:

I’m going to be filling this cake with a salted caramel buttercream but feel free to get as adventurous as you like! A chocolate ganache would work just as well, as would a white chocolate buttercream or something else entirely!

Salted caramel buttercream –

  • 250g unsalted butter
  • 500g icing sugar
  • 2 tablespoons salted caramel

To make the buttercream:

  • Cream the butter on its own for 5 minutes.
  • Add in the icing sugar.
  • Add in the salted caramel and mix well.

Don’t add in any liquid to the buttercream like water or milk. The salted caramel sauce is all it needs.

To split and fill the cake, I recommend to use a cake leveller. They are readily available in cake shops and online. Because I’m using a leveller as opposed to a knife, I feel more comfortable cutting the cake. For this cake, I’m going to split it twice, creating three lovely layers.

Split the cake once about a third of the way up and then again halfway between the first cut and the top of the cake. You can measure if you like but I normally do this by eye! Once cut, carefully take the top two layers off and spread your filling. Then reassemble an take off the top layer, adding more buttercream. Then reassemble and chill in the fridge for 10 minutes. This firms up the buttercream and makes it easier to handle.

Once chilled, spread a layer of buttercream on the top of the cake and a thin layer around the sides, creating the ‘semi-naked’ look.

To finish the cake, melt a little white chocolate and pour onto the top, using a palette knife to push the chocolate to the edge of the cake, allowing it to drip down. Top with rosettes of buttercream (I used a 2D nozzle), white chocolate stars and more fudge pieces.


Leave to set and enjoy!

This cake, once baked will last 3-4 days if wrapped well.

I loved working with Bacofoil® The Non-Stick Baking Paper. It made making this cake really easy and it’s a great product I will certainly use again! It’s ideal for all kinds of baking jobs – lining, making and baking and for all types of food – savoury or sweet! The next thing I think I’ll use it for is some chocolate chip cookies!!

For more information about Bacofoil® and all of their products, check out their website www.bacofoil.co.uk

Happy baking!

Britt xo

This is a sponsored post in partnership with Bacofoil®  All views and opinions are my own.

Sign Up to my Newsletter

Subscribe here to my newsletter!

Designed by Clockwork Moggy