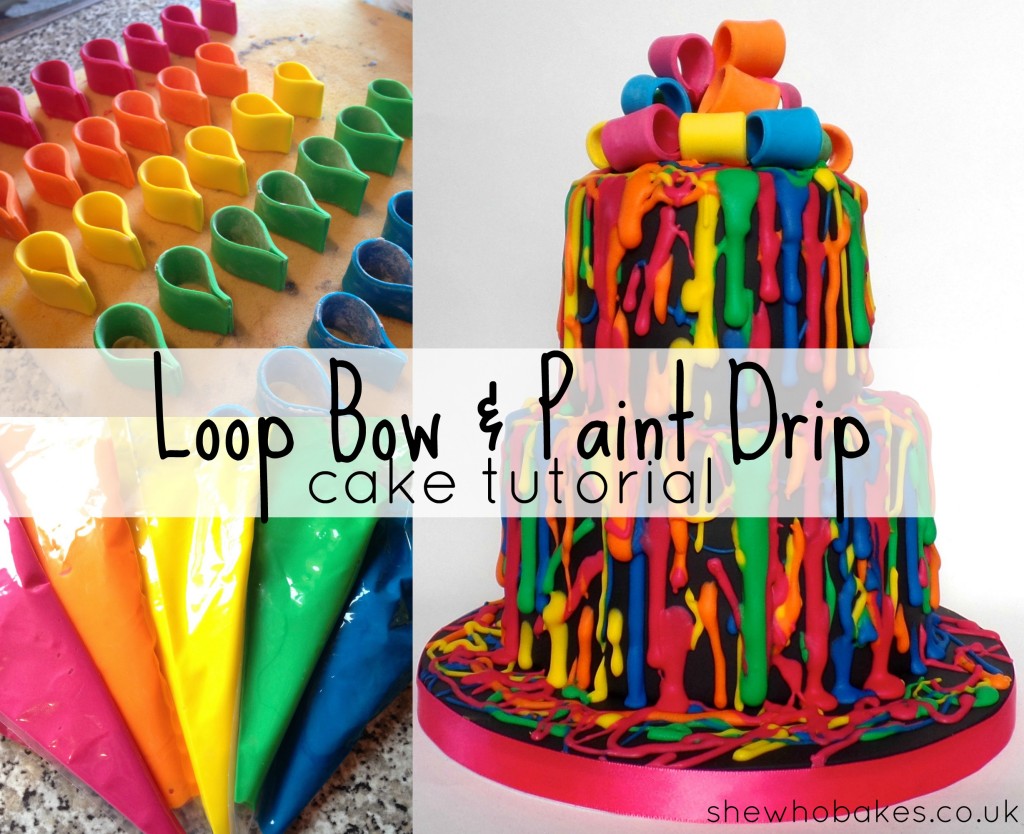
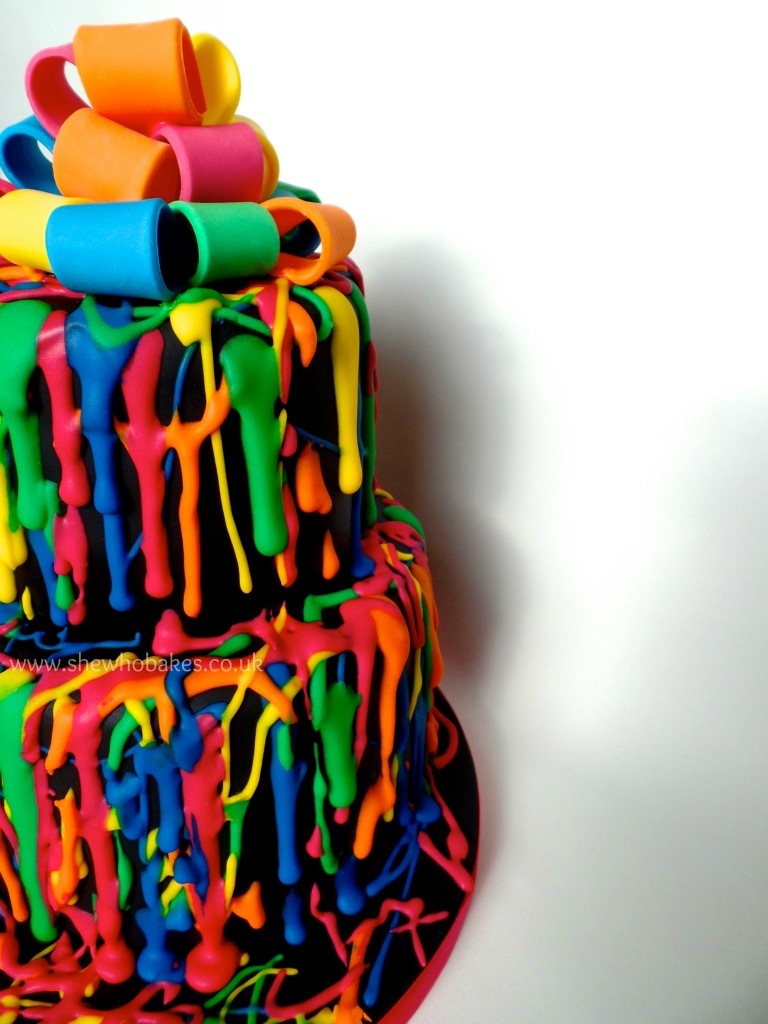
Today, I’ll be sharing with you how to make this loop bow and paint drip cake!
Firstly, you need to split, fill and ice your chosen cake or cakes. I’ve made this into a small two tier (7″ and 5″ round) as it was for my friend’s daughters birthday. However, this effect is great on a single tier too! The choice is yours.
Once you have iced your cake or cakes, it’s important to let them ‘set’ overnight. That way when we are sticking our bows to the icing, we aren’t going to damage it and it will be easier to create the paint drips on dry icing.
To make the bows, I’ve used modelling paste which I have coloured with Sugarflair concentrated colours as I find them to make the most vivid colour! You can similarly use Mexican or flower paste if you prefer, but I would not recommend sugarpaste as it’s simply too soft. (My article on the different types of icing and their uses can be found here.)
Roll out your modelling paste on a cornflower surface to an even thickness. I’ve used a set of small rolling pin spacers. (You can buy them from Iced Jems.)
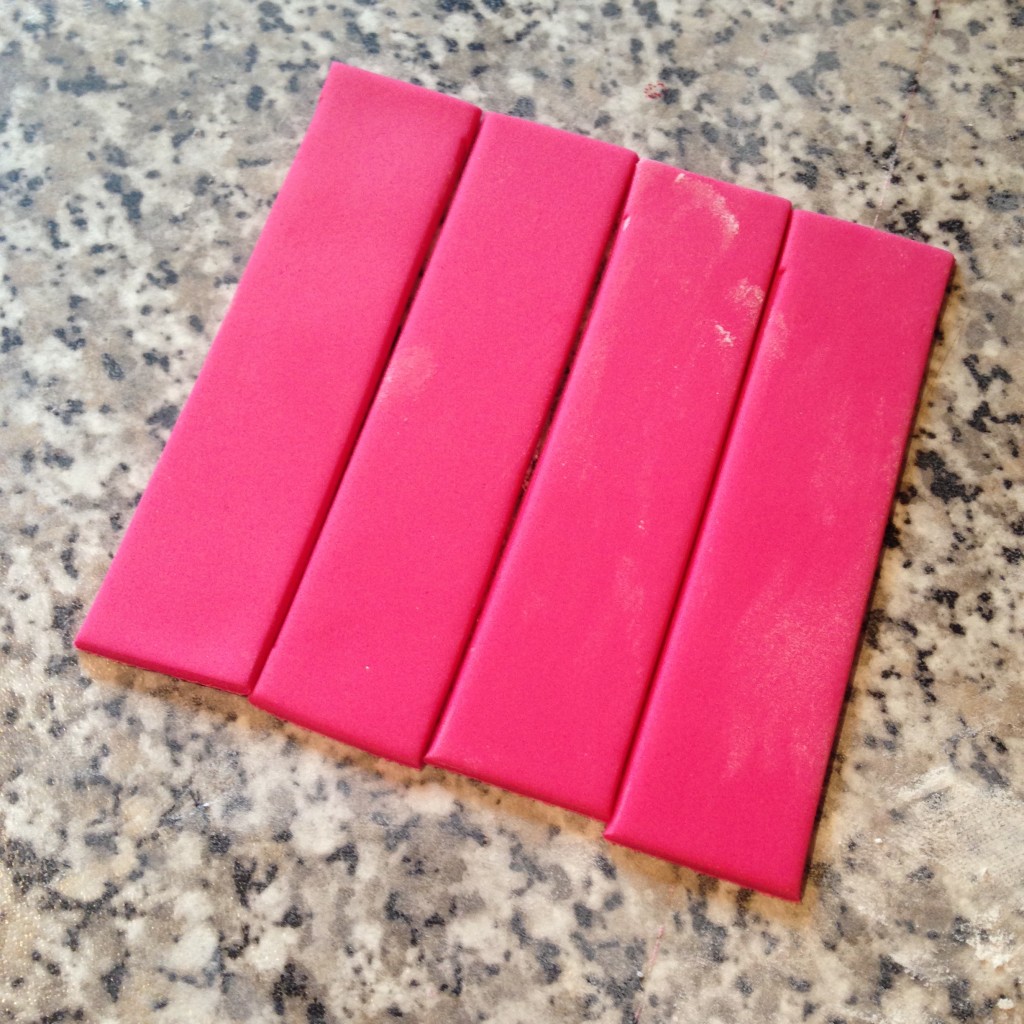
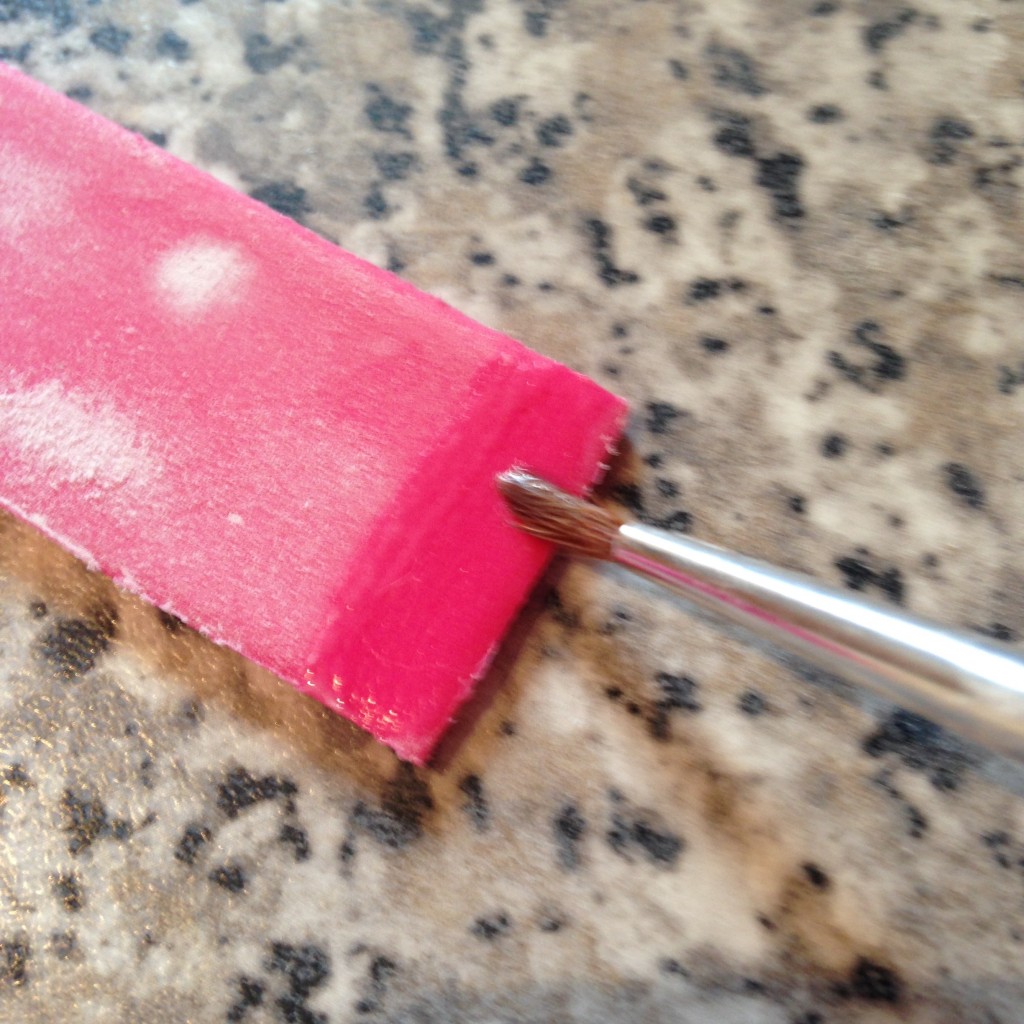
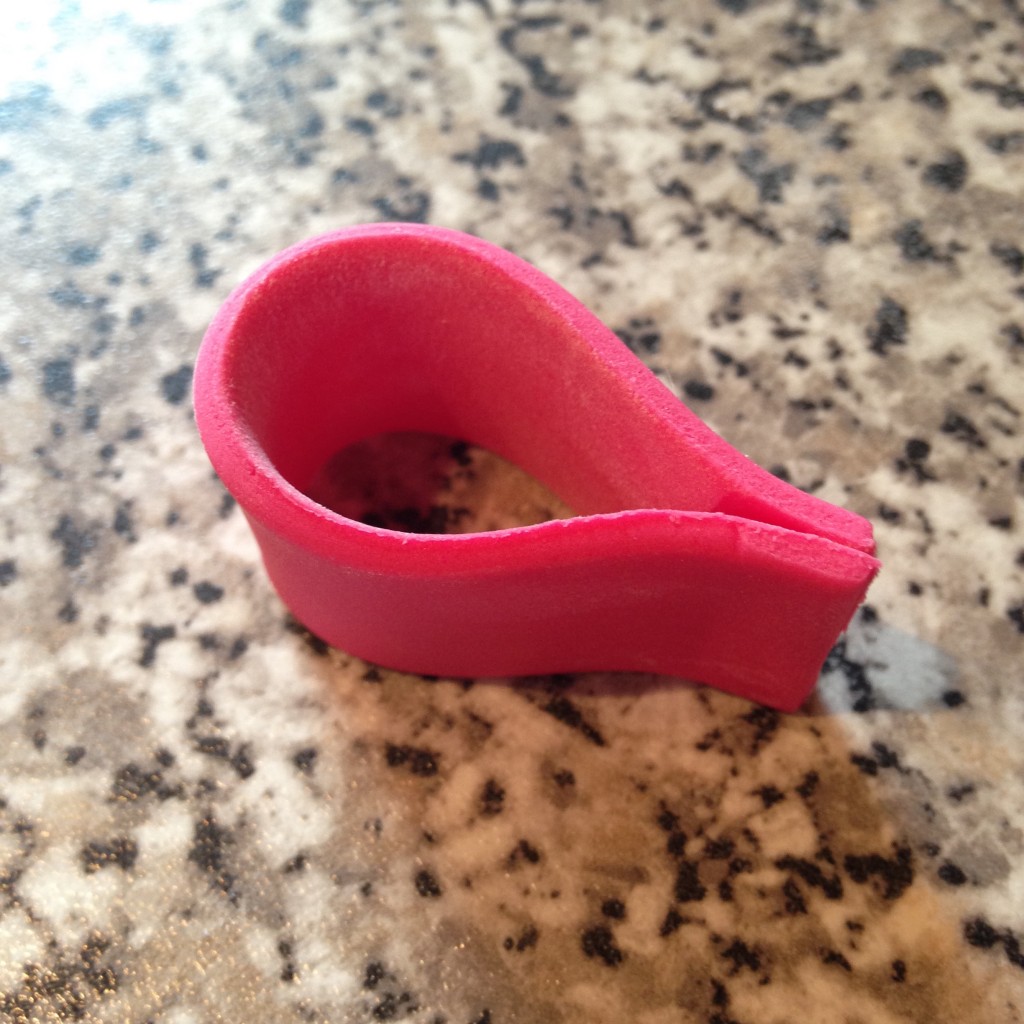
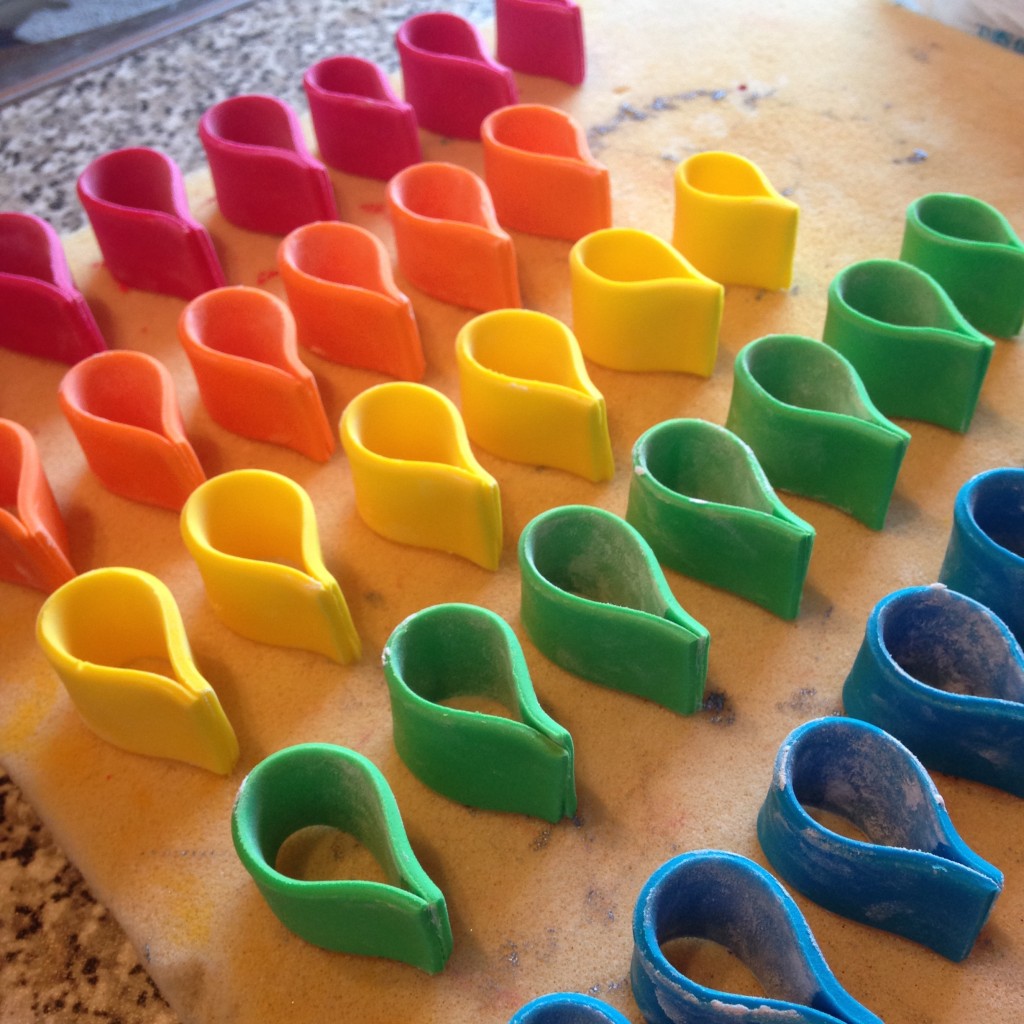
Once rolled out, cut into even strips using a sharp knife or a cutting wheel. Then, glue the end of a strip and fold it over gently to create a bow. It should hold its shape when placed on its side. If it doesn’t, chances are the paste you are using is too soft. Add in a stronger paste (Mexican or flower) to counteract this.
Repeat with any and all colours and leave them to dry on foam, preferably overnight. Drying on foam allows air to circulate all the way round the loop so that they dry completely.
Don’t worry if you have got cornflour in the middles, once they are dry, this can be brushed off with a large dusting brush. For stubborn cornflour marks, use a little rejuvenator spirit or vodka.
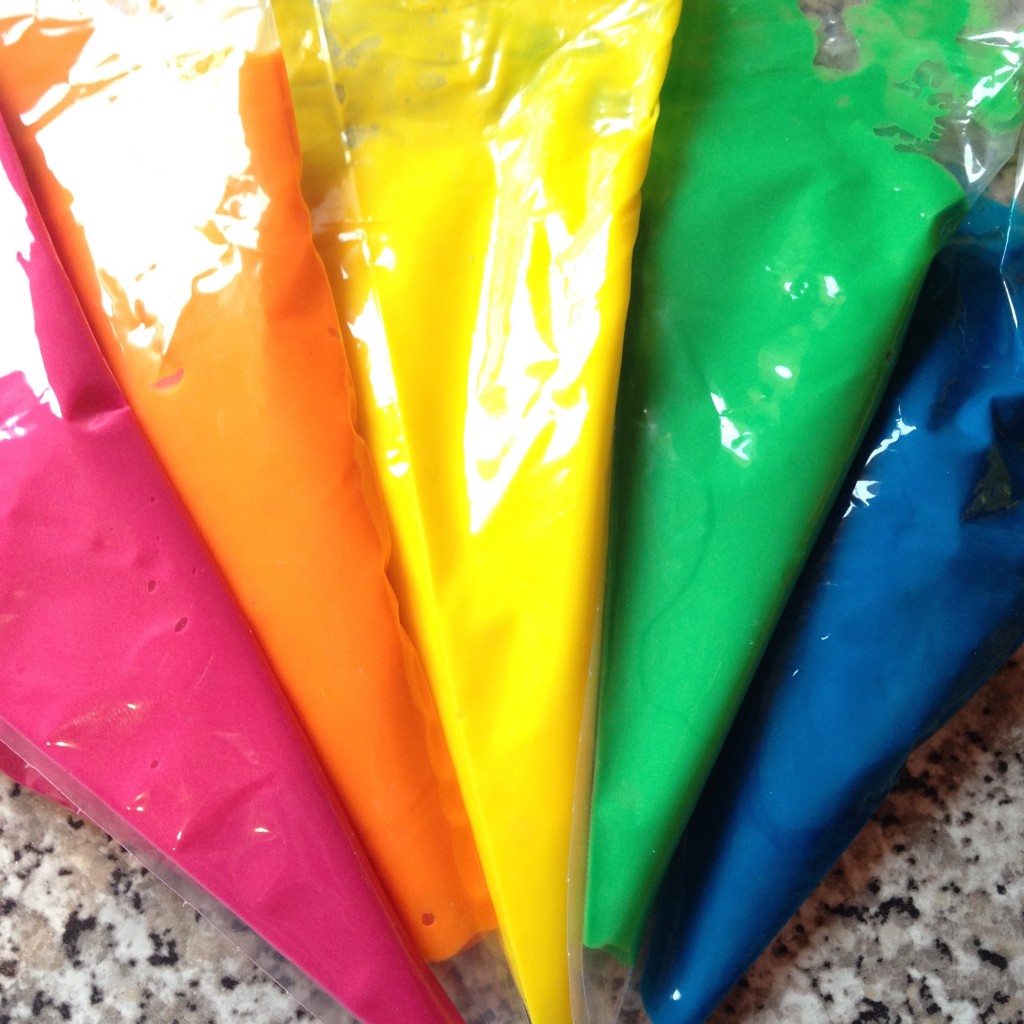
For the paint drips, colour up royal icing however you would like but you need to make sure it’s on the runnier side. We don’t want it stiff for piping delicate details. Add in a little more water than you would usually until is flows off a spoon. (Think, run out consistency.) You can always make your own royal icing, but I find royal icing powder, available from all good supermarkets, is perfect for this.
Starting from the top middle of your cake, squeeze out a little coloured royal icing and let it drip down the side of the cake. You can do small amounts at a time, changing the colours when you like. I wanted quite a bright and shocking effect with this cake which is why I went with black icing and rainbow colours, however, when I taught this cake as a two day class, one lady did white icing with pink and yellow ‘drips’ for Easter and it looked awesome!
You can really let your imagination run wild with this design.
If you don’t want to use royal icing, you can use white chocolate and colour it with concentrated colours, I would recommend powder colours when working with chocolate to stop it seizing.
Once you have ‘painted’ the cake and you are happy it’s finished. (It can be hard to step away from it!) let your drips dry completely.
Then, to assemble your loop bow, create a circle on the top with your loops, then using a little royal icing as glue, layer them on top of each other in another round, finishing with a few sticking out of the top.
Leave this all to dry overnight and there you have it, a loop bow, paint drip cake!
If you want to turn your baking hobby into a career, check out my book Cakes, Bakes & Business for everything you need to know about running a successful baking business, including pricing, marketing, insurance and much more!
Give it a try and let me know how you get on either on Facebook or Twitter and Instagram.
Happy baking!
Britt xo

