If you follow my Twitter or Instagram you may know that a few years ago in 2015, I developed a rather severe egg allergy. It happened almost overnight and one day I could eat eggs fine, and the next I was in hospital in agony. The rather bizarre thing was, eggs baked into cakes and cookies etc, I would be absolutely fine with. But scrambled, poached, omelettes and even quiche was out of the question. I would be rolling around in agony and I wasn’t up for that to be honest so I completely cut eggs out of my diet (with the exception of cakes, luckily!). I found a bit of information about this kind of allergy here if you’re interested.
Since then I’ve been researching for egg substitutes in goodies that have made me unwell, meringues being one of them.
I saw online that you could actually make meringue from aquafaba, which is the water from a can of chick peas! I was ultimately rather skeptical, but having watched a few videos and read a few blogs, such as this one from Sainsbury’s, I wanted to give it a go myself to see if I could enjoy meringue again!
It had been on my list of things to make but as of late I had been taking a little bit of a baking break, then this afternoon I had made this gorgeous Spanish Chickpea and Spinach Stew by Lazy Cat Kitchen and just as I was about to drain the precious aquafaba down the sink, I remembered; MERINGUE!
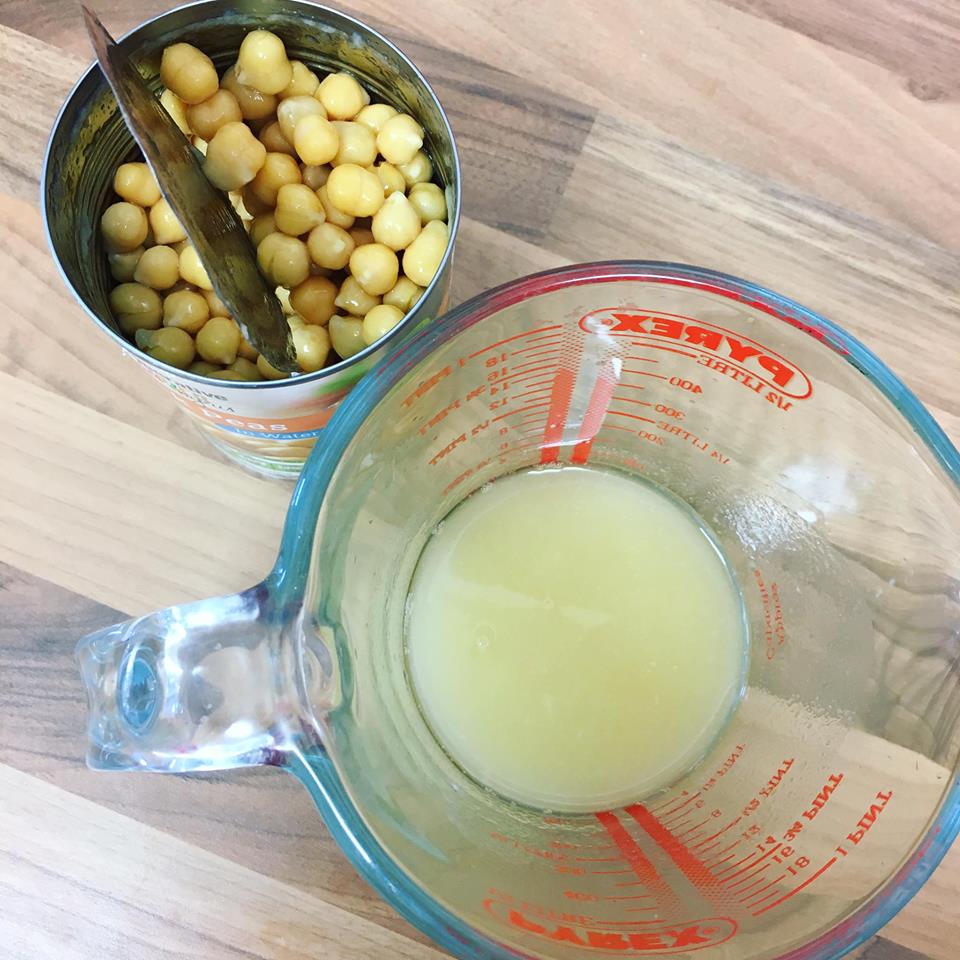
It’s ultimately exactly the same process as normal meringue. Whisk up the ‘egg’, in this case aquafaba, add in flavouring and dry ingredients, pop on a baking tray and leave in the oven for 7 days. Ok, only a few hours but it feels a lot longer when you wanna see what it turns out like!
There are lots of different variations on this recipe but I went with a basic meringue of –
- 1 x 400g can chick peas, drained. (For the actual chick peas, I highly recommend the stew recipe I’ve linked above! It was delicious).
- 120g Icing Sugar
- 1 tsp vanilla
I’ve seen other recipes with cream of tartar in it, which I should have probably used but I didn’t have any in the cupboard.
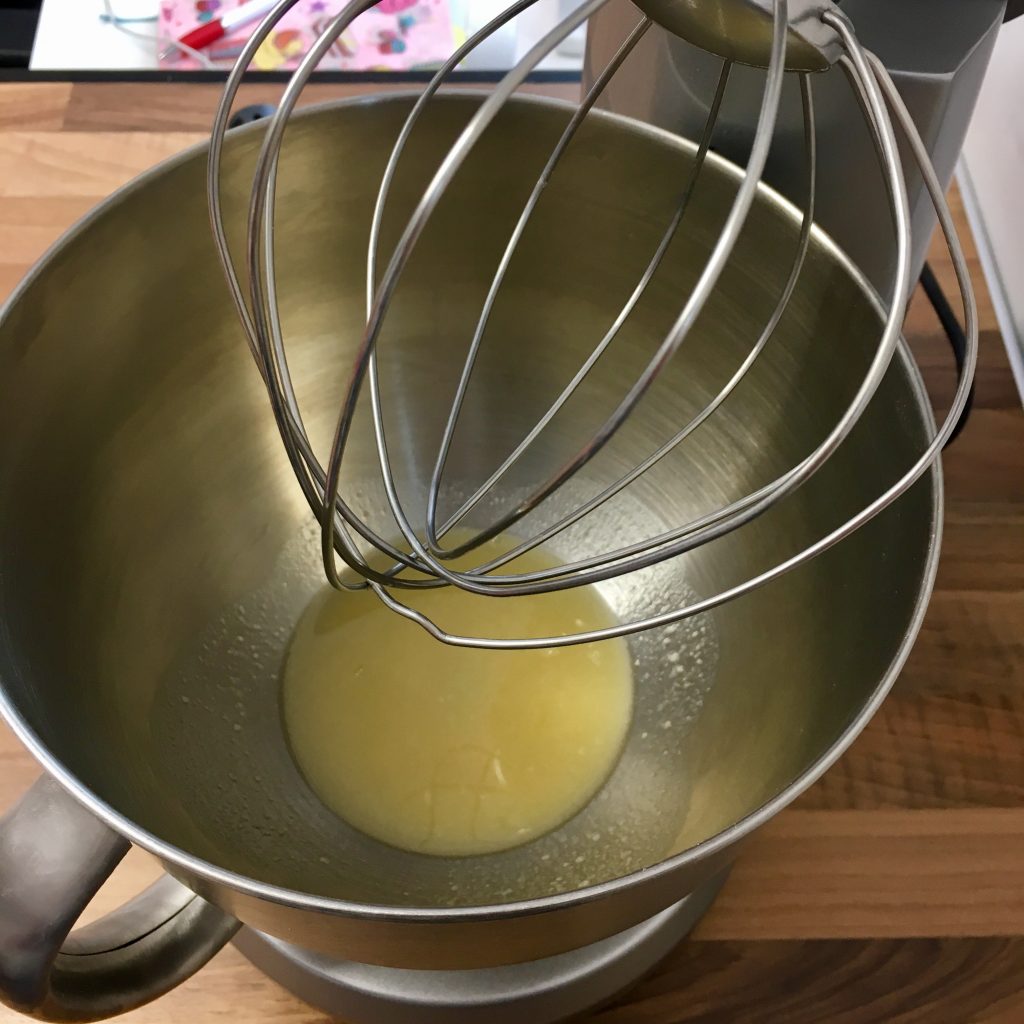
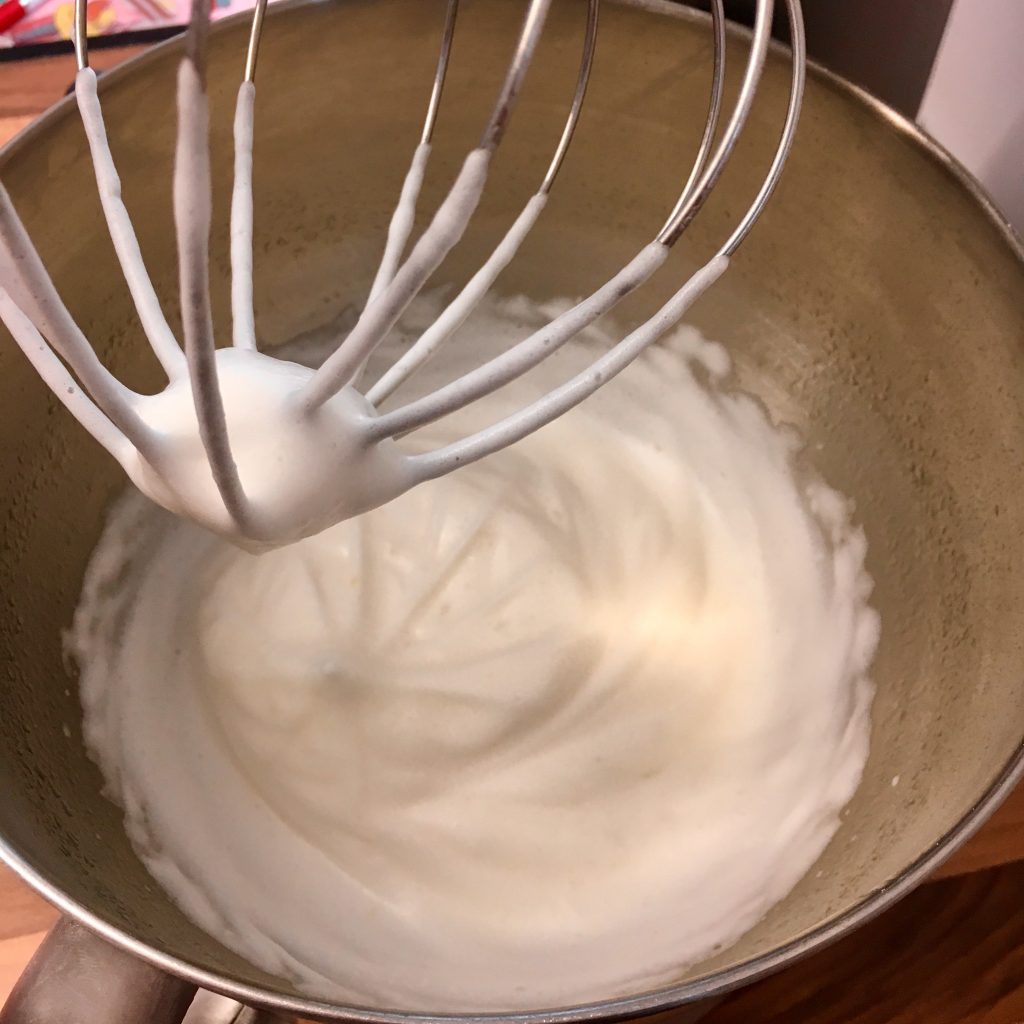
Whisk up the aquafaba on a high speed until it goes white, fluffy and has ‘soft peaks’. NOTE: This took longer than it usually does with normal egg whites so persevere and keep at it.
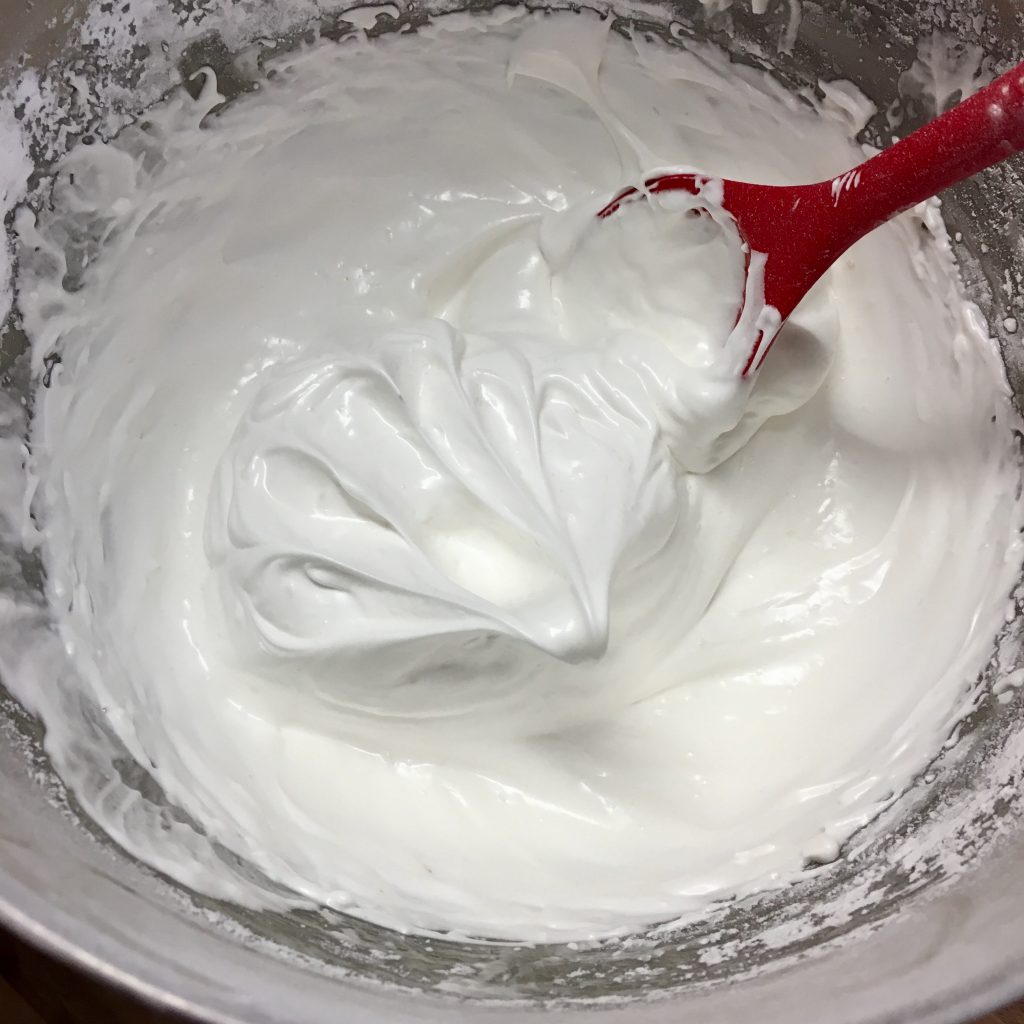
Add in the vanilla and icing sugar one tablespoon at a time.
There are so many options when it comes to meringue designs. You can pipe it into an attractive shape, blob it on using a spoon, make kisses using a star nozzle, the choice is up to you. Whatever you decide, put your meringue onto a baking tray lined with greaseproof paper.
I went with a mixture of kisses and swirls, because why not. I also wanted to add a bit of colour to mine as I love all things bright and colourful.
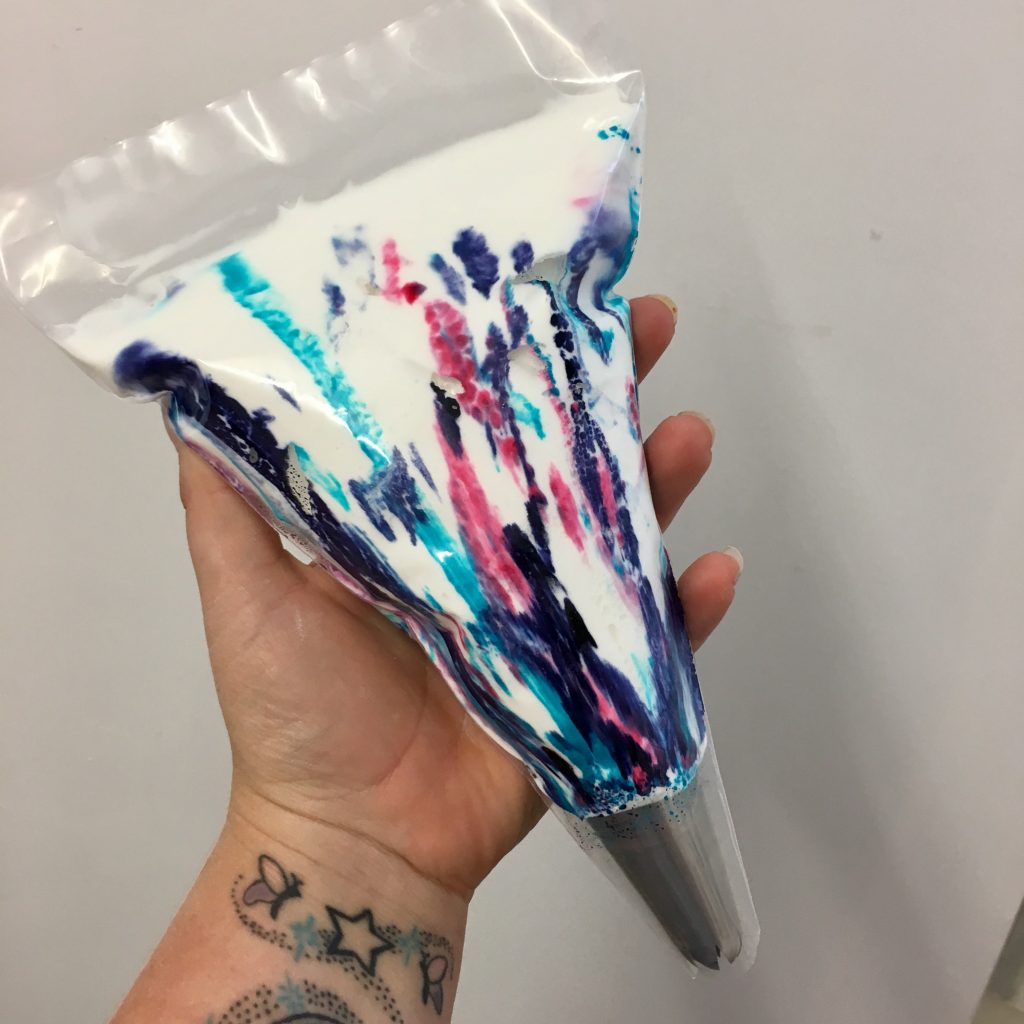
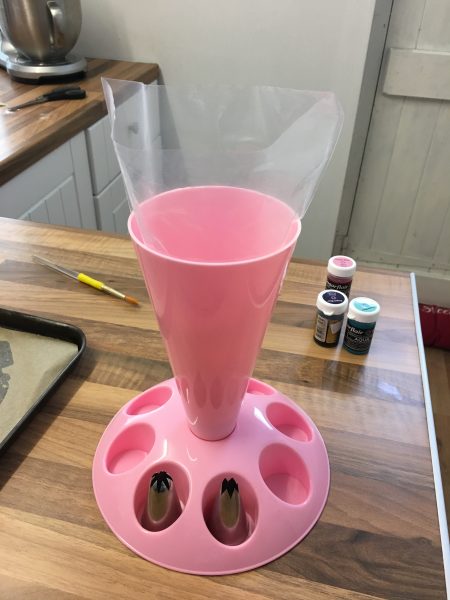
I fitted a disposable piping bag with a closed star 1J nozzle and painted Sugarflair concentrated food colouring up the sides of the piping bag. For this I used Deep Purple, Aqua Blue and Baby Pink. For more detailed photos on this aspect, check out my other blog post here about dyed buttercream. They piped the same as normal meringue. So far, so good.
I also used a piping bag holder from Iced Jems which has been a life saver. Do you know how many times I’ve dropped a piping bag while trying to fill it one handed? Lots. Lots of times.
I then piped my swirls and stars onto a greaseproof paper lined tray and baked at 90ºC fan assisted for 2 hours, then turned the oven off and left them in there until the oven had gone cold. I actually turned the oven off and went out for the evening so I couldn’t tell you exactly how long they were left in there but I would personally leave them in for a further hour at least once your oven is off.
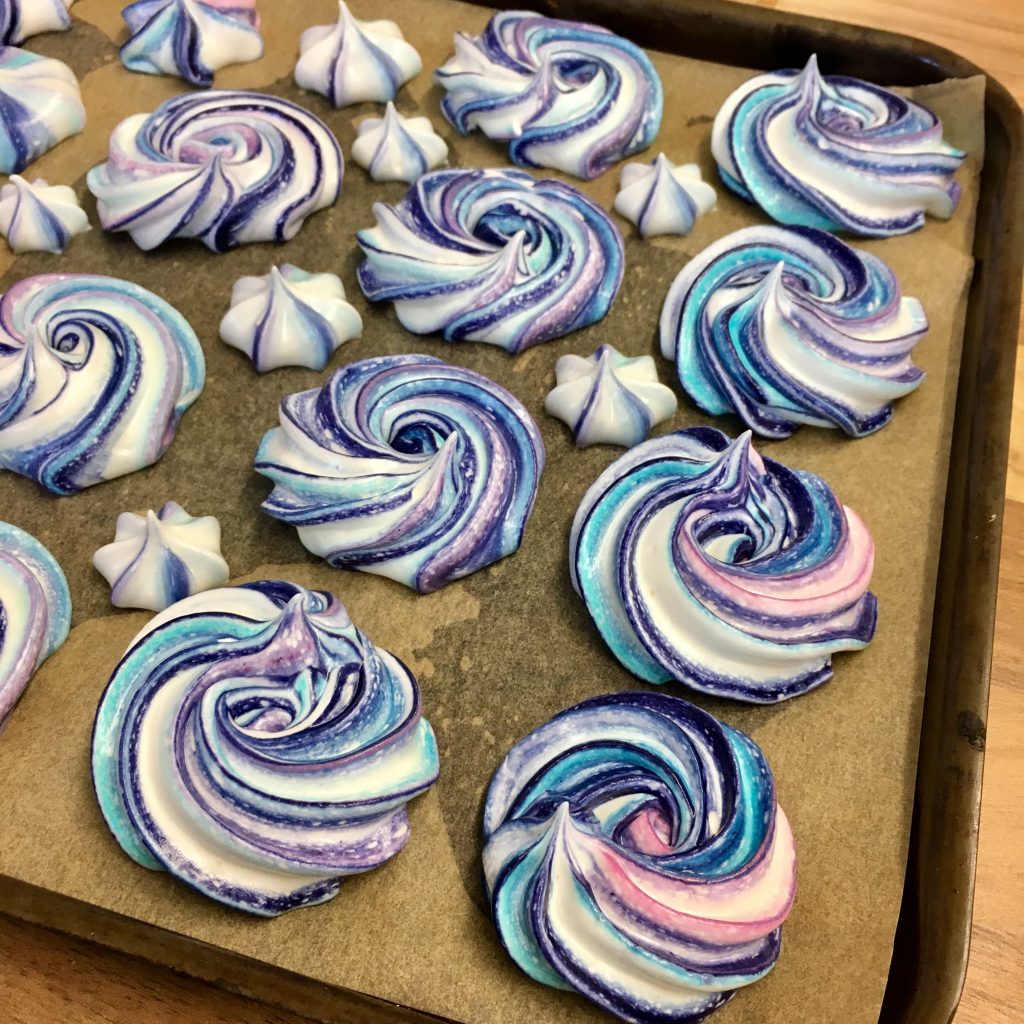
The fab thing is, they taste (to me anyway) like ordinary meringues! I’ve not had them in a while now but they certainly taste how I would expect them to! Finally meringue is back on the menu for me and I’m rather happy about it!
Make sure to keep them in an airtight container to stop them going soft. They should last 3-4 days.
Give it a try and let me know how you get on either on Facebook, Twitter or Instagram.
Happy Baking!
Britt xo
If you want to turn your baking hobby into a career, check out my book Cakes, Bakes & Business for everything you need to know about running a successful baking business, including pricing, marketing, insurance and much more!


