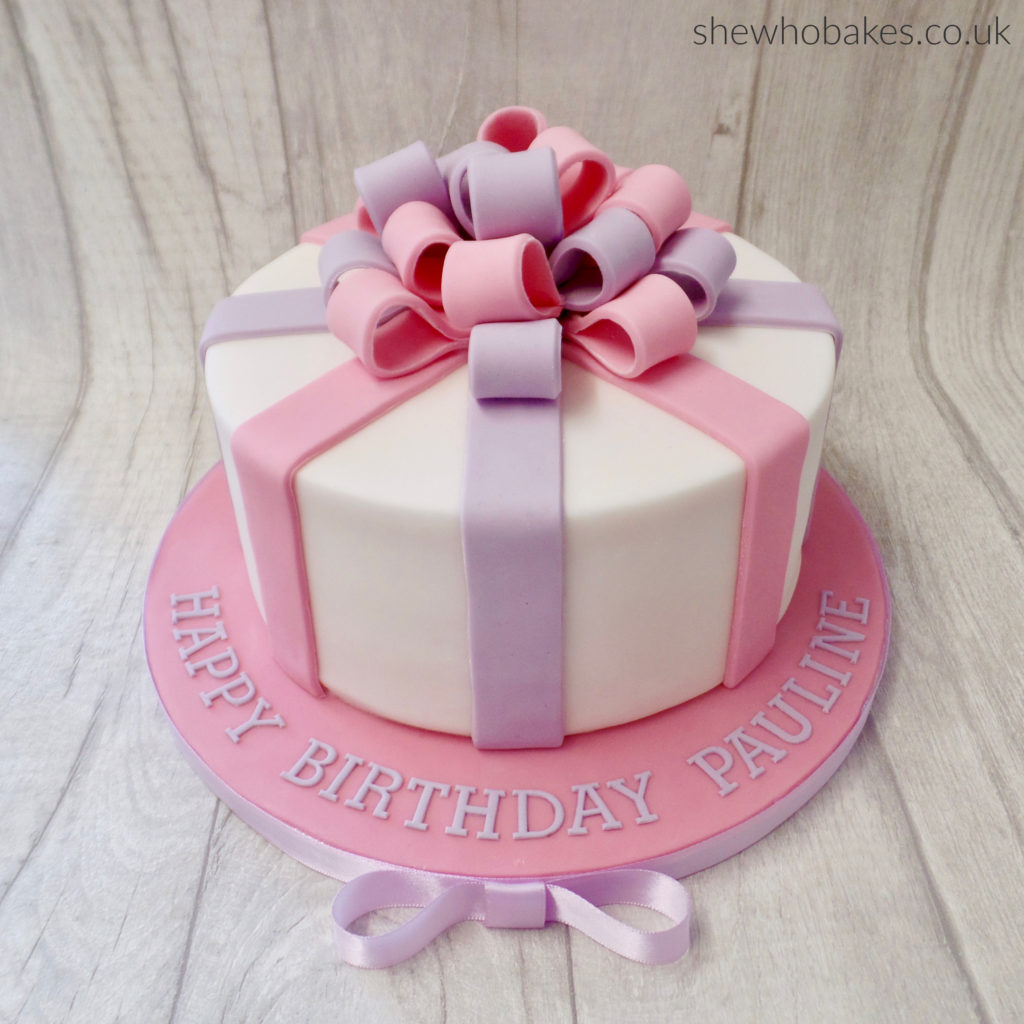
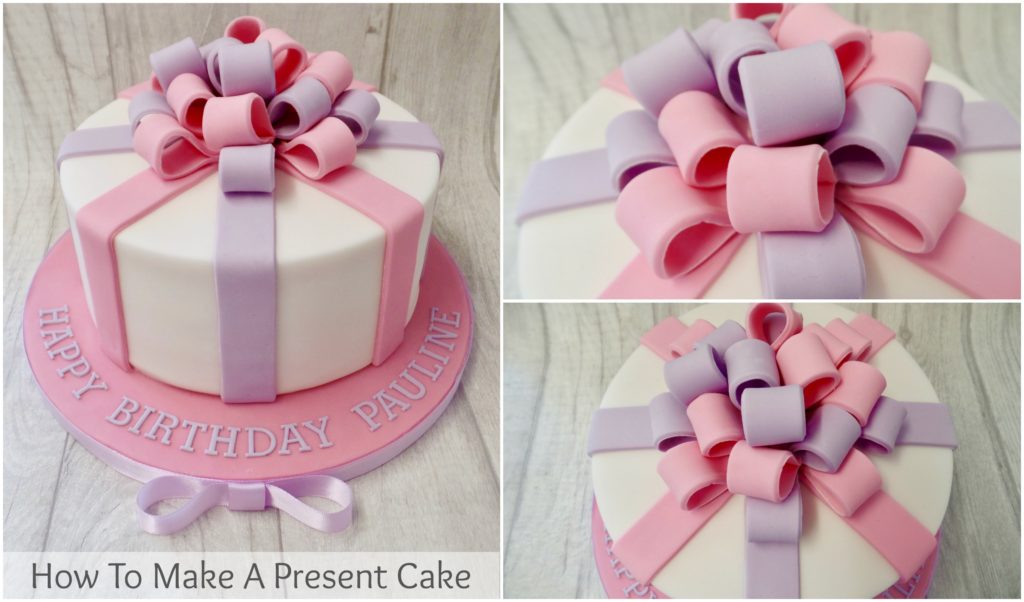
Last week was my lovely mother-in-law Pauline’s birthday and I wanted to surprise her with a birthday cake. I didn’t have a lot of spare time but I still wanted to make something pretty that I thought she’d love. A ‘Present’ cake is one that can be done at relatively short notice, it doesn’t need a lot of extra ingredients or equipment and can be adapted for any size, shape or theme of cake or occasion!
I really enjoy making them and wanted to take you through how I made this one!
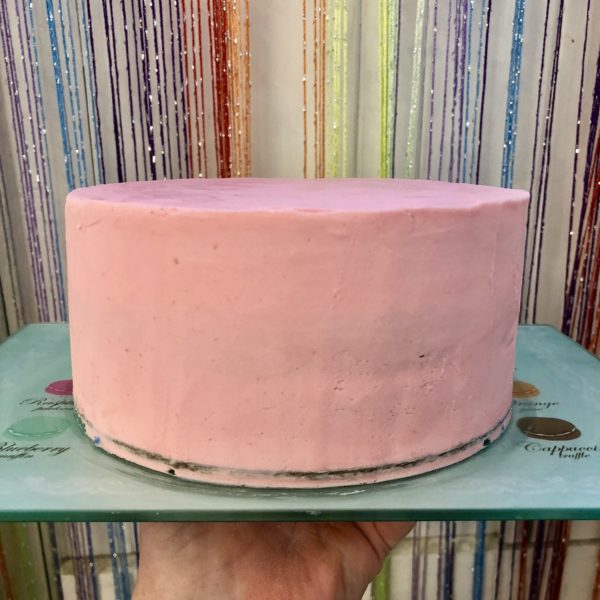
Firstly, you’ll need an iced cake. For this, I made a vanilla madeira with pink vanilla buttercream. I went with a coloured filling for a little surprise when the cake was cut into.
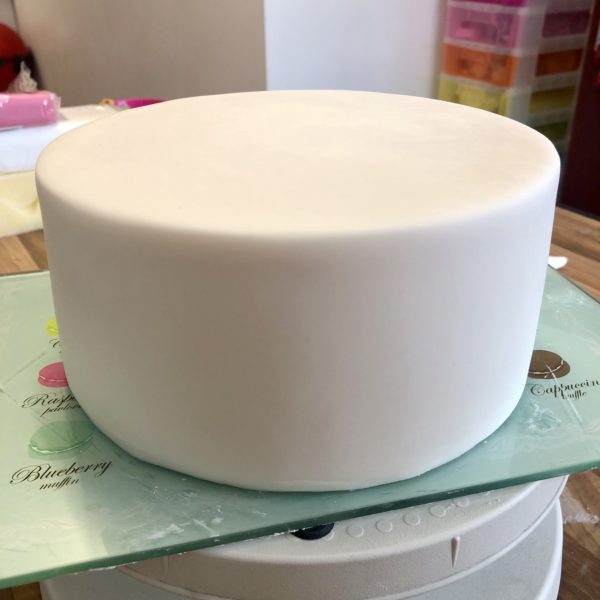
I split the 7″ round cake into three sections and filled with lovely pastel pink buttercream. I then crumb coated the cake and covered it in a layer of white sugarpaste. I also iced the 10″ round board with a pink sugarpaste and I left both the cake and board to set overnight before decorating.
You can see how I ice my cakes in my Professional Finish online cake course here.
On the same day that I iced the cake and the board, I started making the bow decorations as these too, had to set overnight before using otherwise they would become soft and limp and wouldn’t create the 3D effect on the top of the cake. For these I’m using modelling paste, a sugar stronger than sugarpaste. I don’t advise using roll out icing for these bows as it can crack and bend very easily. I’m using white modelling paste which I have coloured with Sugarflair Baby Pink and Sugarflair Lavender.
To make these you will need;
- Modelling paste in desired bow colours
- A small rolling pin
- Small spacers
- A strip cutter
- A cutting wheel
- Edible glue
- Paintbrush
All equipment needed for this cake can be purchased at Iced Jems.
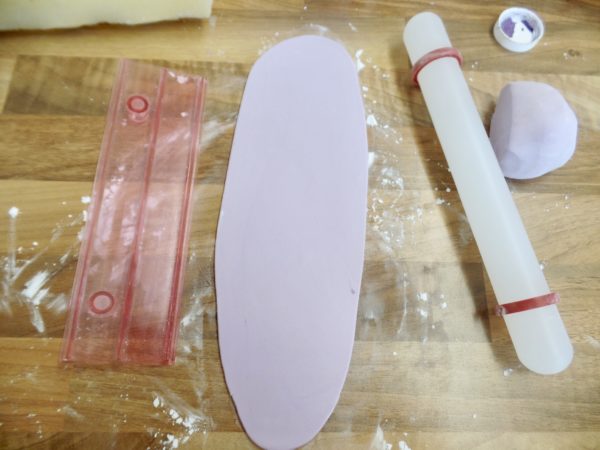
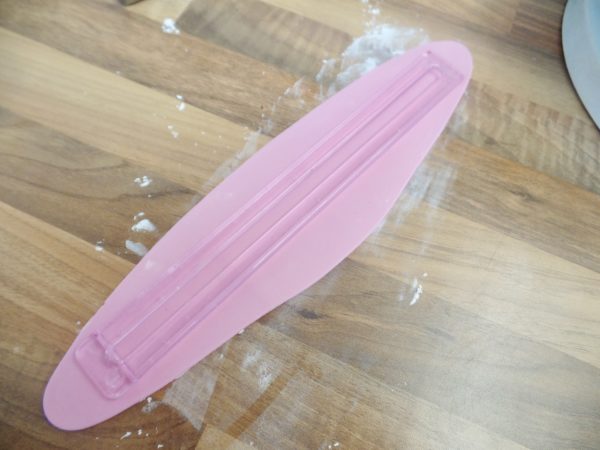
- Roll out your modelling paste on a surface dusted with cornflour using spacers if you have them (this just makes sure the strip is a nice even thickness).
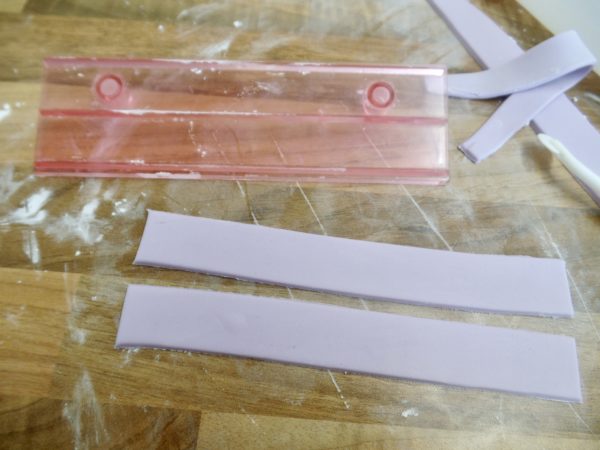
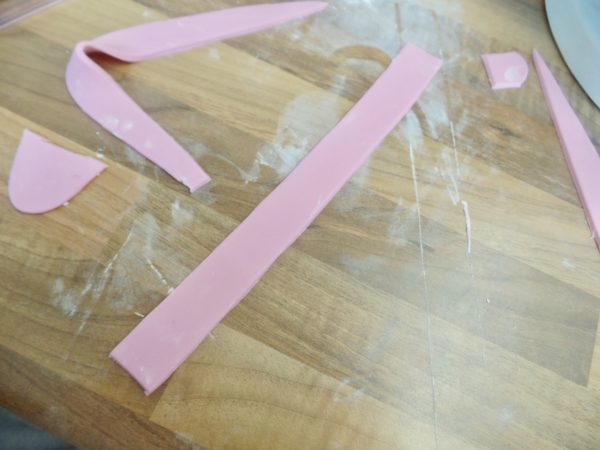
- Cut out strips using a strip cutter, tidy up any edges if necessary with a cutting wheel. Again, this is just for uniformity, if you don’t have one of these, a ruler and a sharp knife/cutting wheel will do. Simply mark out your strips and cut them out.
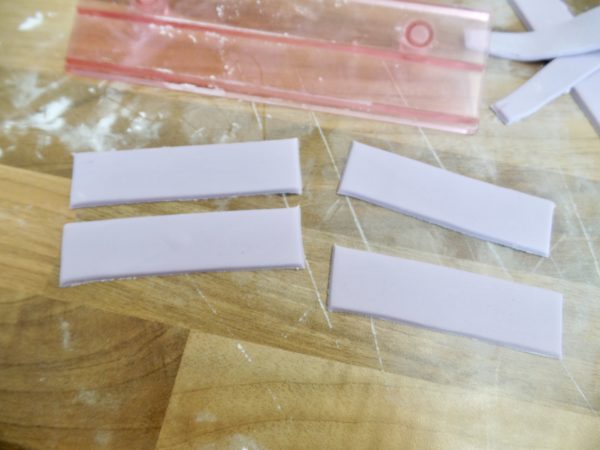
- Halve the strips so that each one is around 2 inches long.
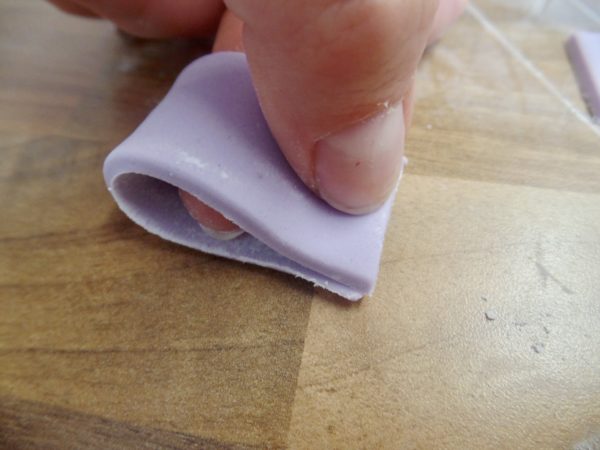
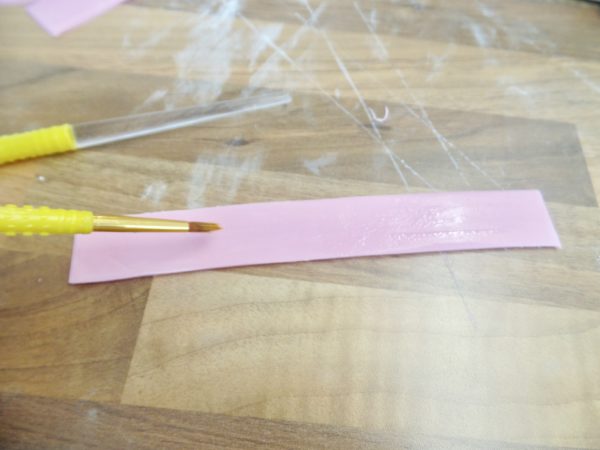
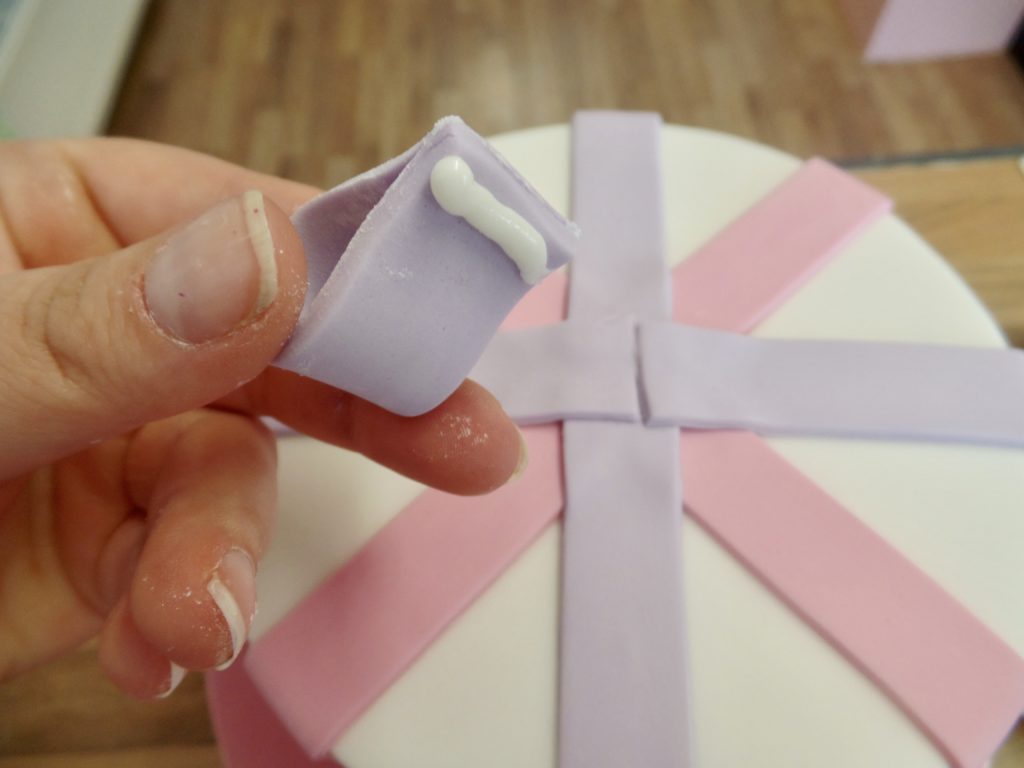
- Using a paintbrush, paint a little edible glue on the end of a strip.
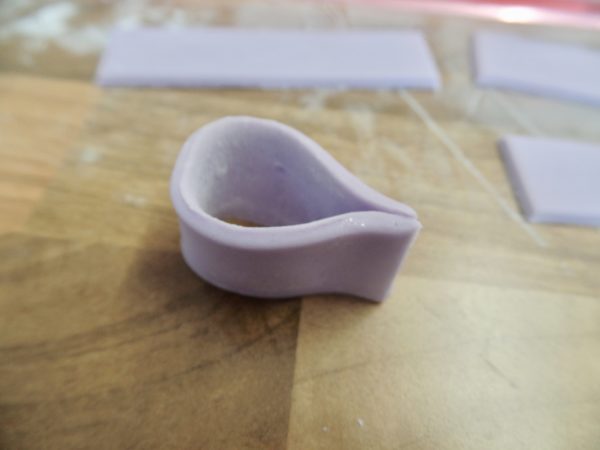
- Fold the strip over on itself and press down to secure.
- It should look like this.
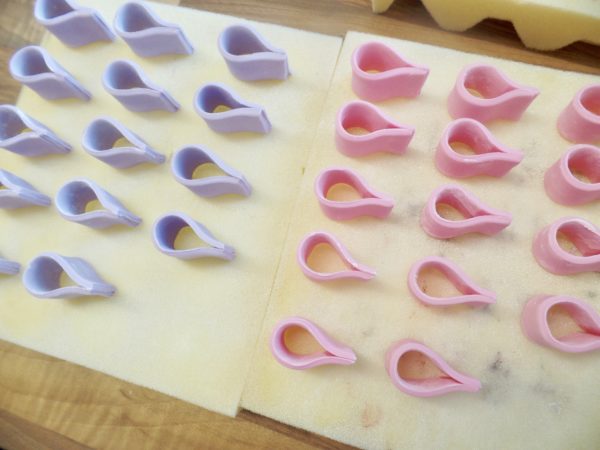
- Leave to dry, on it’s side on foam overnight.
- Continue with making bows in whatever colours you like. For this 7″ round cake I made 14 purple and 14 pink and had a few spares leftover.
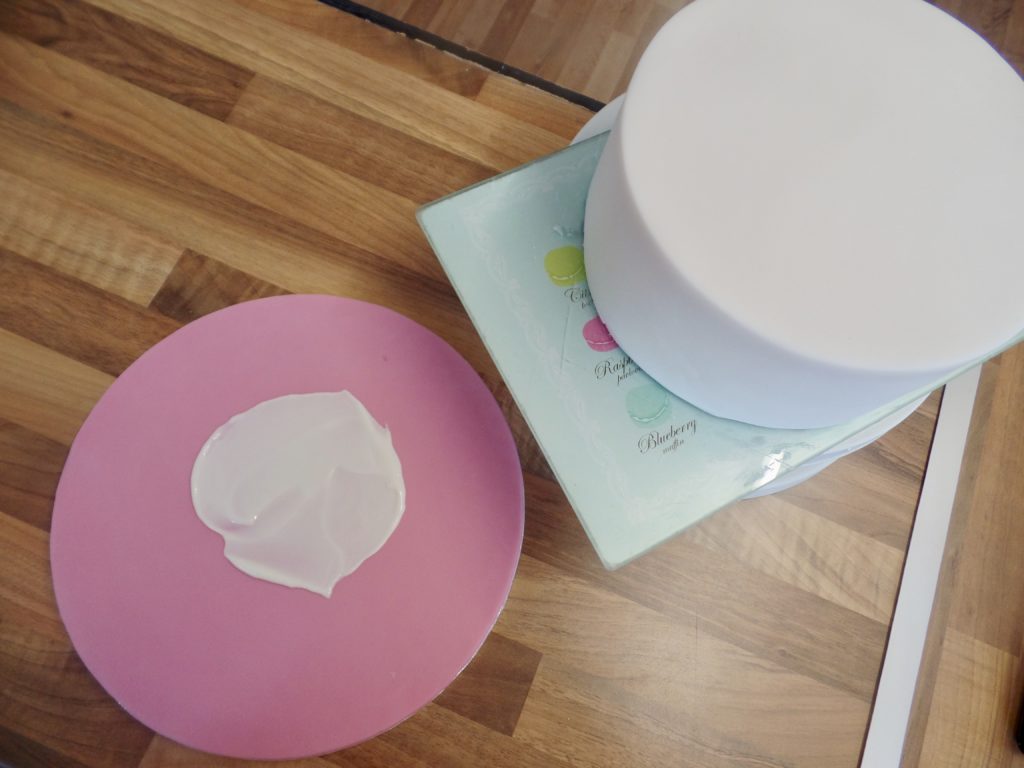
Once your cake and board icing is set the following day, secure the cake to the board using a little royal icing. I use pre-made tubbed royal icing for this.
I will always have a thin cake card of the same size as the cake underneath to keep the sponge safe and allow for ease of movement.
Carefully lift up the iced cake and drop it down onto the board. I tend to have my cakes off centre ever so slightly so I can add a message onto the board.
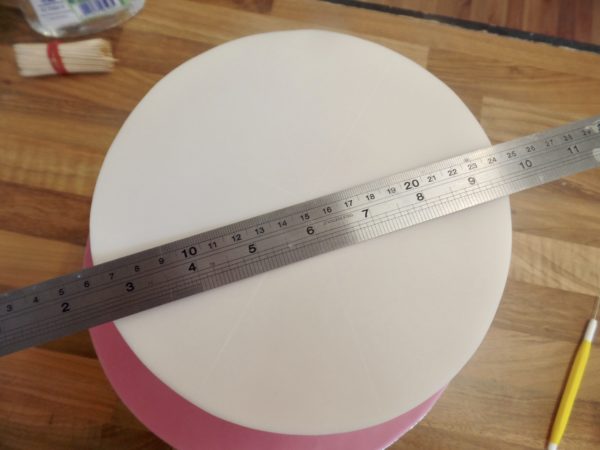
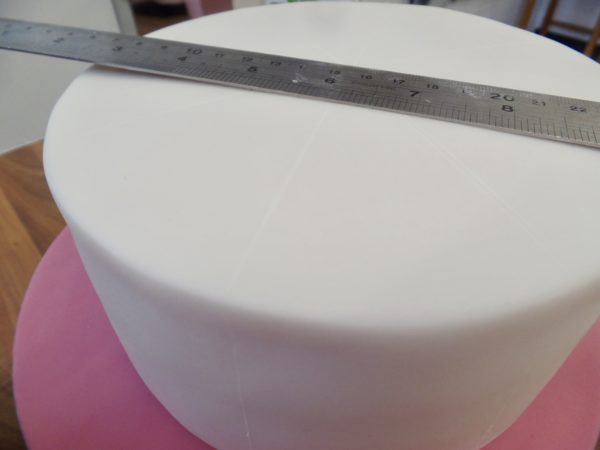
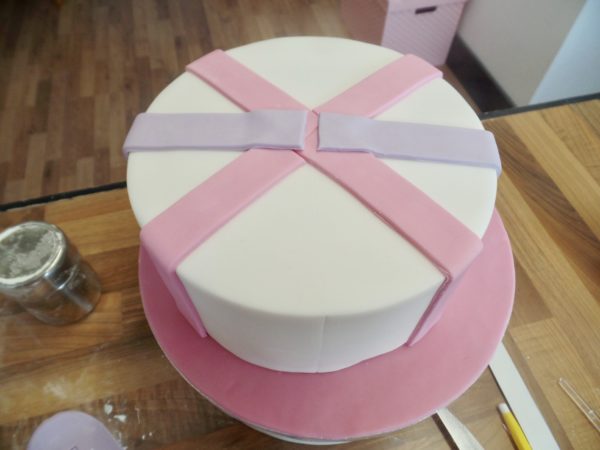
When your cake is secure, using a ruler and a scribe, mark even lines on your cake where you want the ribbons to go. I found the halfway point of my cake and scored a line. Then I did the same the other way to make a cross. Then I did the diagonal lines. Once you’ve done this, score lines down the sides of your cake to keep it all nice and even.
I’m using modelling paste again for the ribbons on top and down the sides of the cake and I’ve matched the same colours I’ve used for the bows. I’m also using a slightly longer strip cutter than I used for the bows. This one came with my Tappit letter cutting set and I find it perfect for this. You can always cut your own strips however.
- Roll out the modelling paste on a cornflour dusted surface.
- Cut out the strip using either a strip cutter or cutting wheel.
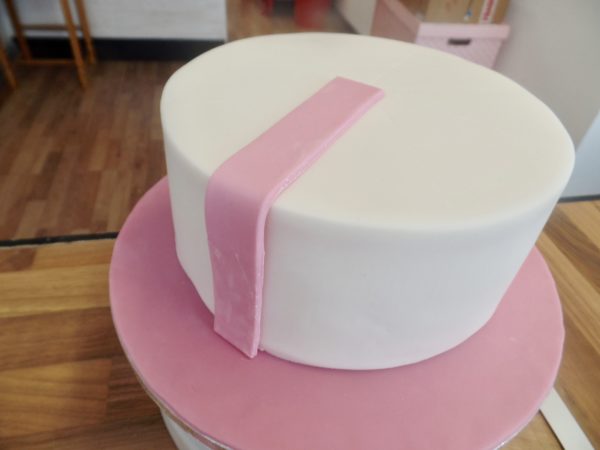
- Place the strip onto the cake on top of the scores you made and make a mark where the middle is.
- Cut to size and paint the back with a thin layer of edible glue.
- Stick the strip onto the cake and do the same for the other side. Don’t worry about the line as we will be covering the middle with bows.
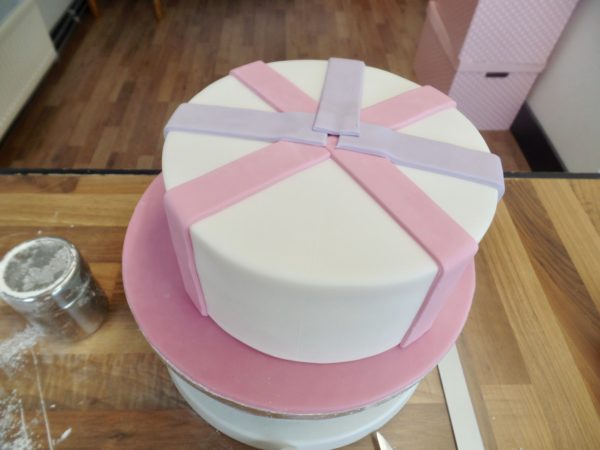
- Repeat so you have a cross as pictured.
- Next, do the other cross either in the same or a complimentary colour.
- It doesn’t matter if the strips overlap or you see the joins.
For the bow –
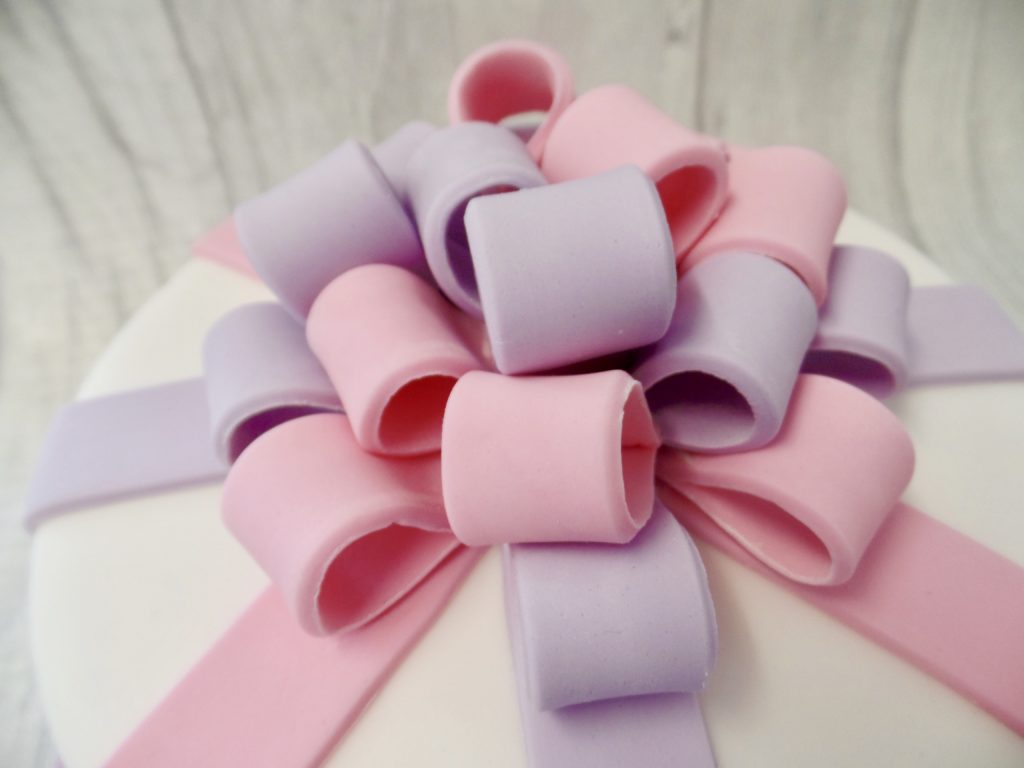
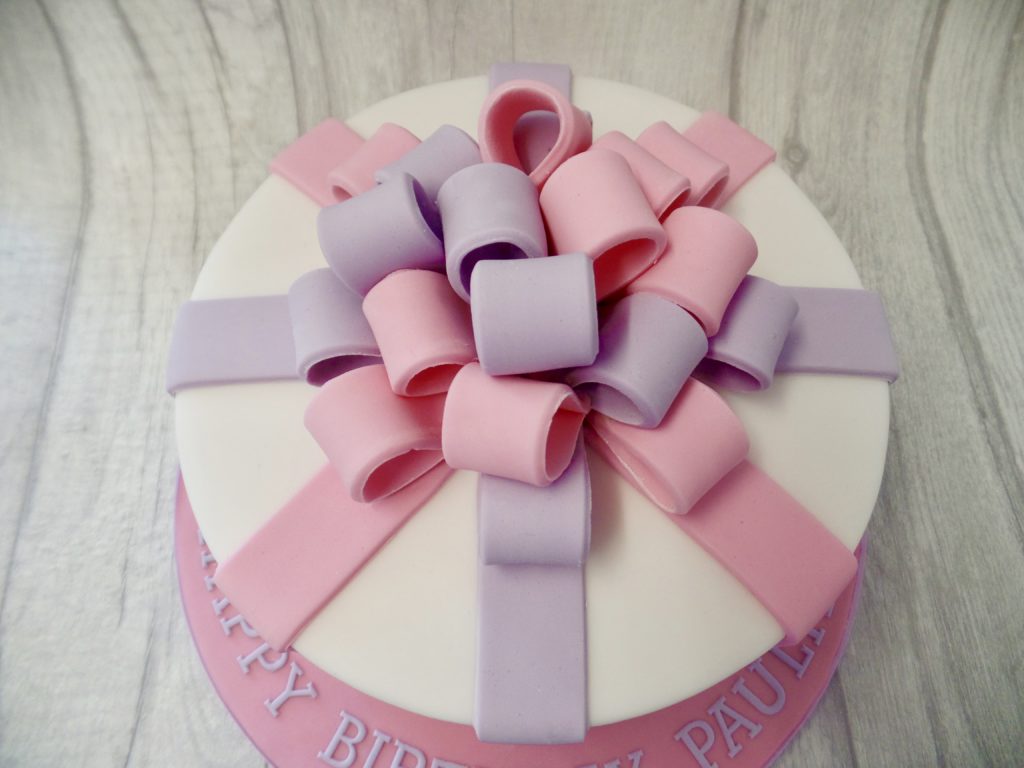
Stick down alternating colours of your pre-made bows using royal icing. I start by going around in a bigger circle with the first layer and then building the second layer up with a smaller circle until I get to the middle where I stick 2-3 bows upright to finish off the design.
Finishing Touches –
To finish off the cake I cut out a message using Mexican paste and my favourite, Tappit cutters (you can see more on how to use those here), and a 15mm lilac ribbon around the edge of the cake board stuck down using 3mm double sided sticky tape. I also created a little ribbon bow on the front (you can see how to make this little bow halfway down this blog post).
I then left the whole thing to set in a cool dry room, all the royal icing to dry before boxing it up and taking it over to surprise Pauline! She really loved it and I’m so pleased I got to make it for her.
This really is one of those cakes you can make in a short amount of time but still leave a lasting impression!
Happy baking!
Britt xo
If you want to turn your baking hobby into a career, check out my book Cakes, Bakes & Business for everything you need to know about running a successful baking business, including pricing, marketing, insurance and much more!
