This week I reached a crazy milestone of 20,000 followers on Instagram! To celebrate, I made this pink and white funfetti drip cake and I wanted to tell you all about it!
I’ve been on Instagram for a really long time. My first post was in November 2010 so nearly ten years of my life in filtered squares. The account was originally a personal one, which became all about cakes when I ran my business, then I started incorporating back in my life and now, it’s a mix of everything. It’s had several names and where I spend a lot of my time online.
Since the invention of Instagram Stories, I’ve lived most days on there, sharing them with whoever is interested and now, that number sits at 20,000. It blows my mind. That’s enough people to sell out the O2 Arena in London!
I wanted to mark the occasion and what better way, than with cake!
Here’s how it was made;
The Cake
I wanted to bake something fun, and whats more fun than a funfetti cake!
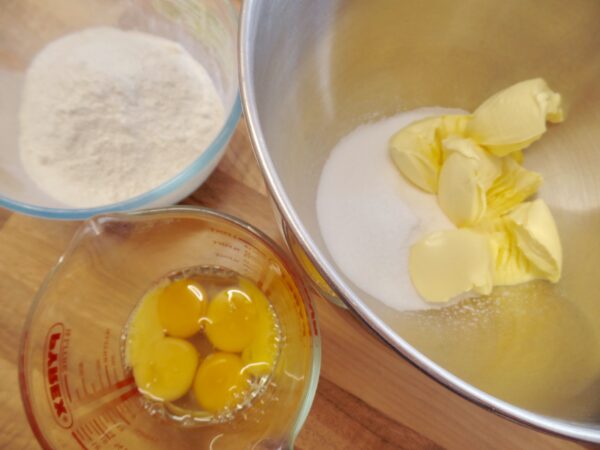
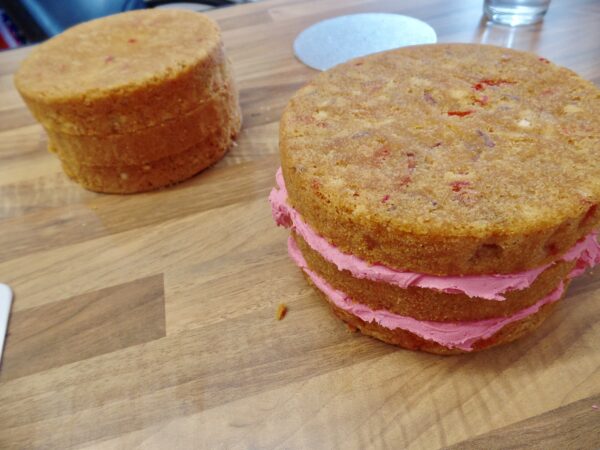
I baked two 6″ round cakes as I wanted double the height. For this, I used my madeira cake recipe. I left the 7″ round recipe as it was and didn’t alter it, because I find if I want a little more depth to my cakes, I’ll go up a tin size.
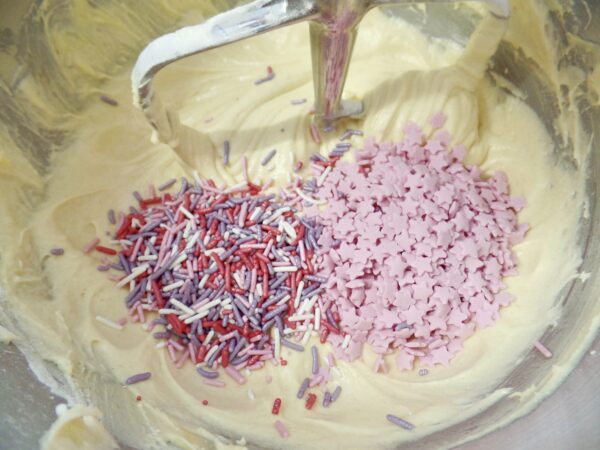
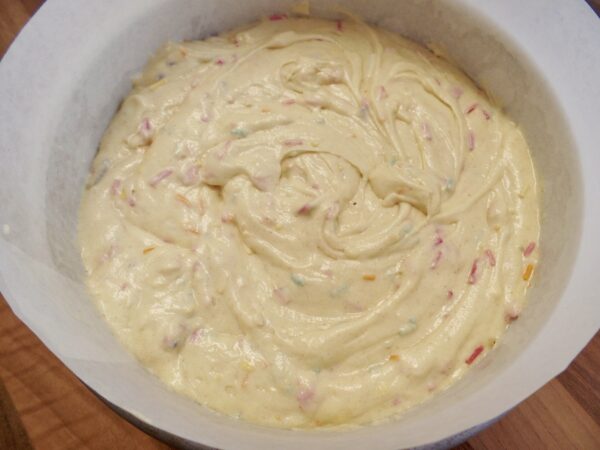
I made up the recipe as usual and then at the end before pouring the mixture into the tin, I added in a load of sprinkles. For any funfetti cake, the key to getting it right will be in the sprinkles. I find that cheaper, supermarket ones tend to lose their colour once baked and will melt into the sponge. You need bake stable sprinkles.
I’m using Scrumptious Sprinkles for this. I’ve used them for so many different projects and they’ve never let me down.
Once the cakes were baked, I turned them out onto greaseproof paper and left them to cool completely. I then double wrapped them in cling film and left them to firm up overnight.
The following day I made up the buttercream, which I wanted to be a bright pink colour.
I used my usual half butter to icing sugar ratio and mixed 500g unsalted butter with 1kg of icing sugar (I needed a lot of buttercream for this cake, if you’re making a normal height cake you’ll only need half this amount). I coloured it with Sugarflair Pink. I find concentrated colours like Sugarflair really are the best to use. They give a great colour without having to add lots of product in and they last a lot longer than their water based cheaper counterparts. Especially with something like buttercream where, the more liquid you add the sloppier it gets, a gel colour works best.
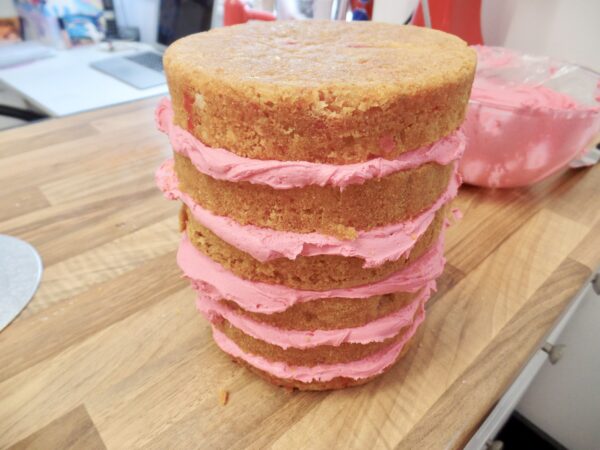
I split both cakes twice giving me six layers of cake. I then filled these with my bright pink buttercream. I then let the cake firm up in the fridge for 10 minutes or so.
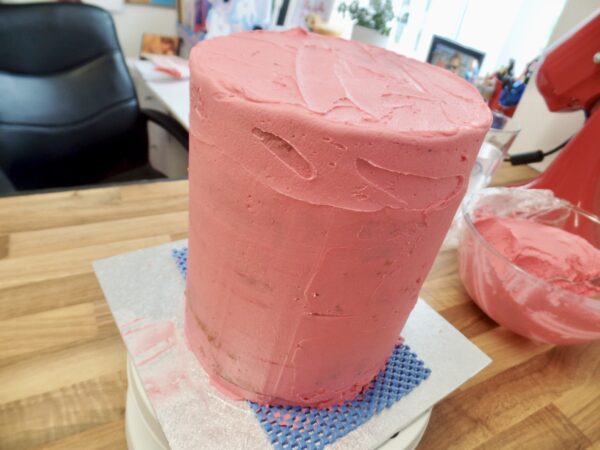
Next, I gave the whole cake a thin layer of buttercream on the outside (a crumb coat), I used an extra large scraper for the edges. I then chilled this again.
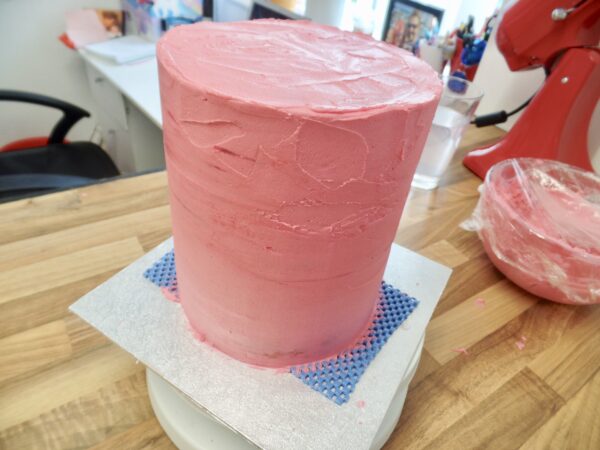
I then repeated the whole process, but this time giving the cake a slightly thicker later of buttercream. I smoothed it all down and took off excess with a palette knife and large scraper. I left this to chill for a final time.
The Drip
When the cake was having it’s final chill, I melted down some white candy buttons in the microwave on 10 second intervals.
After this had all melted and was smooth, I added in a tablespoon of oil to give it a runnier consistency and to help with the drip. I then poured half of this into a piping bag.
I took the cake out of the fridge and
I poured a little onto the top and smoothed this to the edge using a palette knife, scraping it all the way to the edge and letting it fall over slightly. Then, working quickly and holding the piping bag on the top edge of the cake, I piped on my drips. How long you want your drips is up to you but I wanted quite long ones so I pushed gently on the piping bag until it had started to fall down the top third of the cake, then stopped. I then let the drip set completely.
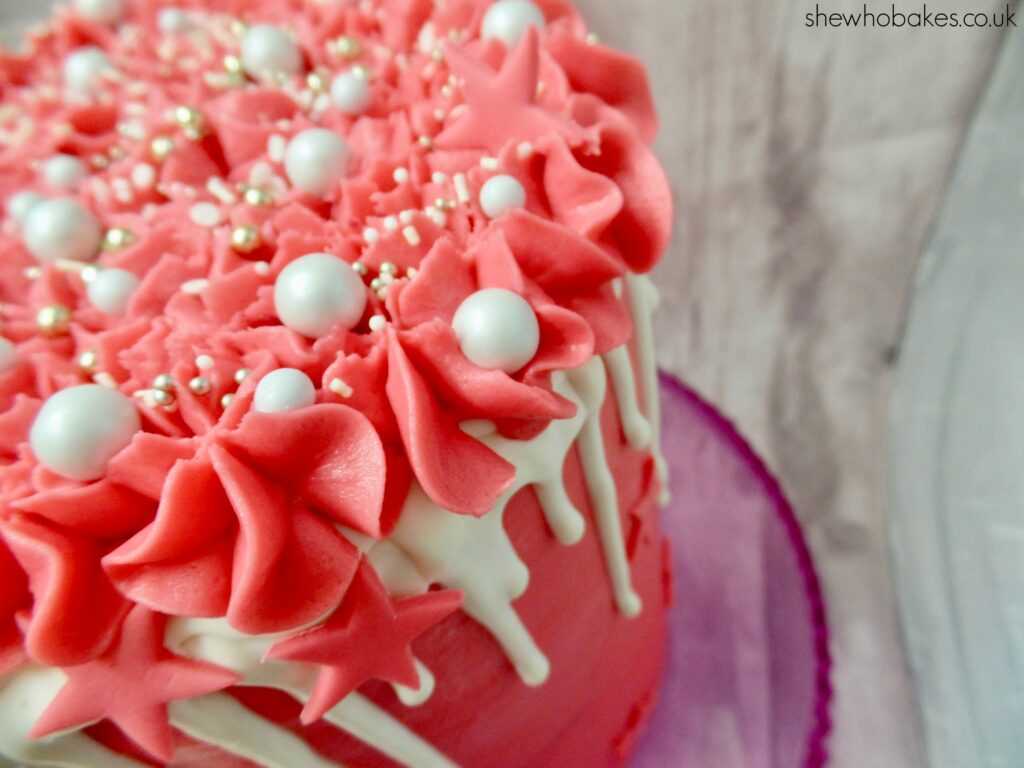
The Decoration
To decorate, I filled a piping bag with my pink buttercream and fitted it with a 2D rose nozzle. I then piped stars to the top of the cake, topping each some stars with a little pink modelling paste star and some sprinkles.

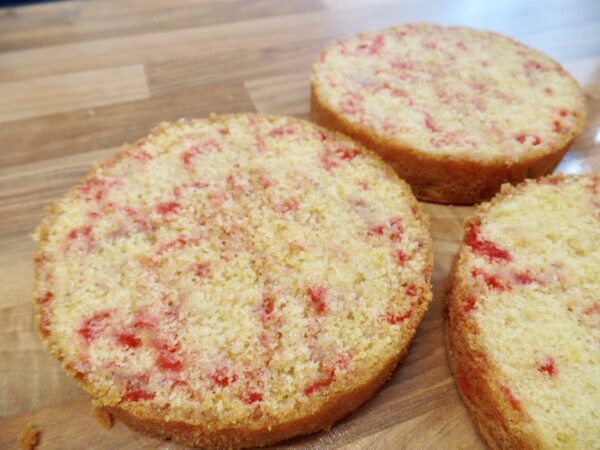
I love how the slices look when they are cut into!
Once baked, this cake will last for two weeks if wrapped well and will freeze for three months. Once you’ve cut into it however, you’ve got about 4-5 days if it is wrapped up tightly.
If you bake any of my recipes or use any of my tutorials, come let me know how you get on, either on Facebook or Twitter or of course – Instagram.
For more information on how to decorate your cake and go from home bake to showstopper, check out my list of latest online cake decorating courses here.
If you want to turn your baking hobby into a career, check out my book Cakes, Bakes & Business for everything you need to know about running a successful baking business, including pricing, marketing, insurance and much more!
Happy baking!
Britt xo


