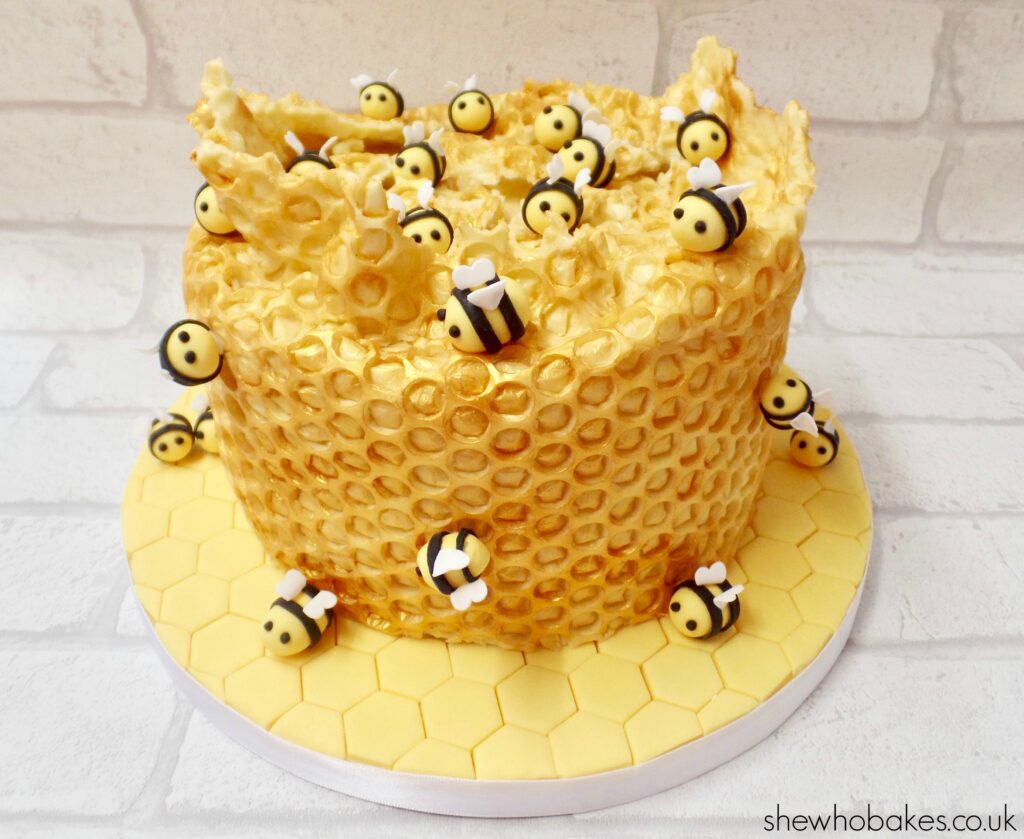
Sometimes, you’ll be thinking of a cake design for ages, just waiting for the right time to do it. This was one of those times. Inspired by a good friend of mine who keeps bees and knows more bee facts than anyone I know (Hi Amy!!), I’ve been wanting to make a bumble bee honeycomb cake for a few months now. Finally, this week, I got a window of time to do it.
I took some photos so I could talk you through how I made this cake.
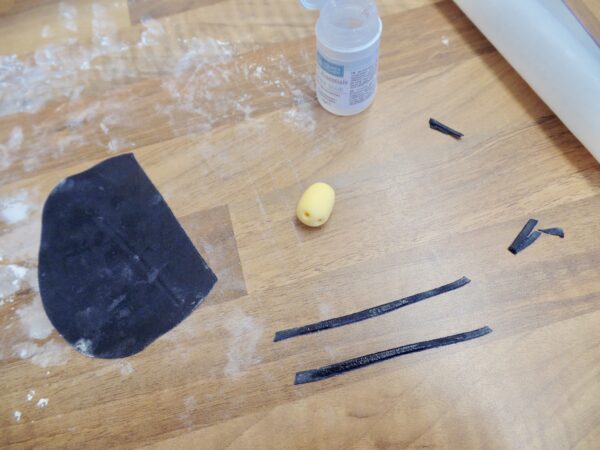
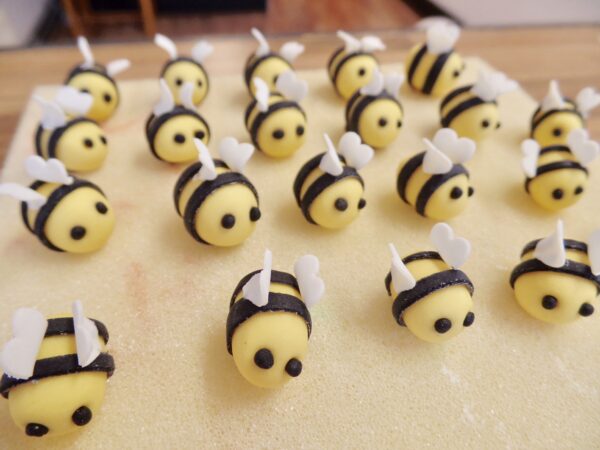
Firstly, I made the bumble bees. I did this by colouring modelling paste yellow (this is the modelling paste I use) and rolling oval shapes. I made small indentations using a mini ball tool where the eyes would be. I then left these shapes to dry on foam overnight. The following day I rolled out black flower paste very thinly and cut strips. I stuck these strips around the bees using a paintbrush and a little edible glue. I then rolled small balls for the eyes and glued them into the little sockets I’d made.
For the wings, I rolled out white flower paste and cut out small heart shapes using a mini plunger. I glued these individually to the top of the bee and bent them slightly to create movement.
Next, I decorated the board. I coloured 500g sugarpaste yellow using Sugarflair Egg Yellow. I then rolled out the sugarpaste on a surface dusted with cornflour. I painted a 10″ cake drum with piping gel and then gently lifted the rolled sugarpaste onto the board. I cut around the board with a knife. I then kneaded the excess sugarpaste into a ball.
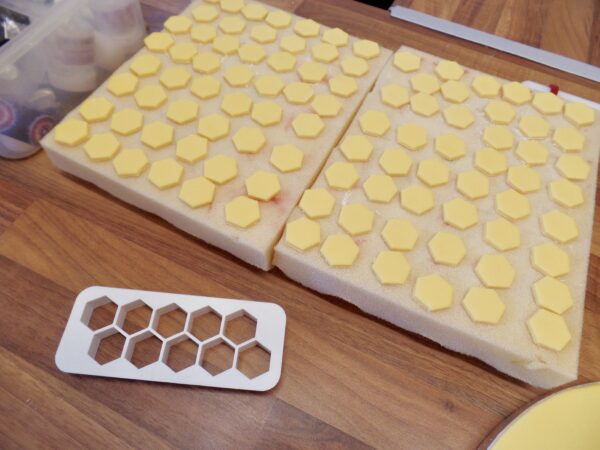
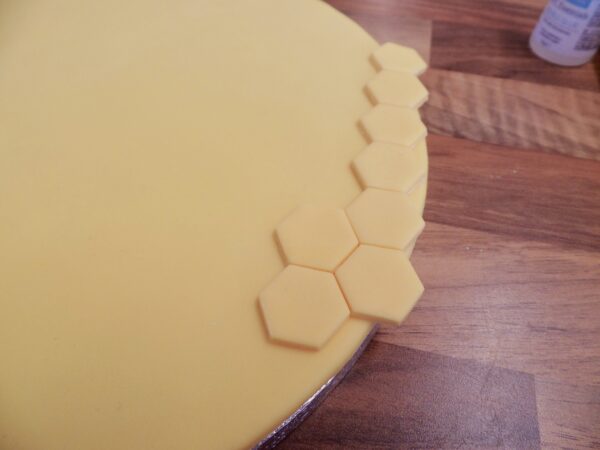
This ball, I then rolled out again on a surface dusted with cornflour. I then used a hexagonal cutter to cut out many, many hexagon shapes. I lost count in the end but it was a lot! I then painted the backs with a little edible glue and stuck them down to the board, one by one. I let them hang over the edge of the board slightly and used a scalpel to trim them to be flush with the edge.
Once my decorations were made, I started work on the cake. I used my trusty madeira cake recipe which you can find here. Once it was baked and cooled, I double wrapped it in cling film and left it to firm up overnight. I then made a batch of vanilla buttercream, the recipe can also be found here.
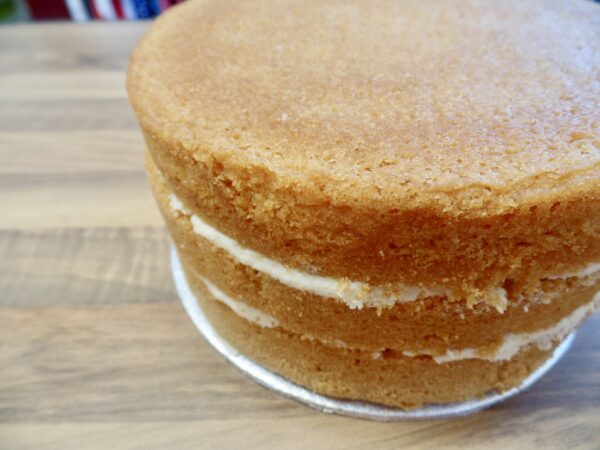
Using a cake leveller, I split the cake twice, creating three layers of sponge, and I filled with lovely buttercream. I let this chill in the fridge for 10 minutes and then I did a crumb coat layer of buttercream.
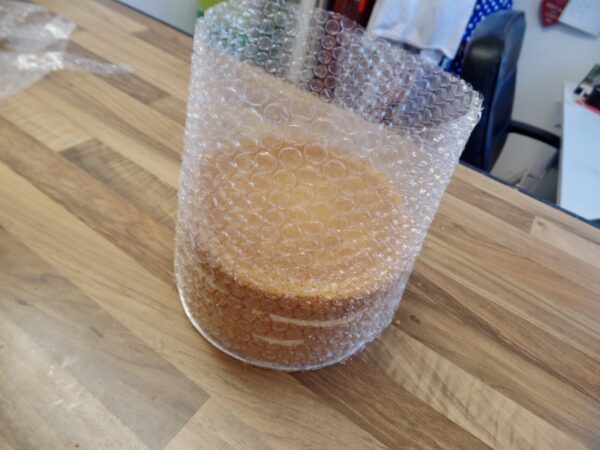
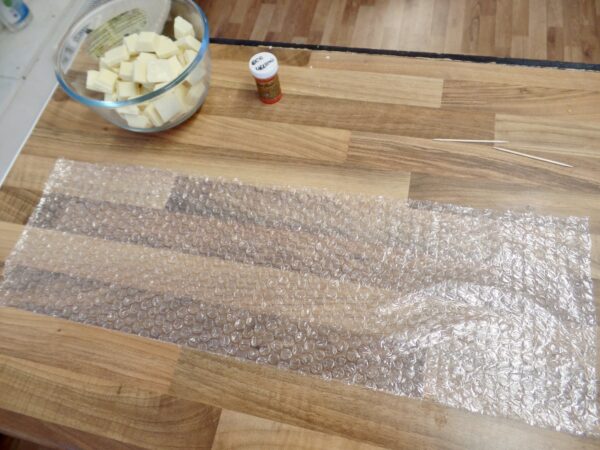
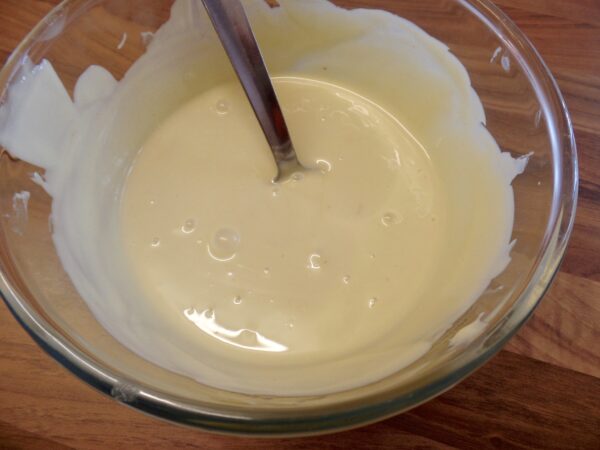
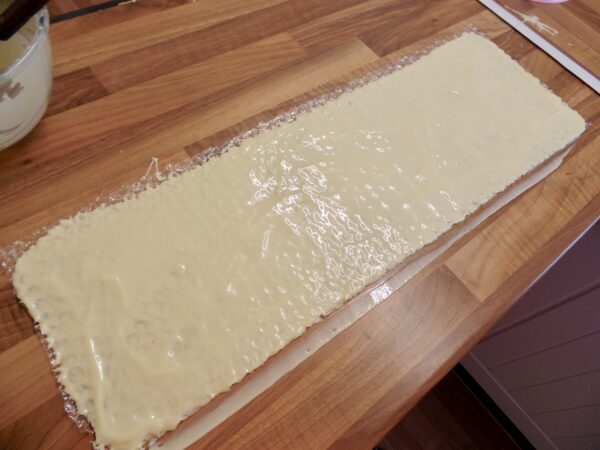
To create the honeycomb effect, I rolled out some bubblewrap and placed it around the cake and cut it to size. Then, I laid it down on the kitchen side, bubbles face up. I melted 200g white chocolate and poured it onto the bubble wrap, using a palette knife to spread the melted chocolate all the way to the edges.
I then left it to partially set. You want it to not be completely liquid, but you need it to still be flexible. It was a very hot day when I did this so it took longer than I had anticipated. The bubble wrap strip was also too long to fit into my fridge so I had to do it at room temperature. In hindsight, I think I would have used candy melts as these set a lot faster.
Once the wrap of chocolate was starting to set nicely, I quickly put a little more buttercream around the edge of my cake and lifted up the bubblewrap collar. I pressed this against the edge of my cake and wrapped it all the way around. I then chilled this in the fridge until completely set.
When the chocolate had set, I peeled off the bubble wrap, revealing the amazing chocolate design!
I broke some pieces off the top to give it more of an organic feel (and because some pieces broke off on their own anyway!)
To give it a little texture, I dusted the honeycomb with gold lustre dust using a large dry paintbrush.
I carefully lifted the cake and secured it to the decorated board with a little royal icing. Then I filled a small piping bag with more royal icing and used this to secure the bees on and around the cake.
I finished the design with a 15mm white ribbon around the edge of the board, secured with 3mm double sided sticky tape.
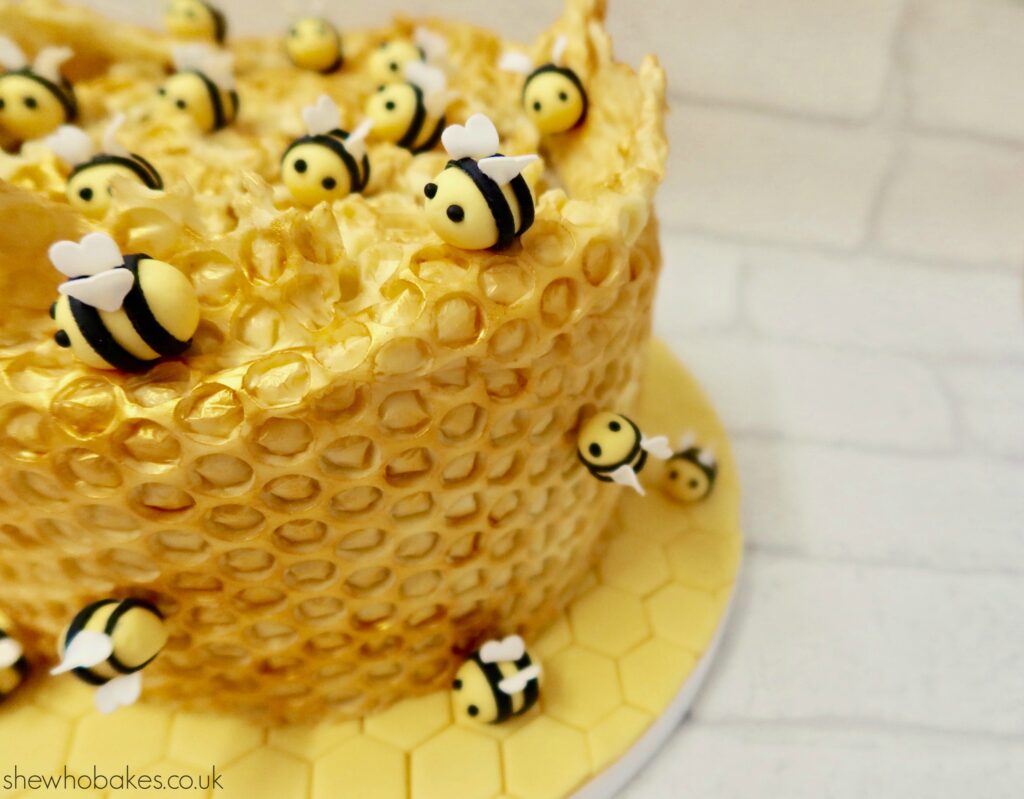
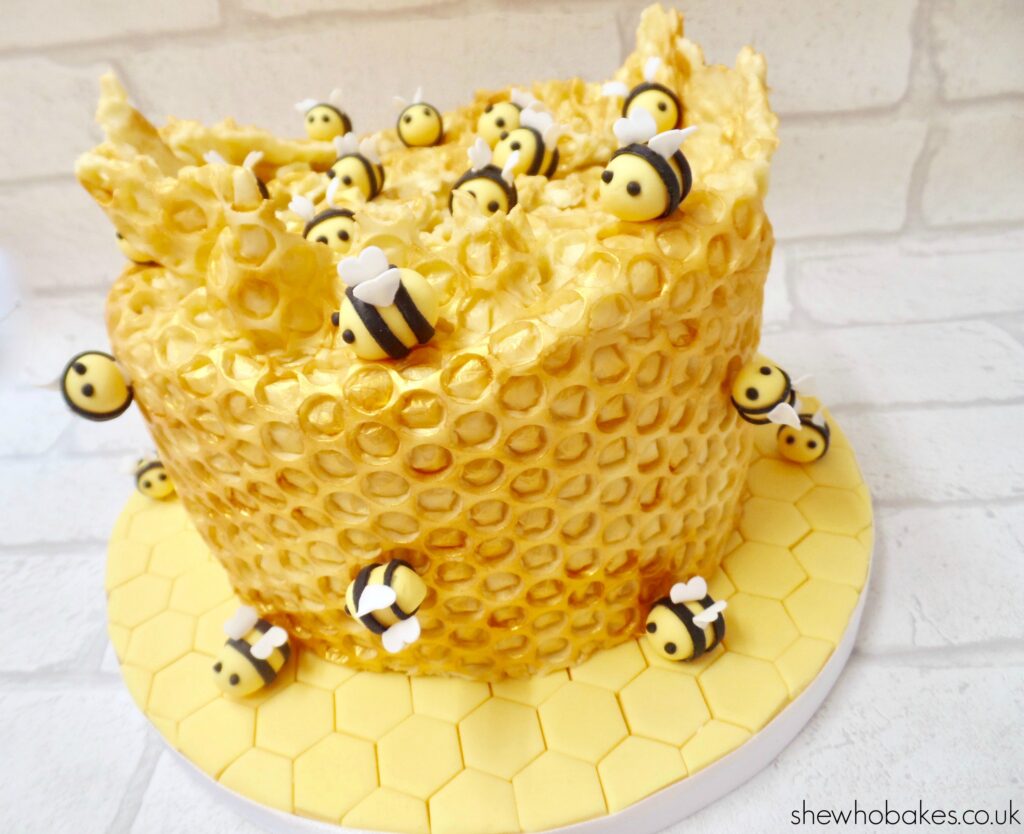
And there you have a bumblebee honeycomb cake! I really enjoyed making this one. I think it’s such a fun design. You could easily make matching cupcakes by doing the same chocolate on bubble wrap technique but once set, breaking into shards and using these to top buttercream covered cupcakes. Add a small bee and you’ve got a perfect match!
If you give this design a go and let me know how you get on, either on Facebook or Twitter or Instagram.
For more information on how to decorate your cake and go from home bake to showstopper, check out my list of latest online cake decorating courses here.
If you want to turn your baking hobby into a career, check out my book Cakes, Bakes & Business for everything you need to know about running a successful baking business, including pricing, marketing, insurance and much more!
Happy baking!
Britt xo
This post contains affiliate links.

