Happy Birthday To Me!

06/16

Yesterday was my birthday and yes, I did indeed make my own birthday cake.

I’ve made my own birthday cake since I first started baking back in 2011 and I have loved every one of them! I love seeing how I’ve progressed and am so proud of my baking journey and how far I’ve come!

This years cake was something special. A unicorn inspired, sweet shop filled, 6 layer birthday cake extravaganza! Hope you like it as much as I do!

Unicorn Birthday Cake

Here are a few pictures while I was making it and to answer a few questions;
The cake and buttercream recipes can be found on my classic madeira cake recipe page.
The ‘funfetti’ inside are sprinkles by Scrumptious Sprinkles.
The buttercream was coloured using concentrated Sugarflair colours.
The stripy buttercream outside was made following a tutorial on Iced Jems fantastic page.
The custom topper was made by IcedRainbow.

Happy baking!

Britt xo

Making of the unicorn birthday cake

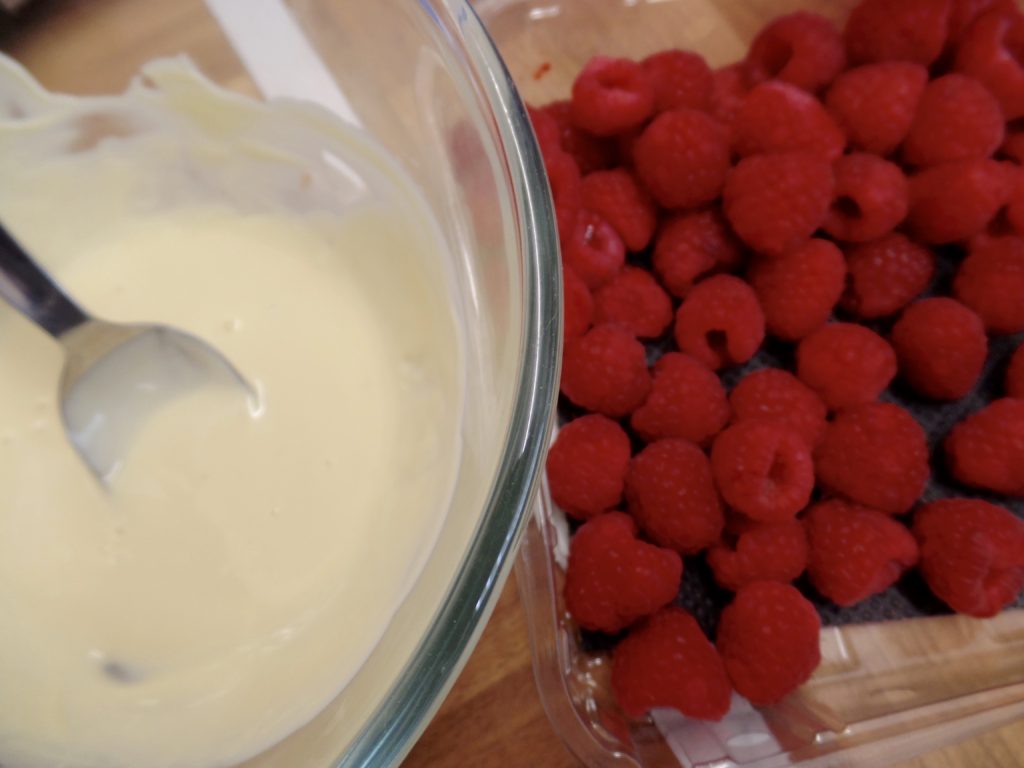
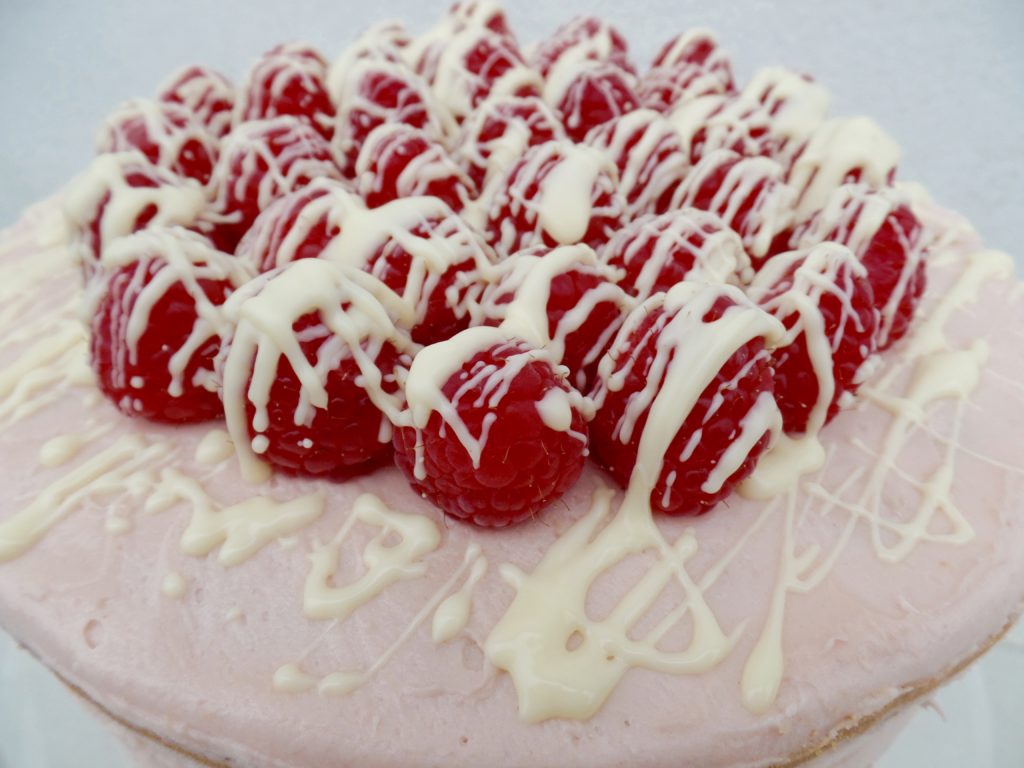
Raspberry & White Chocolate Cake by She Who Bakes for Stork

06/16

I’ve teamed up with Stork to celebrate the Queen’s 90th Birthday and the Patron’s Lunch to create some fun and delicious recipes for you to bake at home!

This Raspberry & White Chocolate Cake is the perfect showstopper to add to your event table this summer. You can find this recipe here.

Give it a try and let me know how you get on either on Facebook or Twitter and Instagram. Also, come follow @bakewithstork on social media for more wonderful recipe ideas!

Happy baking!

Britt xo


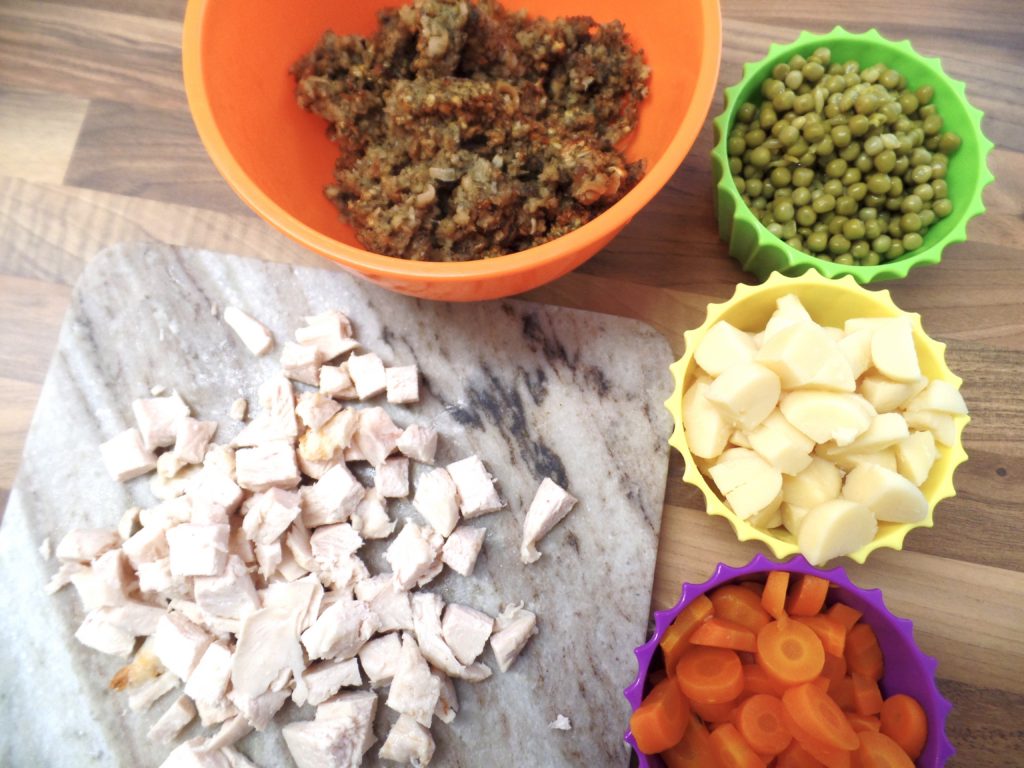
Sunday Roast Pasties by She Who Bakes for Stork

06/16

I’ve teamed up with Stork to celebrate the Queen’s 90th Birthday and the Patron’s Lunch to create some fun and delicious recipes for you to bake at home!

These Sunday Roast Pasties are my take on a classic British staple meal combined with buttery pastry. You can find this recipe here.

Give it a try and let me know how you get on either on Facebook or Twitter and Instagram. Also, come follow @bakewithstork on social media for more wonderful recipe ideas!

Happy baking!

Britt xo


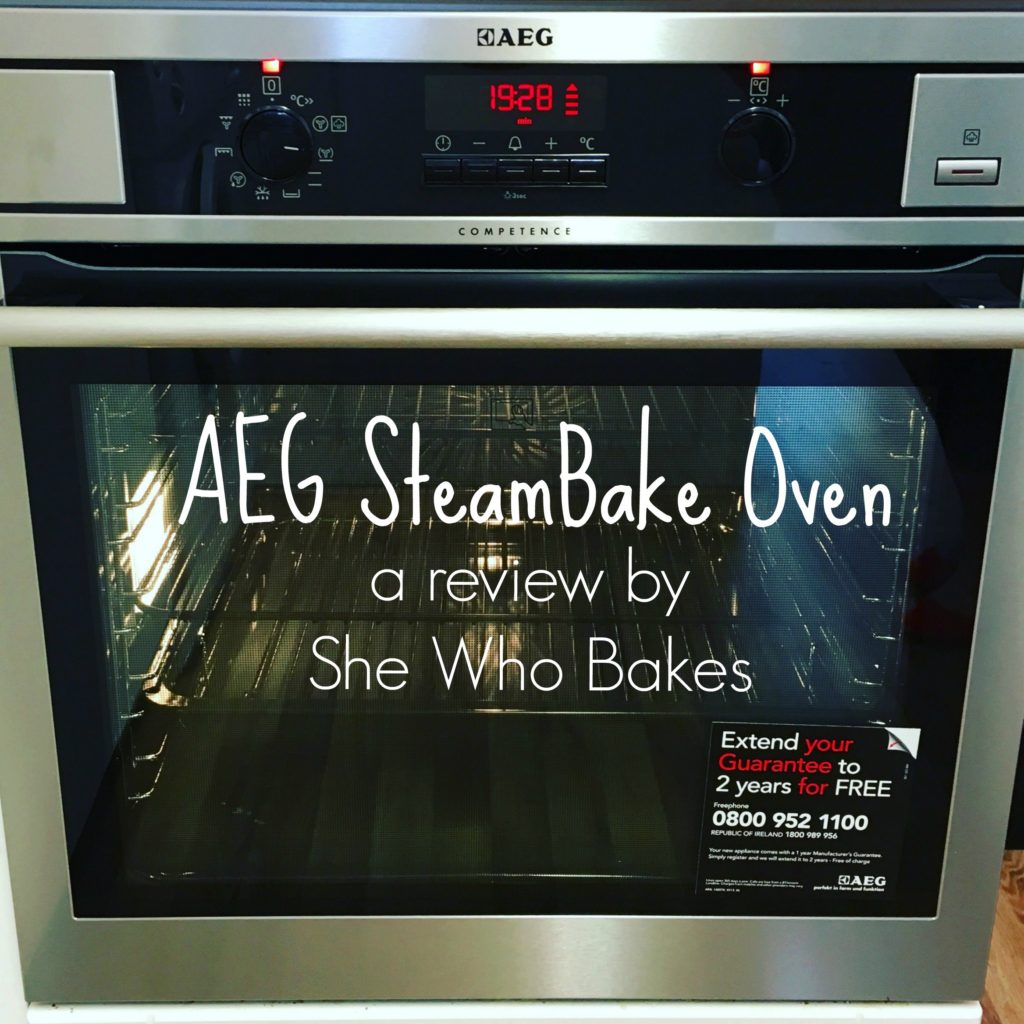
AEG SteamBake Oven – A Review by She Who Bakes

06/16

I’ve had an AEG oven since I had my new kitchen built a few years ago and have loved it! As some of you may know, I bake ‘low and slow’ when it comes to my cakes and bakes opting to bake for longer at a lower temperature. I find this makes for a better, more even bake and reduces the risk of raw middle mix as well as providing a nice flat top for cakes! Check out my article here to read more about that.

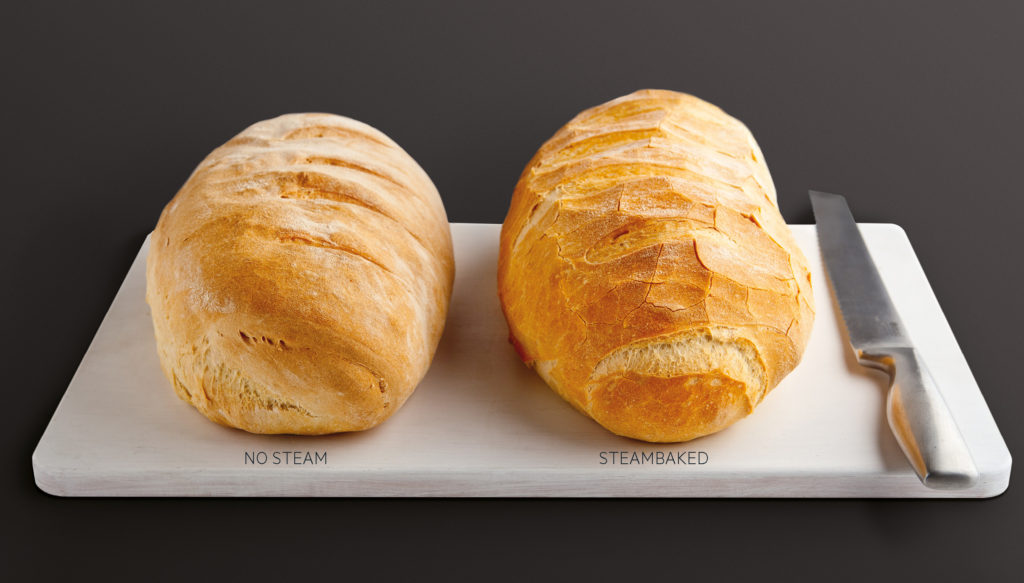
Back in March I was asked if I would be interested in replacing my current AEG oven with a new SteamBake oven, courtesy of AEG, to test out bake with and review. I, of course, said yes! I was provided with some delicious looking promo shots, like the one below to demonstrate how much SteamBake can improve bakes, how could I refuse? I was very excited. Within the fortnight, a lovely chap from AEG came to take out my old oven and install my new one. He was friendly, polite and efficient! He had replaced it before I’d even finished my cup of tea! I was very impressed.
The Oven

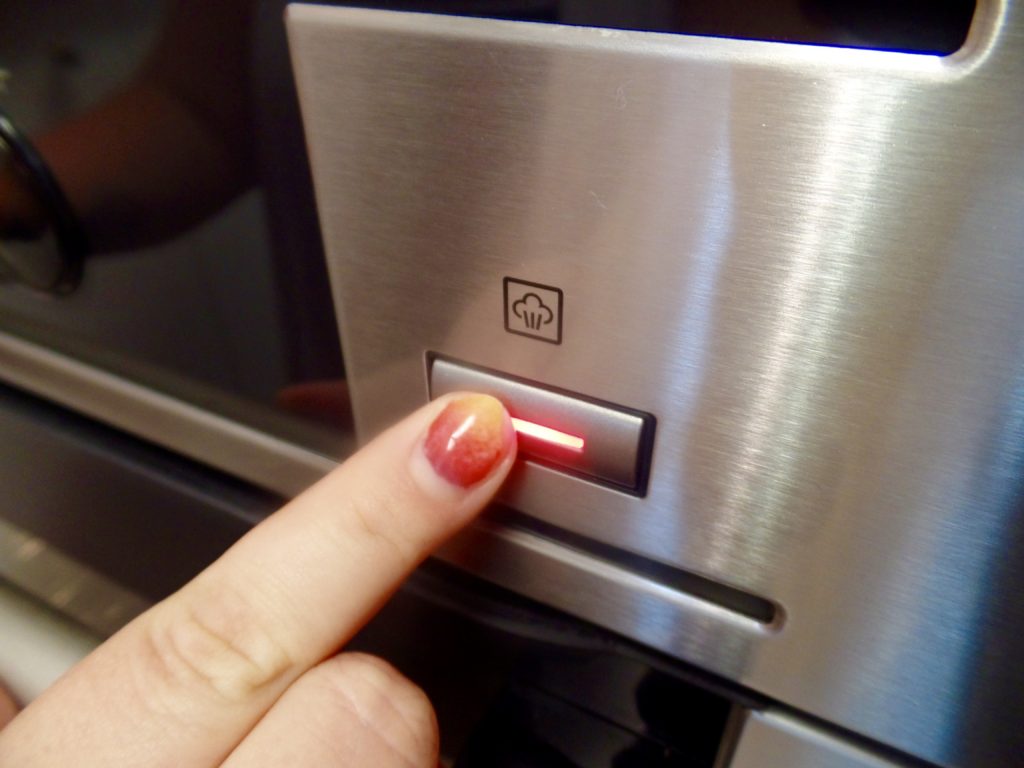
The outer controls looked similar to my old oven with a few differences. The settings and temperature were on dials to the right and left and there are five buttons in the centre. The main difference was the SteamBake setting located on the right. All of the functions are really easy to use and I was happy to see one my my favourite functions, the internal thermometer to tell you the exact temperature inside the oven, was still available. As a baker, this is so important!

Pre-heating the oven took just a few minutes and when it’s ready it beeps at you (If you watch my Live Bake-A-Long on Facebook you can see just how quick this is from when I turn it on to when you can hear the beep a few minutes later!) I LOVE how quick it is. I’ve been known in the past to completely forget to turn the oven on, get baking and… oh. Now I’ve got to wait and my cake mix is spoiling! I once had an oven that took nearly 20 minutes to pre-heat. This is so fast!

It produces a nice, even temperature which is key for baking. Having baked a few times in a gas one and also a conventional oven, I cannot recommend a fan assisted oven highly enough. The even heat produces an even rise and a great bake.

SteamBake

After watching the oven in action at the Good Housekeeping Institute with an event by AEG I attended back in March, I was really excited to see just for myself how it could be used and what the end results would be! After a quick read of the manual which was very detailed but easy enough to understand, I decided to give it a go.

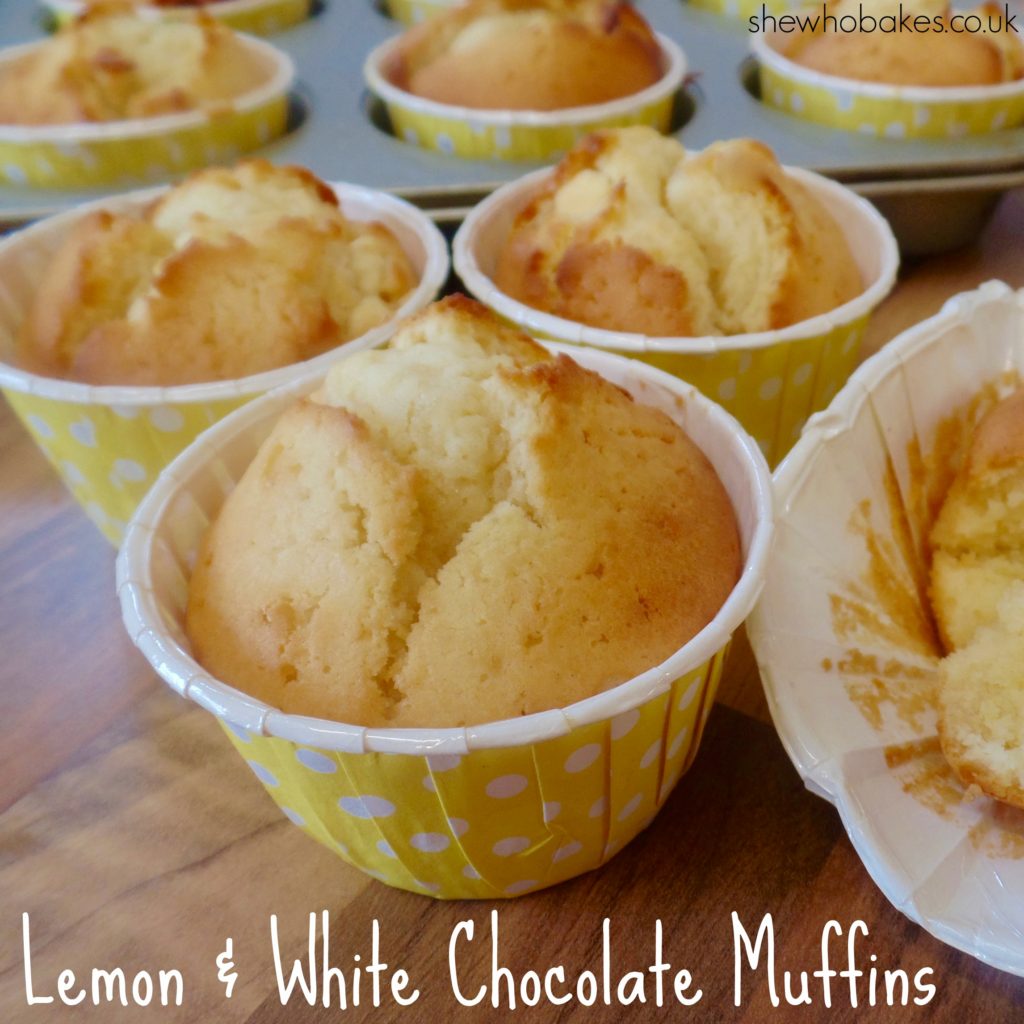
I’ve worked with AEG to create three recipes using the SteamBake function, a Sun-Dried Tomato & Parmesan Loaf (Also known as Pizza Bread!), Lemon & White Chocolate Muffins and a Baked Raspberry & Vanilla Cheesecake. All three need a nice moist bake with a lovely crust, something I was assured the SteamBake function could offer me.

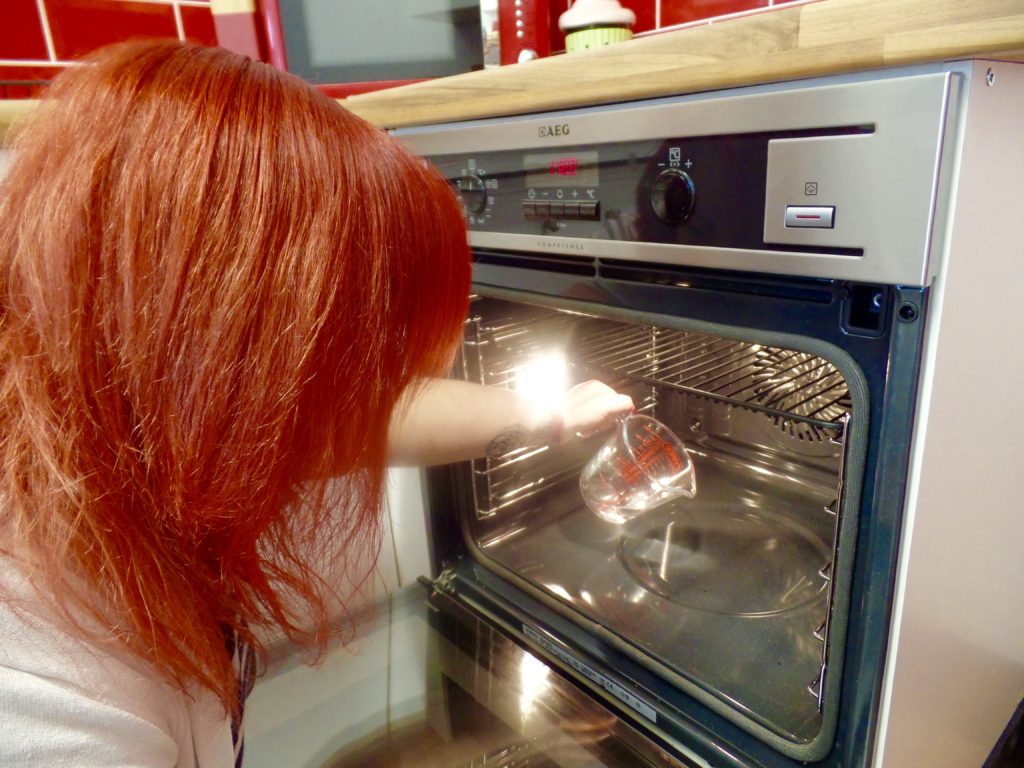
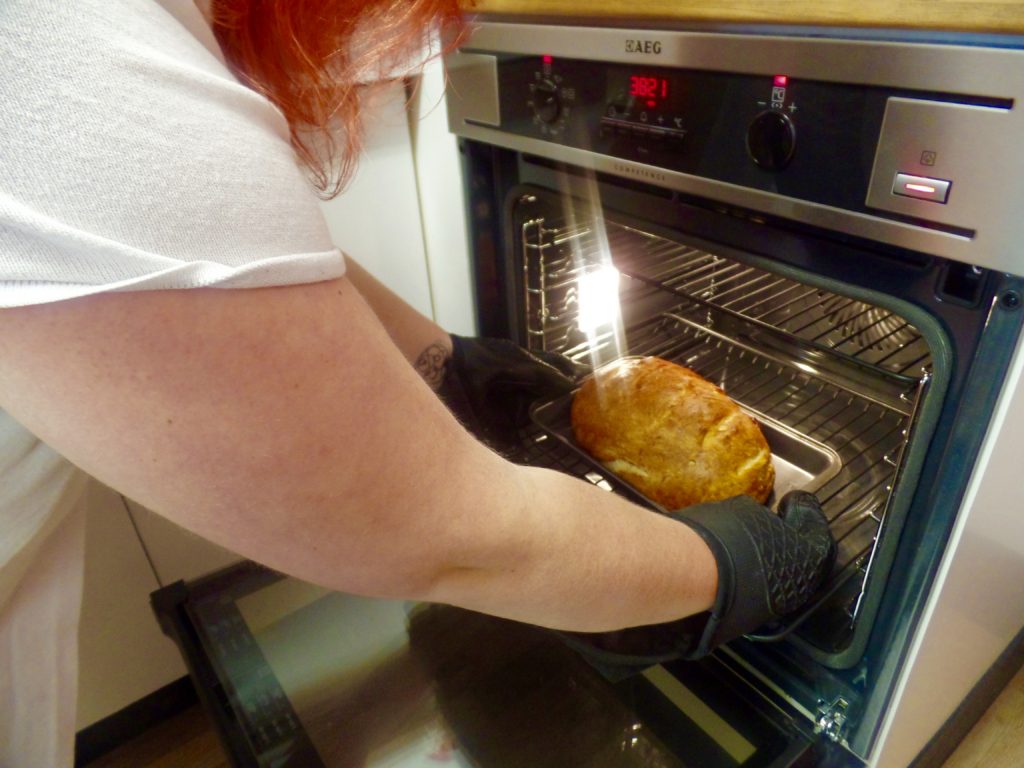
It was so easy to use, simply fill the well in the bottom of the oven with 100ml water, select your temperature, press the SteamBake button and wait for it to beep! In less than 5 minutes it was ready for my bakes. One thing I will say, when it’s pre-heated and you put your bakes in, open the oven door and step away just slightly. It’s very hot in there and I got steam all over my camera when I was trying to snap a picture of the inside! Haha! Try to be quick with putting in your bake as well otherwise you will lose all that key moisture from the steam.

In fact, I have found if you are using the SteamBake function, to turn the temperature down by 10 degrees or so from what your recipe dictates, unless it has been specifically written in using a SteamBake oven, like my three listed above, as it is hotter than even a fan oven.

Also, cleaning up afterwards is very easy too. You will see a ‘dried on’ patch at the bottom of the oven where you poured the water and if you’re like me you will dread getting out the rubber gloves (I hate cleaning!) but I was pleasantly surprised that with a wet sponge, it just wipes away! No mess. The oven also has a Pyrolytic Cleaning function, which literally burns the dirt off! I’ve not had it long enough to need that yet but I’m looking forward to trying that out!
Verdict

So what do I think? Well, having been an AEG oven user for a while now, and having loved my old oven, I did wonder if the addition of the SteamBake function would make that much difference and in all honesty, I really think it does. Whilst I baked great loaves of bread in my old oven, this one gave it a better rise and a crispier crust. It gave my muffins a moister bake and a delightful crunchy outside and my baked cheesecake was perfect.

I think it’s a great bit of kit and the perfect oven for if you’re looking to take your bakes further. A professional oven in a domestic setting. I highly recommend it. To find out more about the AEG SteamBake oven range, click here.

Happy baking!

Britt xo

Recipes
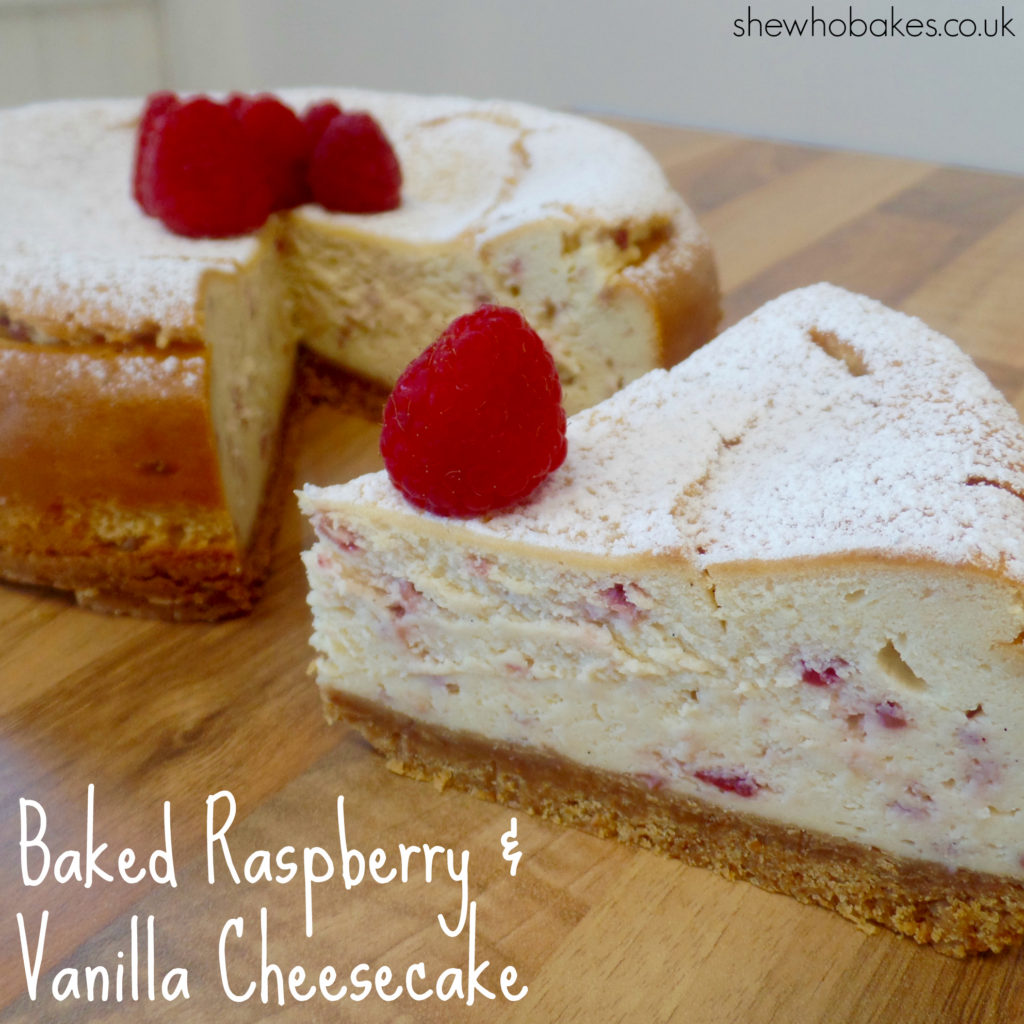
Baked Raspberry & Vanilla Cheesecake by She Who Bakes
Sun-Dried Tomato & Parmesan Loaf

Lemon & White Chocolate Muffins Recipe by She Who Bakes

N.B Oven provided for free by AEG to test and review, but my views are my own, impartial and honest.


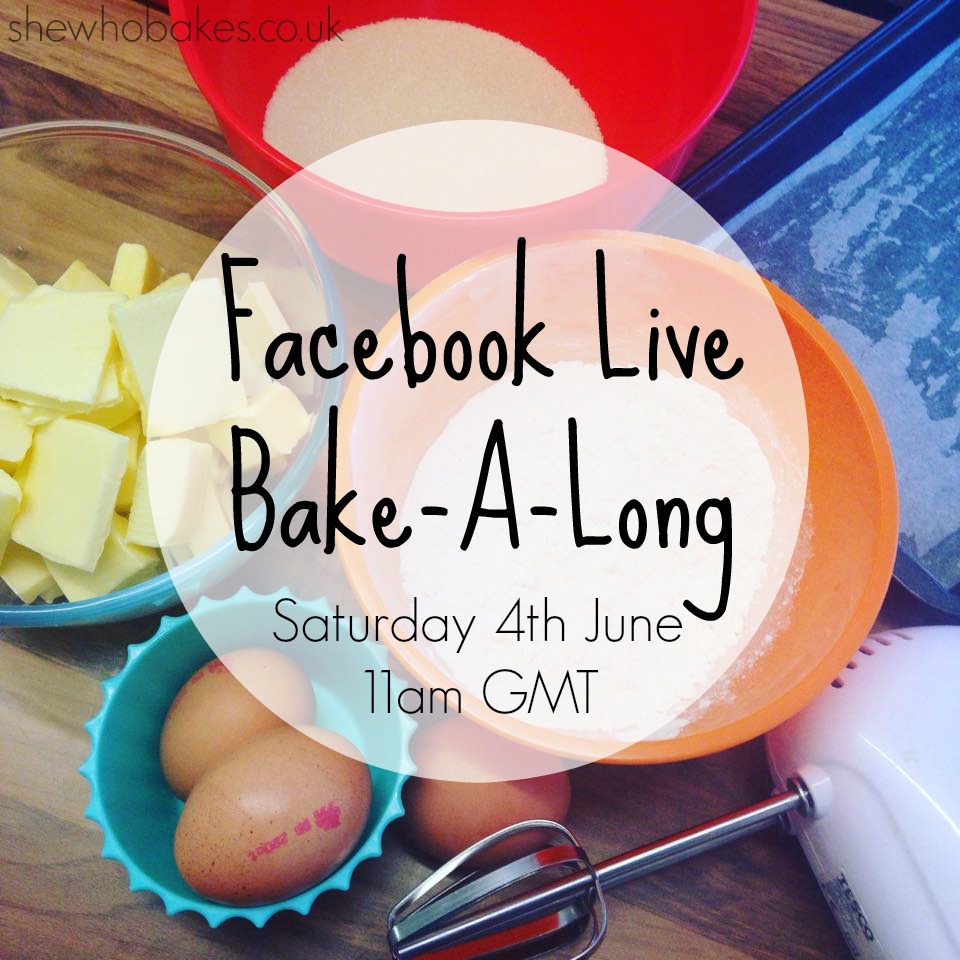
Facebook Live Bake-A-Long!

06/16

Out of all of my recipes on my website, the one I get asked the most about is my Classic Madeira Birthday Cake.

It’s a perfect staple recipe for all occasions. It’s easy to customise, great to ice and decorate and lends itself to freezing too, oh and it’s delicious!

This Saturday 4th June at 11am GMT I will be baking this recipe live on my Facebook page!

You can come and watch me, ask lots of questions, see how I work in my kitchen and the best part is, you can bake a long at home! I will be making a 7″ round vanilla madeira cake over the course of the day.

The first live video will be me baking the cake and then I will go back on live an hour and a half later when it’s baked so you can see the steps I take next to ensure a flat top and how to keep it moist and fresh for when you want to decorate it!

The ingredients you will need to do it with me at home are;

  • 200g self raising flour
  • 200g caster sugar
  • 200g Stork/butter
  • 50g plain flour
  • 4 medium eggs
  • 1 tsp vanilla

You’ll also need;

  • Cake ingredients
  • 7″ round tin
  • Greaseproof paper & cling film
  • Scissors & pencil
  • Cake release (spray, tub, tube, whatever you’ve got!)
  • Silicone pastry brush
  • Big spoon/spatula
  • An oven!

I also recommend using a stand mixer for this as I will be, but a hand mixer is also good!

I look forward to seeing you there!

Britt xo

Traybake Recipes

06/16

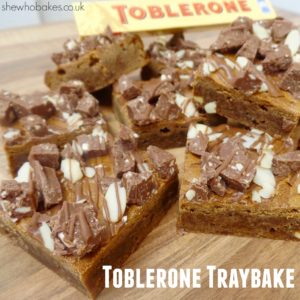
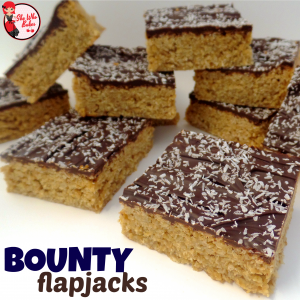
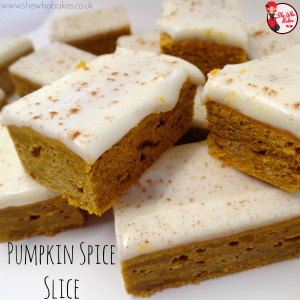
Traybakes are a classic crowd pleaser. They can usually be made in advance so perfect for parties and they are usually quick to make, and even quicker to eat! Below I’ve listed my favourite traybake recipes, simply click on the picture to be taken to the full recipe and method.

I’ve included my Crunchie Shortbread Biscuits, because even though I like to make them as individual portions, I have also made them as a traybake before and it was delicious!

If you want to turn your baking hobby into a career, check out my book Cakes, Bakes & Business for everything you need to know about running a successful baking business, including pricing, marketing, insurance and much more!

Give it a try and let me know how you get on either on Facebook or Twitter or Instagram.

Happy baking!

Britt xo

Toblerone Traybake by She Who BakesSnickers Cereal Bars by She Who Bakes

Crunchie Shortbread BiscuitsKinder Bueno Fudge

Millionaire's Shortbread RecipeJammie Jacks

Mini Egg Rocky Road Recipe by She Who BakesBounty Flapjacks Recipe
Lindt Lindor Truffle Shortbread Barspeanut butter chocolate squares

Pumpkin Spice SliceThe Jaffa Bake

Double Decker BrowniesBourbon biscuit bake recipe

Lemon & White Chocolate Slicesbanana coconut flapjacks

Sign Up to my Newsletter

Subscribe here to my newsletter!

Designed by Clockwork Moggy