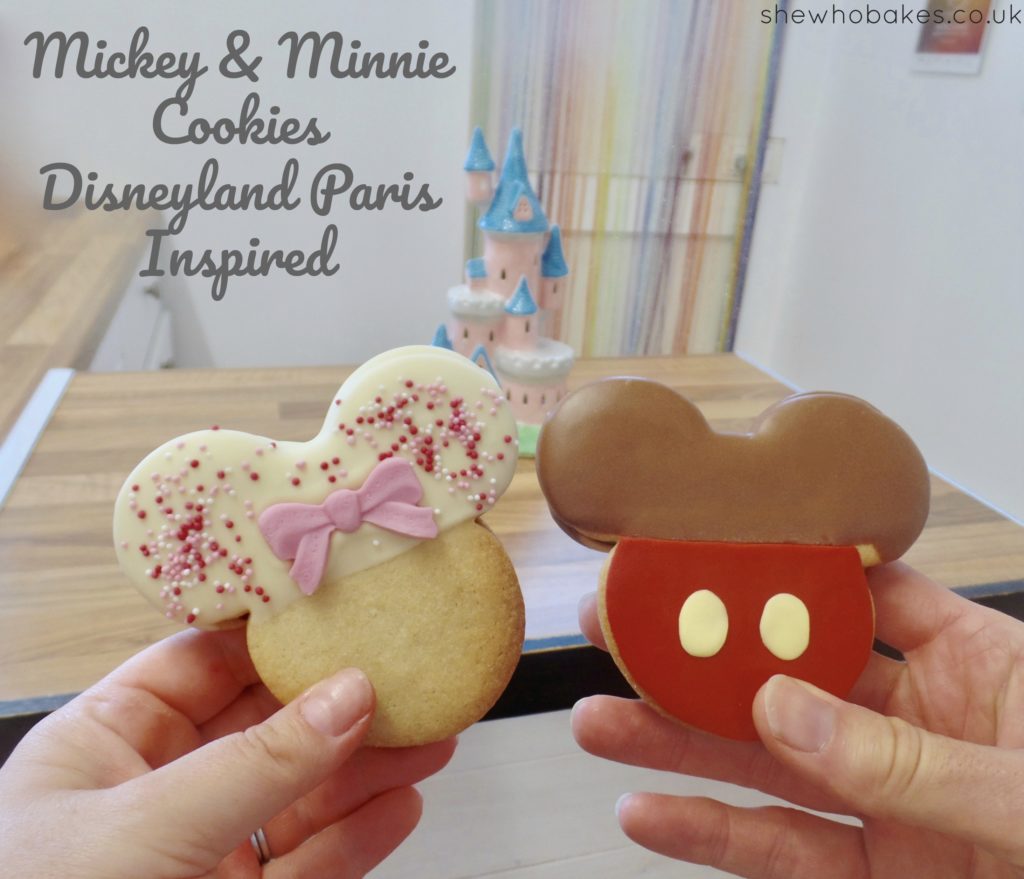
Inspired by my recent trip to Disneyland Paris, I wanted to recreate my favourite snack we had there!
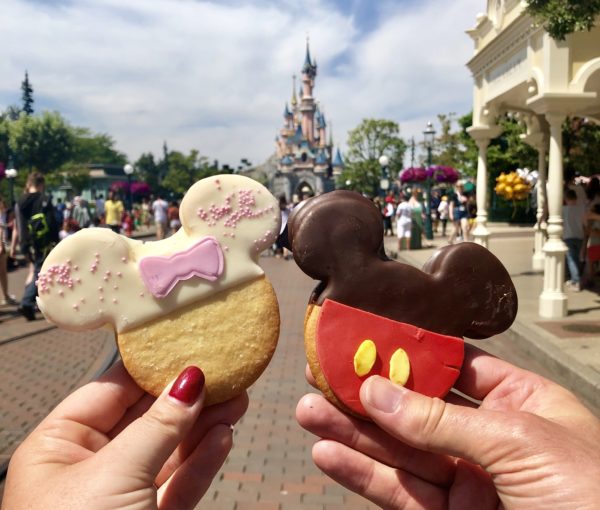
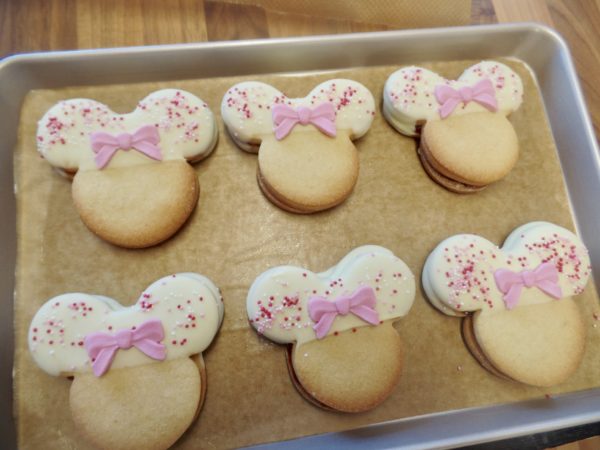
I had the Minnie Mouse cookie which was two biscuits, sandwiched with jam, dipped in white chocolate and decorated with sprinkles and a bow. Tim had the Mickey Mouse cookie which was two biscuits, sandwiched with Nutella, dipped in milk chocolate and decorated with sugarpaste.
Here were the ones we had while we were sitting on Main Street, in front of the iconic pink and blue castle.
For this recipe, I recommend my no spread cookie dough which really helps the biscuit keep it’s distinctive shape.
Remember, for each cookie, you’re going to need two biscuits. Because of this, I doubled my usual recipe to have enough dough.
Make sure to follow the recipe, including chilling the dough and then the cut out cookies for at least 30 minutes before baking. Once baked, leave to cool completely before decorating.
You can find the cutter I used here.
Minnie Mouse Cookie
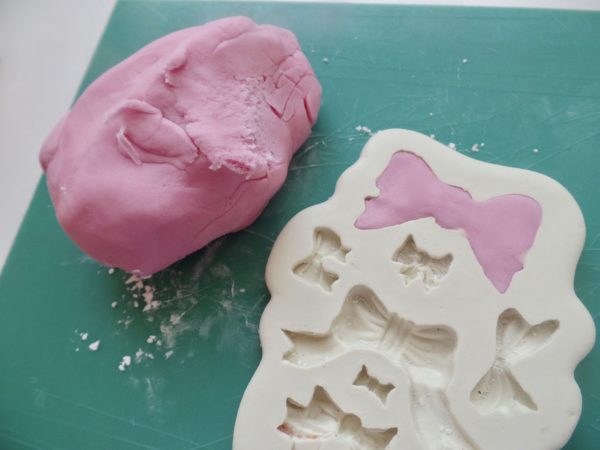
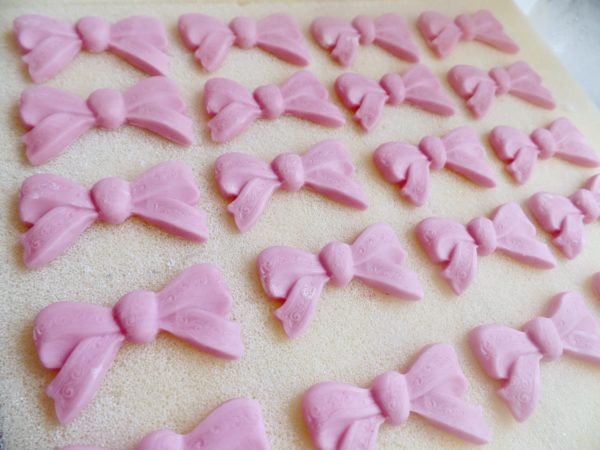
I’m going to start with Minnie. Firstly I’m going to make the little pink bow decoration. I’m using pink modelling paste and a silicone bow mould. I’m pretty sure by looking at it the Disneyland Paris cookies bow was made using a plunger cutter but I don’t have one of those! I kneaded the pink modelling paste and pressed it into the mould. I then pushed it out and left it to dry overnight on foam.
I also massively overestimated how many cookies I’d actually be making…
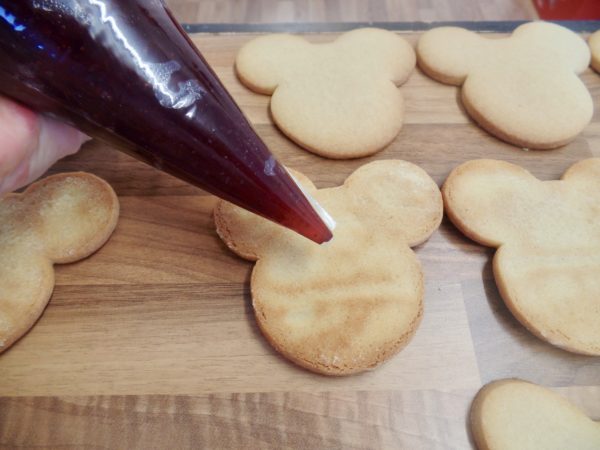
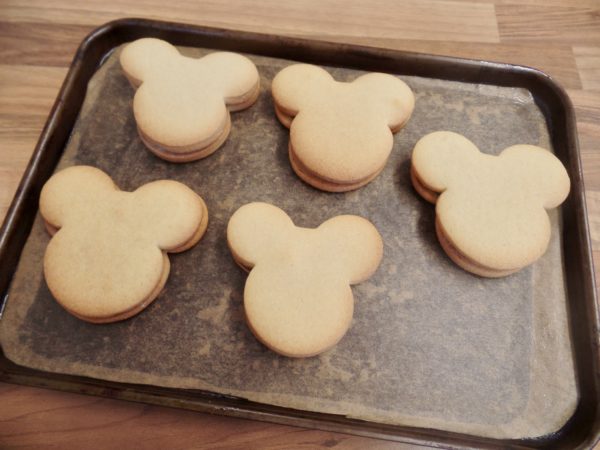
Next, I sandwiched the baked and cooled cookies with about a tablespoon of strawberry jam using a piping bag. I then put these in the fridge for half an hour to firm up a little. While the cookies were chilling, I melted 400g white chocolate with a little coconut oil. The coconut oil helps with white chocolate consistency and makes it better for dipping.
I then half dipped the chilled cookies into the melted white chocolate. I then laid them onto a tray lined with greaseproof paper.
To decorate, I added a few sprinkles (again, slightly different to the Disneyland Paris ones as I used what I had in!) and finished with the little pink bow in the middle. I then left these to set completely in the fridge.
Mickey Mouse
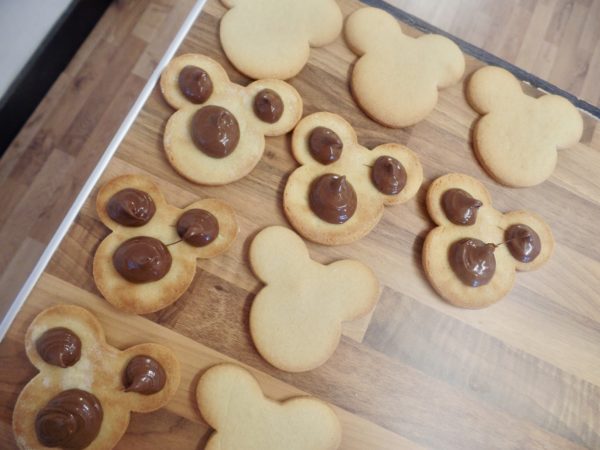
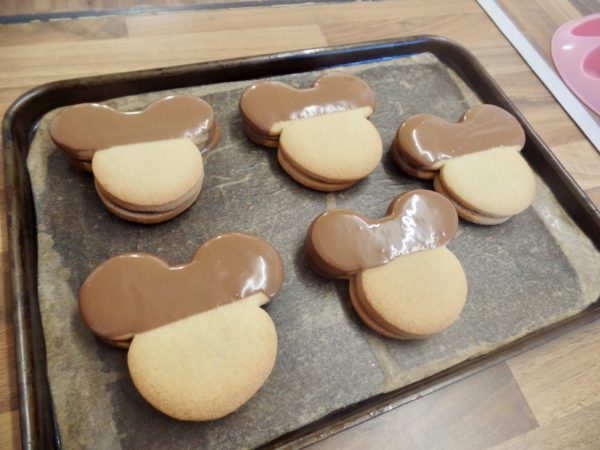
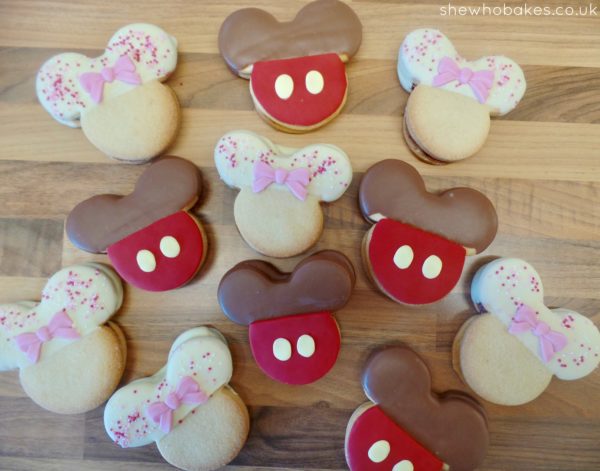
For the Mickey cookies, I didn’t have to make any decorations in advance as everything was going to be placed onto the cookie itself. So I first sandwiched with a tablespoon of Nutella and then left to set in the fridge for 30 minutes. Again, while the cookies were chilling, I melted 400g milk chocolate with a little coconut oil. I then again, half dipped the chilled cookies into the melted milk chocolate and then laid them onto a tray lined with greaseproof paper.
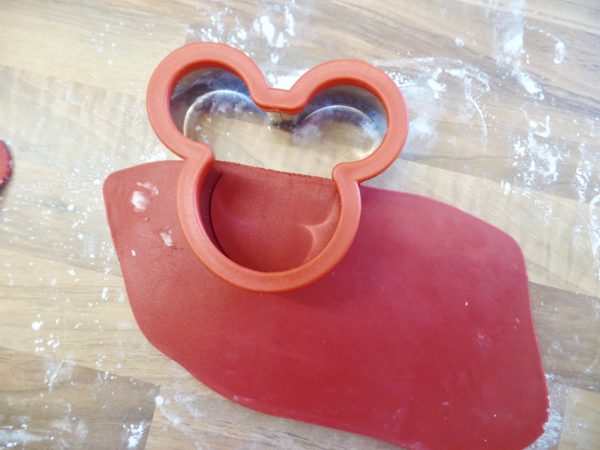
As for the decoration, while the chocolate on the cookies were setting, I rolled out red sugarpaste and cut out shapes using the same cutter I used to cut out the cookies. I then trimmed accordingly, using the original picture of the cookies as a guide. I then stuck this to the dipped cookie with a little edible glue.
Once the red was on, I rolled out yellow sugarpaste and cut out two small circles. I squished them with my hands until they became an oval shape (an oval cutter would work wonders here but I either don’t have one or can’t find it. I’ve lost count of exactly how many cutters I actually own…) I stuck down the oval shape to the red with a little edible glue and I then left these to set completely.

They are a little different to the treats we enjoyed in Disneyland Paris but I’m so pleased with how they turned out! They are making me really excited for our next trip over there. Ok, that’s a lie. I was excited already. It’s absolutely one of my favourite places to be!
If you’re baking any of my recipes or using any of my blogs, let me know how you get on, either on Facebook or Twitter or Instagram.
To see another Disneyland Paris inspired bake, check out my Chocolate Chip Mickey Mouse Cookies here.
Happy baking!
Britt xo

For more information on how to decorate your cake and go from home bake to showstopper, check out my list of latest online cake decorating courses here.
If you want to turn your baking hobby into a career, check out my book Cakes, Bakes & Business for everything you need to know about running a successful baking business, including pricing, marketing, insurance and much more!

