Creme Egg Brownies

03/18

I absolutely love Creme Eggs. I think they are a fab little Easter treat and I love baking with them. I’m seeing a few friends and loved ones over the Easter holidays so I thought I would bake up something tasty to take with me and share with them!

I’ve made a few tasty recipes with them in the past including Creme Egg Cookies and Creme Egg Cake.

I originally saw the Creme Egg brownie idea on the Cadbury UK Facebook page but that original post has since disappeared!

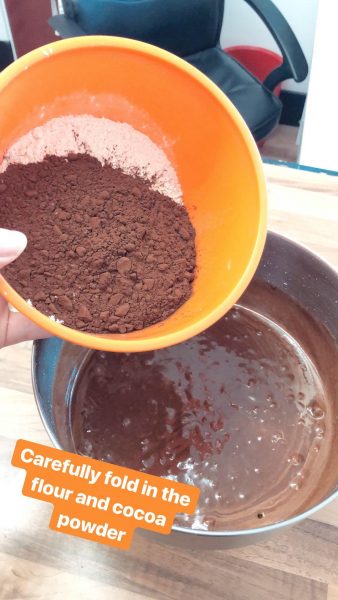
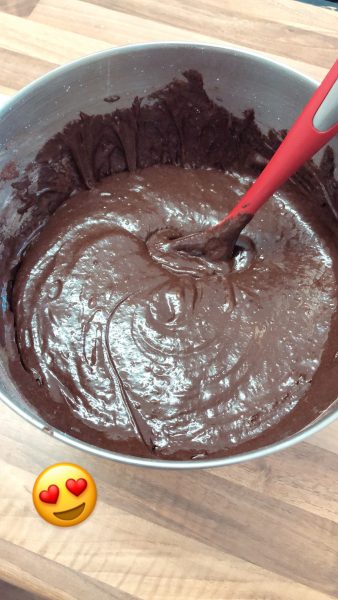
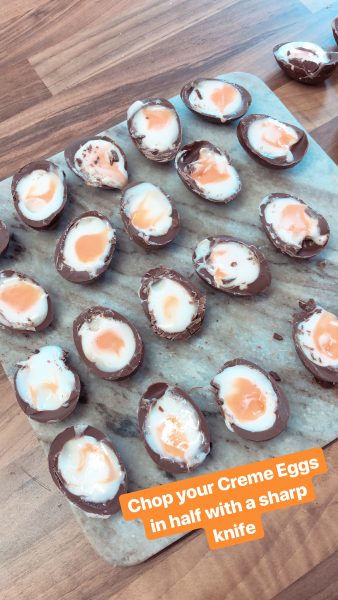
For the brownies, you can just use your favourite brownie recipe. Just add in the Creme Eggs halfway through baking! I highly recommend my Triple Threat Brownies (without the chocolate chunks, or with, it’s up to you!) as they are easy and super tasty.

The following pictures are taking from my Instagram stories which I highly recommend to watch as I often post how to videos and step by step tutorials whenever I’m in the kitchen.

Equipment wise you will need;

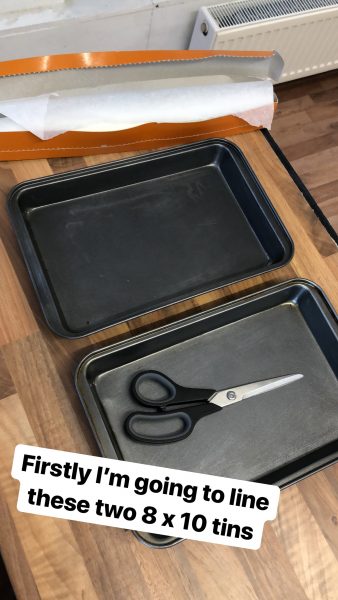
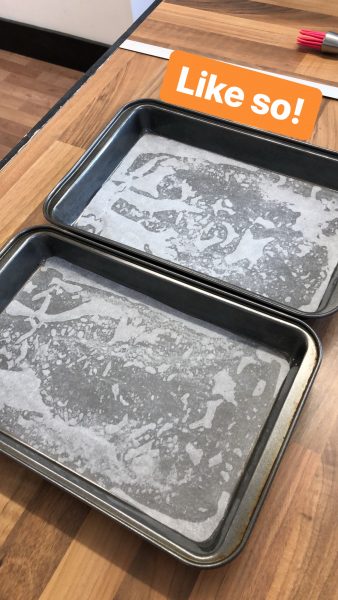
  • 8×10″ baking tin (I’m using two tins as I’m making two trays of brownies!)
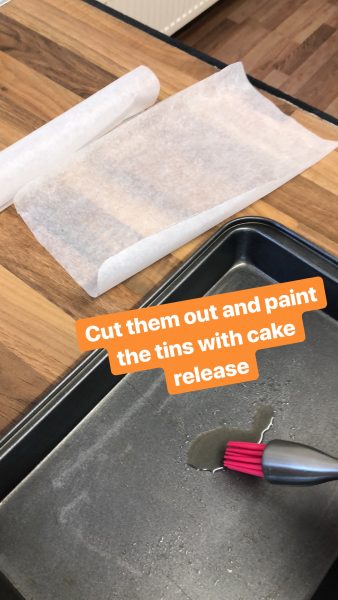
  • greaseproof paper
  • pencil & scissors
  • Cake release

Ingredients (remember, I’m making two so I’ll have double the ingredients)  –

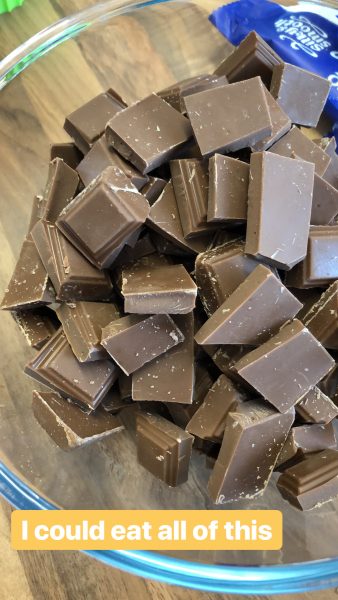
  • 200g dark chocolate
  • 200g unsalted butter
  • 100g plain flour
  • 50g cocoa powder
  • 3 eggs
  • 275g golden caster sugar

The only difference between what I did and the Cadbury UK recipe is I baked at 180c fan instead of 160c and I baked for about 20 minutes before pushing in the Creme Eggs and baked for a further 10 minutes. It all depends how squishy you want you brownie!

Cut into pieces and enjoy!

Give it a try and let me know how you get on either on Facebook or Twitter or Instagram.

Happy Easter and happy baking!

Britt xo

If you want to turn your baking hobby into a career, check out my book Cakes, Bakes & Business for everything you need to know about running a successful baking business, including pricing, marketing, insurance and much more!

Learning To Love Easter Again

03/18

Learning to love festive occasions after a bereavement can be incredibly hard. Sometimes even more so if the bereavement happened around that time.

Easter was always a fun and loving occasion in my household. Comprising of family time, watching the same films on VHS (if you don’t know what that is, ask someone approaching 30…) and eating a small mountain of chocolate. What’s not to love? Unfortunately however, as the years passed Easter became one of a trio of events I would begin dread in the spring. The other two being Mother’s Day and the day my mum died.

When I sadly lost my mum back in April 2005, it was shortly after Mother’s Day, which was at the start of March and Easter, which was at the end of March. The flowers I had bought her for Mother’s Day were still in a vase on the table, wilting a little, but still colourful. The Easter Egg I had bought her was still sitting on the side, she had been too ill to eat it and said she would enjoy it soon. But of course, she never did.

I remember being lucky that year in that even though I was just 16 however (in my own words) ‘grown up’ I was, my mum had bought me two Easter eggs. Well, one was an egg and the other was a pair of modelled white chocolate shoes. I had eaten the egg on Easter Sunday but the shoes, for some reason, I kept on my shelf. I thought they were too pretty to eat. After mum died I kept those shoes until they disintegrated. It had been one of the last things she had ever bought me and to be honest, it hurt too much to throw it away.

The following year I remember falling apart on Mother’s Day. Even now, years later, Mother’s Day is always a painful occasion for me for obvious reasons. I had grown to accept that a day dedicated to telling your mum how much you love her was going to be painful. But Easter, that was one I didn’t expect to get to me. That year Easter fell right in the middle of the one year anniversary since I lost her. I couldn’t even look at an Easter egg without my eyes filling with tears. I kept remembering the egg she never ate. How long it sat there until I had the courage to throw it away. To me it sounded so silly, it was just chocolate and yet it was affecting me so much.

I had come to realise that March and April were always going to be hard months for me. Mother’s Day, Easter and the anniversary of her death. I always felt that once those were out of the way I could then get on and enjoy the rest of my year. It was like an invisible black mark on my calendar.

When I started baking years later and I started baking for other people, I was asked to make Mother’s Day cupcakes and Easter themed cakes. It was hard at first but then I found a way to channel how I felt into creating tasty bakes for other people. Then, when I stopped making commission cakes, I still continued this by baking Easter themed recipes for my blog. It was a way I found I could enjoy the occasions. That said, even now years later when I work for brands and companies, which is a side of my business I adore, I tend to stay away from anything to do with Mother’s Day. I find I can’t in all good faith write cheerfully about a day which causes me so much pain. Maybe one day I will be able to, but I certainly can’t yet.

It’s been 13 years this year since I last saw my beautiful mum’s face, heard her laugh or was able to ask her advice. I lost her when I was just 16. I have such a big year this year, I’m turning 30 in June, I’m doing a TEDx talk (which has been one of my big ambitions) and I’m marrying the man of my dreams in September. I would give anything for her to come wedding dress shopping with me. My mum and I had such a special relationship, she was a single parent raising me to be the best woman I could be, but she never got to see how her teaching and influence turned out. I think it’s all of these factors which make me realise that I’m still grieving. I’m still feeling the pain of her loss on a daily basis. You may think that 13 years is long enough to ‘get over’ the loss of someone but I assure you it isn’t. I don’t think it’s ever something I’ll ‘get over’. I am, however, working towards being able to think and talk about her in a way which leaves me with a smile on my face, rather than in a tearful mess. Some days are better than others.

What I have learnt over the last 13 years, however, is that I can be happy. I can learn to love special occasions again. I can enjoy Easter with my loved ones.

Spring is such a beautiful time of the year with all of the new growth, the colours emerging and the chance for a new beginning. It may have taken me a while to embrace it again but embrace it I shall. With open arms. That’s what my mum would have wanted.

If you are missing someone, grieving or struggling with a bereavement please talk to someone and please, please be kind to yourself. You are allowed to miss them. You are allowed to think about them. You are allowed to cry. It’s shit, it really is. But I promise, you will be ok.

Happy Easter,

Britt xo

Rocky Road Easter Eggstravaganza!

03/18

There is SO much delicious choice around lately when it comes to mini Easter themed confectionary delights. It’s hard to choose just one to enjoy.

This Friday I’m teaching a blogging and social media class to Tim’s CONTROL practitioners and as they were all coming to our house, I felt baker pressure. When you make cakes and cupcakes and other tasty bakes it’s hard to give your guests a packet of custard creams (nothing wrong with custard creams, of course. They are a favourite of mine!). You always feel *compelled* to make them something a little more impressive.

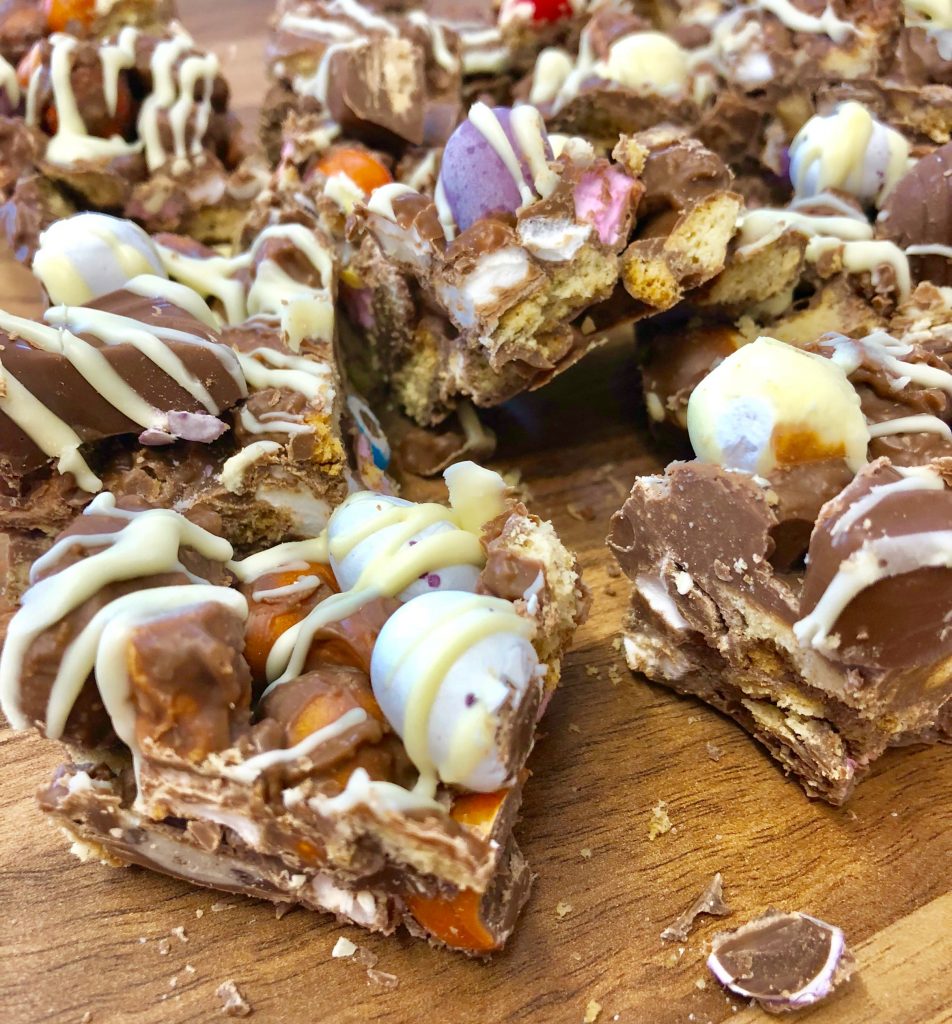
Seeing as Easter is fast approaching and I didn’t have a lot of time, I thought I’d rustle up a quick and easy favourite of mine, Rocky Road.

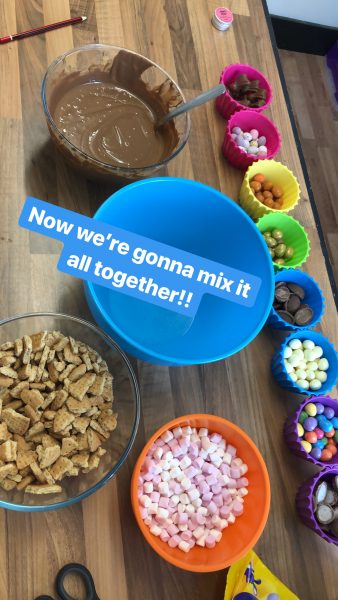
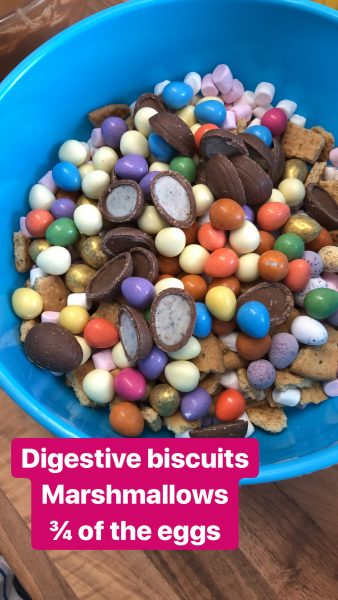
One of the things I love about making Rocky Road is just how free you are to customise it. Don’t want Digestives? Don’t have them. Fancy twice the amount of marshmallows? Go for it. Want to swap the chocolate for dark/white/milk? Go ahead! As long as you take your tasty treats, give it a bit of a mix of textures and cover it in chocolate, you’ve got yourself a delicious Rocky Road.

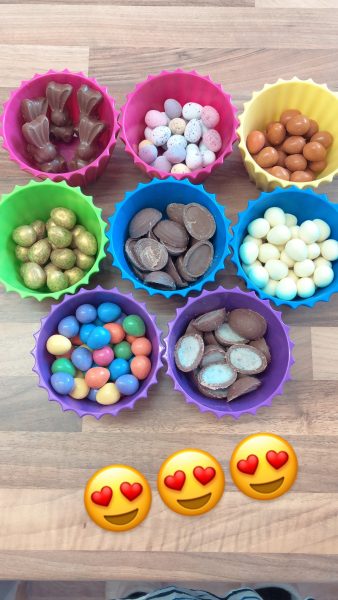
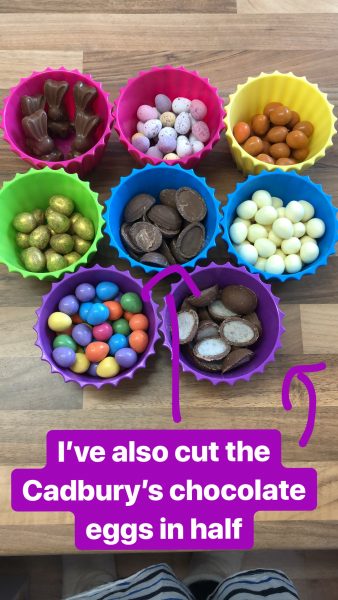
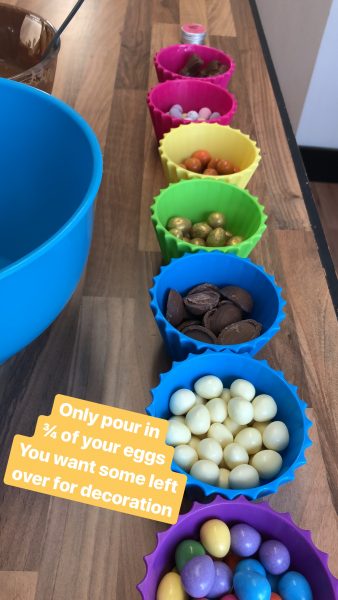
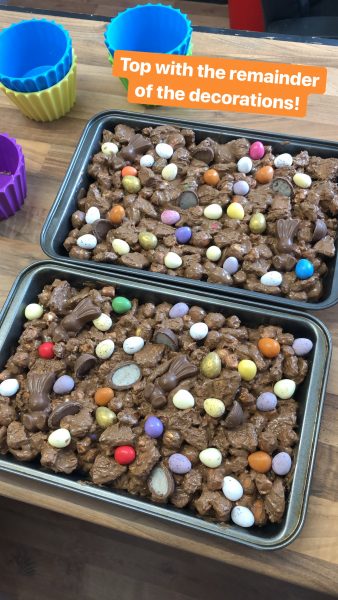
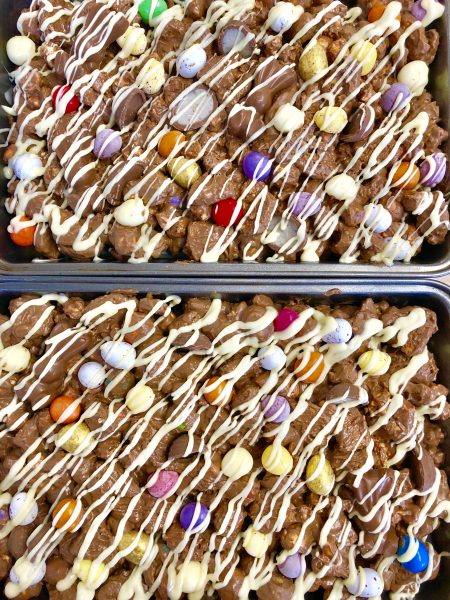
I’ve loosely based this Eggstravaganza on my Mini Egg Rocky Road that I first posted on my old blog back in 2014! I was originally just going to recreate it for my guests but when I was standing in the supermarket aisle, I simply couldn’t choose between the eggs; so I bought them all!

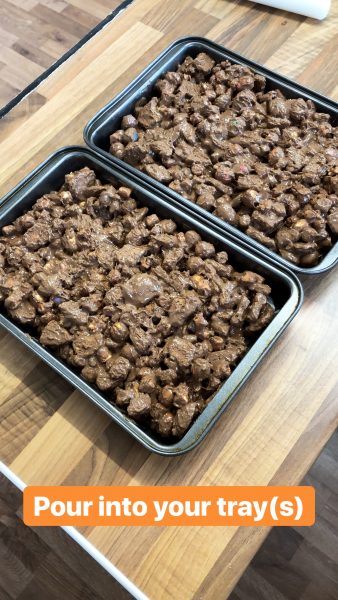
Below I’ve listed the quantities I’ve used to fill two 8×10″ baking tins. If you want one, just halve it. If you’re not keen on some of the eggs, take them out, this recipe is yours to do with as you will. I like a nice crunch on my rocky road but if you want it a little softer you can always add a little golden syrup.

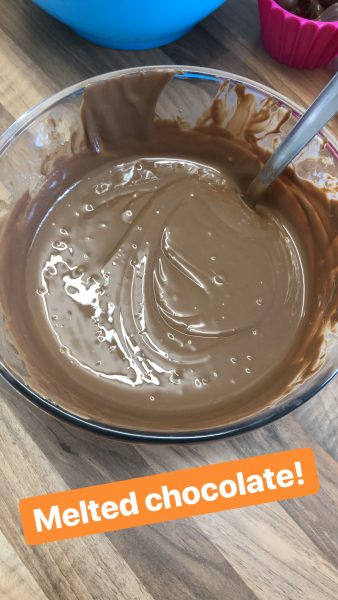
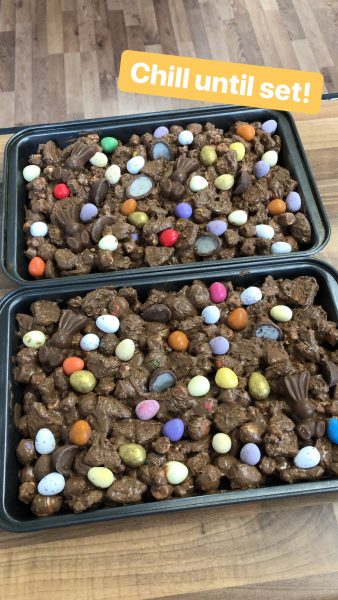
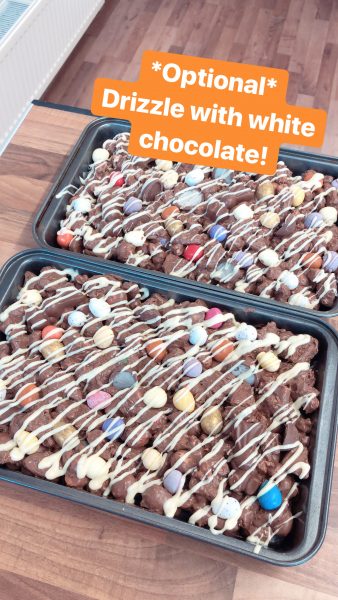
The following pictures are taking from my Instagram stories which I highly recommend to watch as I often post how to videos and step by step tutorials whenever I’m in the kitchen.

Equipment wise you will need;

  • 2 x 8×10″ baking tins
  • greaseproof paper
  • pencil & scissors
  • Cake release

Then for the ingredients I’ve used;

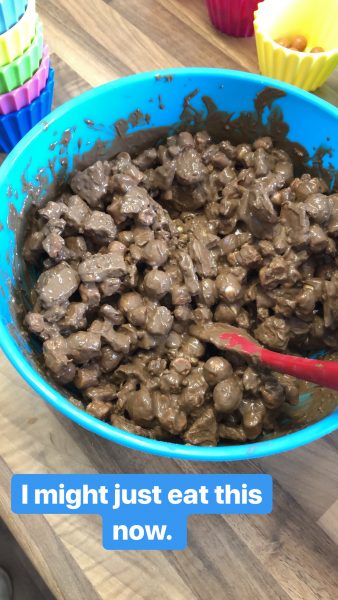
  • 900g milk chocolate
  • 400g Digestive biscuits
  • 100g mini marshmallows
  • 2 x 90g pack Mini Eggs
  • 1 x 82g pack Mini Oreo Eggs
  • 1 x 300g pack Milkybar & Smarties Mini Eggs
  • 1 x 86g pack of Daim Mini Eggs
  • 1 x 90g pack Orange Smarties Mini Eggs
  • 5 x Mini Malteaster Bunnies
  • 1 x 72g pack Galaxy Golden Eggs

(REMEMBER – I’VE MADE TWO TINS. HALVE ALL OF THIS FOR ONE OR DON’T USE AS MANY PACKETS AS I HAVE. I WENT PROPER MENTAL IN TESCO)

Cut into pieces and enjoy! I keep this stored in the fridge until about an hour before I’m going to serve it. It keeps really well in an airtight box in the fridge. Rocky Road has never lasted long in my house but I’ve heard it can keep for a good few weeks.

Give it a try and let me know how you get on either on Facebook or Twitter or Instagram.

Happy Easter and happy baking!

Britt xo

If you want to turn your baking hobby into a career, check out my book Cakes, Bakes & Business for everything you need to know about running a successful baking business, including pricing, marketing, insurance and much more!

TEDxFolkestone 2018

03/18

I have such wonderful news to share. I am fulfilling one of my all time ambitions by becoming a TEDx speaker!

I’m pleased to announce I have been selected to speak at TEDxFolkestone at their ‘Courage to Step Beyond’ event.

I will be taking to the stage at the Quarterhouse in Folkestone on Saturday 23 June and I am honoured and excited to be part of something so amazing and renowned.

More updates to follow in due course, including how to get tickets to the event if you fancy coming along.

Britt xo

(left to right) Liù Batchelor from TEDxFolkestone joined by some of the 2018 speakers Silas Houghton Budd, Cathy Sugden, ME! Britt Whyatt, Roger Evernden and Soti Coker.

Six Months To Go!

03/18

Six months today, on a beach in Barbados, I will be marrying my best friend and love of my life, my darling Tim Box.

I am so excited! The wedding planning so far has been fantastic. We’ve booked the wedding and honeymoon booked through Travel By Lesley at a Sandals resort in Barbados, my shoes, veil as well as fun stuff like the favours. I’ve been really enjoying the creative side of it all.

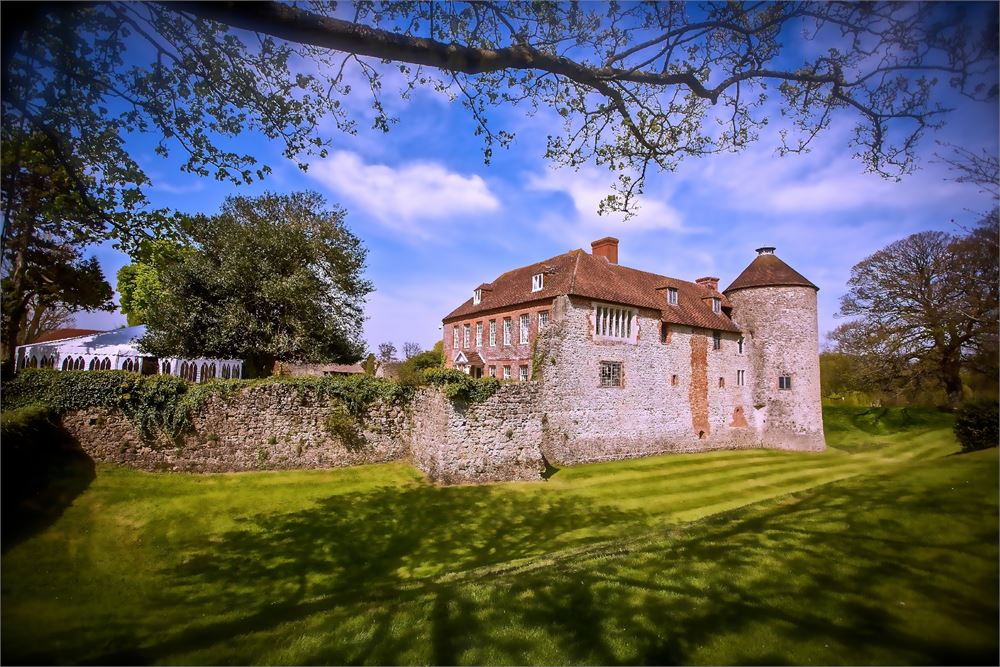
As we’re getting married abroad, just the two of us, we’ll be having a ‘Wedding After Party’ when we return at the beautiful Westenhanger Castle in Hythe, Kent.

The castle walls were built in around 1400 set in fourteen acres of wonderful Kentish countryside. Two manor houses stood on the site and merged in 1509. The castle was sold to Henry VIII and remained in crown property until 1585. Now privately owned and a popular wedding venue and conference centre. Sarah, who runs all of the events there is fantastic. Making sure all of your needs are met, answering any questions and making you feel at ease about all the organisation!


Now, my attention will turn to a sweet part of planning; the cake!

I will be making my own cake and as of yet I’m still not 100% on design, flavours or even how many tiers! I just know I want it to be fun and to reflect our personality. Our colours are light blue and white and the main theme is, quite aptly, ‘beach wedding’. This shells, sand and lovely shades of blue.

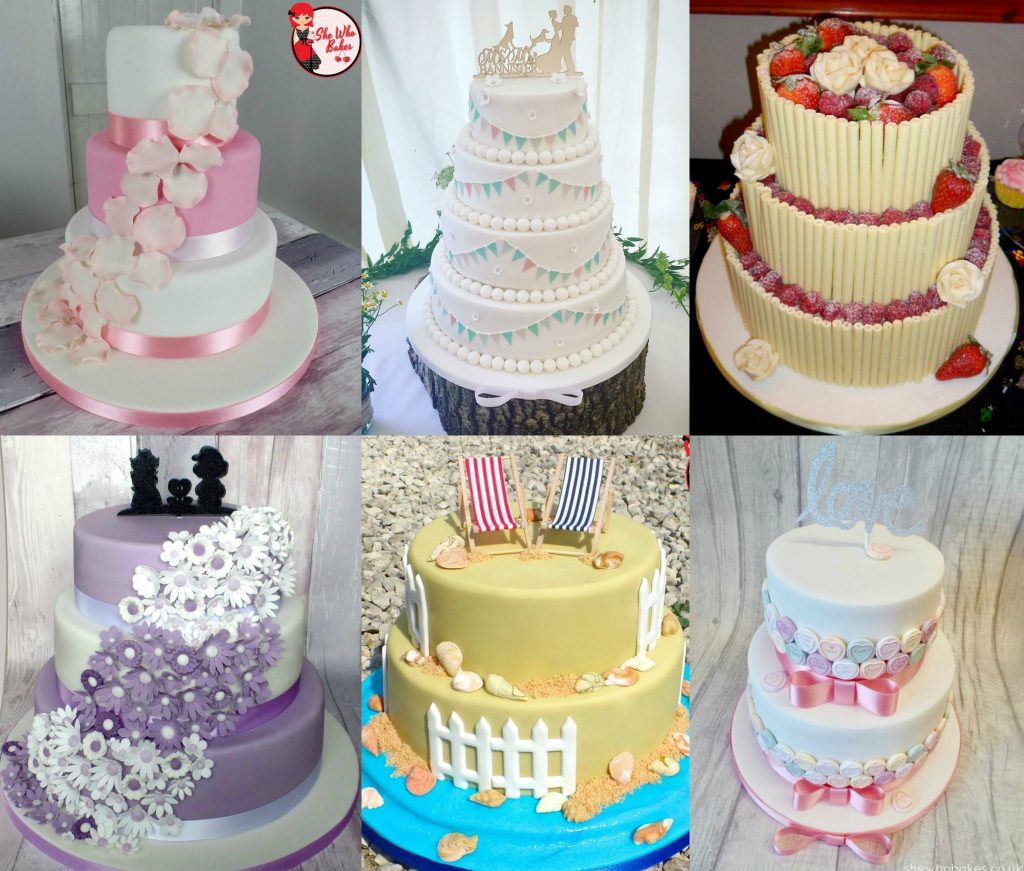
I’ve made quite a few wedding cakes over the years (check below for some of my favourites!) and I’m really excited to be making and decorating this very special one. I’m going to be making a lot of the decorations in advance so I have limited stress when I get back from Barbados! That’s the great thing about sugar decorations, they can be made well ahead of time as long as they are stored correctly. For decorations made from modelling paste, once they have completely dried, I keep them in a non-airtight box (so something like a card cake box) with a sheet of kitchen roll over the top. This keeps them clean and allows air to get them, keeping them firm. If you make decorations and put them in an air tight tupperware box, the sugar can start to sweat and go soft. Not what you need for your delicate decorations! For more about sugar and how to use it best, check out my article here.

I’ll be posting more about my wedding cake, hen party cake and general wedding planning over the next few months on my journey to becoming Mrs Britt Box!

Britt xo


How To Make A Rainbow Cake

03/18

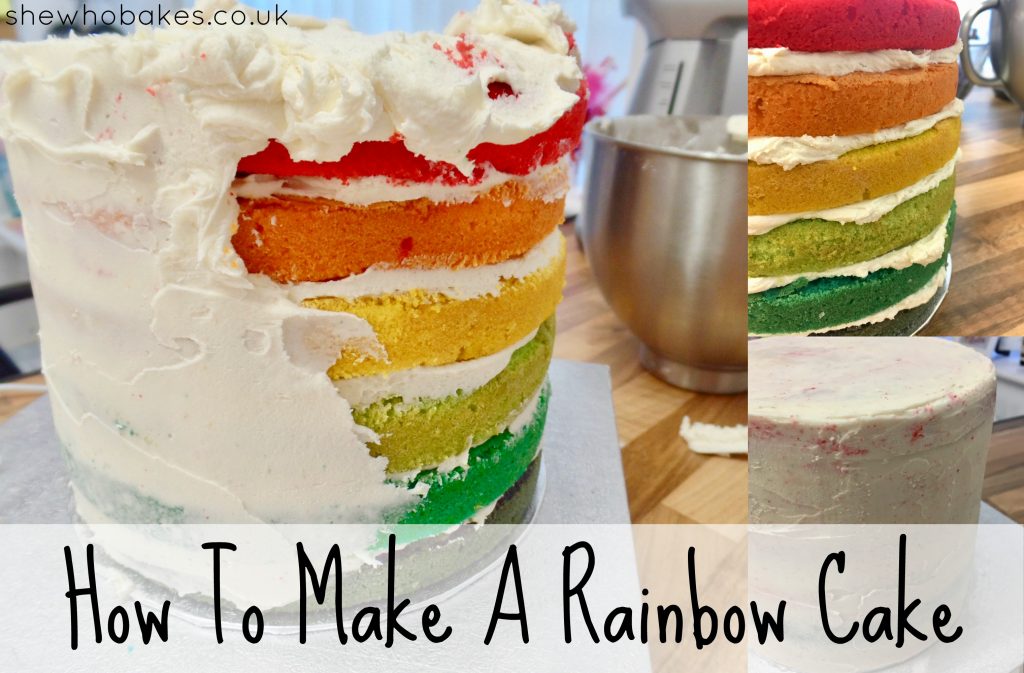
Rainbow cakes are one of my favourites! I love how they look when you cut into them. This week I was tasked to make an interesting rainbow cake for my friend’s husband. Interesting because it was colourful and rainbow on the inside, and black, dark purple and covered in skulls on the outside! You can check this cake out here.

When I was making it I popped a few ‘work in progress’ shots on social media and had a lot of questions about how to make a rainbow cake. There are lots of different videos and tutorials available online but this is a quick rundown of how I make one.

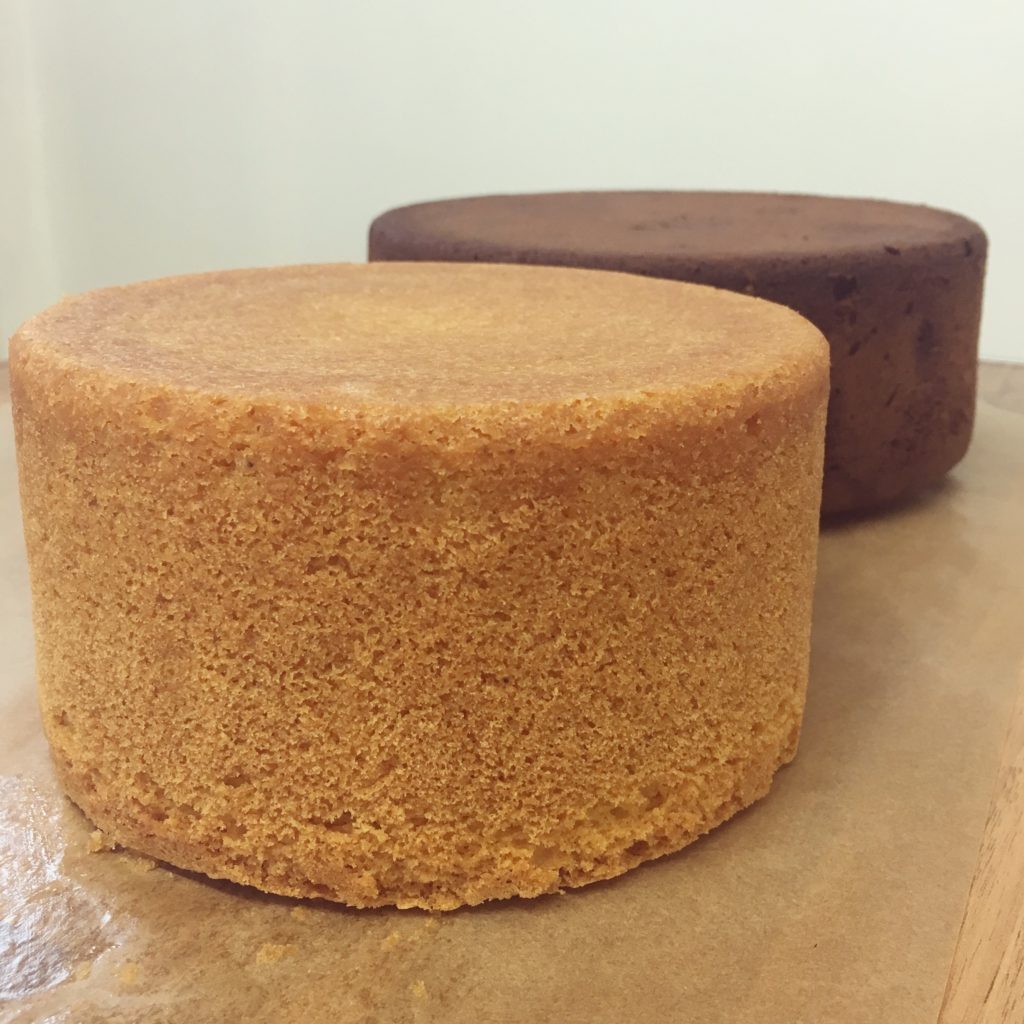
Firstly you’ll need a good cake recipe that’s easy to colour. I use a classic madeira recipe which you can find here. What I tend to do with rainbow cakes and other coloured layer cakes, is whatever tin size I’m using, in this case a 7″ round, I will double that recipe in total to make all six layers out of, as that makes for a nice height. You can of course use more mix for a deeper cake but this is what I have found works best for me.

First you want to line your tin(s). I do this with cake release and greaseproof paper, to save time, I use pre cut greaseproof paper circles and strips of greaseproof paper. You can find out more about how I line cake tins here.
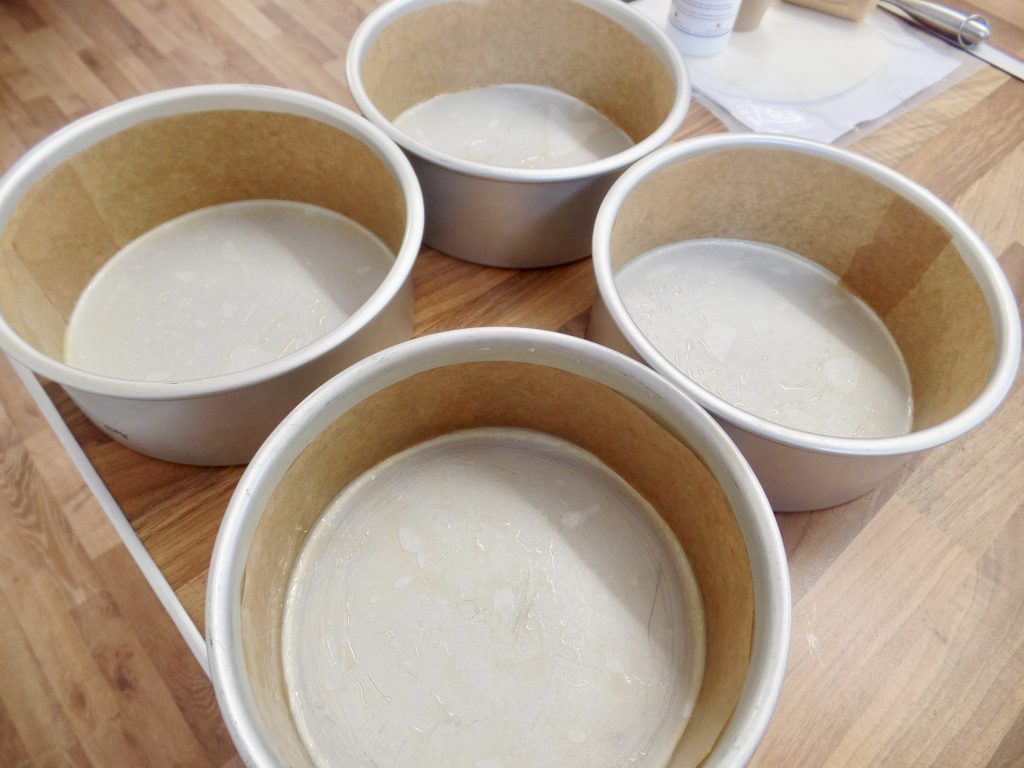
I have four 7″ round tins as I bake a lot but this process can be done if you’ve got the one tin, you’ll just need to work on your timings a little. I will explain as we go. So, based on the assumption you have more than one tin of the size you like you firstly need to go ahead and make your cake mix. As I say, I double my recipe for this. Then you want to split the cake mix into 6 bowls (or however many colours you’re doing!) I use a deep ice cream scoop to help me do this to keep it even.
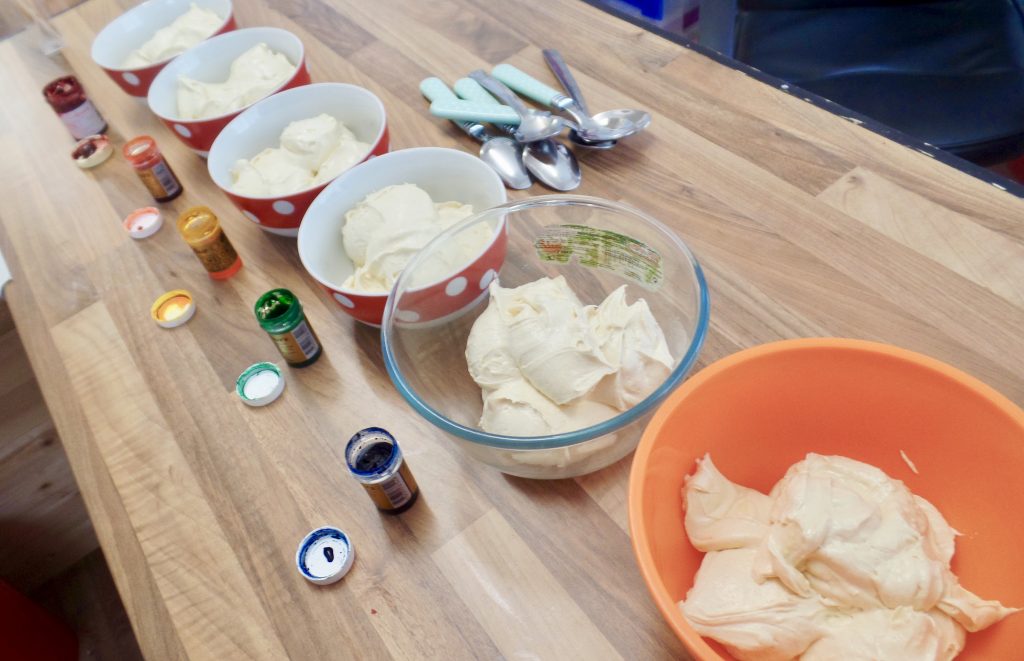
Then you want to colour them using good quality, concentrated food colouring. I don’t recommend supermarket colourings for this as they are mostly water and don’t give a strong colour. Instead I recommend Sugarflair. I’ve been using them since I started baking and I love them. You only need a little bit of colour as it’s very concentrated so it goes a long way and lasts ages! I’m using the following colours;

Sugarflair Red Extra, Sugarflair Egyptian Orange, Sugarflair Melon, Sugarflair Party Green, Sugarflair Ice Blue and Sugarflair Grape Violet.
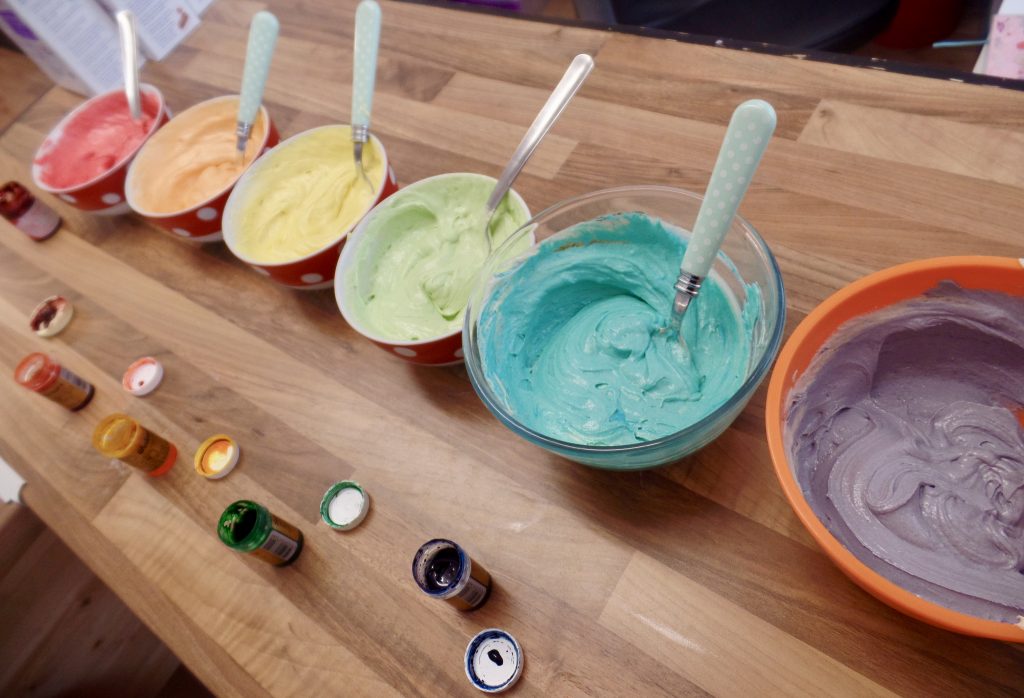
Add the colour using a cocktail stick and mix well. Then pour into as many cake tins as you have and bake until they are done. If you’re using my madeira recipe I recommend to bake the layers at 140C for around 20 minutes or until a skewer comes out clean. Remember, each layer will be a lot smaller than normal so don’t worry about too much of a rise, although you should get a nice thickness.

If you’ve only got the one tin you will need to do things slightly differently. As soon as you’ve made your cake mix you have essentially started a timer. If you leave your cake mix out on the side for too long, it may not bake properly, may not rise and may taste tough and dense. However you do have a small amount of time so what I suggest is, instead of halving the recipe, make up the recipe as written and split it into three. Do the first three colours and then once they are baked do the same and make up the second three colours. This minimises the time the cake mix is left out. All the time you are waiting for your tin and for the previous sponge to bake, make sure to store the bowl of cake mix in the fridge covered with cling film. Once each sponge is baked, turn it out onto some greaseproof paper and leave it to cool. Then quickly re-line your tin and bake the next one.
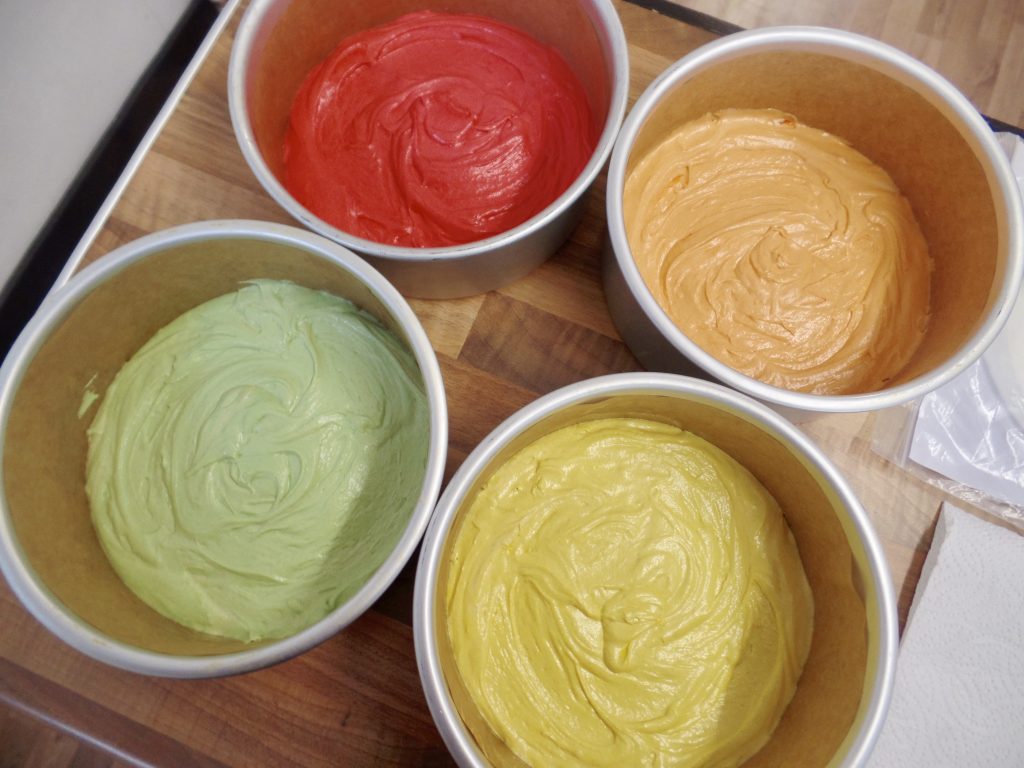
I recommend wrapping each layer in cling film until you are ready to decorate. As they are small cakes they can dry out rather quickly. I tent to double wrap them well in cling film and leave them overnight to ‘firm up’ a little. Then I unwrap each layer as and when I need it.
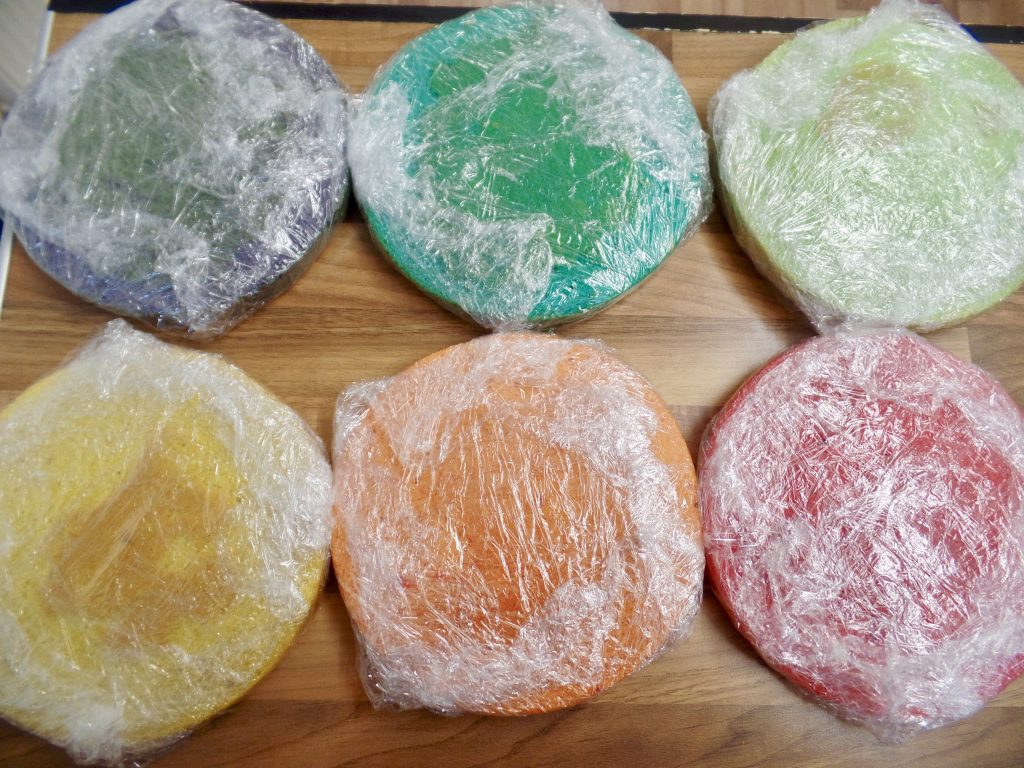
For all cakes I decorate, I start by levelling my cake. As there may only be a small rise on these, I do so with a sharp serrated knife. If it was a deeper cake and I wanted to split it, I would use a cake leveller, but a knife is fine for this. I can then eat any cake trimmings with a cuppa!
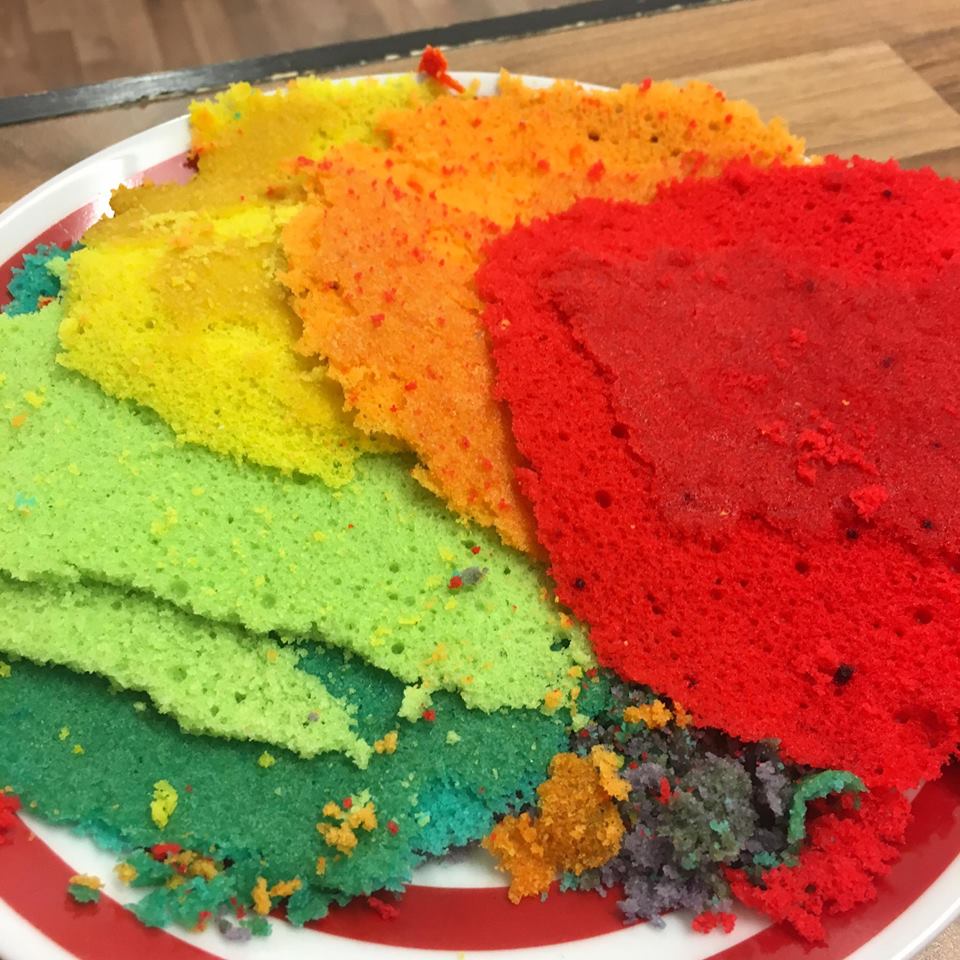
To decorate, start with a thin cake card the same size as your cake (in this case 7″) and spread a little buttercream on top of it. Then place down the first later on top, for this cake it will be the purple layer and then you can start filling my cake.

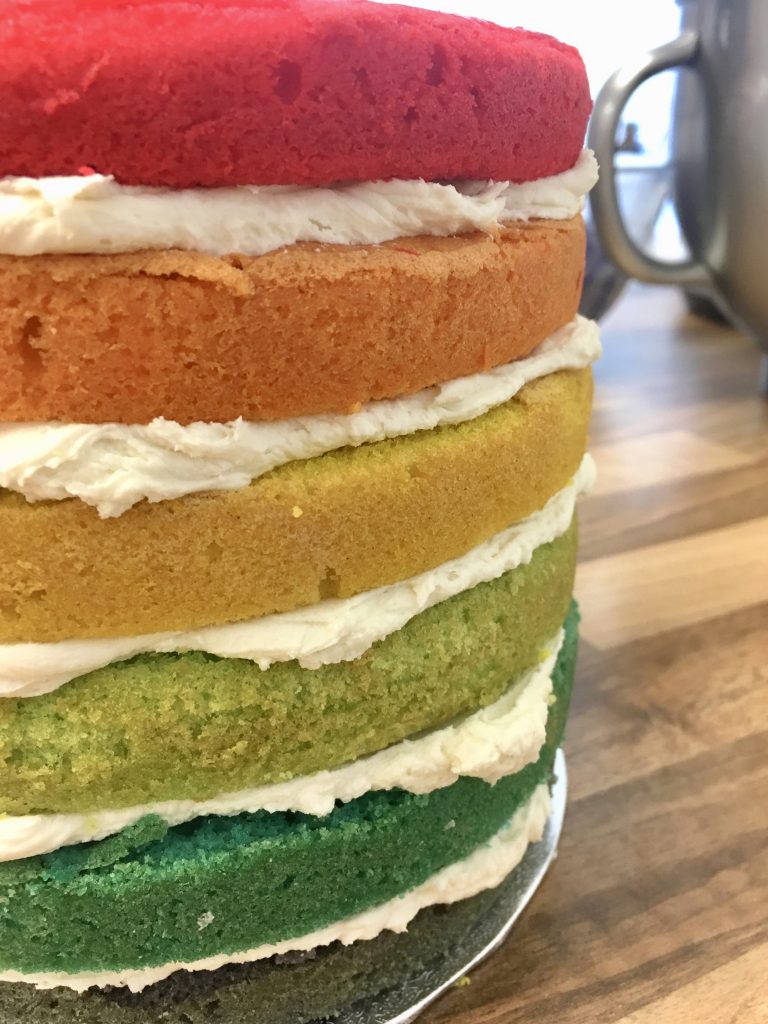
Spread a little buttercream on top of the cake, and add your second layer (blue), repeat with the rest of the cakes. then pop this in the fridge for 10 minutes or so for the layers to firm up. For filling rainbow cakes, I like to use white buttercream as I find it’s a nice contrast to the colours. You can find my tutorial and recipe for white buttercream here.
Once this is done you can cover your cake however you like! I recommend doing two layers of buttercream on the outside. The first being a crumb coat to seal the cake and keep in the crumbs and then a second final layer. For this cake, I did one layer of white buttercream and then my second layer was black and purple buttercream as per the cake design. Or, if covering in sugarpaste do this after the first crumb coat layer.

Chill briefly between coats to make covering easier!

And there you have it! A rainbow cake! You can see what this particular cake ended up looking like here.

Here’s one I did a few years ago –
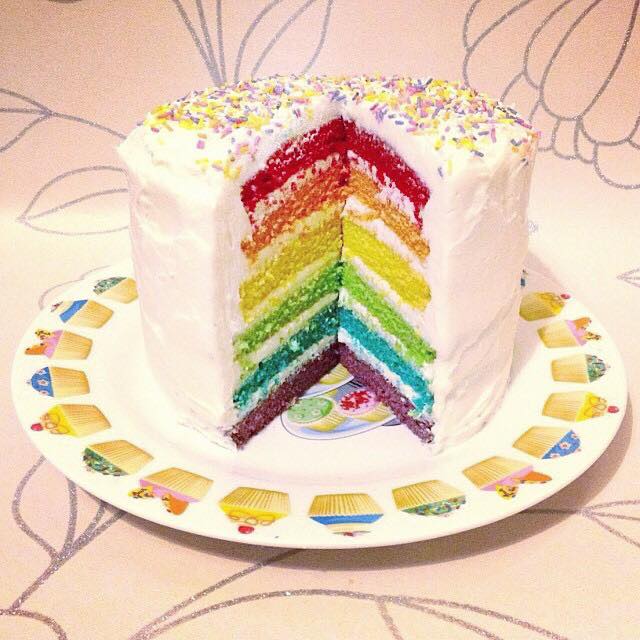
There we have it! A rainbow cake! I hope it’s brightened your day. If you’ve got any other questions leave a comment below.

Give it a try and let me know how you get on either on FacebookTwitter or Instagram.

Happy Baking!

Britt xo

If you want to turn your baking hobby into a career, check out my book Cakes, Bakes & Business for everything you need to know about running a successful baking business, including pricing, marketing, insurance and much more!

How To Freeze Cakes

03/18

Wether you want to bake in advance, have a TON to get baked or you’ve inadvertently made a cake on the wrong date (guilty!), freezing cakes and cupcakes can be a handy tool to add to your skill set.

It requires a little patience and preparation but can save you a lot of time in the long run allowing you to bake ahead of schedule, perfect for a large orders, weddings and parties.

Also, flash freezing fruit cakes is a quick way of ‘maturing’ it! Well, the defrosting process is. If I bake a fruit cake and don’t have months to let it come to it’s best, a quick overnight trip to the freezer does the job!

You will be able to freeze most cakes. I find that madeira cakes (and their chocolate and lemon counterparts) freeze wonderfully without too much hassle, as do most cakes with a high fat content. It is very important that once your cakes are baked, you leave them to cool completely. If they are still warm this will create condensation which can cause cakes to get the dreaded ‘soggy bottom’.

Once they are cooled, it’s also important to wrap them well, otherwise they may get very dry when frozen (freezer burn isn’t tasty), which isn’t what we want. I find the best way to do this for sponge cakes is two layers of cling film and then a tight layer of foil. However for fruit cakes, I tend to use a layer of greaseproof paper and then a tight layer of foil.

It’s also ideal to freeze cakes that you plan to carve, mainly because the crumb structure is more solid so it will keep it’s shape better and there’s less chance of it crumbling when shaping and crumb coating.

If you are freezing cupcakes, firstly make sure to bake them in greaseproof or foil cases as this will prevent the dreaded peeling cases when you defrost them, (for more cupcake troubleshooting, check out my other blog post here) then pop them in a sandwich bag and make sure they have enough space on the freezer shelf and they aren’t squashed.

Here’s a few key hints and tips that will help you chill your bakes;

  • Freeze naked! I find to get best results, freeze cakes and cupcakes un-iced and before you split them to fill them. This will stop them going dry and also stop any frosting and icing ‘sweating’ over your cake when it’s defrosting.
  • Take your cake or cupcakes out of the freezer a few hours (preferably overnight) before you plan to decorate them. This will ensure they have fully defrosted.
  • To defrost, leave on the kitchen side and not in the fridge. Also, I take off the layer of tin foil but leave it wrapped in cling film.
  • Make sure they are fully defrosted before decorating as again, this can also cause condensation and promote mould growth.
  • Don’t freeze for longer than three months. Everything has a shelf life and I find if you leave it longer than this, the cake is simply past its peak. Anytime before this will taste fine, however.
  • Label and date your cakes. This is good practice for all food health and hygiene. Pop on a little sticker saying what it is and when you put it in.
  • Putting your cake back in the tin once wrapped then putting the whole thing in the freezer can help it keep its shape if you’ve got quite a ‘busy’ freezer.

Does a frozen cake taste different? I honestly would say no. I’ve tried all manner of cake over the years and I have never been able to taste a difference if a cake has been frozen or not, some argue that it actually makes it taste better! If you’re unsure, give it a practice run. Any excuse to enjoy a slice of cake!

Give it a go and let me know how you get on, either on Facebook or Twitter or Instagram.

If you want to turn your baking hobby into a career, check out my ebook How To Start A Cake Business From Home for everything you need to know about running a successful baking business, including pricing, marketing, insurance and much more!
Happy baking!

Britt xo

Sharp Edges and Pole Fitness

03/18

For several years I ran a cake business from home. I made cakes for all occasions; weddings, birthdays, Christening’s, you name it. I was making quite a few cakes a week and I was always battling with the much sought after sharp edge.

As a self taught baker, I relied on internet advice, tools and tricks I had picked up along the way to make my edges as sharp as I could, but they were always slightly rounded. I was happy with this and liked the way it looked but today my world has been turned upside down! (Stranger Things reference…)

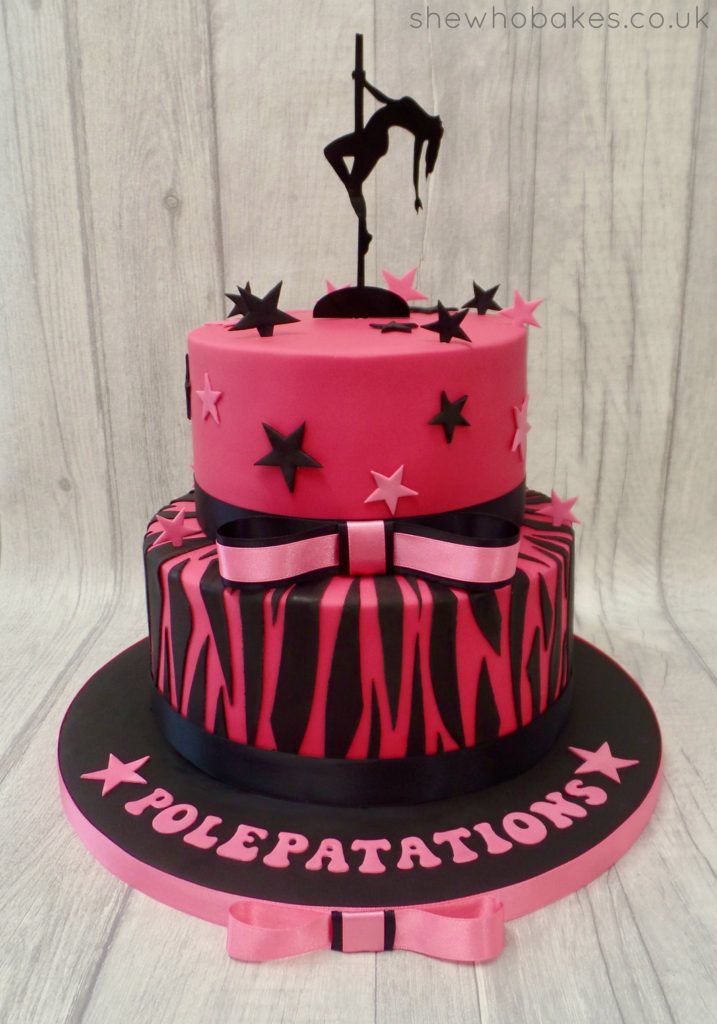
I haven’t decorated a cake in a while and don’t make commission cakes to order anymore, with my blog going more the way of tasty bakes as opposed to centred around sugarcraft it’s not something I usually do unless there’s a specific need. This week there was just that need! For those who follow me in Instagram you will know one of my other passions is pole fitness. I’ve been doing it on and off for 10 years and went back properly last year. This week marks a year that the school I learn with, Polepatations, has been in it’s current studio in Chatham. We’re having a birthday party and I wanted to make a cake for the occasion! Because, that’s what I do!

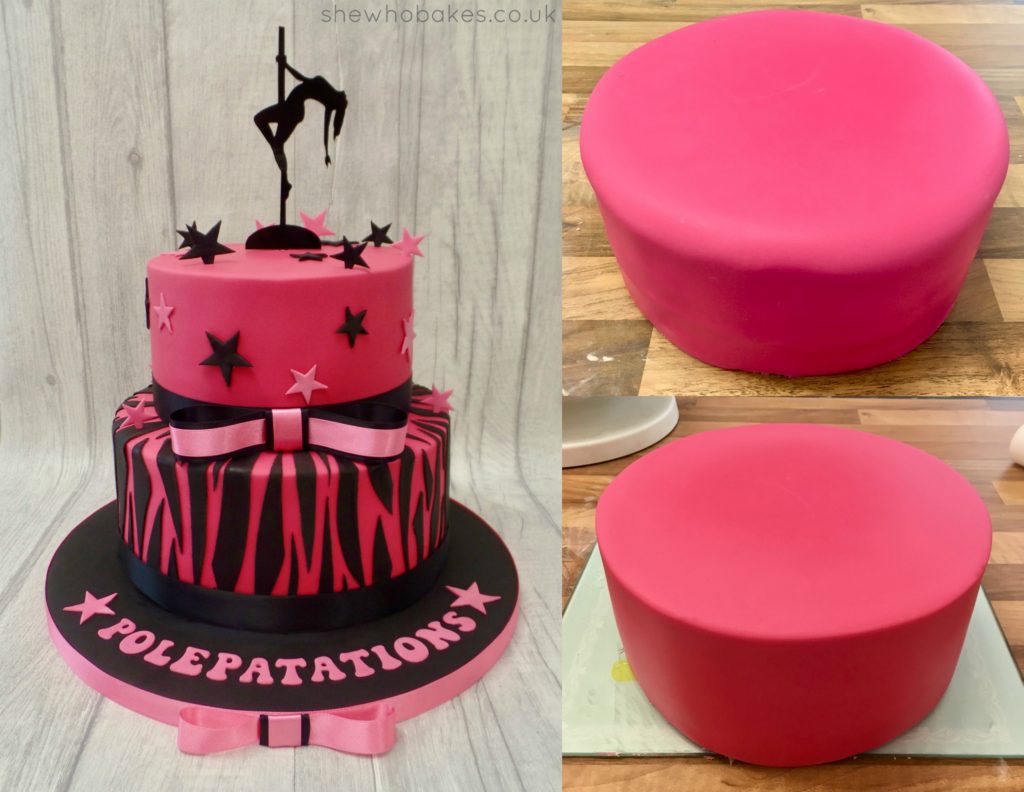
Themed black and hot pink to match the studio with an acrylic topper and zebra design, I love it, but what I love more about it are the sharp edges!!

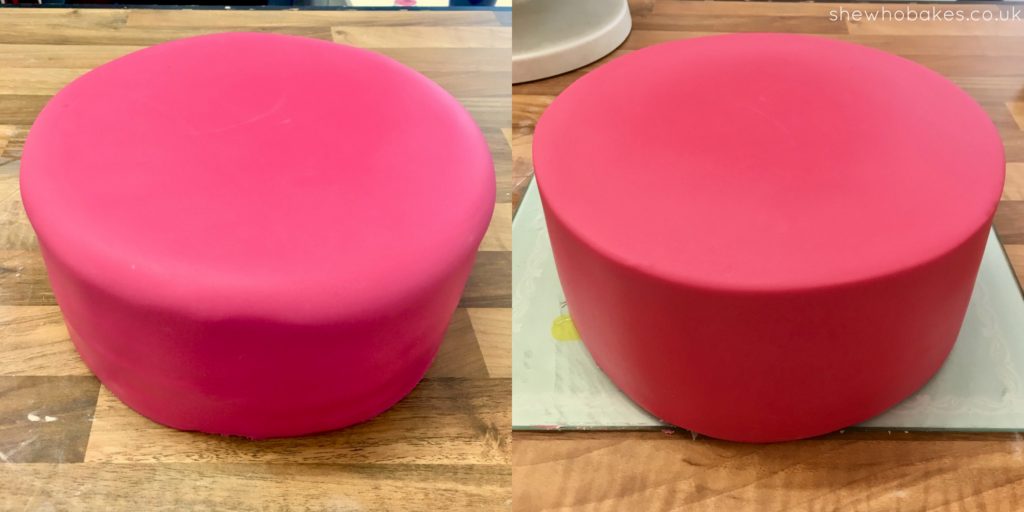
My good friend and fellow baking blogger Jemma from Iced Jems sent me some of her Super Sharp Edge Smoothers a few weeks ago and this was my first go with them and I am SO impressed. Up until now I have been using the plastic ones with the handles but not any more! A few goes around and on top with these bad boys and my cake was as sharp as my wit and sweet style. Below is the bottom tier. Left was before smoothing and the one on the right, after.

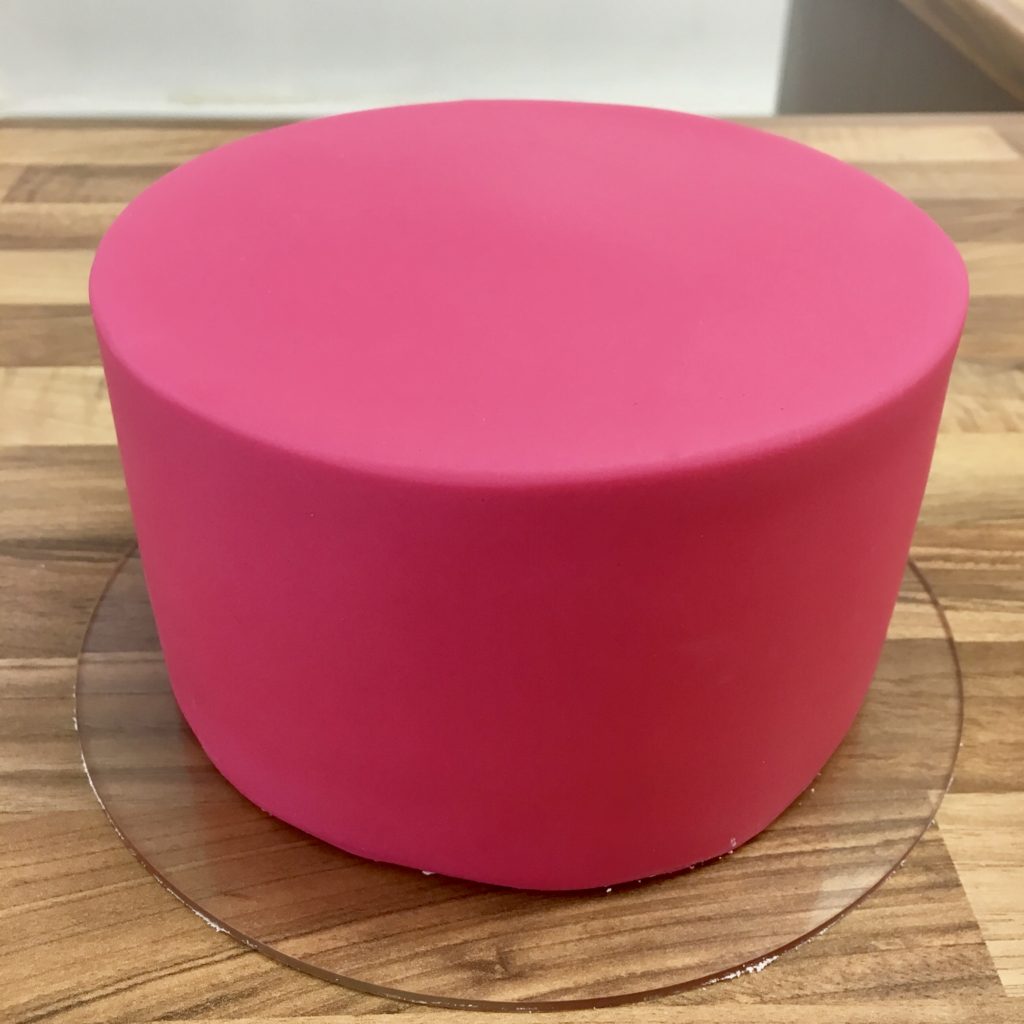
I mean just LOOK at it! I’m in love. This is the top tier.

I’m completely converted.

Jemma has also made a tutorial video on how to use them which I watched before decorating. It really helped as they are so different to the smoothers I’ve been used to, it was good to watch someone who knew what they were doing first!

You can grab a pair for yourself for only £3.99 from Jemma’s website here.

I should point out, this isn’t an advertisement, nor has Jemma paid me to mention this, but I loved them so much I wanted to tell you all as I struggled for so long to get lovely sharp edges and I was so happy with the result of my cake I did a little dance around the kitchen! Everyone should feel as happy with their cakes as I felt about mine this afternoon.

I’m completely converted. So, enough of the smoothers! Back to the cake.

I made a two tier cake comprising of a 6″ round vanilla madeira and an 8″ round chocolate madeira, both made using my recipe here where you can find a link to a cake calculator to work out the mix for different size tins.

They were both split with a cake leveller, filled and crumb coated with bright pink (obviously) vanilla buttercream coloured with Wilton Rose concentrated colour, which is almost the same shade as the sugarpaste, which is Renshaw Fuchsia Pink. Stacked using cake cards and dowels and decorated in a zebra style bottom tier with edible stars and Polepatations name (made using Windsor Groovy Clikstix), both made from flower paste and acrylic topper (from eBay). Finished off with black 25mm and pink 15mm ribbon.

My buttercream recipe can also be found on my madeira cake recipe page here.

To learn more about how to stack and decorate a tiered cake, check out my wedding cake course here – currently 50% off!!

I loved making this one!

What have you been baking lately? Come let me know on FacebookTwitter or Instagram.

Happy Baking!

Britt xo

If you want to turn your baking hobby into a career, check out my book Cakes, Bakes & Business for everything you need to know about running a successful baking business, including pricing, marketing, insurance and much more!

Sign Up to my Newsletter

Subscribe here to my newsletter!

Designed by Clockwork Moggy