Happy Halloween!!
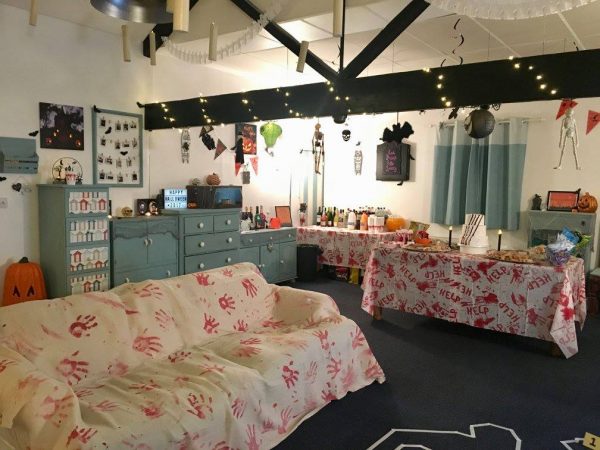
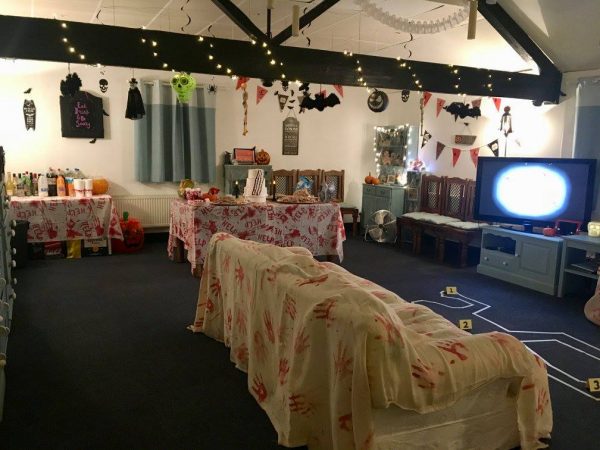
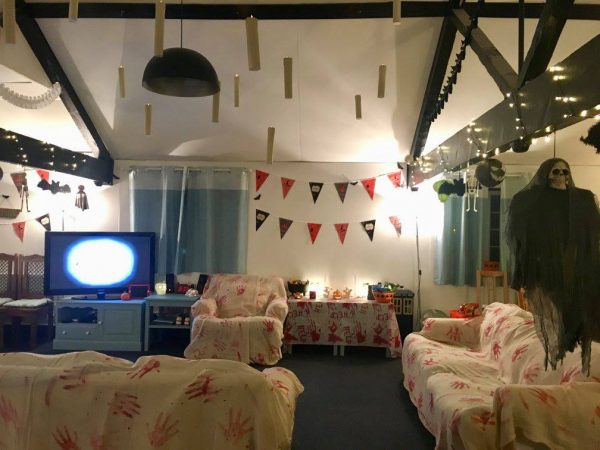
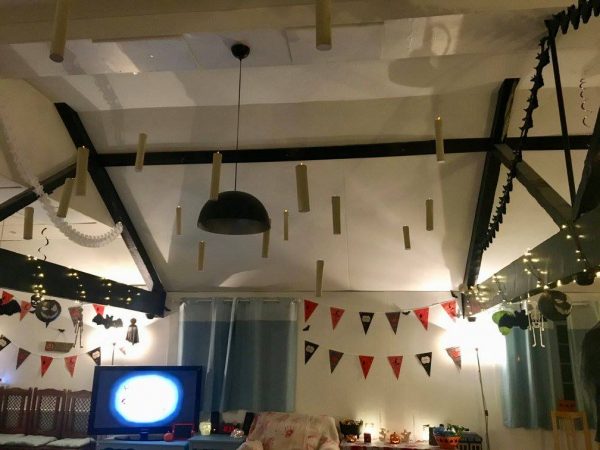
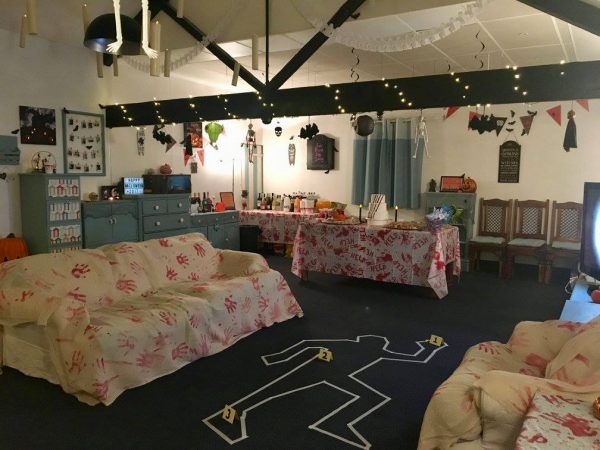
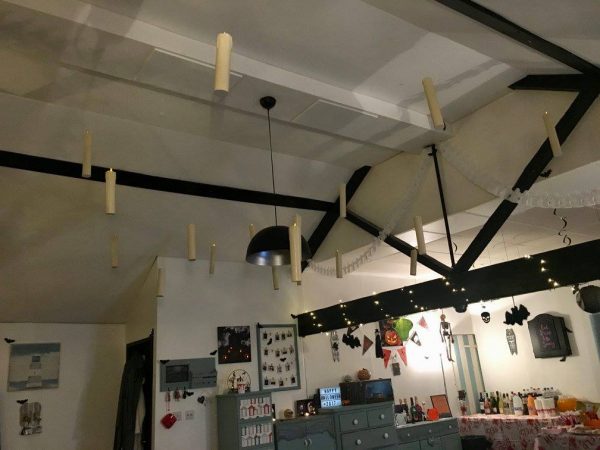
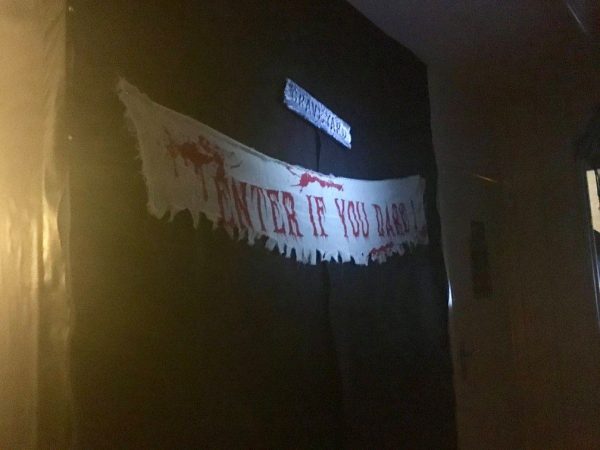
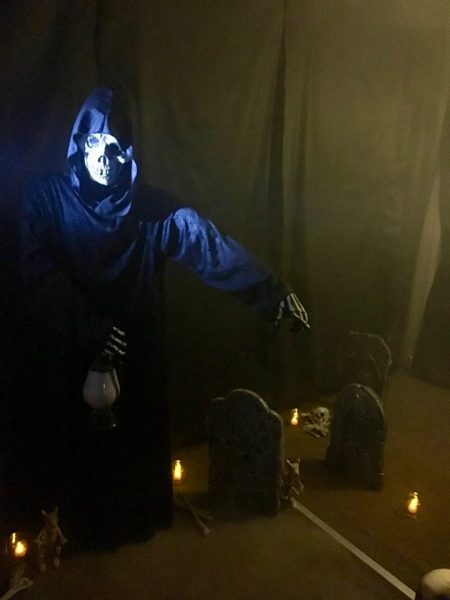
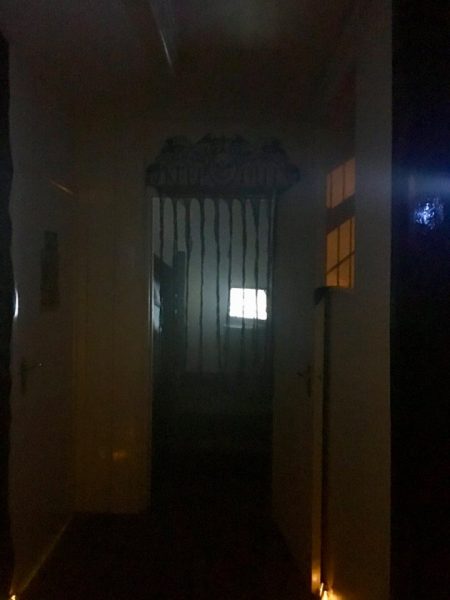
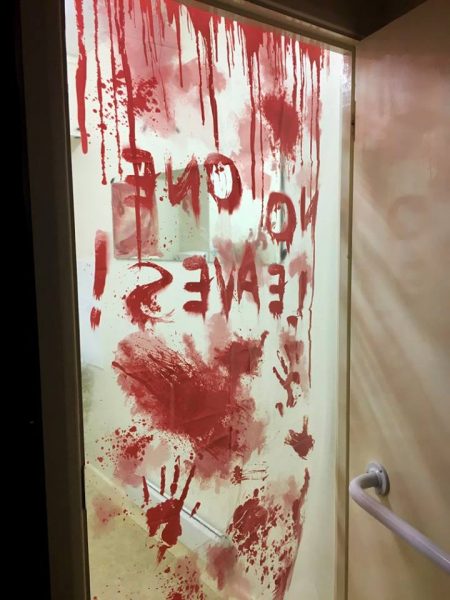
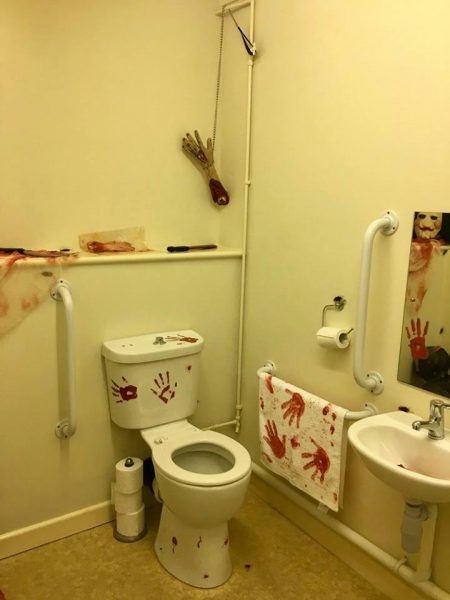
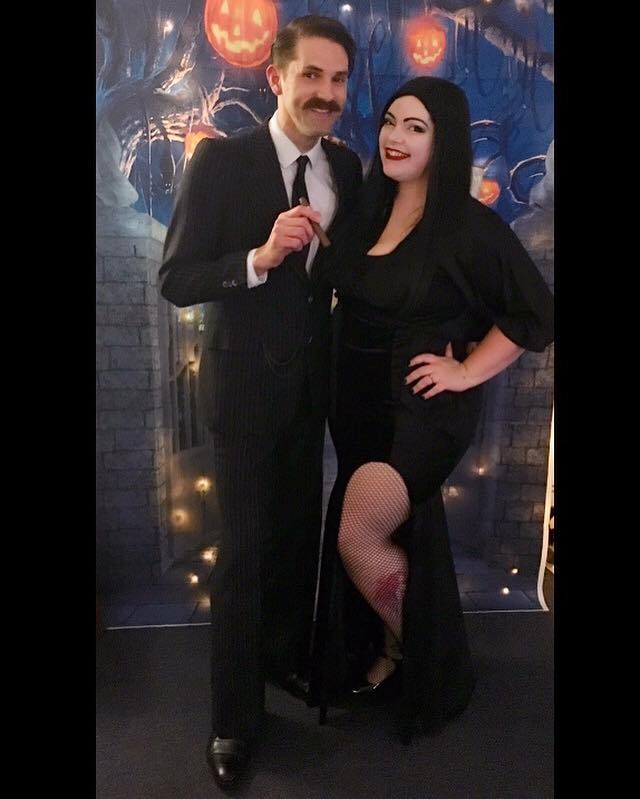
Halloween is my favourite time of the year. Falling leaves, pumpkins invading, dressing up and baking sweet gory treats! Every year my fiancé Tim and I throw a Halloween party. We spend weeks getting the place ready and have been throwing more and more into it with each passing year! This year we had a spooky graveyard entrance, a haunted stairwell, a SAW themed bathroom and a crime scene party area! This year, Tim and I dressed up as Gomez & Morticia Addams! I was feeling the gothic look!
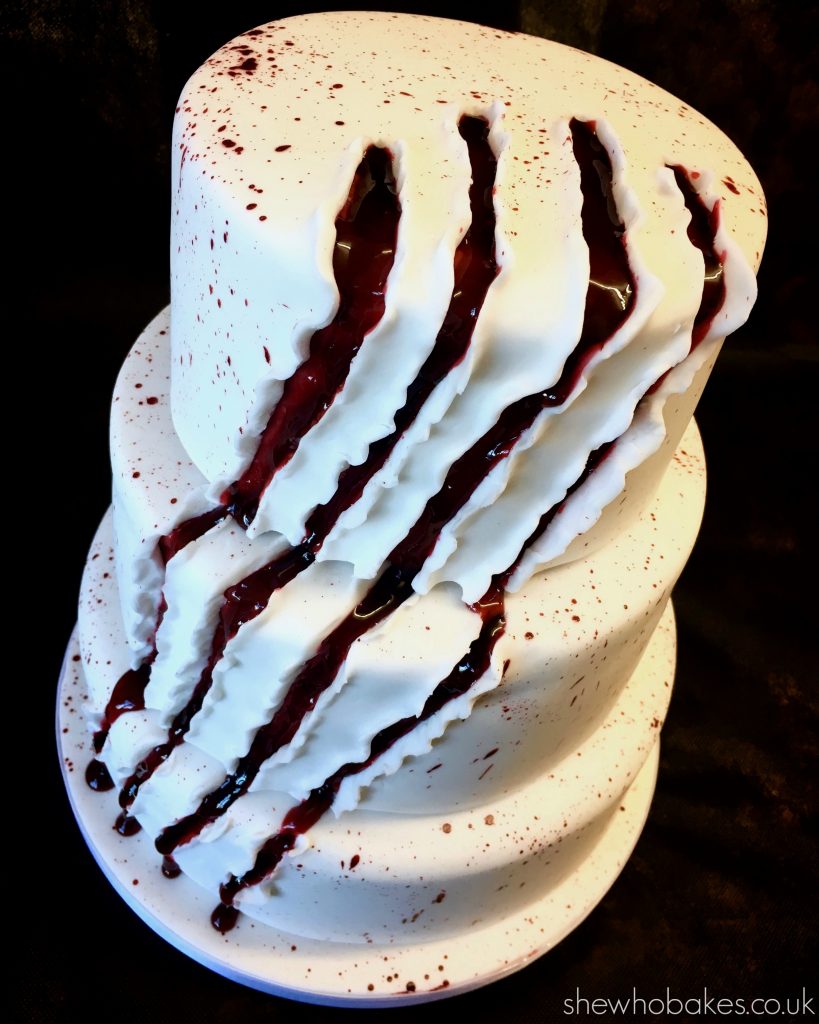
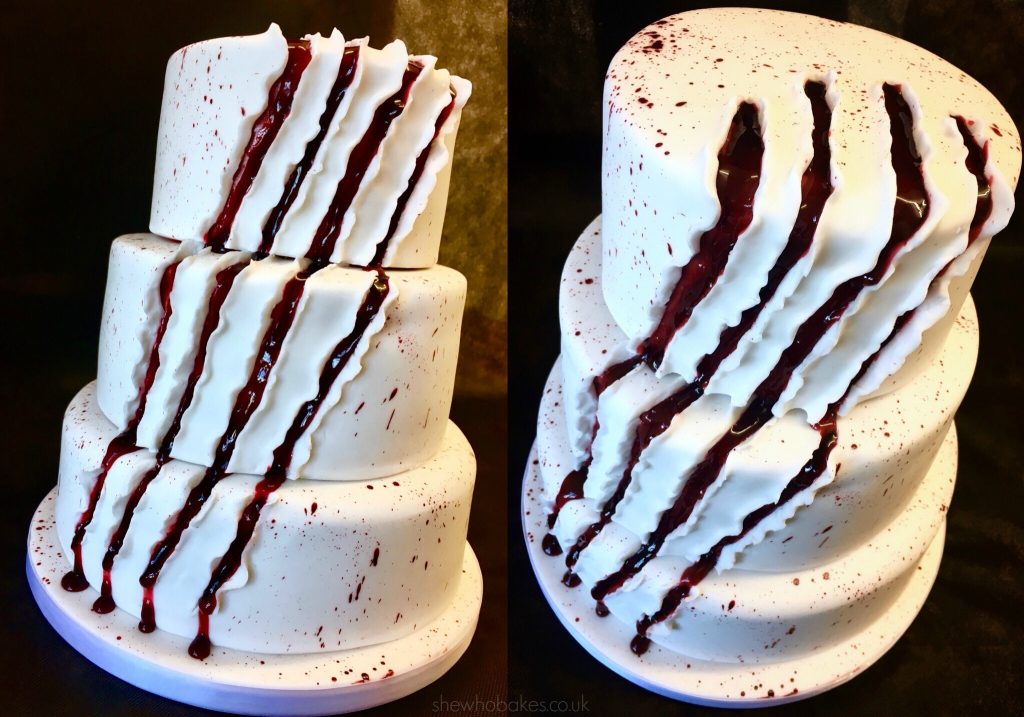
Each year I also make a tasty centrepiece. Be it a tower of cupcakes or a decorated tiered cake. This year I went with a three tier, red madeira, slasher extravaganza!
I originally saw this design on Pinterest back in the Spring and I have been trying to track down the original cake/baker for months. I have used Google reverse image search, tried all number of keywords and asked people in the know. I cannot find the original to credit them. All searches come back to Pinterest boards or lists of Halloween cakes. If anyone out there knows the original design or baker, please let me know so I can credit them here appropriately!
Here’s how I made it!
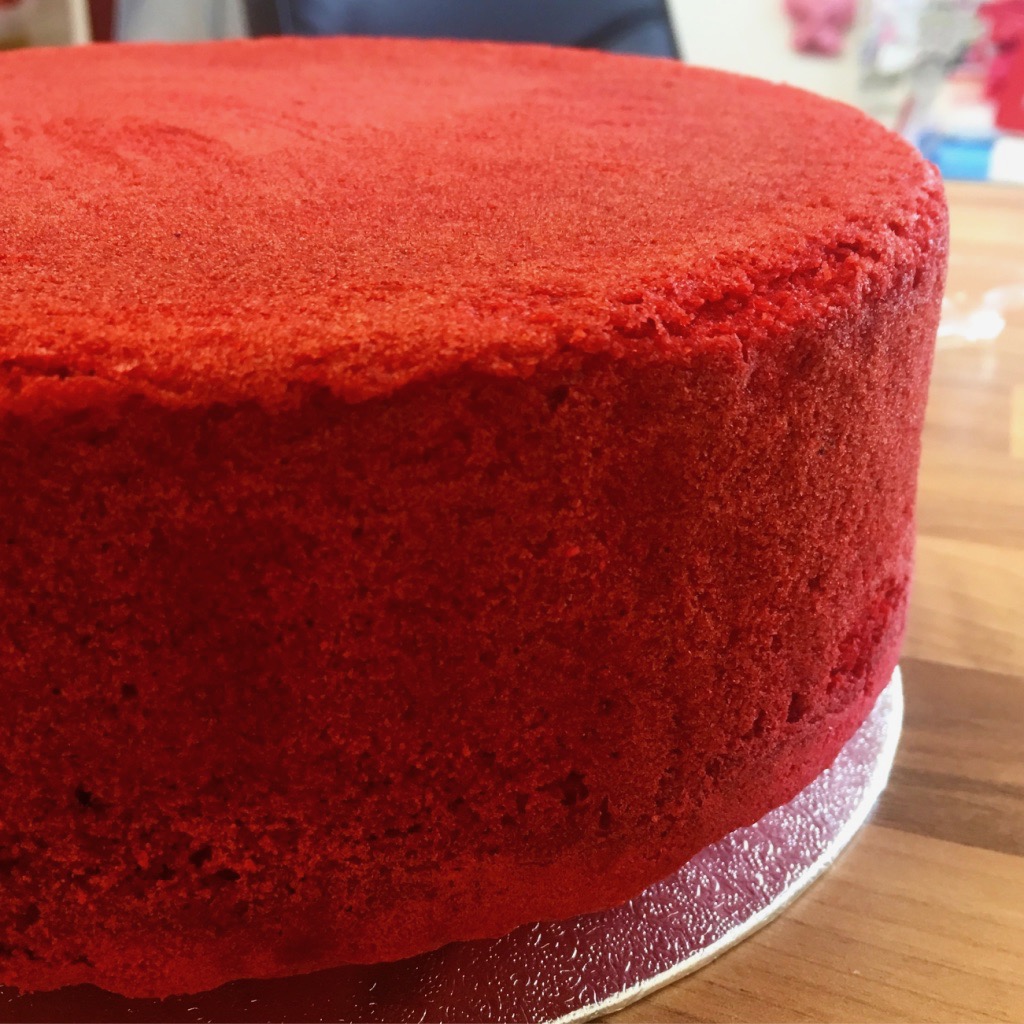
I wanted a bright red sponge inside to contrast with the white icing on the outside, I also wanted a crowd pleasing flavour everyone would like so I went with a classic madeira cake recipe and coloured it red using Sugarflair Red Extra. I wrapped the cakes in clingfilm and let them sit overnight. Then the following day I split the cakes and filled them with a contrasting white vanilla buttercream.
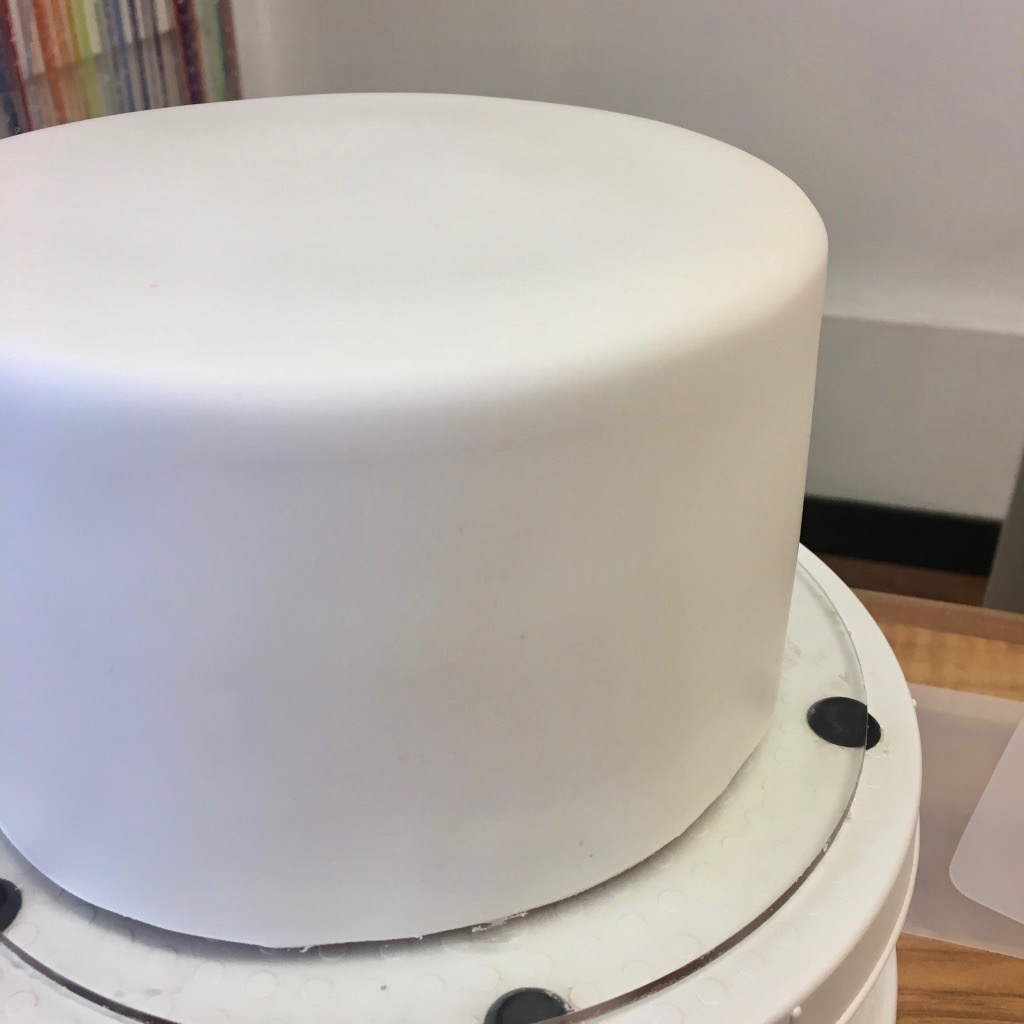
I then crumb coated the cakes with buttercream and covered the tiers in a thin later of Ruby Red Renshaw Sugarpaste and smoothed them with Flexi Smoothers (I’ve got an article about them here). I then let them firm up overnight.
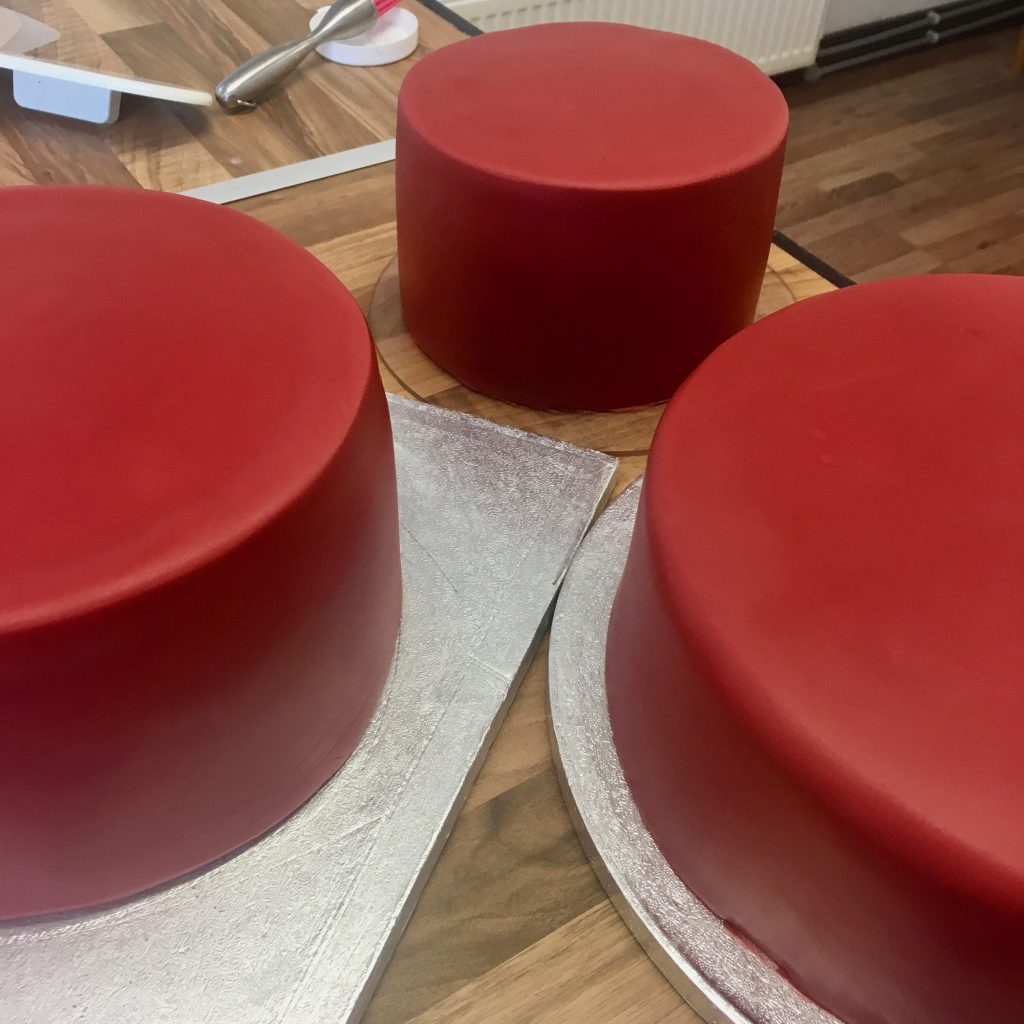
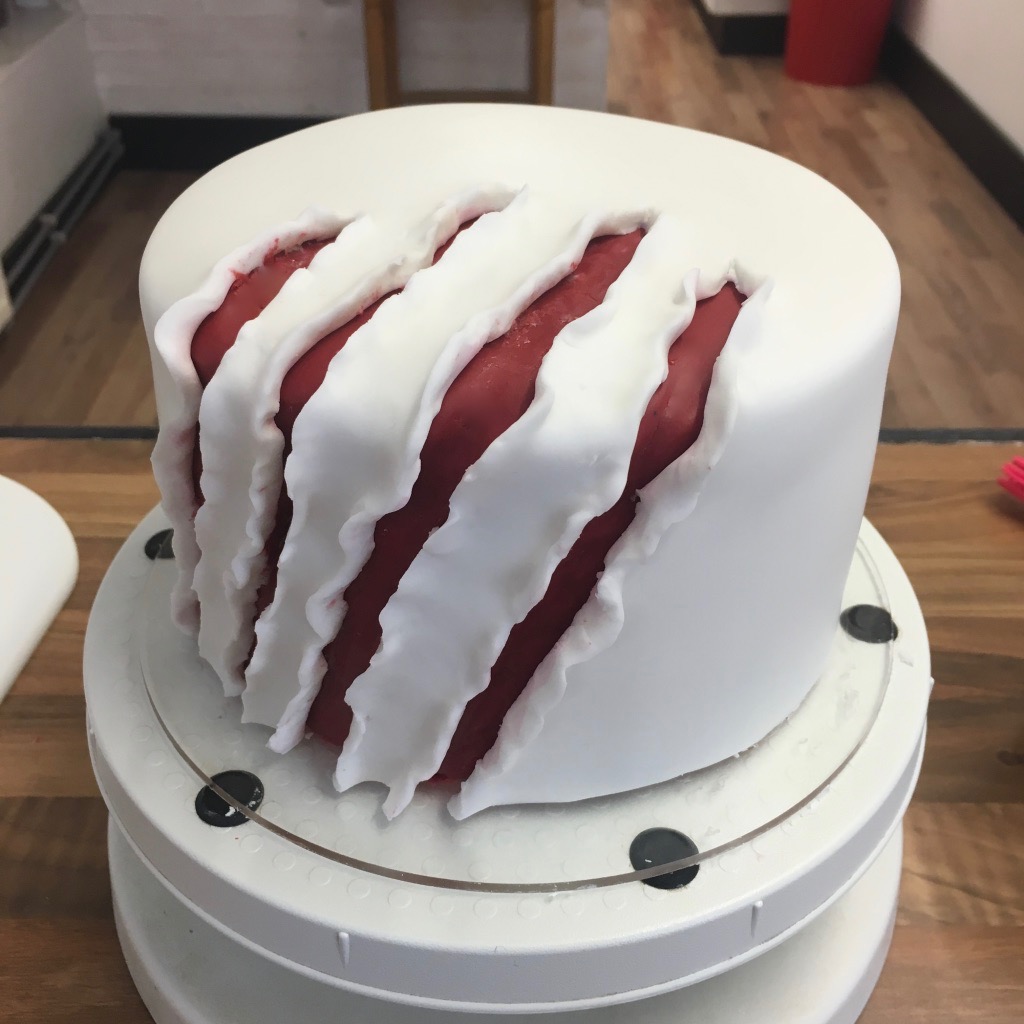
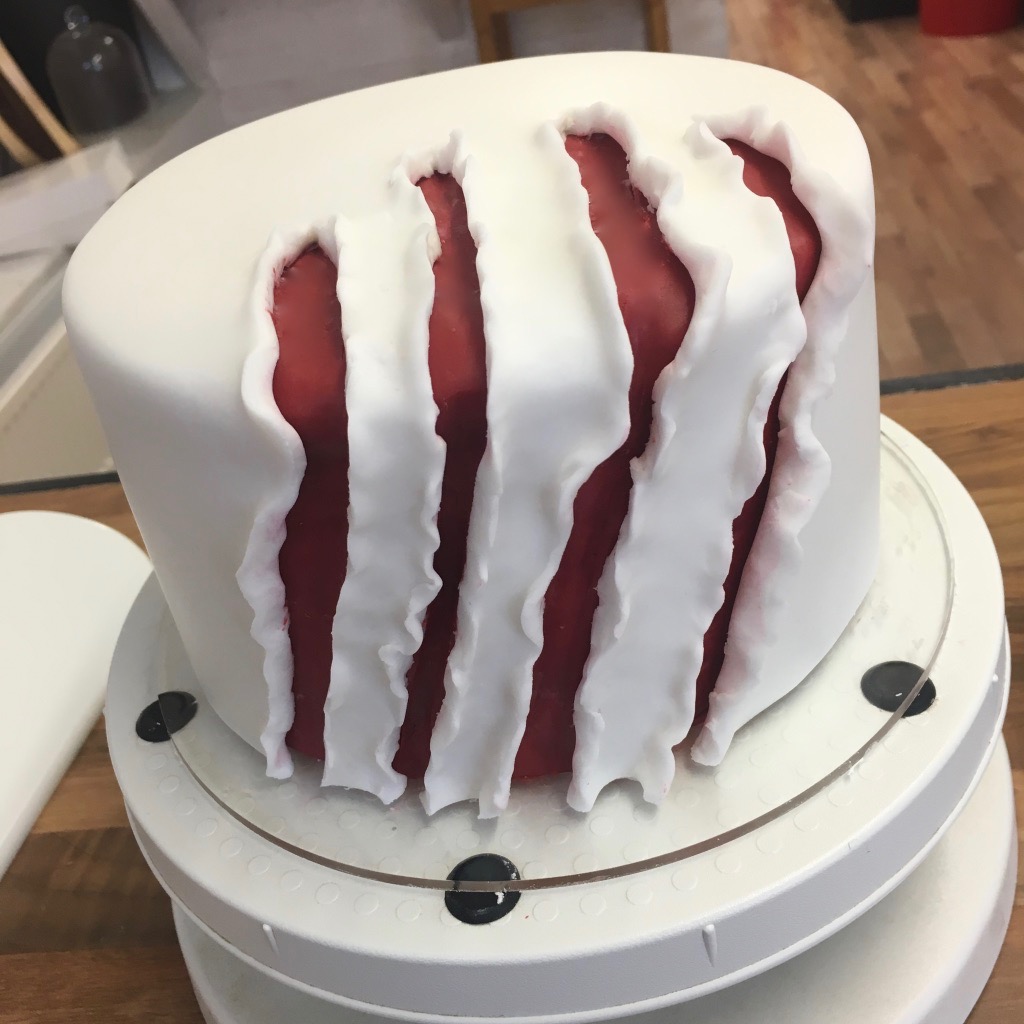
The next day I painted the tiers in a thin layer of piping gel and then covered the cakes in a layer of Renshaw White Sugarpaste. Then, once I had smoothed them, I used a scalpel to slice out ‘claw marks’ of the white icing, peeling it carefully away to reveal the red icing underneath. I then used a dresden tool to shape and fold the white icing surrounding the claw marks. I did this on all three tiers, changing the angle of the marks each time to make it look like the whole cake had been swiped by Wolverine from the top to the bottom. The bottom tier I only took out small slices out of white icing. I then let this firm up completely overnight.
Once this was set, I dowelled the bottom two tiers and stacked carefully, sticking together with royal icing. I then made up some red food paint using red and a tiny amount of blue dust colours mixed with a little vodka. I made it quite watery and with a paintbrush and a palette knife, I flicked red food paint all over the cake to look like blood splatters.
Then, to make the oozing blood, I mixed a few spoons of piping gel with Christmas Red and a little Royal Blue Sugarflair concentrated food colours to make a dark red blood colour, I put this into a piping bag and piped the gel into the tops of the claw marks, letting it run down the cake. I finished the cake with a 15mm white satin ribbon stuck around the cake board at the bottom with thin double sided tape.
I am SO pleased with how this cake turned out. It was the perfect centrepiece for our Halloween party and was very well received by our guests!
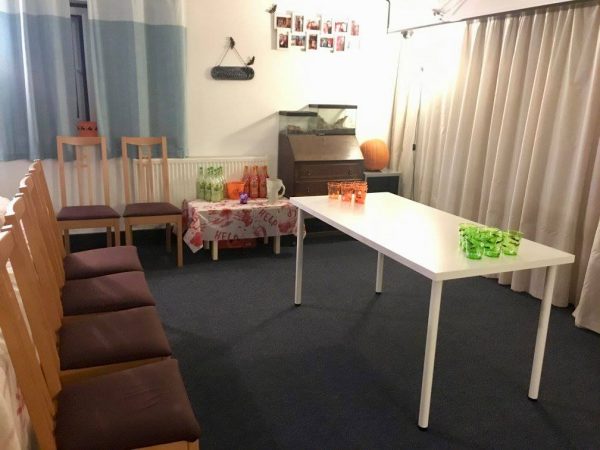
Check out below for more pictures from our Halloween party and have a look at my Instagram for all the videos!
Happy Halloween!
Britt xo
