It’s the most wonderful time of the year….
As a self professed Halloween Queen, the time between September and November is the most magical for me. I love everything about it. From the crisp mornings to the falling leaves, the nights drawing in, all pumpkin everything and of course, Halloween itself.
My husband Tim and I throw an annual Halloween party and 2019 was our fifth year!
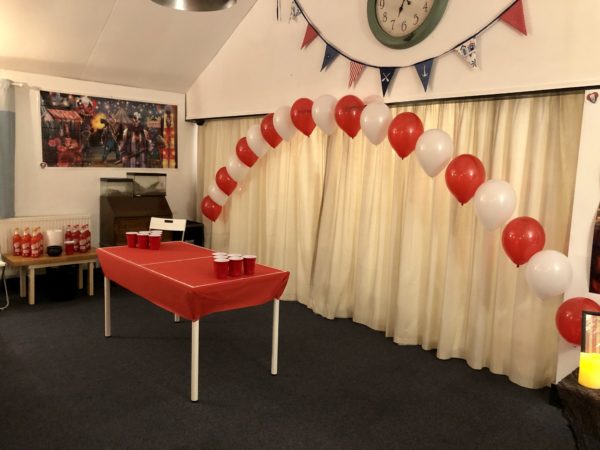
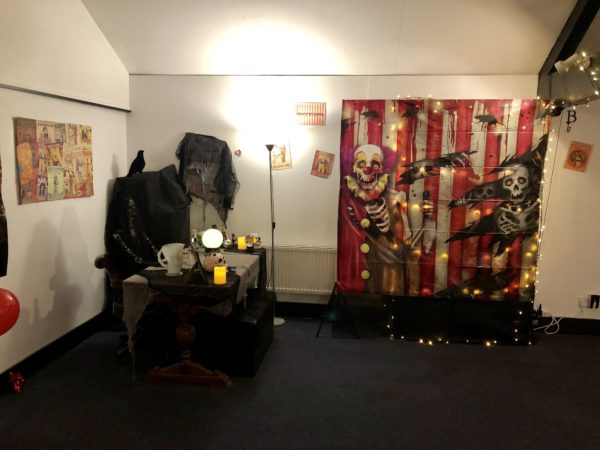
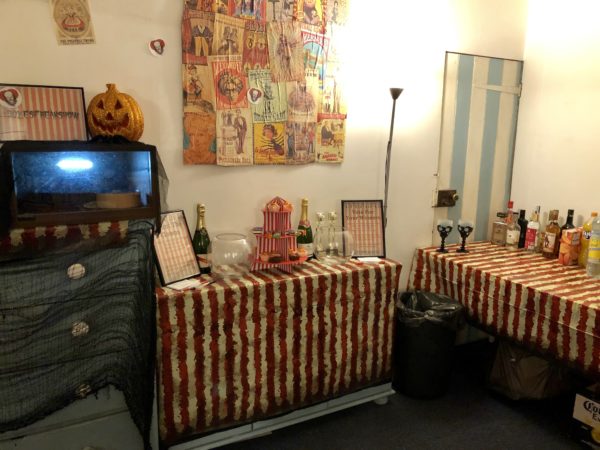
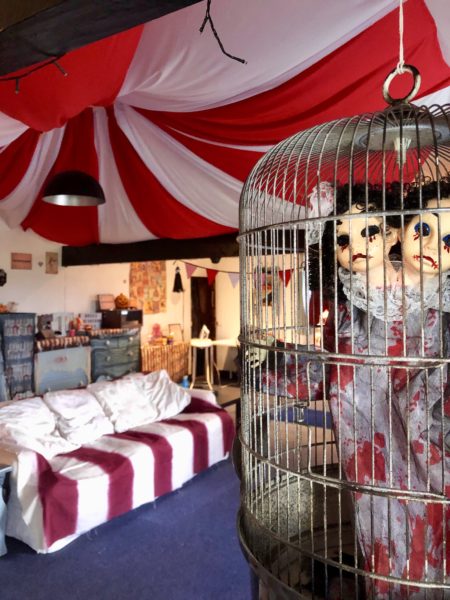
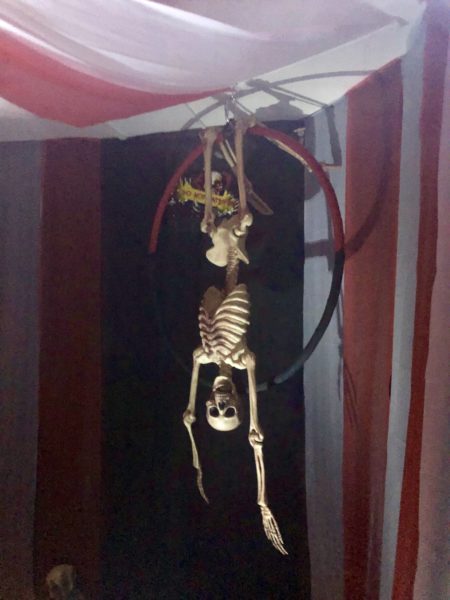
We decided on a Freakshow; Circus Of Horrors theme two days after our 2018 party and have spent the last 12 months stocking up on various red and white striped goods, clown decorations and anything else to decorate Boxes Freakshow.
We had a ticket booth entrance, the booth itself made by me and Tim a few weeks before the party, several skeletons and an eight foot mechanical clown we named Claude. The stairwell was a balloon bonanza and then upstairs itself was transformed into our very own Big Top.
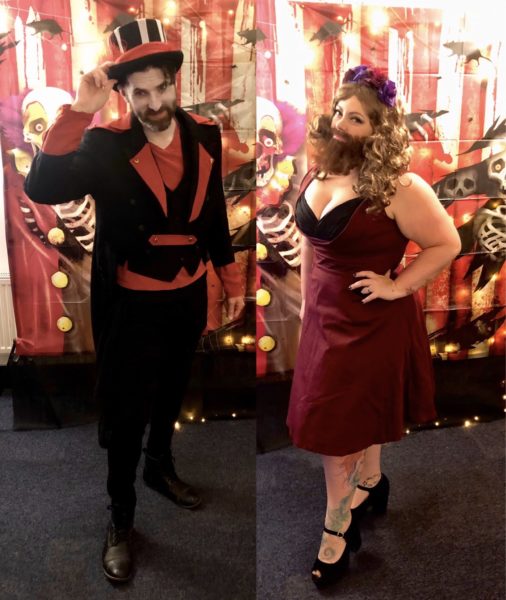
For our costumes, Tim was the Ringmaster and I was The Bearded Lady. I had so much fun putting this look together and I was so pleased with how it turned out!
We also make lots of food, put on tasty snacks and sweet treats and I, of course, make a dessert. This year I went with all things circus to match our theme.
Here’s how it was made –
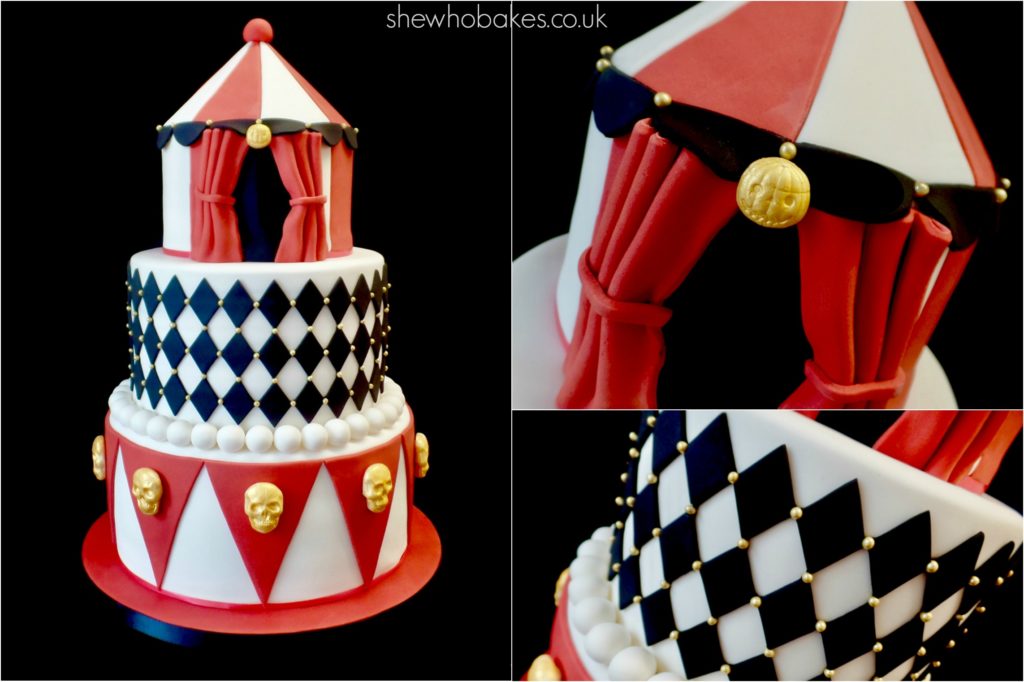
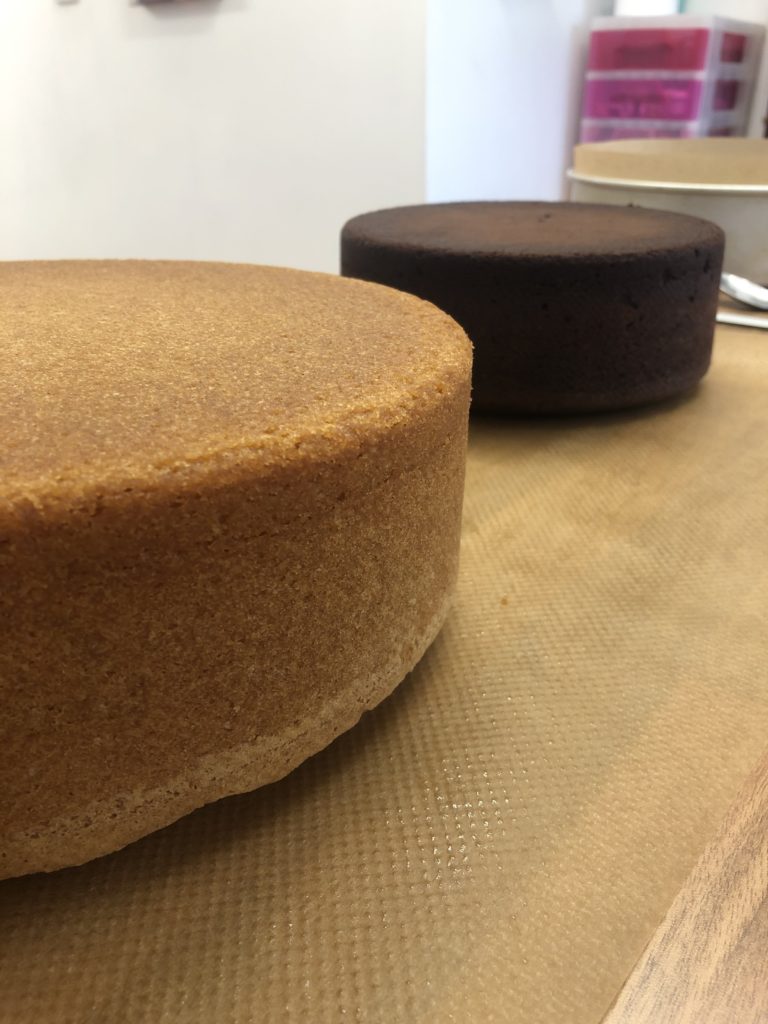
I wanted a three tier cake as I simply love how they look, but with 45-50 guests, it would be too much cake and it would go to waste, so I decided one of the tiers would be polystyrene. Then, imagine my delight when I discovered a Circus Tent shaped cake dummy. This would make up my top tier and the bottom two tiers were a deep 8″ chocolate and a deep 10″ vanilla. Both using my madeira cake recipe.
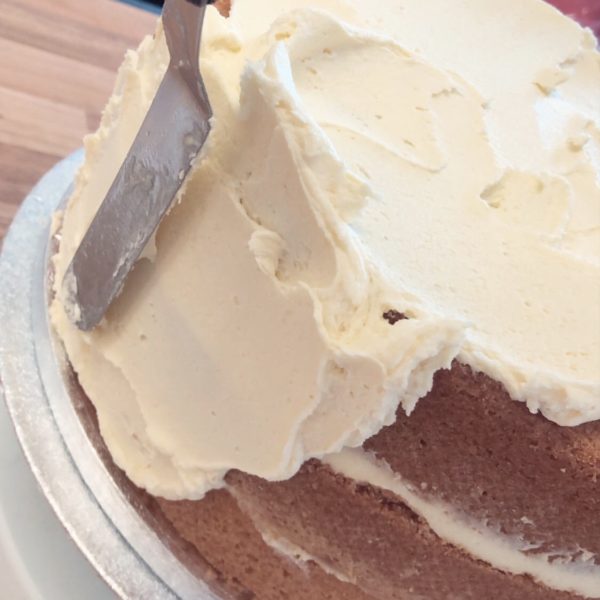
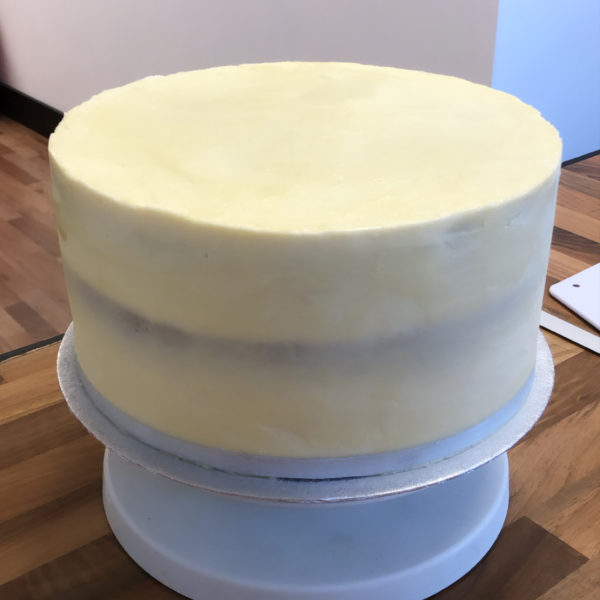
I wanted quite deep tiers do I baked one normal 3″ deep cake and then I halved the recipe and made an additional 1 ½” deep cake. I then split the normal cake into two and used the additional cake as another layer. Making up my traditional three layers of cake, two layers of buttercream inside to the cakes. I sandwiched them both with vanilla buttercream.
I also crumb coated the cakes with two layers of vanilla buttercream. I then placed the cakes on thick cake drums rather than cake boards, for extra height. I stuck them down with a little buttercream.
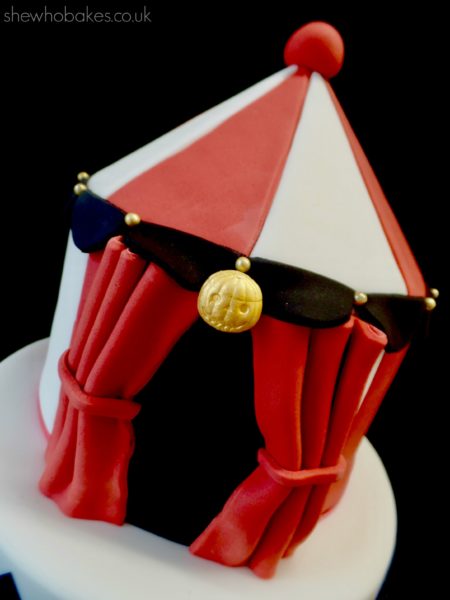
For the decoration, I used Renshaw Extra Sugarpaste in white as well as Renshaw red modelling paste mixed 50/50 with red sugarpaste and Renshaw black modelling paste. I cut out panels of the Renshaw Extra white and the red modelling/sugarpaste mix for the circuit tent dummy tier and stuck them on with piping gel. It was a case of holding baking paper against the dummy, drawing on it with pencil and then cutting those templates out of icing with a pizza cutter. A little bit of trial and error.
The black accents were a circle of black modelling paste cut in half for the top and a square panel stuck on the front for the entrance. I also finished the top tier with a red modelling/sugarpaste set of curtains, made by pleating the icing. It was finished with a red ball on top, edible gold balls, a little pumpkin made with a mould, painted gold and very thin red ribbon around the base.
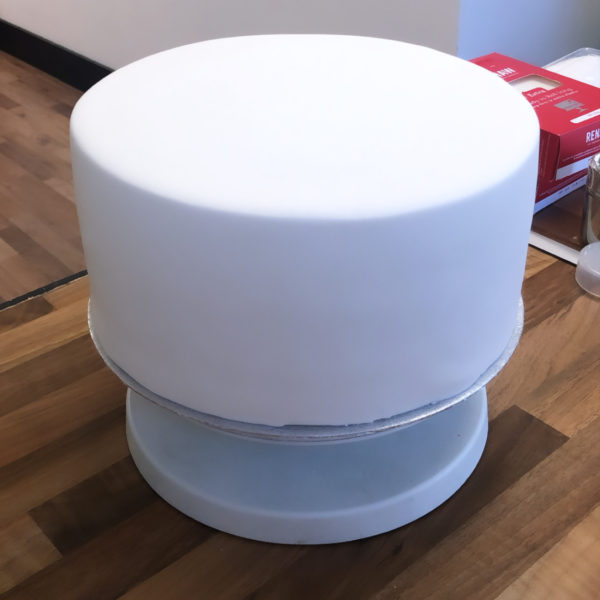
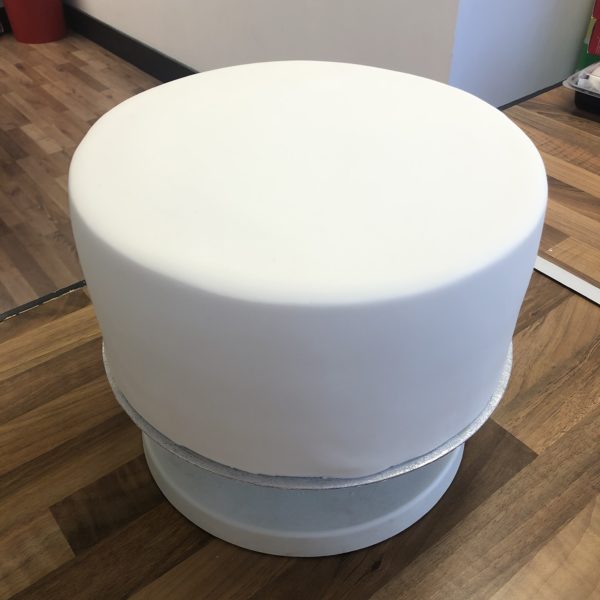
For the middle tier, I iced this with Renshaw white extra and then, using a diamond cutter, cut out a LOT of black modelling paste diamonds using this cutter. I then stuck them all on, one by one, using a little edible glue. Once these were attached I then stuck on a LOT of edible gold balls in between. I then finished this tier with rolled balls of white sugarpaste around the edge.
The bottom tier was again iced in Renshaw white extra and then using a paper triangle template I made on my computer, I cut out 10 red triangles by hand using a pizza cutter. I wanted it to look like a circus drum. I stuck these on with a little edible glue and finished them with skulls made from Karen Davies marshmallow paste, painted gold using a paint made from edible gold lustre dust and rejuvenator spirit. I stuck these on with a little royal icing in a piping bag. I finished this tier with a very thin red ribbon around the base.
Once all of the cakes had set overnight, I dowelled them and then stacked them together using royal icing.
The whole cake was on a 13″ cake drum which I had iced red and had a 15mm black satin ribbon around the outside, stuck on with thin double sided sticky tape.
The cake looked great in the party surroundings and matched everything really well.
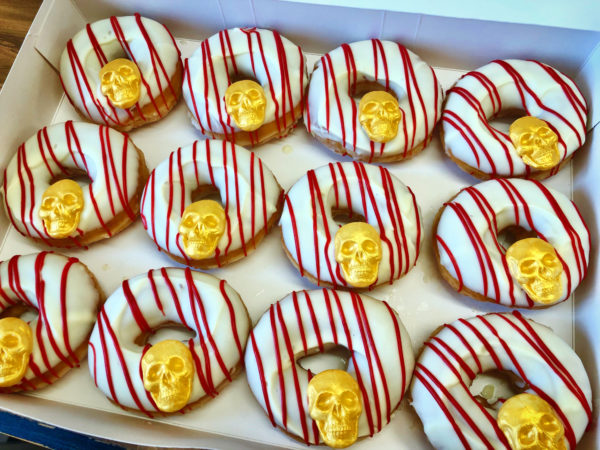
This wasn’t the only bit of edible decorating we did, however. Last September when we got married, Tim and his dad made us a doughnut wall and we really wanted to use it again for the halloween party. So we decorated four dozen doughnuts to match!
Original glazed Krispy Kreme doughnuts (because there was no way I was going to make my own as well as everything else we were doing), dipped in white chocolate, drizzled with red candy melts and finished with another marshmallow paste gold skull.
Check out last years cake here and 2017’s cake here and below for more pictures from this year’s Halloween party and have a look at my Instagram for all the videos including a full walkthrough of the party!
Happy Halloween!
Britt xo


