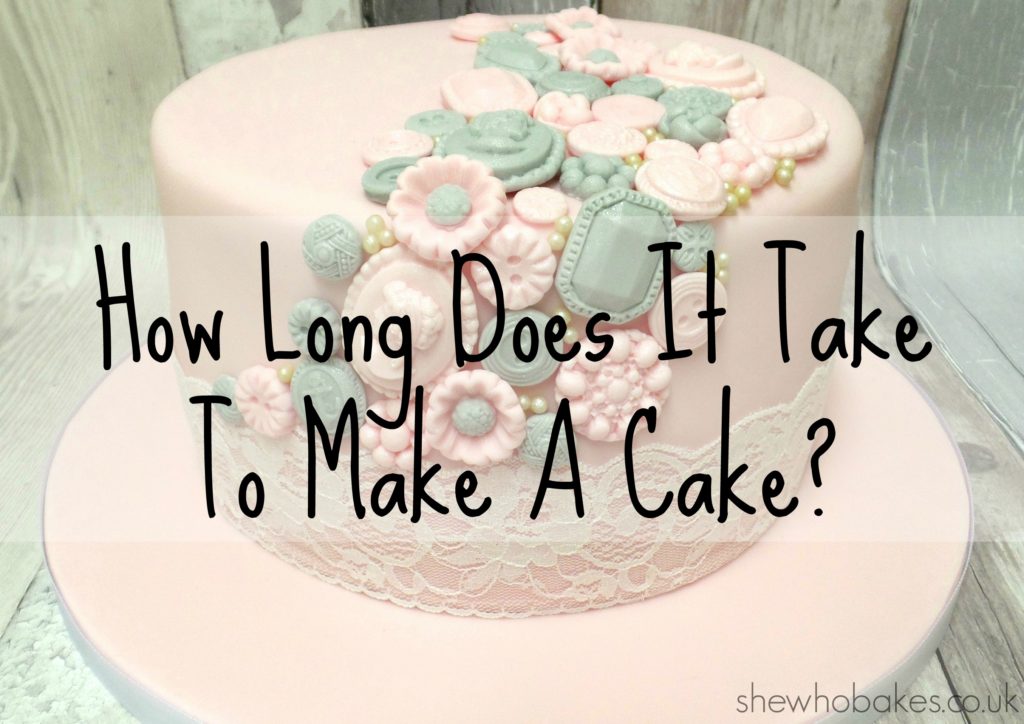
How Long Does It Take To Make A Cake?

05/16

Something that gets asked a lot is; “If I need a cake for Saturday, when’s the latest I can bake it?” Now, the longevity of each cake will very much depend on the recipe but I wanted to take you through my Cake Timeline when I was baking commission cakes for customers.

It only takes one round of baking to realise it’s so much more than ‘just a cake’ and why most bakers will take orders weeks in advance. This method I used to use worked very well for me every week as a way of scheduling my time for decorated celebration cakes. I found that the longer I gave myself to work, the less stressed I was (remember, baking is meant to be enjoyable!) the more time I had to make decorations and the more contingency time I had in case something went wrong!

Please note, this timeline isn’t suitable for cupcakes. Whilst you can make your decorations quite far in advance, I wouldn’t recommend baking cupcakes longer than 2-3 days before they will be enjoyed as they don’t have a layer of icing keeping them fresh on the inside, they dry out very quickly!
 

Recipe

A recipe which lasts well is a great place to start. Something like a carrot cake or a Victoria sponge is only going to last you a couple of days so you don’t have a lot of time for decorating. I also don’t recommend covering a Victoria sponge or light bake with sugarpaste/icing as it can be too heavy for the cake and make it sink.

I highly recommend a madeira cake for a decorated celebration cake. They are very easy to adapt to any flavour you like and a classic vanilla with raspberry jam and vanilla buttercream just screams ‘birthday cake’ to me! You can find my recipe for a 7″ round (and tips on how to scale up and down) as well as my vanilla buttercream recipe here. Once baked and cooled, a madeira cake will last two weeks and freeze for three months. For more about freezing cakes, check out my article here.

With regards to filings, if it’s a cake you’re going to finish in advance, I recommend a buttercream or ganache as these last well not refrigerated however a cream cheese frosting or fresh cream filling will need to be kept cool, so just be aware of this.

Once baked and cooled, wrap tightly in cling film until you are ready to split, fill and cover it. I’ll be going through when I do that below but for now know you can keep it wrapped in tight clingfilm for several days before doing anything with it. It’s at this wrapped stage you can cover it in a layer of foil and freeze if needed. Do not be tempted to store the cake in the fridge. This will dry the cake out and affect the taste. It doesn’t need to go in there!

Say I’m making a cake for a weekend celebration, this is the day by day run of what I would do;

Monday

Monday is my baking day! I bake all the cakes needed for the week and then leave them to cool upside down on greaseproof paper (not a cooling rack) and when completely cold, I wrap them tightly in cling film. Then I leave them in a cool, dry room upside down until I’m ready to decorate.

Tuesday

Tuesday is when I will make the filling (buttercream, ganache etc) and split and fill my cakes, also if I am carving my cakes, I would do this now, then stick to a thin cake card with a little buttercream. I crumb coat them and then cover in a layer of sugarpaste/icing. I’ll then smooth them and leave alone overnight for the icing to set. It is also today I will ice the board.

Note. If I am icing a fruit cake or putting on a layer of marzipan, I would do this today and leave it overnight before covering in a layer of sugarpaste/icing. This gives you the best chance at nice smooth edges. Also, if I am tiering my cakes, I’ll leave the sugarpaste/icing to set overnight before doing anything else with them.


Wednesday

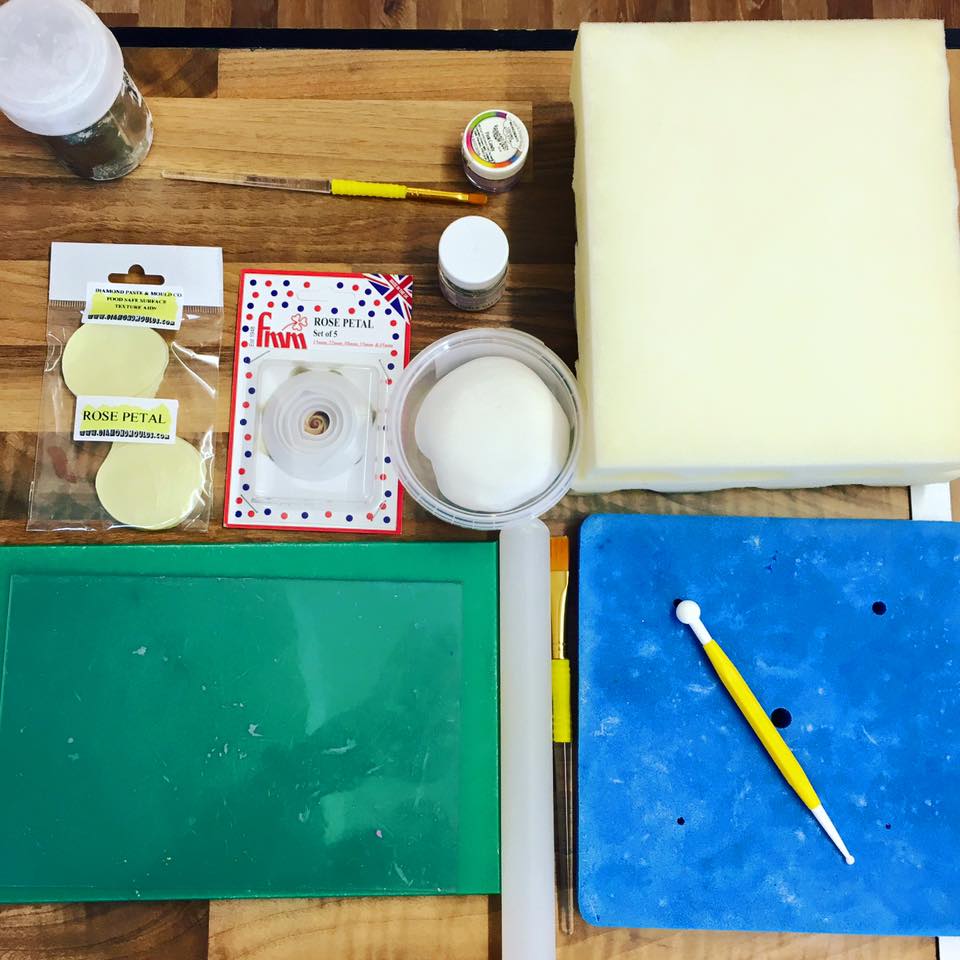
On a Wednesday I start any decorations. Any models, cut out shapes, messages, anything I am decorating my cake with. I’ll leave my decorations to dry on foam overnight. I find foam is better than kitchen roll or left on the side as it allows air to get all the way around the shape and dry nicely. You can make your decorations much further in advance if you like, as long as you keep them in a box which air can get into but dust can’t (like a cake box for example) then they will last ages as sugar is a natural preservative. These also do not need to be kept in the fridge. Don’t store edible decorations in an airtight container like a cake tin or tupperware box as the sugar will start to ‘sweat’ and will go very soft. Not great for our decorations!

I also fix my iced cakes onto their iced boards with a little royal icing and I  leave this to set before decorating. If I am tiering my cakes, now is when I will place in my dowels and stack the cake. Again, I’ll leave it to set completely.

If I’m icing a fruit cake, today is when I will cover it in a layer of sugarpaste/icing.
 

Thursday

Today is when I decorate my cakes! This is when it all starts to come together and starts to look awesome! Once all the decorations are on, I leave them to dry and then photograph and box up my cakes. I then leave them in a cool, dry room. Again, not a fridge, especially once it’s iced as the condensation when the cake comes back to room temperature afterwards will cause the icing to go damp.

Friday

Friday is my contingency day! Should I wake up and find my model has lost his head (this has ACTUALLY happened) or in a rush yesterday I have spelt Brithday wrong, today is the day I can put it right. Also, by giving myself an extra day, it means I can take on more work, be more productive and also get more done.

Also, it means if necessary the customer can collect the cake Friday evening and the cake is good to go, which happened quite a lot!

Saturday

Cake Day! Today is the day I found was most popular for customers to collect cakes, if they haven’t done the night before, or the day of the event I have made the cake for. I used to get so nervous when customers would collect cakes. Something I have spent hours on for their celebration they were going to see for the first time! Over the years there have been a few tears shed in my kitchen, luckily all happy ones! Being a cake decorator is something really, very special.

Once your cake has been cut into, you want to make sure no air gets to it to keep it fresh for as long as possible, so wrap with cling film and keep it in the cake box.
Sunday

If you’re making it for yourself or your family, today is the day to eat leftover cake for breakfast! If it was for a customer, time to chill out and have a nice cup of tea!
And there you have it! My week as a cake decorator. I hope this has helped. So remember, there’s no need to stay up until 3am the night before the birthday party to finish the cake (although, I will be the first to admit I have done this more than once!).

Use a good, stable recipe, plan ahead and take your time and you’ll find the whole experience a lot less stressful and a lot more rewarding!

It goes without saying that of course, you can make a cake in less time than this, however I personally wouldn’t recommending baking and decorating a cake in one day. The crumb structure will be too soft and you may find it a lot harder than it needs to be. If you’re really pushed for time then for a cake made on Saturday, I would bake on a Thursday, decorate on a Friday and then enjoy on the Saturday. This way the cake has ‘settled’, the icing is set and there is less chance of breakages in delivering/collection. However, for tiered cakes I would always leave it at least overnight stacked before attempting to move it. As I’ve said, this is my method that has been very successful for me for many years. Everyone will have different ways of working that works best for them and I wanted to share mine with you all.

Let me know how you get on, either on Facebook or Twitter or Instagram.

If you want to turn your baking hobby into a career, check out my book Cakes, Bakes & Business for everything you need to know about running a successful baking business, including pricing, marketing, insurance and much more!

Happy baking!

Britt xo

Budget vs Premium – Victoria Sponge | A baking review by She Who Bakes

05/16

Baking can be an expensive hobby. From bowls to tins, rolling pins to using good quality, fresh ingredients; it all soon adds up. I wanted to put budget ingredients to the test against some of the more premium products available.

I decided on a good, basic recipe – a Victoria Sponge. A staple in every bakers arsenal. I would bake two cakes and compare them side by side, and to make it completely fair, request the assistance from friends and loved ones in a blind taste test!

I will be making both cakes using the same recipe, baked in the same tins at the same temperature for the same amount of time. Every part of this experiment has been carefully controlled to get a fair result. All prices are from my local Tesco and are correct as of the date of this blog post.

I, myself in my every day kitchen tend to use a mid-range flour and Stork in sponge cakes, butter in most other things and always free-range eggs. This review is simply a baking comparison between the cheapest and more expensive baking ingredients I could find in my supermarket, and the results I found when I did it.

How much difference can there really be in the ingredients? Is the old saying true of ‘buy cheap, buy twice? Do you really get what you pay for? Let’s find out!

The Recipe

8″ Victoria Sponge baked in two sandwich tins;

  • 200g self raising flour
  • 200g butter
  • 200g caster sugar
  • 4 eggs
  • 1 teaspoon baking powder
  • 2 tablespoons milk
  • 1 teaspoon vanilla

Mix all ingredients together, split into two sandwich tins and bake at 170C for 20 minutes.

Buttercream filling;

  • 100g butter
  • 200g icing sugar
  • 1 teaspoon vanilla

Cream the butter, add the icing sugar and vanilla and mix until smooth.

The Ingredients

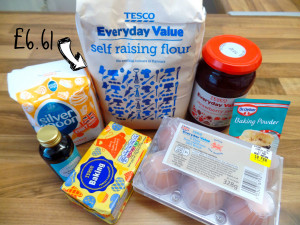
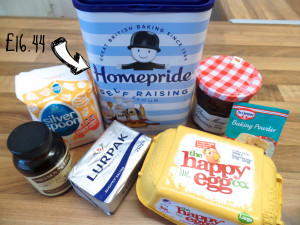
This is the total cost of ingredients to buy for everything in the picture and the icing sugar (which I genuinely forgot to put in the shot!). At over £10 more expensive, the ‘premium’ selection, coming in at £16.44 includes household names like Homepride and Lurpack, while the ‘budget’ range at £6.61 is mostly supermarket brand with a few exceptions where the supermarket didn’t stock a name brand alternative. These prices are for the ingredients in total and not the amount of ingredients in the cake. Let’s break it down a bit and see the differences.

Flour

Let’s start with flour. My Victoria Sponge recipe calls for Self Raising. One major difference between these two is that they look the same size but in fact, the Homepride box weighs in at 1 KG for £1.50 whereas the Tesco Everyday Value is a larger 1.5 KG for 45p. The Homepride flour looked a lot finer and more powder-like in texture.

Butter

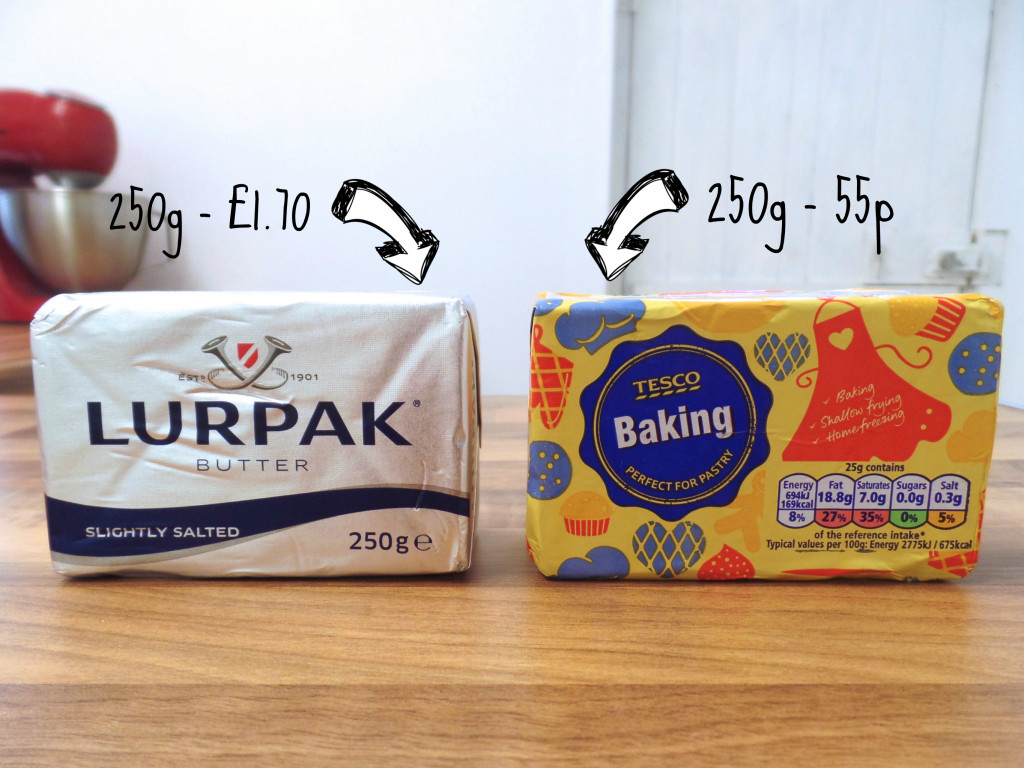
Ok. So the ‘budget’ option for this isn’t strictly butter, but it was the cheaper alternative available in my local Tesco, coming in at 55p for 250g versus the Lurpak butter of £1.70 for the same amount.  I chose the spread for two reasons. One, someone on Twitter said that’s how they made their buttercream and I was curious and two, it was the cheapest product and that’s what I was going for with this one. For a little extra cost you can use supermarket own unsalted butter.

Eggs

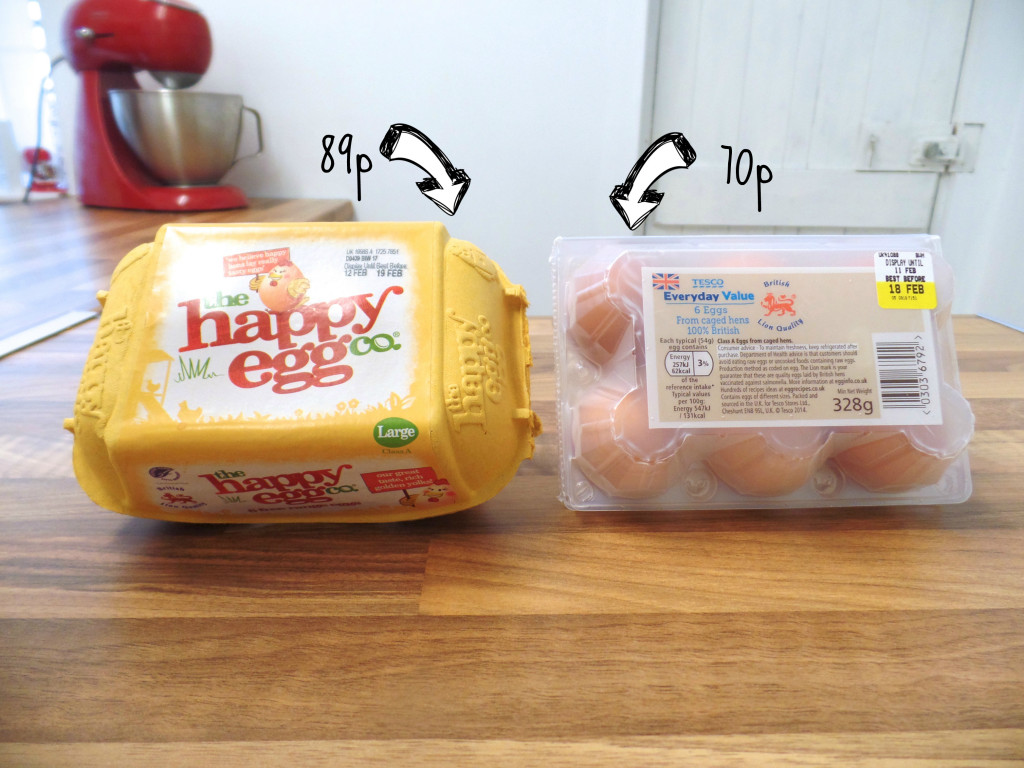
For a box of 6 eggs, there wasn’t much in the price. The Everyday Value eggs from caged hens at 70p and the Happy Eggs at 89p. This one is more of a moral issue for me I think. I would rather bake with free range eggs in the knowledge the hens were happier. I would pay 19p extra any day for that.

Caster Sugar

There was only one choice of caster sugar available in my Tesco and that was good old Silver Spoon. A firm favourite of mine and a bargain in anyones book at 99p for 500g.

Baking Powder

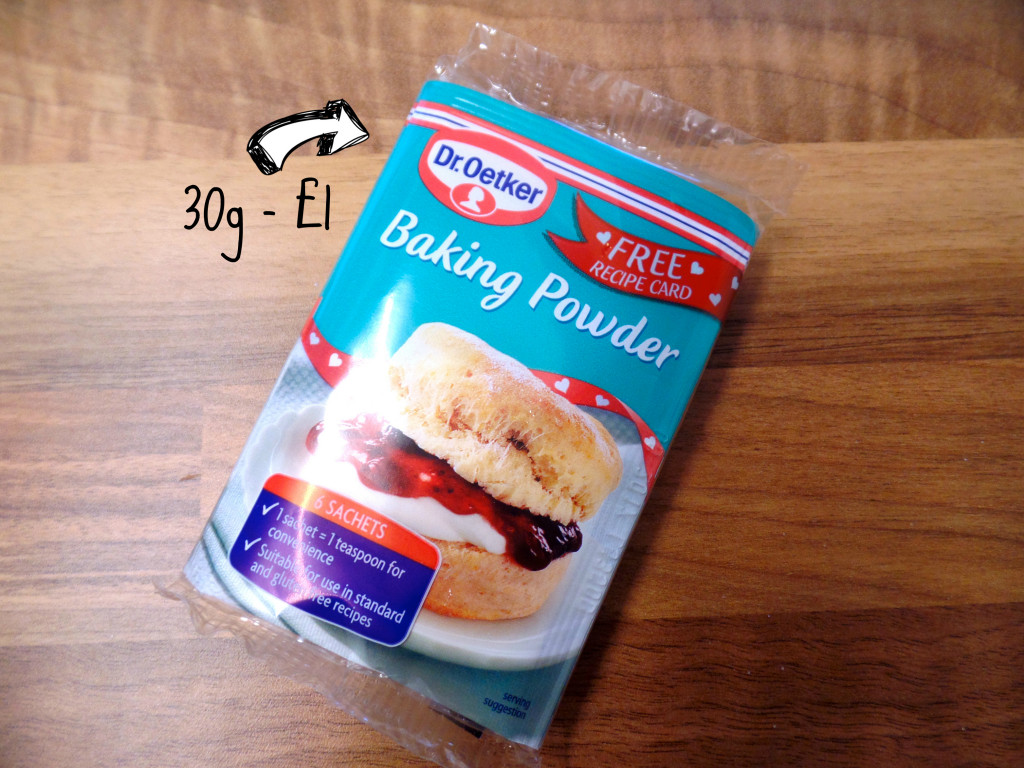
As with the caster sugar, there was only one option for baking powder too, and that was Dr. Oetker. Available to buy in a pot or sachets. However, my local store had sold out of the pots and so sachets were my only option. Not bad at £1 for 30g which works out at 6 sachets of 1 teaspoon of baking powder.

Vanilla

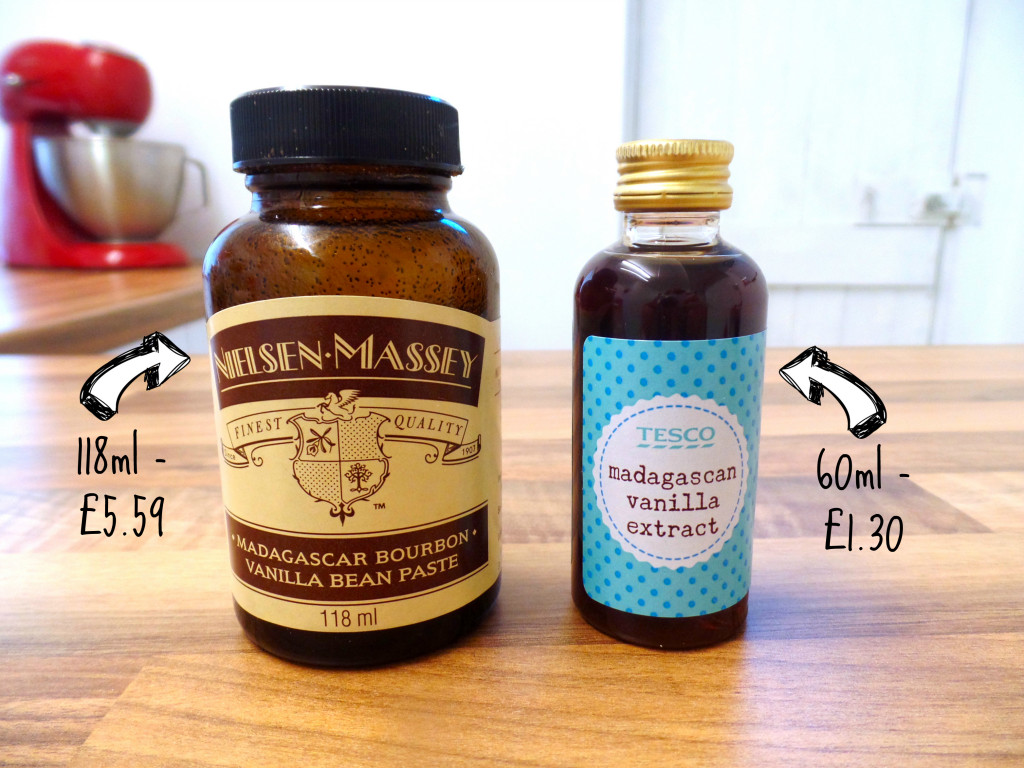
This is  the biggest price jump at £4.29 difference between the Neilsen Massey Vanilla Bean Paste (£5.59 for 118ml) and the Tesco Madagascan Vanilla Extract (£1.30 for 60ml) They are visibly different in quality, with the Neilsen Massey being a thick paste with visible vanilla flecks and the Tesco extract being watery in consistency.

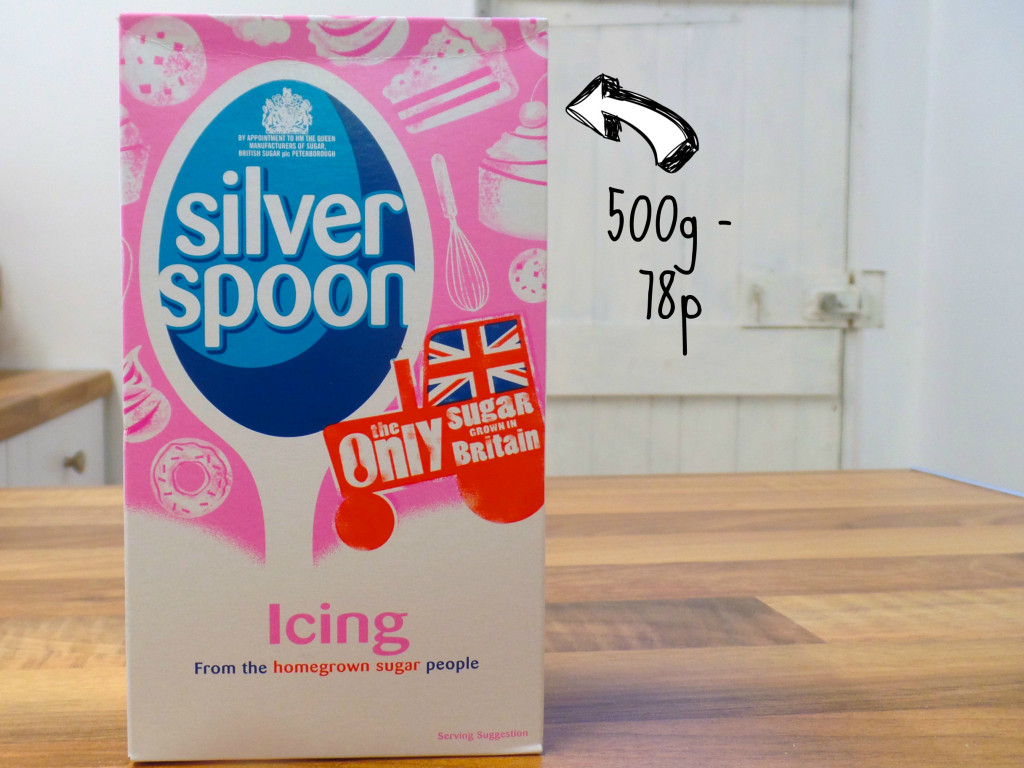
Silver Spoon to the rescue once more with the icing sugar. Again, this was the only option available to me but one to suit all budgets at 78p for 500g.

Lastly, the jam. The tart and tasty strawberry jam filling that makes a Victoria Sponge stand out from the rest. This was the second biggest price difference and one that shocked me as I bought the ingredients for this post. With the Bonne Maman Strawberry Conserve coming in at £2.29 for 370g and the Tesco Everyday Value Strawberry Jam at just 29p for 454g. I usually buy a mid-range jam so I’m interested to see how these two fair against one another.

The Test

The budget sponge was up first. I made the recipe and split into the two lined 8″ sandwich tins and baked for 20 minutes at 170C. Once out of the oven, I transferred them to a cooling rack. I then repeated this exactly using the premium ingredients. The only differences I saw at this stage were the premium ingredients made for a more yellow coloured mixture.

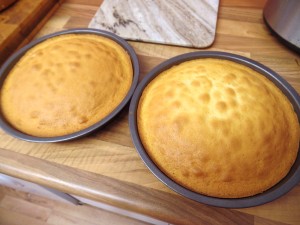
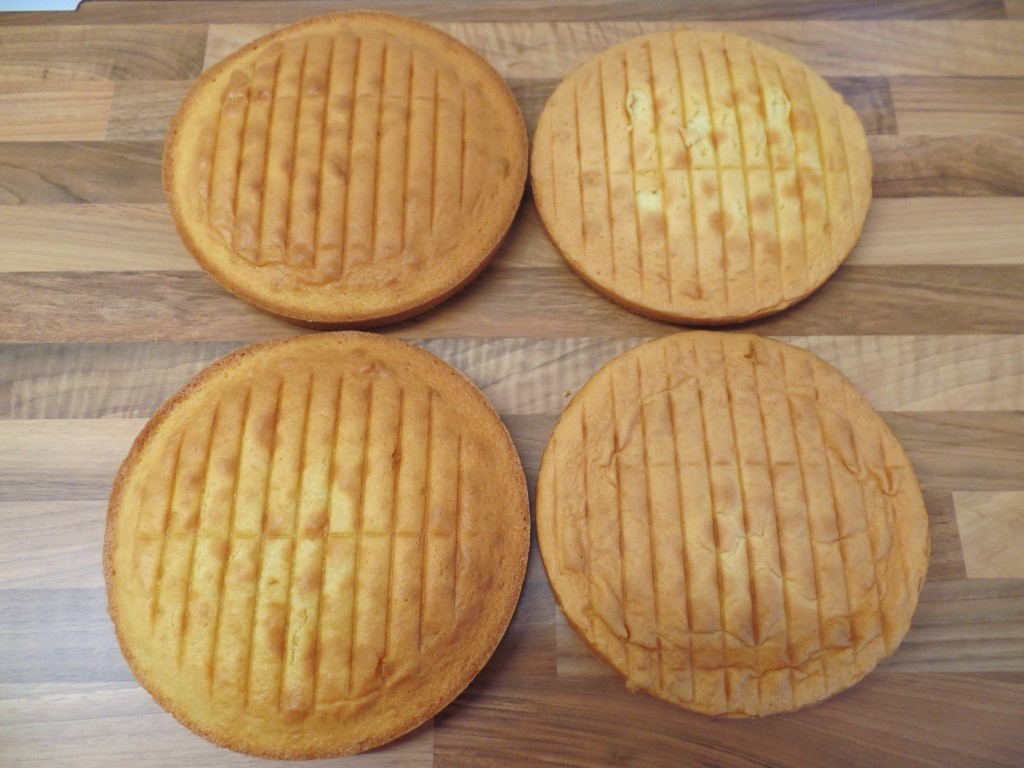
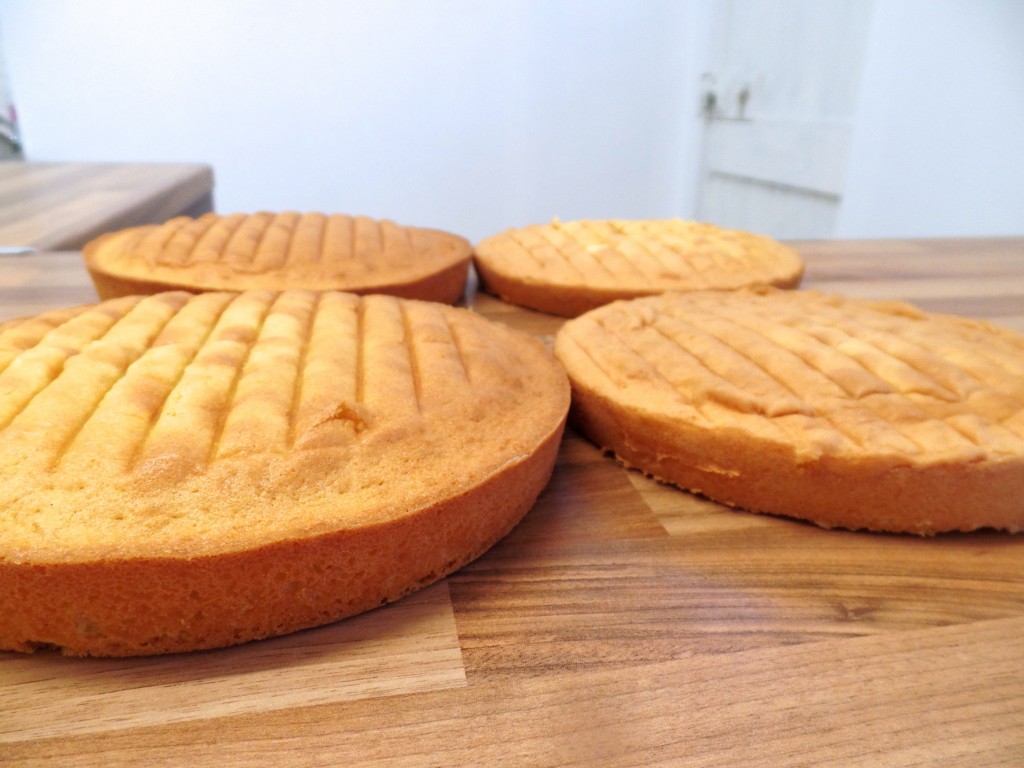
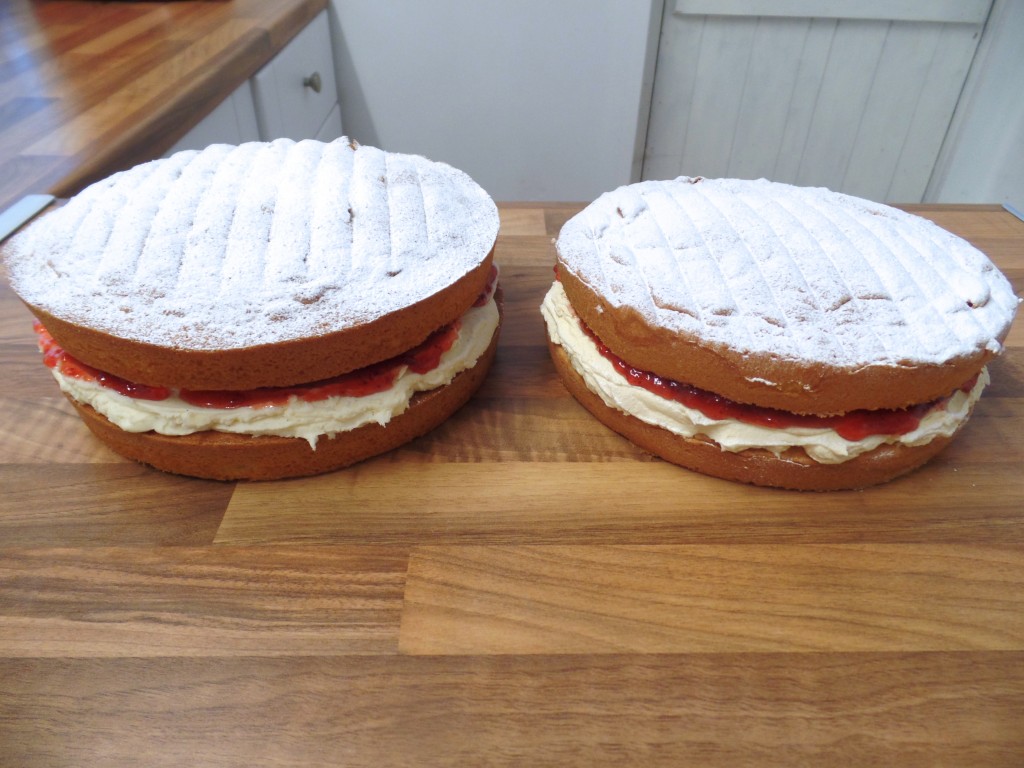
Once both sets of cakes were out of the oven and cooled, you could already see a difference. The ‘premium’ sponges on the left and the ‘budget’ sponges on the right. It’s clear that the ‘premium’ sponges are darker in colour, haven’t shrunk away from the pan as much as the ‘budget’ sponge and have risen a lot more. The sides also look crisp and even, while the ‘budget’ sponges have ‘crumbed’ around the edge and top.

The Fillings

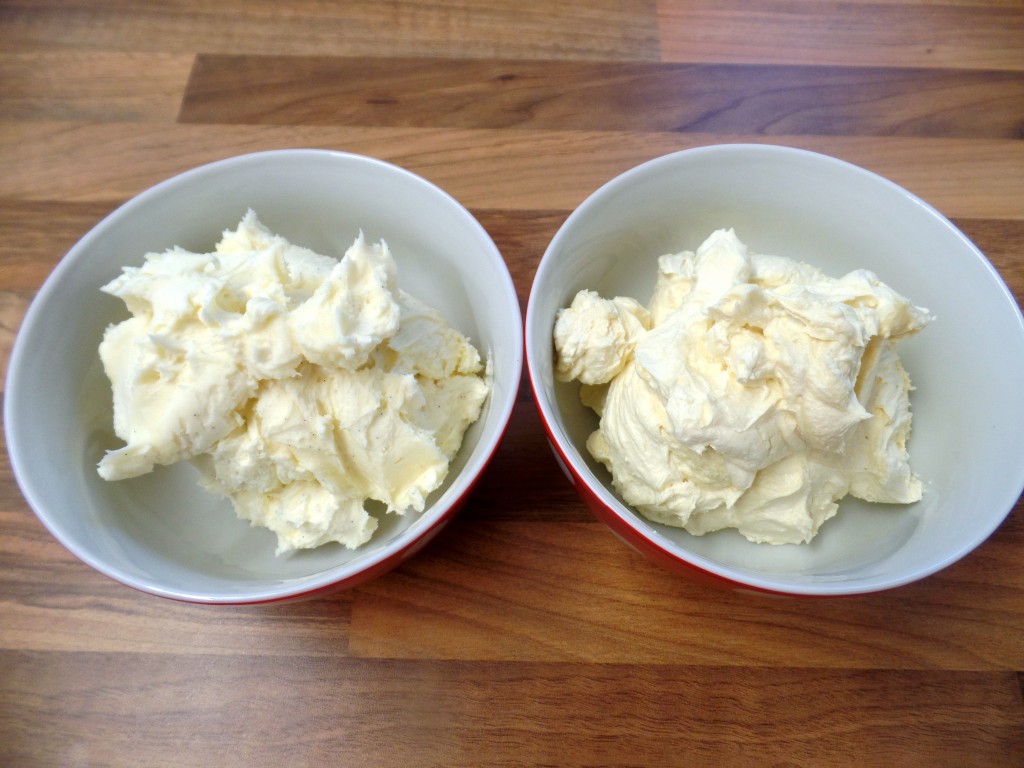
To make the buttercream, I mixed the butter/spread on it’s own for 1 minute then added in the icing sugar and vanilla and mixed on a fast speed until it was smooth. I could tell a difference in consistency when transferring into bowls with the Lurpack buttercream (left) being much firmer than the spread buttercream (right). Visually however, there wasn’t much in it, with the only obvious difference being in the specks of vanilla in the ‘premium’ filling.

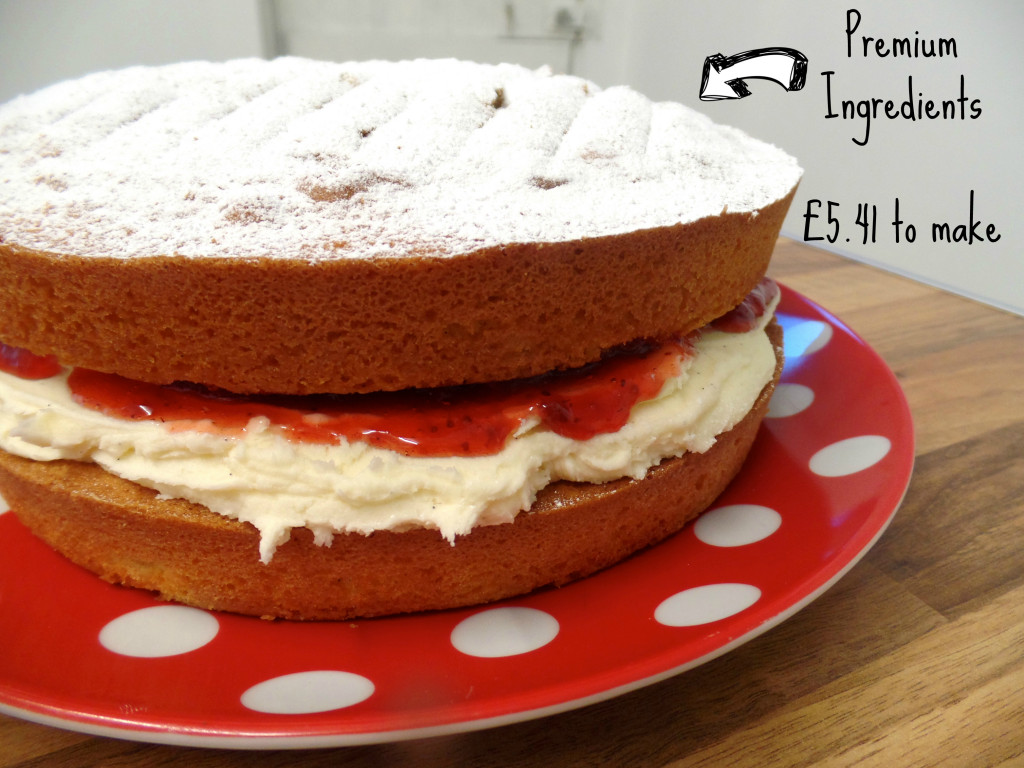
I spread the buttercream over their respective sponges and then spread a layer of jam. I then sandwiched the cake and finished them both with a dusting of icing sugar indicative of a classic Victoria Sponge.

Let’s see how they compare.

They both look pretty tasty if I do say so myself. Separately, I don’t think I could tell any difference. It’s only when you sit them side by side that you can see the rise in the ‘premium’ sponge sits a lot higher.

These prices have been worked out for the amount of ingredients you need out of the packets bought in the top pictures. This cost doesn’t include the tins, baking paper or the electricity to bake it.

The Curve Ball

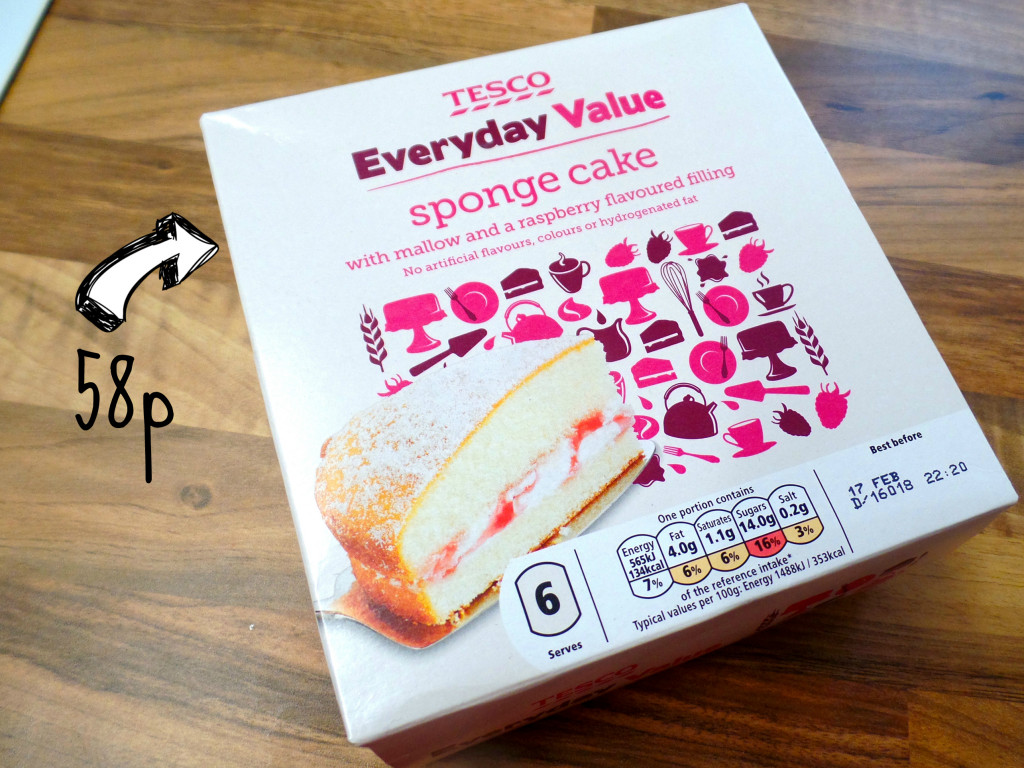
I wanted to add a third cake to my blind taste test, a shop bought cake. I found a Tesco Value Raspberry Flavoured Sponge cake for 58p. FIFTY EIGHT PENCE. I simply had to add it to my line up. I know it’s raspberry and not strawberry but it was the closest I could find to a Victoria sponge in the value range and I had to know the witchcraft how they could make a cake for 58p. It’s a lot smaller than the others, hence the different plate, so I will be cutting it up into slices for the taste test.

The Blind Taste Test

My partner Tim was understandably excited when I called him to tell him he had not one, not two, but three cakes to taste when he got home. However, I needed a few more opinions so I invited a few friends round and thrust some cake at them. I will take part in the test also but as I know what cake will be what, I don’t have the ‘blind’ element on my side in this comparison.

Slicing them really gave me an indication of how they would be. The 58p Supermarket cake felt like sponge… but not cake sponge, washing up sponge. The two home-made ones were a lot nicer to cut with the ‘premium’ ingredients cake slicing the best.

I noted down some comments from my friends when they were enjoying the cakes:

58p Supermarket Cake

  • “Very sweet… really dry.”
  • “This tastes like the flour has been swept off the floor.”
  • “It’s just too small! Not very aesthetically appealing.”
  • “If someone gave me this cake, I’d think they didn’t like me.”

Budget Ingredients Cake

  • “Better sponge, the buttercream has a weird aftertaste though…”
  • “Not as sweet as the first one but in a really good way.”
  • “This is a lovely cake!”
  • “Perfectly alright. A nice cake for a Sunday afternoon.”

Premium Ingredients Cake

  • “Wow. You can a actually taste the quality is better…”
  • “The texture and colour of the sponge and buttercream is so much nicer than the last two.”
  • “There’s a wider difference in the taste of this and the second (budget ingredients) cake than there is to look at them.”
  • “This cake is a different league.”

In Conclusion

So, having baked two cakes and tried all three, here are my thoughts.

The 58p Supermarket cake was a waste of time, I knew it wasn’t going to be amazing but I was surprised at just how fake it tasted. It was a bit like eating a washing up sponge with sugar on it. Considering I’ve shown you can actually buy the ingredients for not much money, I would 100% advise you to always home bake your cakes.

The ‘budget’ ingredients cake was nice. If I was served a slice of that with my afternoon tea I would be very happy indeed. It goes to show you can bake a lovely Victoria sponge cake for less than £3.50. It was an even bake, spongy in texture, not too sweet and nice to look at. The buttercream, however, wasn’t for me. I think buttercream should be made with real butter.

The ‘premium’ ingredients cake was awesome. I’ll be honest with you, I’ve been baking for five years and I thought I knew my cakes, but the results of this test surprised me. Having baked with all manner of ingredients from when I started to now, I had always known that you can taste quality and sometimes if it was on offer, I would buy posh flour or more expensive butter, but this is the first time I have used all premium products on one cake and you can really taste it. It’s light, it’s baked beautifully, it’s the perfect balance between sweet enough to enjoy and not so sweet you need to go to the dentist after. The buttercream is thick and velvety and the jam is tart and compliments the rest of the cake fantastically.

If you are baking a cake for your afternoon tea, there is no reason not to use budget ingredients. It produced a fine cake great for any table, but if you really want to impress someone and want to go all out, the premium products are the way to go.

If you want to turn your baking hobby into a career, check out my ebook How To Start A Cake Business From Home for everything you need to know about running a successful baking business, including pricing, marketing, insurance and much more!

Thank you for reading. Give it a try and let me know how you get on either on Facebook or Twitter and Instagram.

Happy baking!

Britt xo


How To Cover A Cake Board And Why I Do It

05/16

I am on a one woman mission to end the nakedness – of cake boards.

Now, I’m not talking about a thin board for a quick cheesecake or dessert. I’m talking about iced and decorated cakes. Cakes that have taken you a long time to decorate and you want to properly show off, quite right too.

A cake board is an extension of your cake and should be used as such but it is often and easily overlooked. If we turn our attention to it however it’s perfect for adding a message, continuing the design or having a completely separate design all together! Anyone who has been on a class with me, or even had a cakey conversation with me in general, will know just how passionate I am about cake boards! Now, this might seem like an odd passion to have and might indicate that I don’t have much of a social life. (You’d be right on both counts. 😉 )

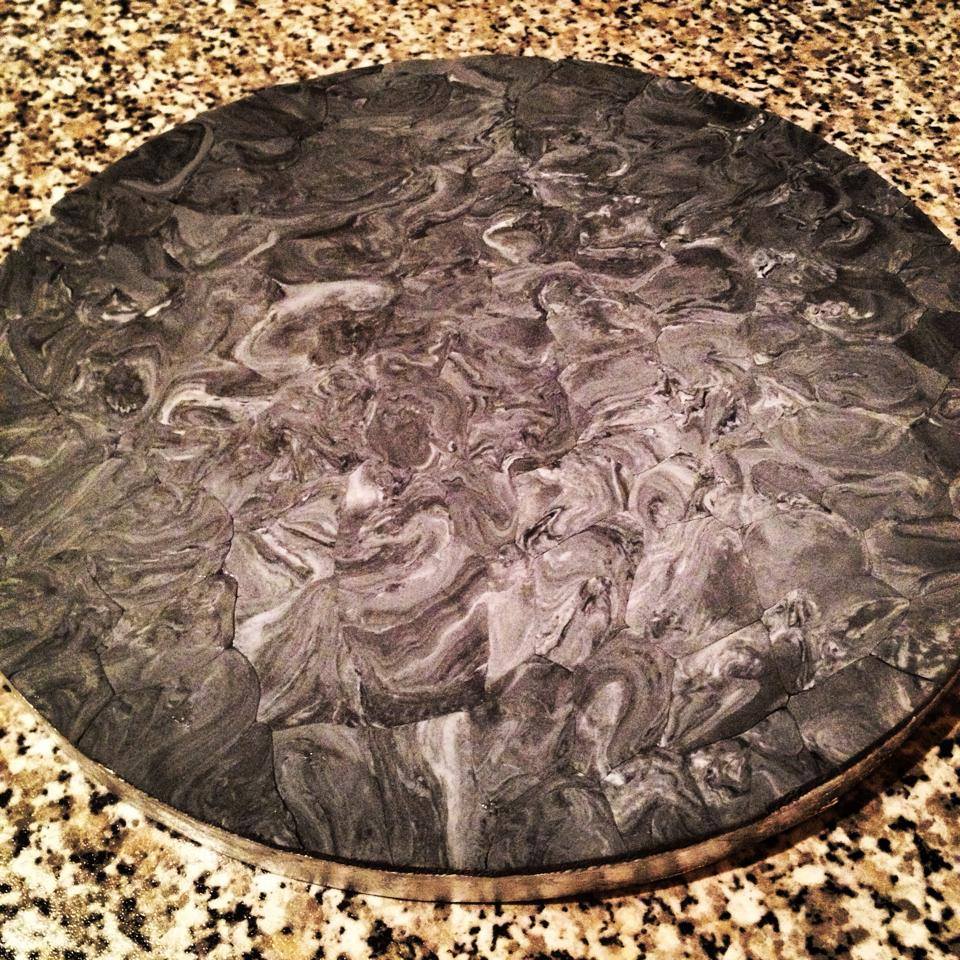
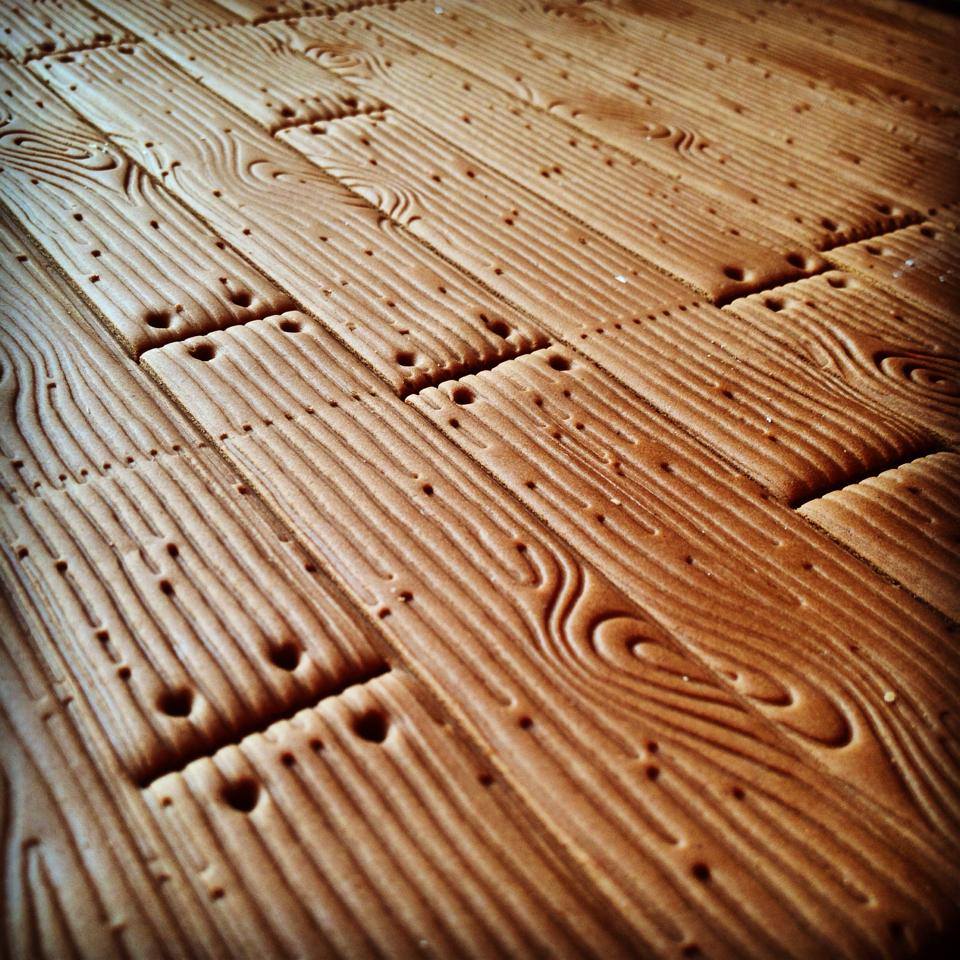
Covering a cake board doesn’t have to be expensive. You can use whatever sugarpaste you have left over from icing your cake or a small pack of sugarpaste from a supermarket. As well as this, you can usually pick up a meter of ribbon for less than £1. It’s another thing to think about, but the end result is spectacular. It really finishes a cake off. There are so many texture mats and textured rolling pins available on the market that creating a show stopping effect can be quite simple.

I recommend using a 12mm cake board for your celebration cakes. To cover a cake board in sugarpaste, roll out your icing to 5mm thick on a corn floured surface, turning the sugarpaste as you roll to get an even shape and to stop it sticking. Spray your drum lightly with water or dampen with a piece of kitchen roll, or paint with piping gel and then using your rolling pin to lift your sugarpaste, lay it gently on the board, securing it with your hand and cutting off the excess with a sharp knife. For best results, leave to set overnight.

Then, to apply a board ribbon, use 5mm double sided sticky tape and a 15mm width ribbon. The hardest part here is peeling off the backing of the tape! Or you can use Washi tape.

Below are a few more  examples of how to use a cake board as part of the final cake design.

So, I say to you, let’s work together to end the nakedness once and for all and give the humble cake board the love and attention is truly deserves! Check out my video below on the subject where I show you how to cover a cake board with sugarpaste.

For more information on how to decorate your cake and go from home bake to showstopper, check out my list of latest online cake decorating courses here.

If you want to turn your baking hobby into a career, check out my book Cakes, Bakes & Business for everything you need to know about running a successful baking business, including pricing, marketing, insurance and much more!

Thank you for reading. Give it a try and let me know how you get on either on Facebook or Twitter and Instagram.

Happy baking!

Britt xo
Exclusive Baking Class at Pashley’s Cake Emporium!

05/16

This summer I will be teaching an exclusive baking class at Pashley’s Cake Emporium in Herne Bay, Kent!

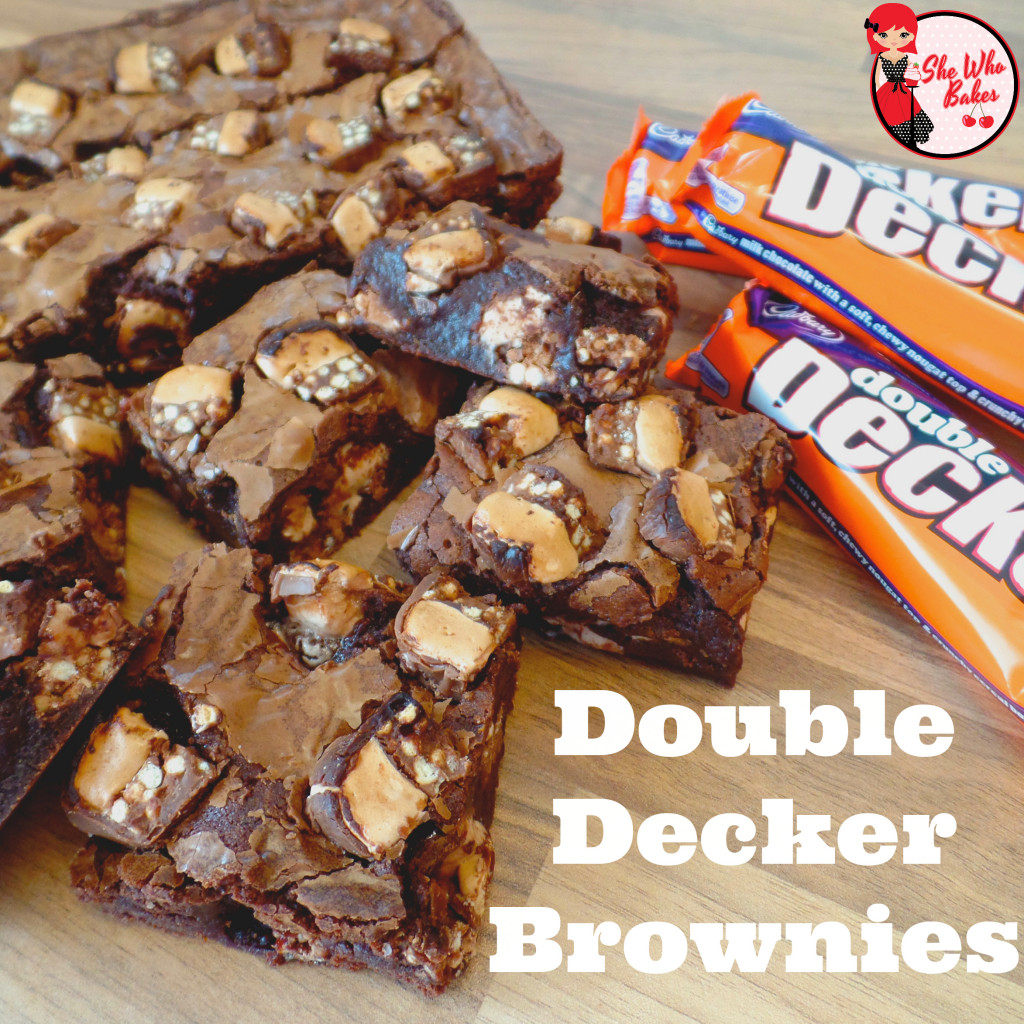
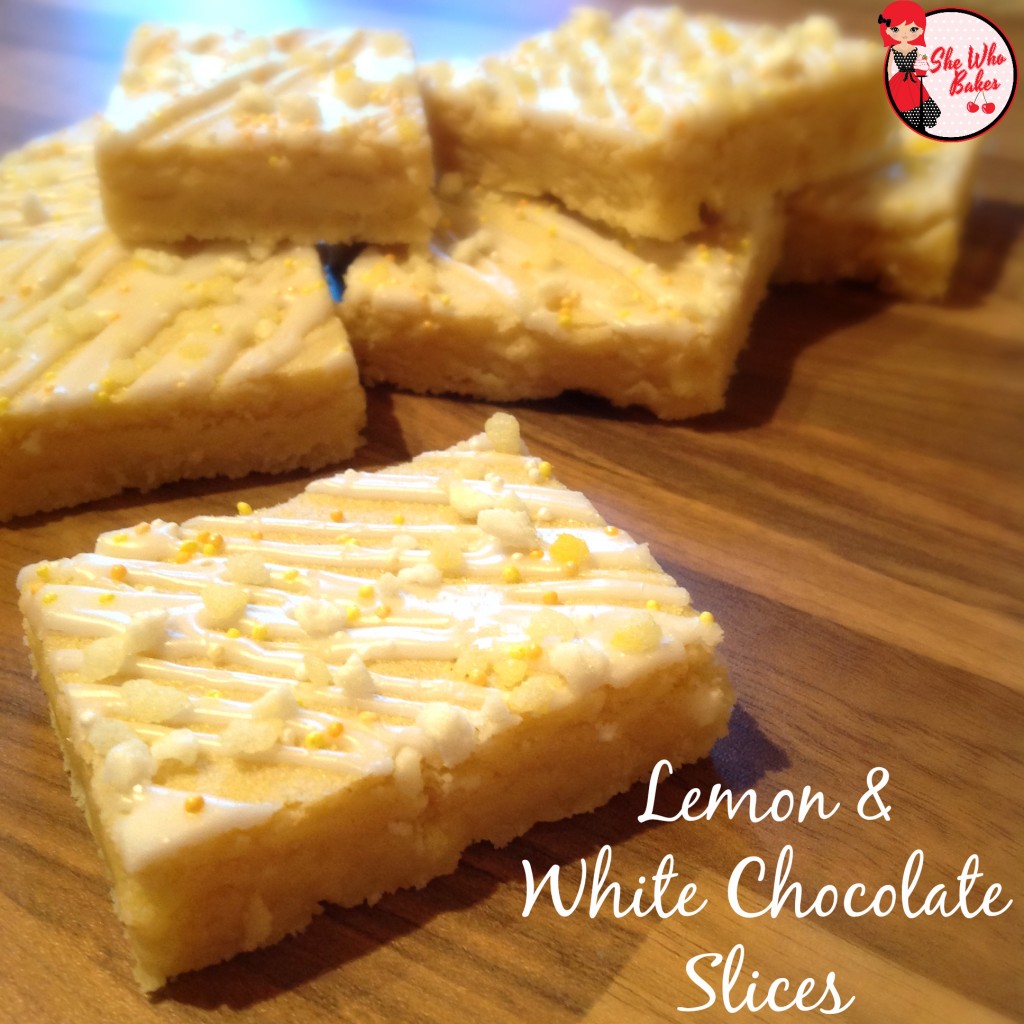
Come and join me on this fun day course where you will learn how to bake four of my most popular recipes. Learn the secrets of baking the perfect flat topped vanilla cupcake as well as lemon & white chocolate slices, double decker brownies and jam heart biscuits.
At the end of this baking day you will get to take home a big box of your tasty baked goodies as well as have the knowledge to delight your friends and family with your new found skills.

Saturday July 16th 10am-4pm

£89.50

To book your place give them a call 01227 652911 or visit the website at here.


How To Bring Butter To Room Temperature – FAST

05/16

We’ve all been there.

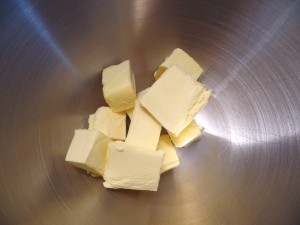
I go to start baking and realise, oh… I’ve left the butter in the fridge. So you take it out and obviously, it’s rock hard!

Now, you can microwave it of course, however there is a fine line between nicely softened buttercream and a pool of hot buttery liquid (not the best for creaming with sugar). You can leave it on a sunny windowsill, but I live in England so not much chance of that.

You can wrap it in a towel and leave it on the radiator for a little bit, but be careful not to forget about it!

OR! You can use this trick my nan once told me.

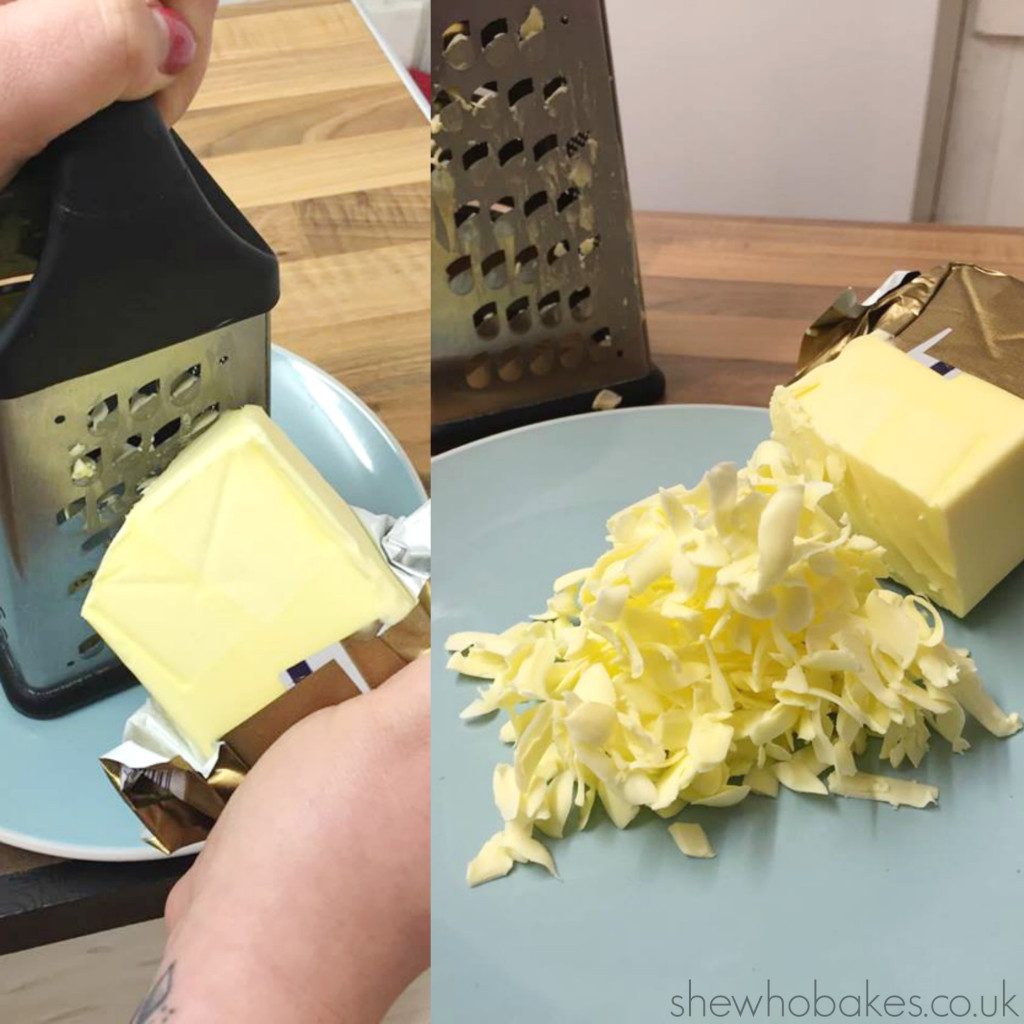
Grab the block of butter like a block of cheese and grate it!

Where the butter is solid, you can hold it easily. Use a cheese grater to slice it up and then weigh it out after grating. As the pieces are smaller, they will combine with your other ingredients easily and efficiently!

Perfect butter every time.

If you use this trick, let me know how you get on either on FacebookTwitter or Instagram.

Happy Baking!

Britt xo

If you want to turn your baking hobby into a career, check out my book Cakes, Bakes & Business for everything you need to know about running a successful baking business, including pricing, marketing, insurance and much more!

How To Bring Butter To Room Temperature - FAST

Five Things You Should Know Before Starting A Cake Business From Home

05/16

The life of a cake maker isn’t for everyone. It has demands and pressures like no other job. There will be issues and problems that only your cake friends will be able to relate to. It’s a lot more than just rolling out icing.

It’s also a lot more admin than people think. I used to say I spent 75% of my time on my laptop, shopping for ingredients, drawing designs, talking to customers and only 25% actually making cakes!

I ran a successful cake business from home for many years, only closing my order books for good last summer to concentrate on other parts of my business full time. Here are my top five things I think you should know before starting a cake business from home:

1. Your Kitchen

Your kitchen doesn’t have to be perfect, but it does have to reach a certain standard. One of the most important things you should do before embarking on your new career is to get your kitchen registered with and checked by the council. You must register at least 28 days before opening.

There are lots of different things to be aware of and a few hoops to jump through but once it’s checked and you get your rating, customers will be more confident in buying from you, you will be listed publicly as having a council checked kitchen and you get a fancy window sticker to display your rating. It also, most importantly ensures the safety of your future customers.

2. Self Employment

This is something that I feel causes some confusion amongst bakers. I know from conversations I’ve had with hobby bakers that a lot bake just for the cost of the ingredients. If this is done occasionally, then it falls under a hobby in the eye of the law. If, however, it is done regularly and even a small profit is made, you are considered trading and by this point a lot of things could happen. Namely, if you are on any income support or benefits, they will need to be recalculated. If you work full time, the tax may need to be altered and most importantly, you will need to complete a tax return at the end of the financial year.

Even if in the first few months of starting your career as a cake decorator you only bake 2 cakes and make a grand total of £12.76 profit, you must declare your income.

3. How Much Should I Charge?

The harsh reality is that 9 out of 10 businesses don’t survive their first year. That may sound a bit depressing but it’s worth knowing what you are getting into. When I started my cake business it was my secondary income after a full time job. Later, as my business grew, it became my only source of income, but this was a slow process, about a year and a half. I honestly don’t think I could have lived on just cake income at the start. One of the main reasons for this was I didn’t charge enough for my cakes (You can read more about this in my article here) and I didn’t have a business plan in place.

It may be sugar and flour but you need to treat it with the same respect as you do any other business. It’s a fun hobby but when it comes to turning it into a career, there’s so much more you need to think about than just sprinkles!

4. Let’s Get Personal

When you calculate how much you want to charge, it won’t be in everyone’s budget – and that’s ok. But, something which used to upset me and the statement I know a lot of my fellow bakers get, is ‘But it’s just a cake?!’ I think you and I both know, it’s never just a cake. There will be people that compare your hours of work to a supermarket buy but you cannot take it to heart. I know its hard because you may feel it’s a reflection on you and your work but I promise, it isn’t. There will be customers who ask you to make a three tiered cake with handmade models for tomorrow and, unless you are actually super human, you’re going to have to let them down and say no. Saying no was a big thing for me, I ended up making myself ill one month because I took on too much because I didn’t want to let anyone down.

You have to put yourself, and your family first and don’t let negative comments get to you or bring you down. We’ve all had them, you need to keep your head up and rise above it.

5. Cake Life

I think the most important thing to know before starting a cake business from home, is that when you do, you will have one of the best jobs in the world. You are part of so many special occasions, you make so many people smile, your art and talent will bring joy to so many families, and that is really something to be proud of. There will be long days and longer nights, you will need to buy in extra storage space for tins, moulds, cutters and you won’t be able to simply walk past a Lakeland without ‘popping in’. But it really is an awesome job that is so much more than just cake.

Even my worst day as a cake decorator and running my own business was better than the best day in any previous job I had.

For more about setting up your own cake business, make sure to check out my book ‘Cakes, Bakes & Business‘. From the rules surrounding getting your kitchen ready, registering as self employed, insurance, advice on pricing your cakes, and marketing advice that is both relevant and easy to implement. As well as a Cake Contract and Terms & Conditions template, Cake Disclaimer template, Cake Pricing template and Accounts template.

Happy baking!

Britt xo


Sign Up to my Newsletter

Subscribe here to my newsletter!

Designed by Clockwork Moggy
503 Service Unavailable

Service Unavailable

The server is temporarily unable to service your request due to maintenance downtime or capacity problems. Please try again later.

Additionally, a 503 Service Unavailable error was encountered while trying to use an ErrorDocument to handle the request.