Sunflower Tutorial

09/15

This week, I was asked by a friend to make emergency sunflowers for their wedding cake. These bright sunflowers are really easy to make and super effective on your bakes!
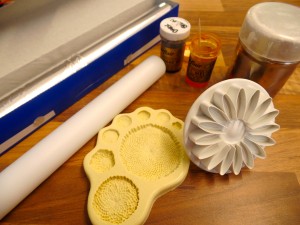
You will need:

  • Large Sunflower (Gerber/Daisy) plunger cutter
  • Flower centre mould
  • Small rolling pin
  • Cornflour
  • Yellow and dark brown food colour
  • Tin foil
  • If you have a large flower former, you can skip this part but I will be making my own from tin foil! To do this, fold a small rectangle of foil in half.
  • Then, fold round the edges to make around shape (it doesn’t need to be accurate, just big enough for your sunflower)
  • Push the base of the circle down to create a small tin foil bowl, this will create the shape of the sunflower.
  • Lightly dust your tin foil bowl with cornflour to prevent the sunflower sticking.

  • Colour flower paste your desired colours. I’m using Sugarflair melon for the sunflower and Sugarflair dark brown for the centre.
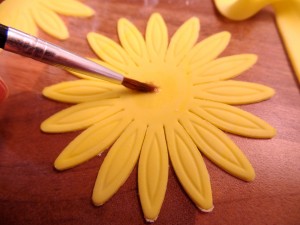
  • Next, roll out your yellow flower paste very thinly on a cornflour dusted surface. Cut out two flowers and ‘plunge’ the design onto your sunflower.
  • Lightly paint the centre of one sunflower with edible glue and stick on the second, overlapping the petals.
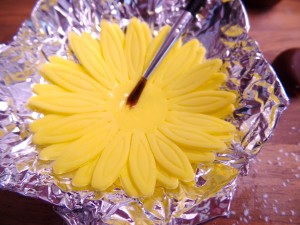
  • Gently lift your two sunflowers and place into your dusted tin foil bowl, creating a ‘curled up’ shape on the edges.
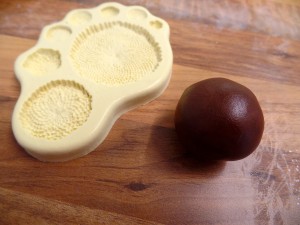
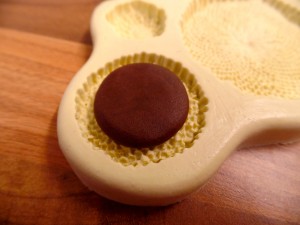
  • For the centre, lightly dust a ball of brown flower paste and push gently into the mould. Then push it out.
  • Lightly pain the centre of your sunflower with edible glue and stick down the centre, making sure not to distort the design.
  • Leave to dry overnight.

Happy baking (and decorating!)

Britt xo

Baking In A Bowl – How Much Mix Do I Need?

09/15

Something I get asked a lot is how much cake mix to use in bowls and other oddly shaped tins. The really easy way to solve this mystery is by using water. This is also a really good trick to scale up a cake mix too!

Fill your bowl or shaped tin ¾ full with water. Then, transfer this to a cake tin. Always start with a bigger one, so an 8″ or 10″ for example. If the water comes about ¾ full of the tin, then use the amount of mixture as you would normally for that tin. If the water is sitting lower than ¾ full, try with smaller tins until you get the right amount.

Bake at the same time and temperature as the original recipe dictates.

Top Tips

  • Use cake release. Bowls and oddly shaped tins don’t lend themselves to the use of greaseproof paper. A liberal spray or sweep of cake release will do the trick as we don’t want our cake to get stuck in there once baked! (For more about cake release, read my blog here.)
  • Low and slow. For an even bake with a flat top, try turning down the oven a little and leaving it to bake a bit longer. I bake my cakes at 140°C for well over an hour and always get nice flat tops! (For more about oven temperatures, read my blog here.)
  • Make sure to use a strong mixture. Usually, a Victoria Sponge recipe will simply be too light for a bowl or oddly shaped tin and may break up when you turn it out. You are better off using a Madeira recipe as it’s strong and sturdy and perfect for strange shapes! You can find my recipe here.
  • If you are using a hemisphere tin or one that doesn’t stand up on it’s own too well, balance it in a smaller round tin. That way it will be more stable on the oven rack.
  • Leave to cool in the tin before turning out. If you turn it out too early it may break. Wait until you can comfortable hold the tin/bowl and turn out onto a sheet of greaseproof paper to cool completely, that way you will get a nice flat top to work with.

If you want to turn your baking hobby into a career, check out my book Cakes, Bakes & Business for everything you need to know about running a successful baking business, including pricing, marketing, insurance and much more!

Happy baking,

Britt xo


Baking Fails

09/15

Picture the scene. You’ve lovingly made your cake mixture or cookie dough, you put it in the oven hoping the heat fairies will be kind, you take out your bake at the designated time and oh… something horrendous has happened. Sometimes, you don’t even make it as far as the oven! Enter; Baking Fail.

We’ve all done it. We all do it. I doubt even baking royalty Mary Berry herself has escaped from the jaws of a baking fail. But you know what? It’s ok. It really, really is. Baking fails are as much a part of baking as eating the goodies themselves.

“I bet everything you bake comes out perfect!” someone said to me at a networking breakfast the other week. I promise you now, 90% of the recipes you see on my page are my second , third or even fourth attempt! (Jaffa Bake, I’m looking at you!)

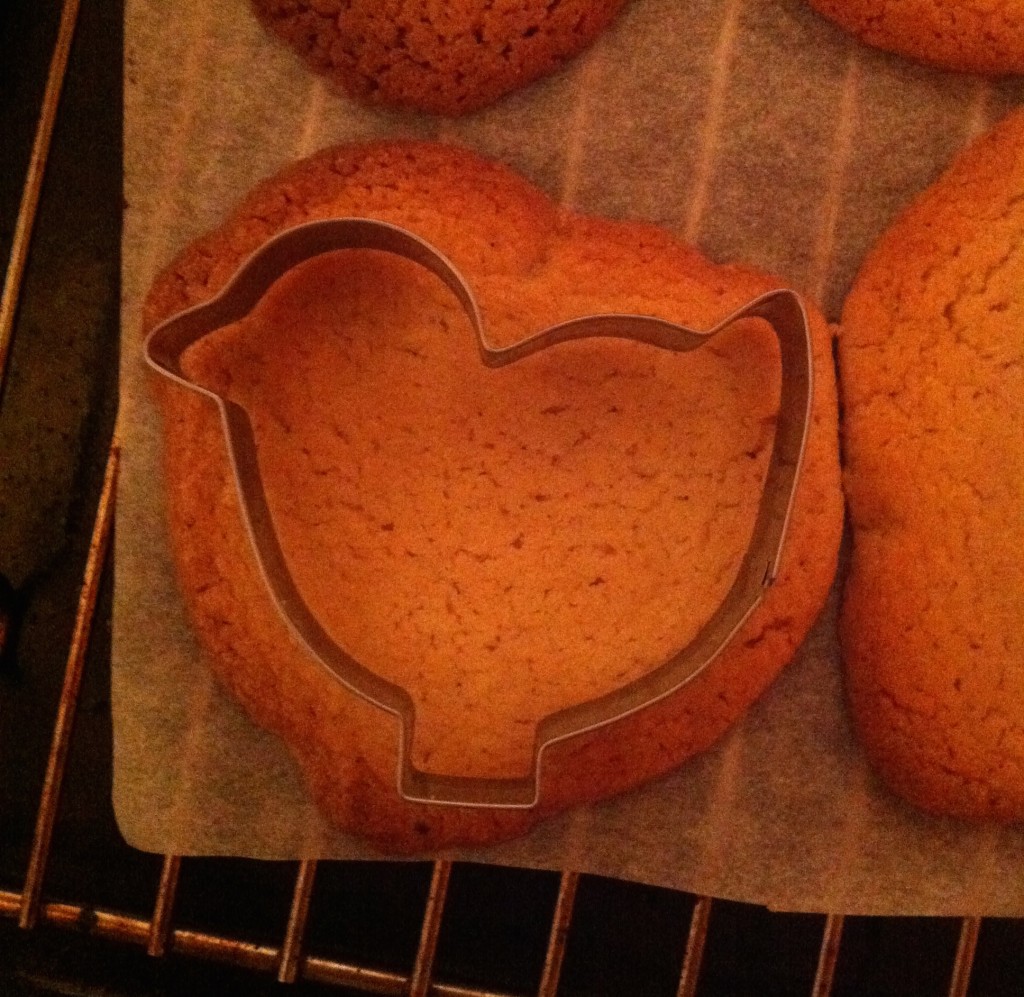
You would be wrong to assume that just because I am She Who Bakes, doesn’t mean I’m not also She Who Makes Mistakes. This week, I posted a picture of some super tasty, awesome Lotus Biscoff (Caramelised Biscuit) Cupcakes. This is what the finished product looked like;

And this was the first attempt…

Now, they may have sunk and were unusable, but they were still tasty! Every cloud. Haha!

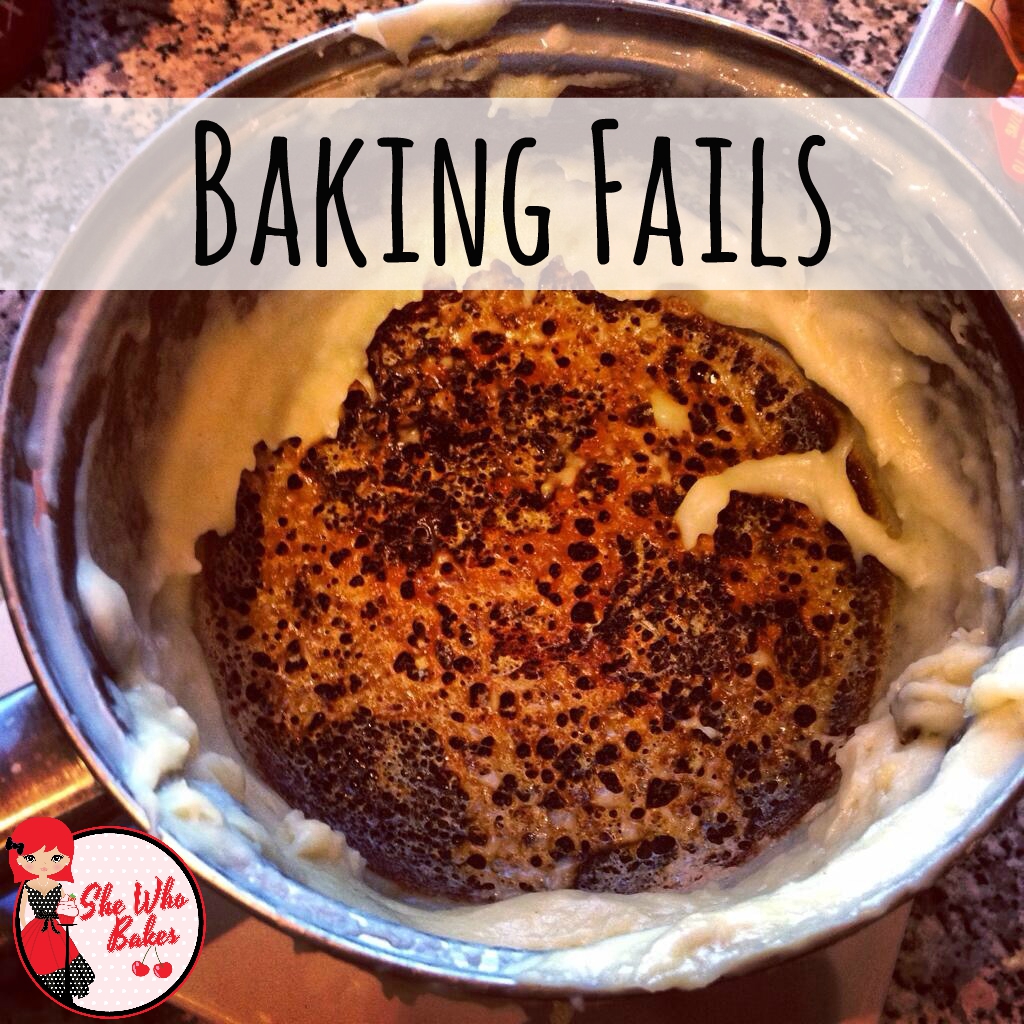
I’ve had some right disasters! My top two have to be the saucepan in the featured image, I was trying to make a cheese sauce! And my pink lemonade cheesecake as I mentioned in a previous blog:

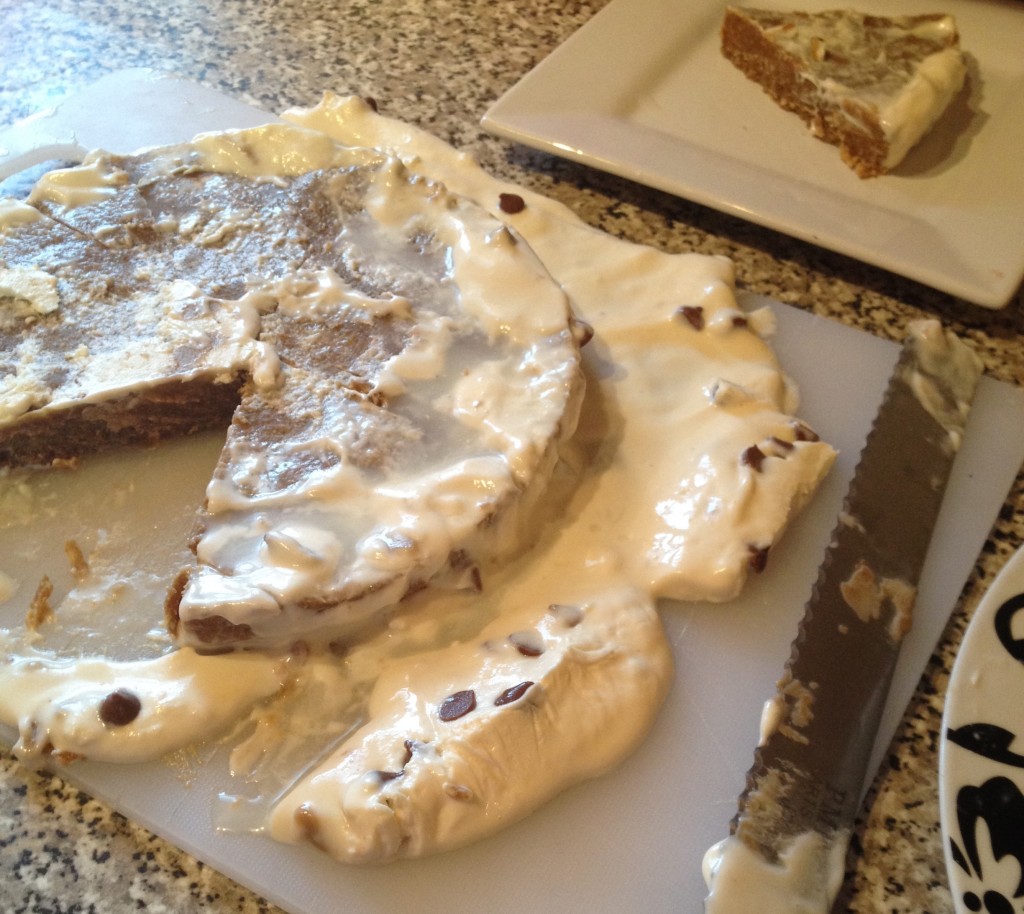
“I had decided to create a recipe for my new blog, I had mistaken ‘pink lemonade concentrate’ for just normal pink lemonade. So 24 hours after I left my pink lemonade cheesecake to set, I took it out of the fridge. Serving plate and camera at the ready, I unclipped the tin and WHOOOOOSSSSSHHHHHH. Pink lemonade spilled out from the metal ring and covered the entire kitchen”

I was cleaning it up for DAYS! But as the famous saying goes, you can fail many times and not be a failure, the only real failure is giving up.

When things don’t work out they way you have planned, you learn from them. Baking is a delicate science and while there is an unlimited amount of room to be adventurous, it only takes a few things to be out of sync to send it straight to the bin. I’m learning every day, I don’t think I’ll ever stop and I think that’s rather exciting!

If you want to turn your baking hobby into a career, check out my book Cakes, Bakes & Business for everything you need to know about running a successful baking business, including pricing, marketing, insurance and much more!

Give it a try and let me know how you get on either on Facebook or Twitter or Instagram.

Happy baking!

Britt xo

Which Stand Mixer Should I Buy?

09/15

Bakers want the best equipment to produce the best bakes and after The Great British Bake Off making headline news at the start of the current series after the BBC changed their stand mixers, it’s something I wanted to answer.

I often get asked what mixer I use and which I would recommend. Up until Christmas 2014, I had a Bosch mixer. It was great and did the trick for my bakes but sadly stopped working, I think the amount I used it was too much for it to cope! Before the Bosch I got through 12 hand mixers in little over a year! Now I have a Kenwood Patissier and I love it. It’s red is a perfect match to my kitchen tiles and at 4 litres, is big enough for me.

But I wanted to know what you were all using and so I asked readers of my Facebook page two questions;

1) What mixer do you have?
2) What mixer do you want? (If different from the one you have!) and why?

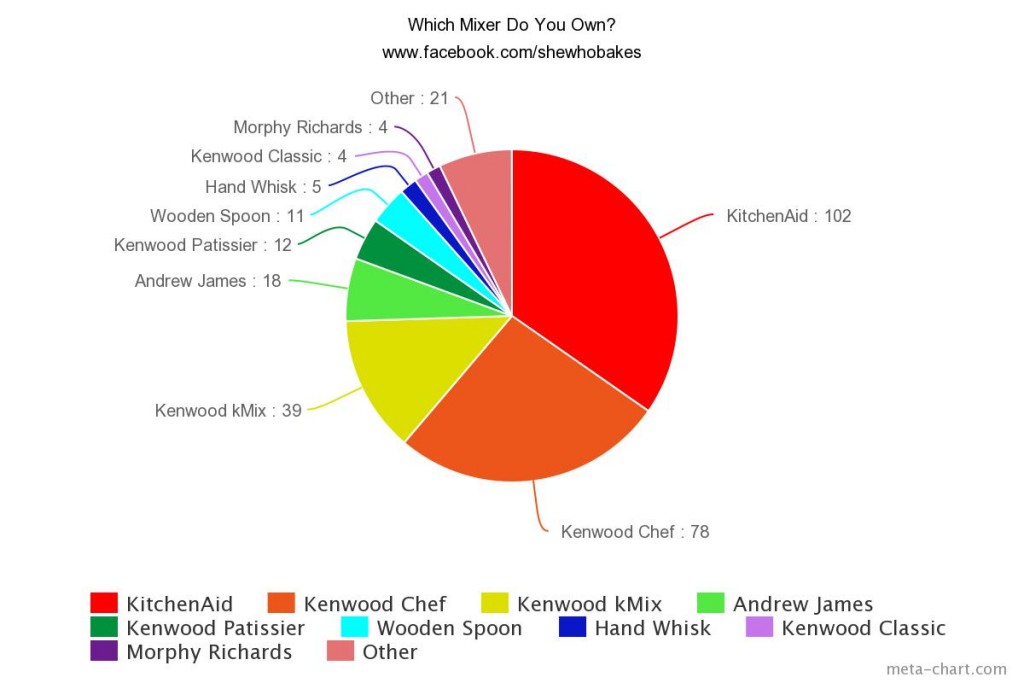
Nearly 300 people replied. (Thank you so much!) The results were pretty conclusive with two of the big names leading the way.

Which Mixer do you own?

The KitchenAid won the majority with the Kenwood Chef coming second. Some people shared pictures of Kenwood mixers that had been handed down to them and still worked as strongly today as the day it came out of the box!

There is no denying the KitchenAid is a leader in it’s field but being one of the most expensive mixers on the market, does it live up to the hype? According to my Facebook readers, it really does. With most of you saying how much you love it and would never change it and a further 10% of those who answered claiming ownership of a rival make stating that if money were no object, a KitchenAid would be sitting on the side instead. That said, the BBC recently changed their allegiances as they now supply the GBBO contestants with Kenwood kMix mixers instead and it certainly doesn’t seem to be affecting their showstoppers.

Below, I’ve listed some of the stand outs from the poll with details of average costs and features that should hopefully help if you’re in the market for a new mixer!

Which one do you use? Let me know either on Facebook or Twitter.

Happy baking! Britt xo

kitchenaid


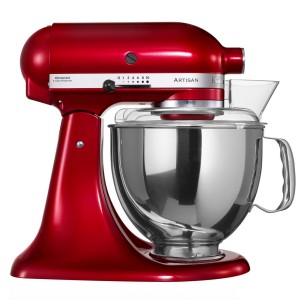
KitchenAid

Price – £300-£400

Power – 300W

Capacity – 4.8 litres (There is also a 6 litre version which is obviously more expensive.)

10 speed levels

Comes in 27 colours including Candy Apple, Raspberry Ice & Crystal Blue.


Kenwood Chef Classic

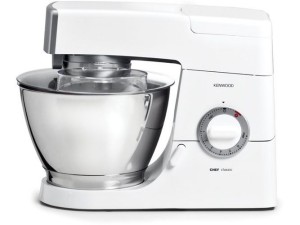
Kenwood Chef Classic

Price – £170-£200

Power – 800W

Capacity – 4.6 litres

8 speed levels


kenwood Chef Titanium


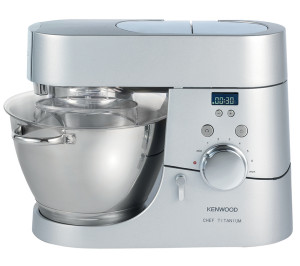
Kenwood Chef Titanium

Price – £300-£400

Power – 1400W

Capacity – 4.6 litres

8 speed levels


kenwood chef premier


Kenwood Chef Premier

Price – £300-£400

Power – 1000W

Capacity – 4.6 litres

3 speed levels


kmix


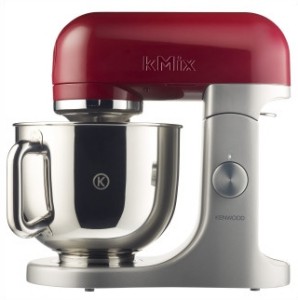
Kenwood kMix

Price – £250-£300

Power – 500W

Capacity – 5 litres

8 speed levels

Replaced the KitchenAid mixers on this years Great British Bake Off, comes in a variety of colours & designs.

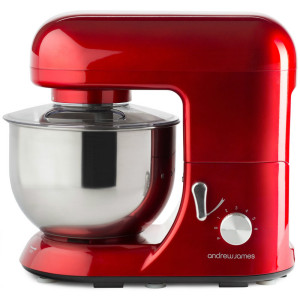
AndrewJames


Andrew James

 Price – £100-£150

 Power – 1300W

 Capacity – 5.2 litres

6 speed levels


patissier

Kenwood Patissier

Price – £130-£150

Power – 400W

Capacity – 4 litres

6 speed levels

(This is the mixer I have currently!)


wilko


Wilko Freestanding Mixer

Price – £100

Power – 1000W

Capacity – 3 litres

12 speed levels


wooden spoon

Wooden Spoon

Price – £1-£2

Power – 0W

Capacity – As big as the bowl you have.

3 speed levels. Slow, medium, fast.


Prices correct as of September 2015. Source Google Shopping.

Kent Independent Traders Awards 2015

09/15

Oh what a night! I’m still buzzing! Last night at the Kent Independent Traders Awards I won Home Based Business of the Year with She Who Bakes!
I am so happy. This year has been incredible. Thank you so much to everyone for your continued support and love. It means the world to me. Congratulations to my fellow winners, all the runners up and nominees. I have so much respect for all of you. A massive thank you to my partner Tim for all his amazing support in everything I do.
I dedicate this award to my mum. Britt xo

The Cake & Bake Show – London

09/15

Very excited to tell you all that I will be demonstrating at this years The Cake & Bake Show at Excel London on the 2nd-4th October.
I will be teaching my Cupcake Wreath Class in the Decorating & Finishing Classroom all three days of the show.

Cupcake Wreath Class
In this Christmas Wreath Cupcake Class, you will learn the secrets to baking the perfect flat topped cupcake, use of modelling paste and professional silicone moulds to create seasonal decorations. Then learn how to pipe the perfect cupcake swirl using two different designs creating a beautiful cupcake wreath perfect for your Christmas celebrations.

Book your tickets here.

See you then & happy baking!

Britt xo

Sign Up to my Newsletter

Subscribe here to my newsletter!

Designed by Clockwork Moggy