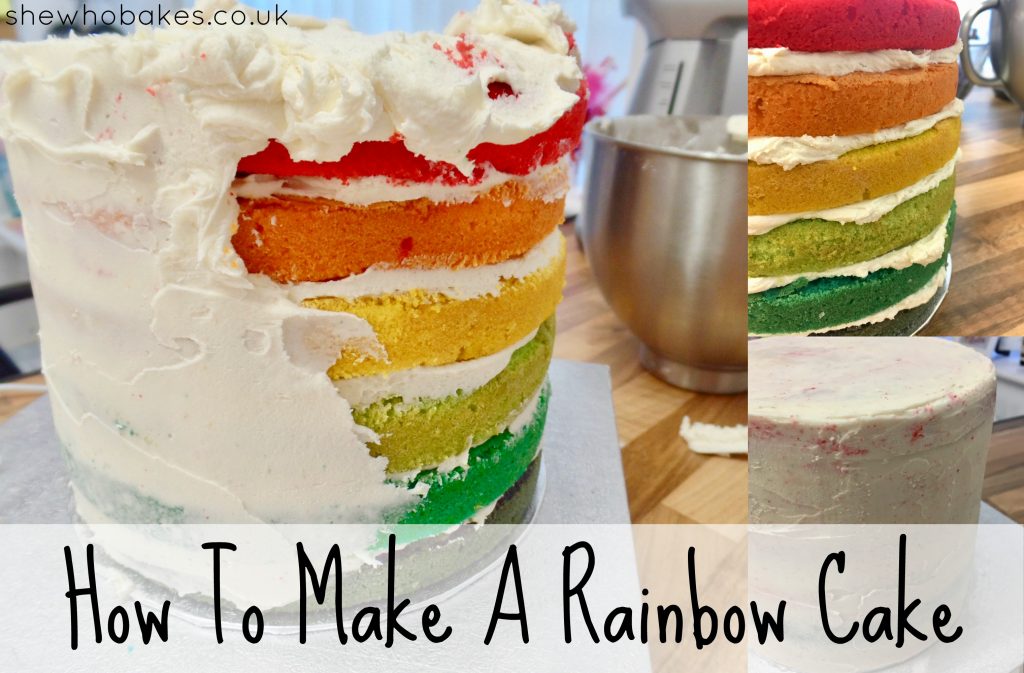
Rainbow cakes are one of my favourites! I love how they look when you cut into them. This week I was tasked to make an interesting rainbow cake for my friend’s husband. Interesting because it was colourful and rainbow on the inside, and black, dark purple and covered in skulls on the outside! You can check this cake out here.
When I was making it I popped a few ‘work in progress’ shots on social media and had a lot of questions about how to make a rainbow cake. There are lots of different videos and tutorials available online but this is a quick rundown of how I make one.
Firstly you’ll need a good cake recipe that’s easy to colour. I use a classic madeira recipe which you can find here. What I tend to do with rainbow cakes and other coloured layer cakes, is whatever tin size I’m using, in this case a 7″ round, I will double that recipe in total to make all six layers out of, as that makes for a nice height. You can of course use more mix for a deeper cake but this is what I have found works best for me.
First you want to line your tin(s). I do this with cake release and greaseproof paper, to save time, I use pre cut greaseproof paper circles and strips of greaseproof paper. You can find out more about how I line cake tins here.
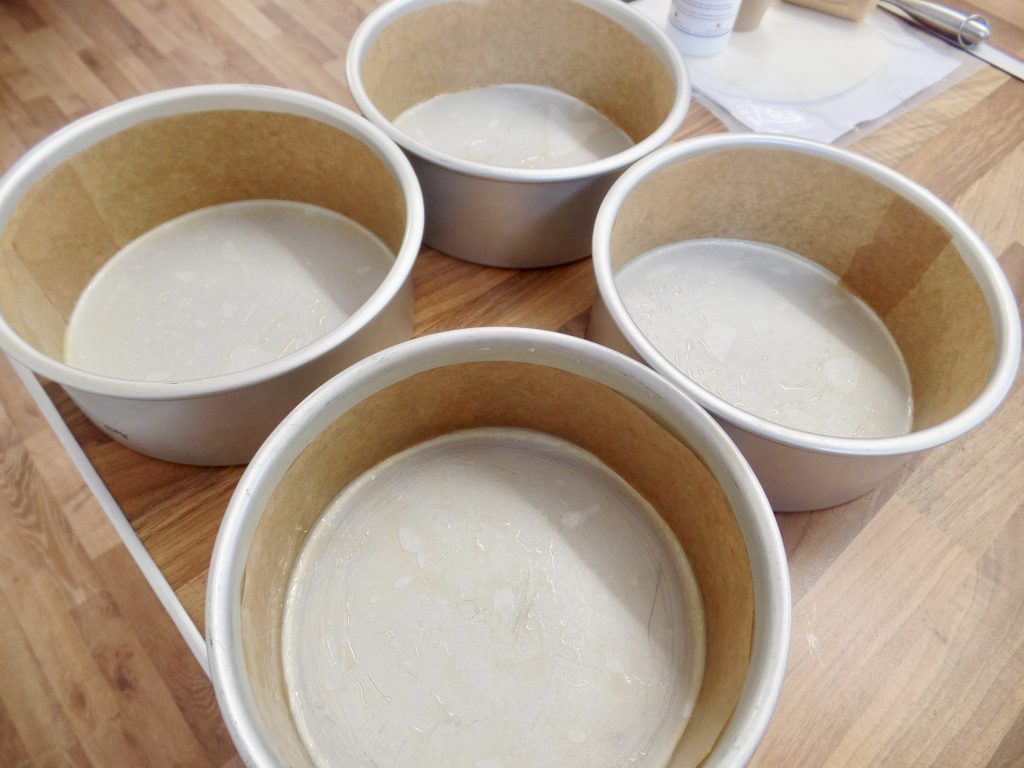
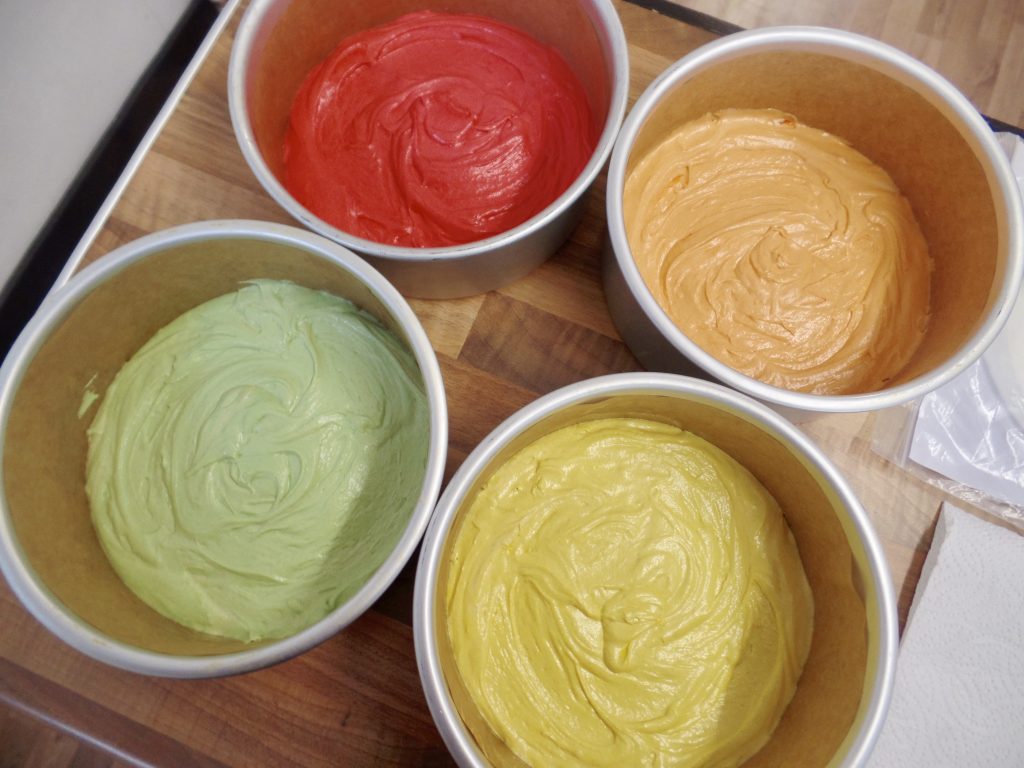
I have four 7″ round tins as I bake a lot but this process can be done if you’ve got the one tin, you’ll just need to work on your timings a little. I will explain as we go. So, based on the assumption you have more than one tin of the size you like you firstly need to go ahead and make your cake mix. As I say, I double my recipe for this. Then you want to split the cake mix into 6 bowls (or however many colours you’re doing!) I use a deep ice cream scoop to help me do this to keep it even.
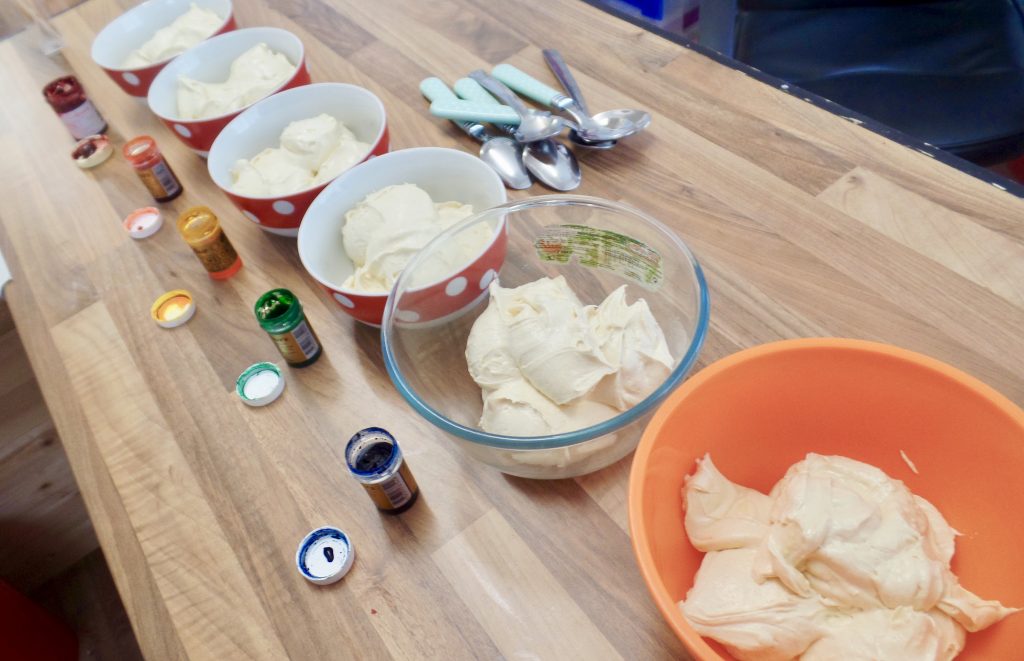
Then you want to colour them using good quality, concentrated food colouring. I don’t recommend supermarket colourings for this as they are mostly water and don’t give a strong colour. Instead I recommend Sugarflair. I’ve been using them since I started baking and I love them. You only need a little bit of colour as it’s very concentrated so it goes a long way and lasts ages! I’m using the following colours;
Sugarflair Red Extra, Sugarflair Egyptian Orange, Sugarflair Melon, Sugarflair Party Green, Sugarflair Ice Blue and Sugarflair Grape Violet.
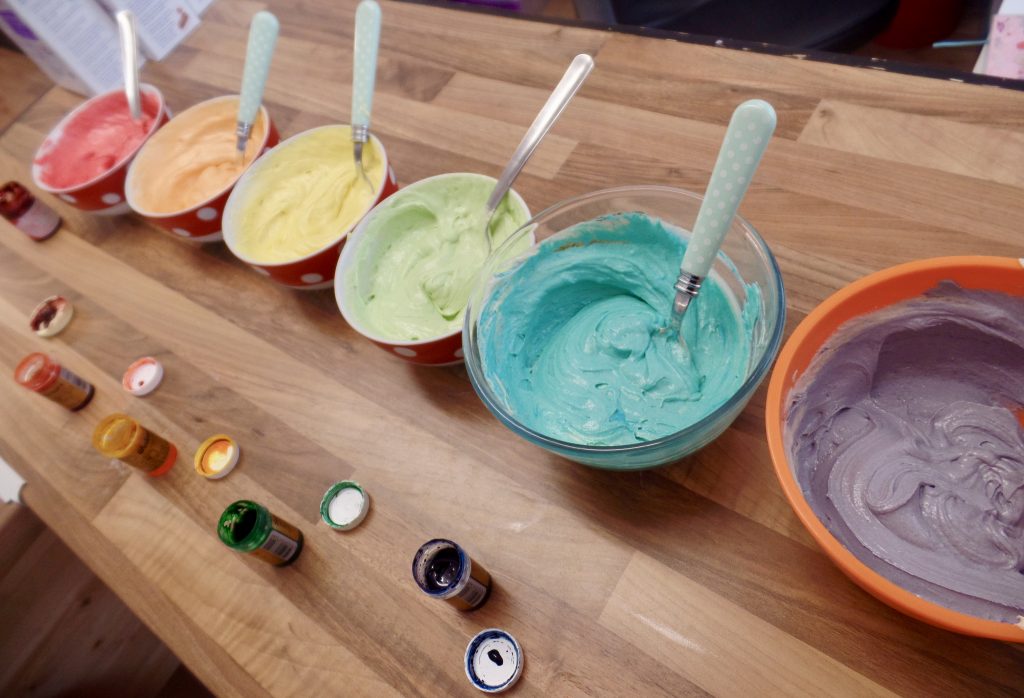
Add the colour using a cocktail stick and mix well. Then pour into as many cake tins as you have and bake until they are done. If you’re using my madeira recipe I recommend to bake the layers at 140C for around 20 minutes or until a skewer comes out clean. Remember, each layer will be a lot smaller than normal so don’t worry about too much of a rise, although you should get a nice thickness.
If you’ve only got the one tin you will need to do things slightly differently. As soon as you’ve made your cake mix you have essentially started a timer. If you leave your cake mix out on the side for too long, it may not bake properly, may not rise and may taste tough and dense. However you do have a small amount of time so what I suggest is, instead of halving the recipe, make up the recipe as written and split it into three. Do the first three colours and then once they are baked do the same and make up the second three colours. This minimises the time the cake mix is left out. All the time you are waiting for your tin and for the previous sponge to bake, make sure to store the bowl of cake mix in the fridge covered with cling film. Once each sponge is baked, turn it out onto some greaseproof paper and leave it to cool. Then quickly re-line your tin and bake the next one.

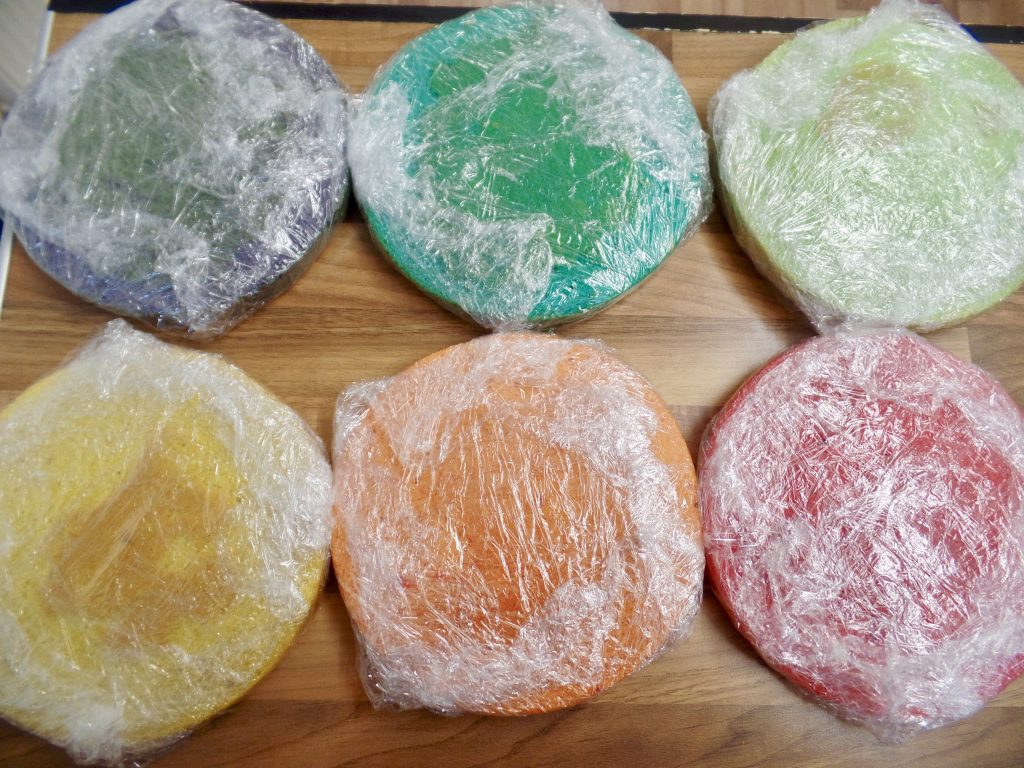
I recommend wrapping each layer in cling film until you are ready to decorate. As they are small cakes they can dry out rather quickly. I tent to double wrap them well in cling film and leave them overnight to ‘firm up’ a little. Then I unwrap each layer as and when I need it.
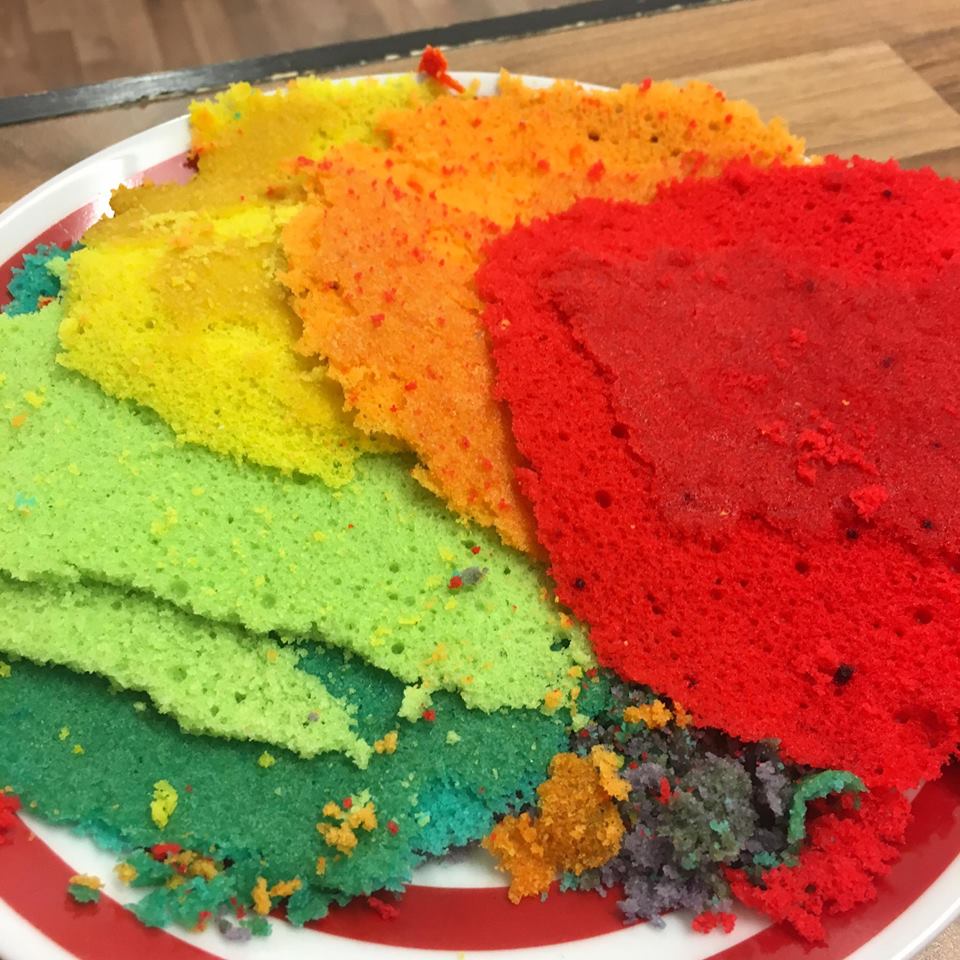
For all cakes I decorate, I start by levelling my cake. As there may only be a small rise on these, I do so with a sharp serrated knife. If it was a deeper cake and I wanted to split it, I would use a cake leveller, but a knife is fine for this. I can then eat any cake trimmings with a cuppa!
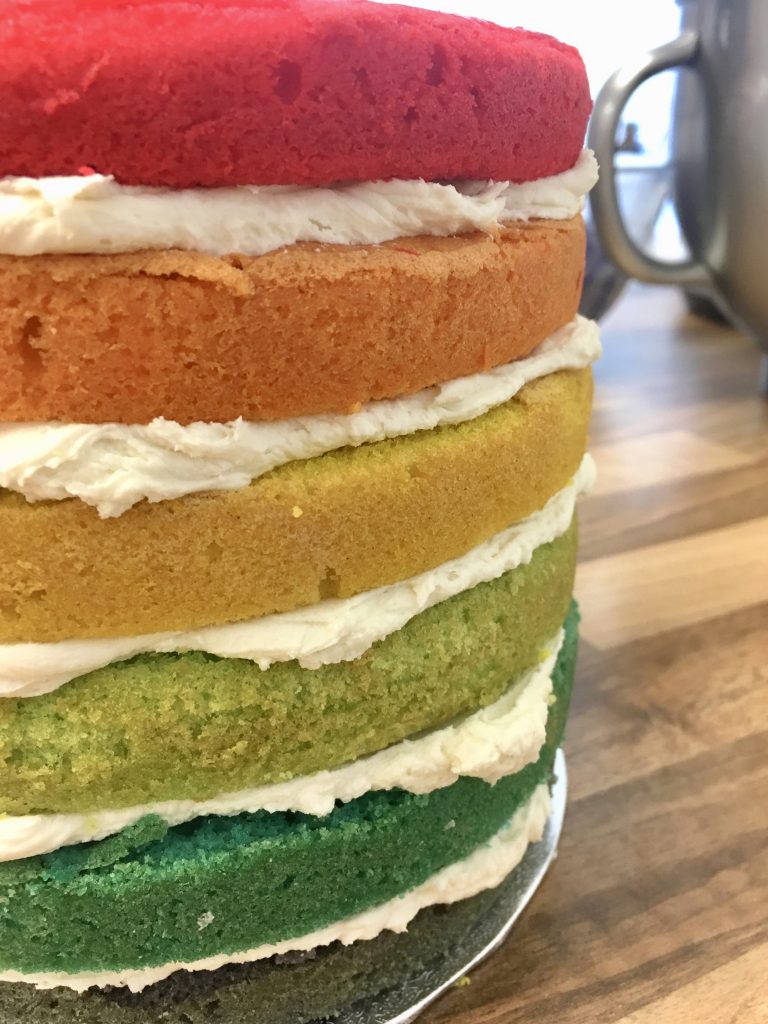
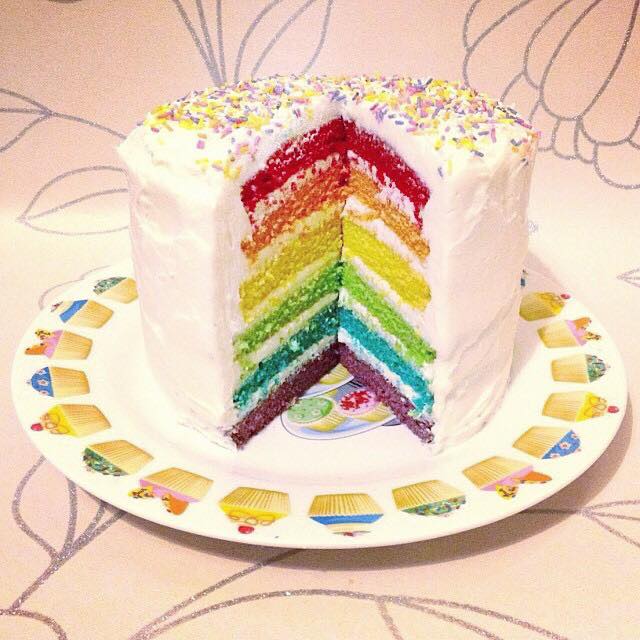
To decorate, start with a thin cake card the same size as your cake (in this case 7″) and spread a little buttercream on top of it. Then place down the first later on top, for this cake it will be the purple layer and then you can start filling my cake.
Spread a little buttercream on top of the cake, and add your second layer (blue), repeat with the rest of the cakes. then pop this in the fridge for 10 minutes or so for the layers to firm up. For filling rainbow cakes, I like to use white buttercream as I find it’s a nice contrast to the colours. You can find my tutorial and recipe for white buttercream here.
Once this is done you can cover your cake however you like! I recommend doing two layers of buttercream on the outside. The first being a crumb coat to seal the cake and keep in the crumbs and then a second final layer. For this cake, I did one layer of white buttercream and then my second layer was black and purple buttercream as per the cake design. Or, if covering in sugarpaste do this after the first crumb coat layer.
Chill briefly between coats to make covering easier!

And there you have it! A rainbow cake! You can see what this particular cake ended up looking like here.
Here’s one I did a few years ago –
There we have it! A rainbow cake! I hope it’s brightened your day. If you’ve got any other questions leave a comment below.
Give it a try and let me know how you get on either on Facebook, Twitter or Instagram.
Happy Baking!
Britt xo
If you want to turn your baking hobby into a career, check out my book Cakes, Bakes & Business for everything you need to know about running a successful baking business, including pricing, marketing, insurance and much more!