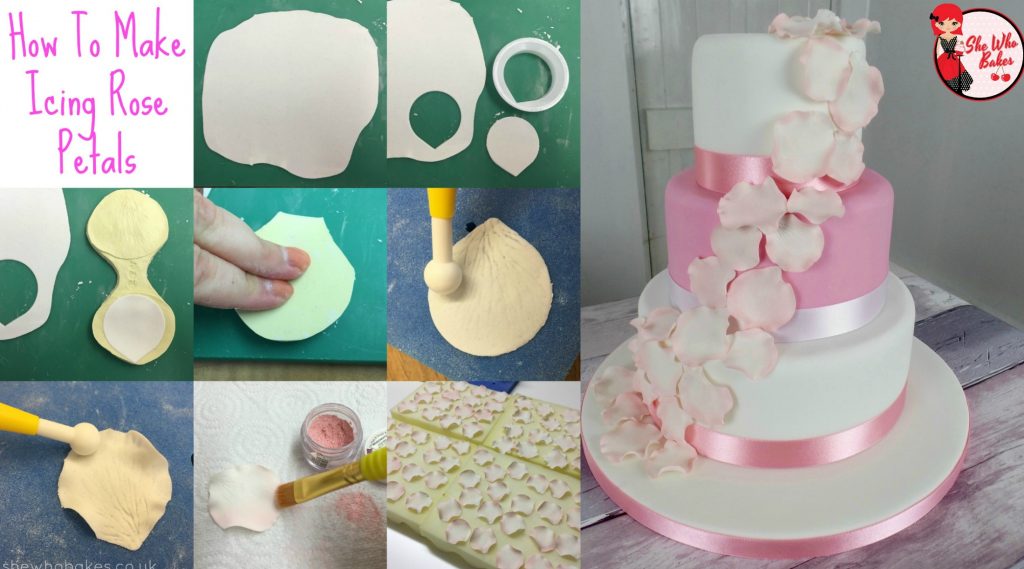
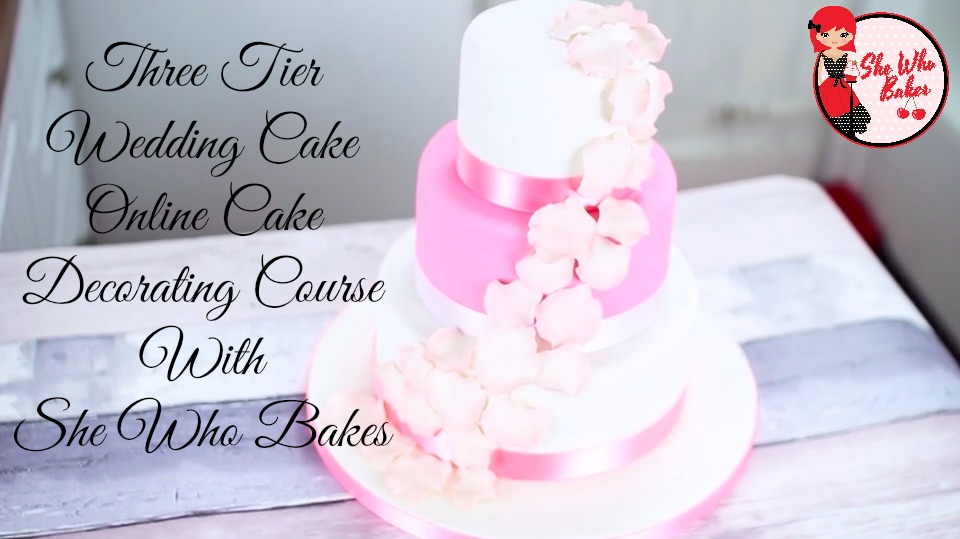
Edible icing rose petals are a gorgeous addition to any cake, and the great thing is they are relatively quick and easy to make.
I’ve used a pink colour for my petals on this wedding cake but you can use any you like.
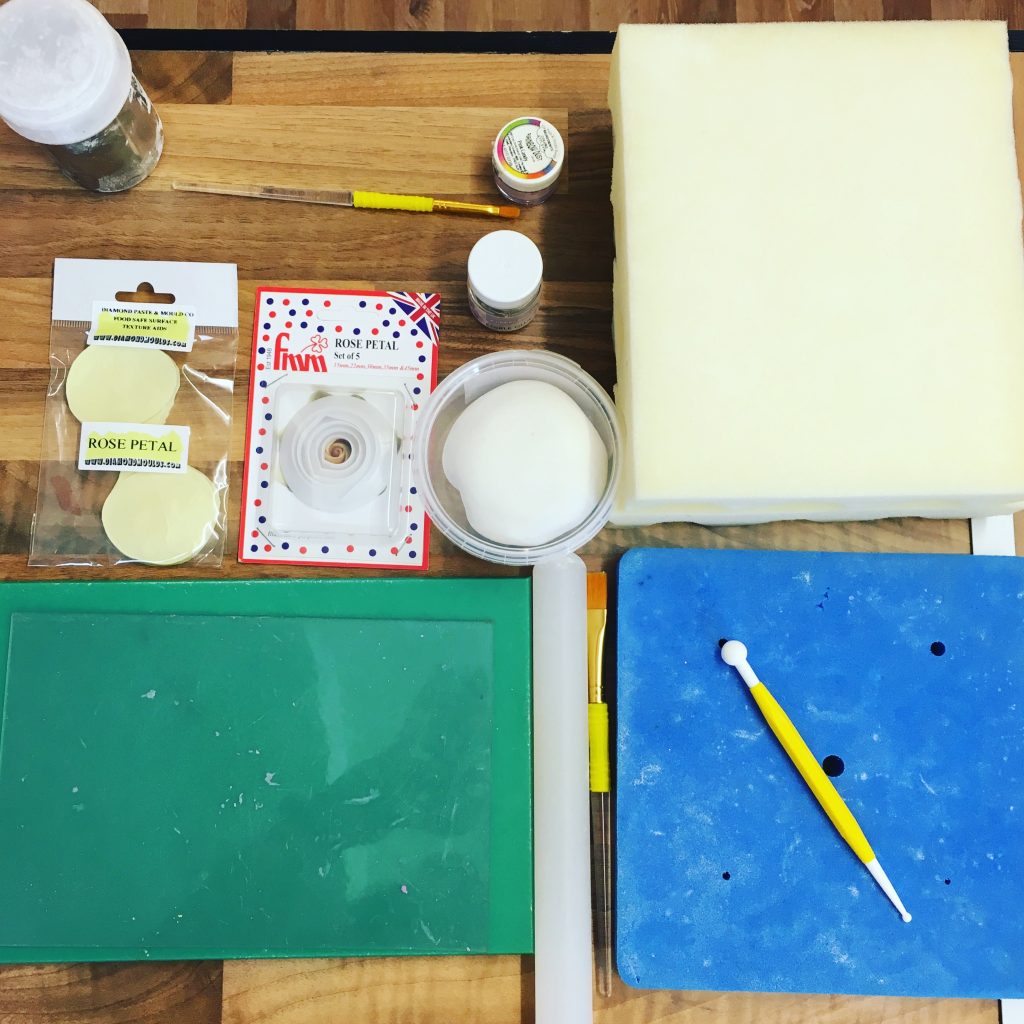
You will need;
- Cornflour in a shaker
- Small dusting paintbrush
- Your chosen dust colour for the petals
- Drying foam
- Petal silicone veiner
- Petal cutters
- Flower paste (I find modelling paste and sugarpaste are both too soft for these)
- Small rolling pin
- Shaping foam pad
- Ball tool
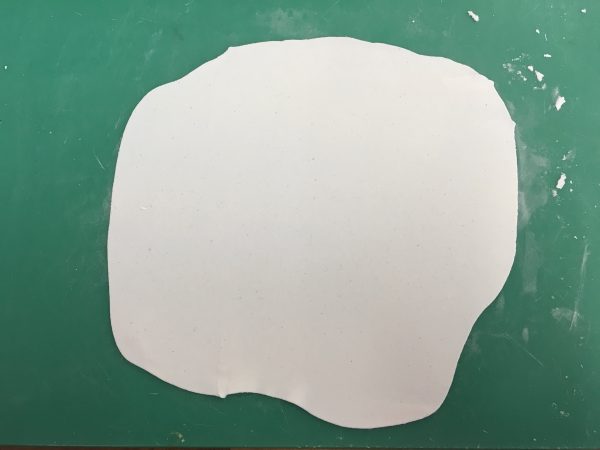
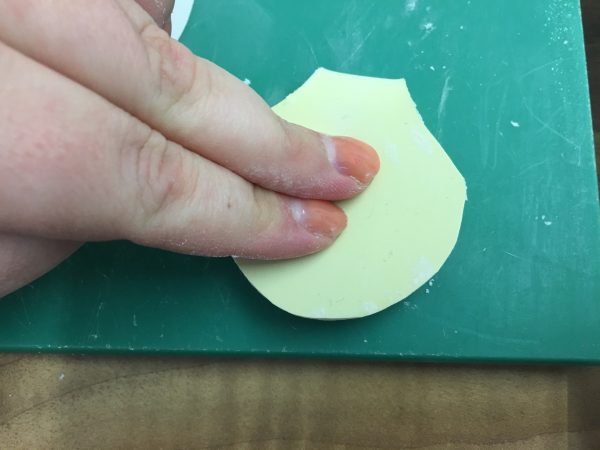
Roll out the flower paste very thinly onto a surface duster with cornflour.
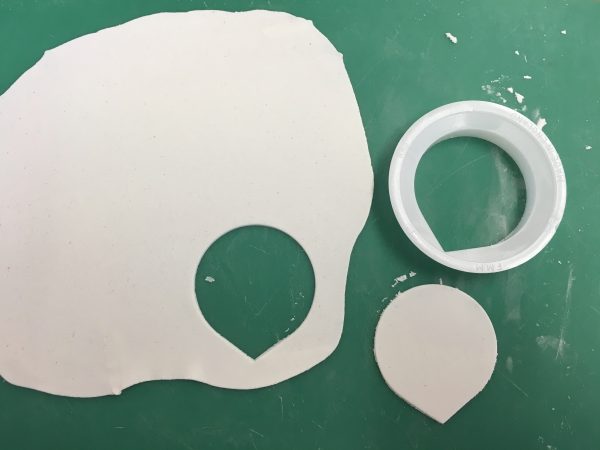
Cut out a petal using the chosen size cutter.
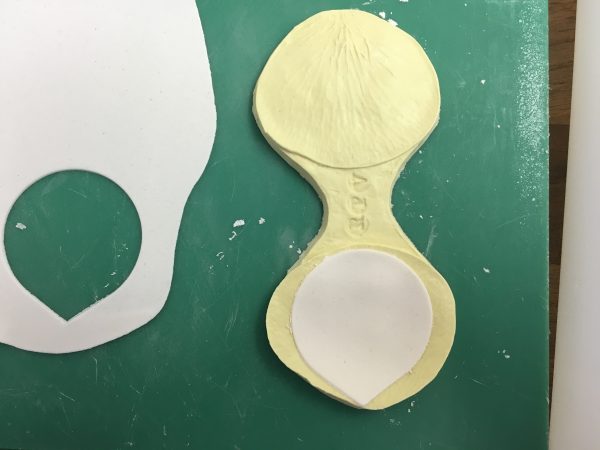
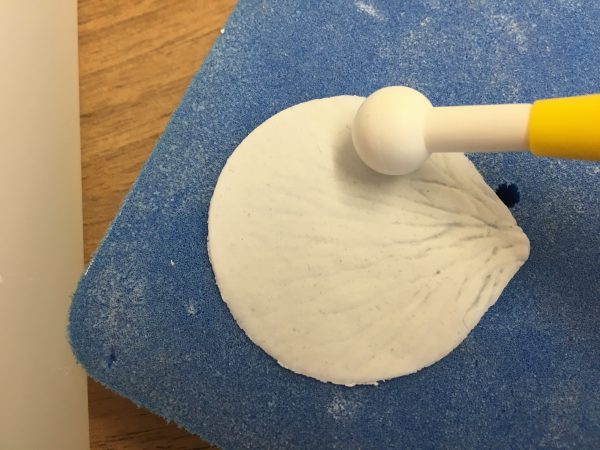
Place this petal into the silicone veiner.
Press firmly and evenly down onto the petal veiner, open and remove the petal carefully onto the shaping pad.
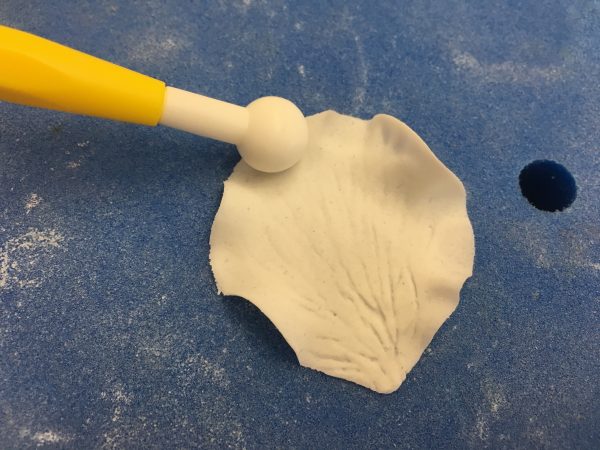
Using a ball tool, go around the petal with half of the tool on the pad and half on the petal, use enough force to bend the petal into shape.
You need to press quite firmly to manipulate the petal but not so hard that it tears.
Once shaped, leave to dry completely (preferable overnight) on drying foam.
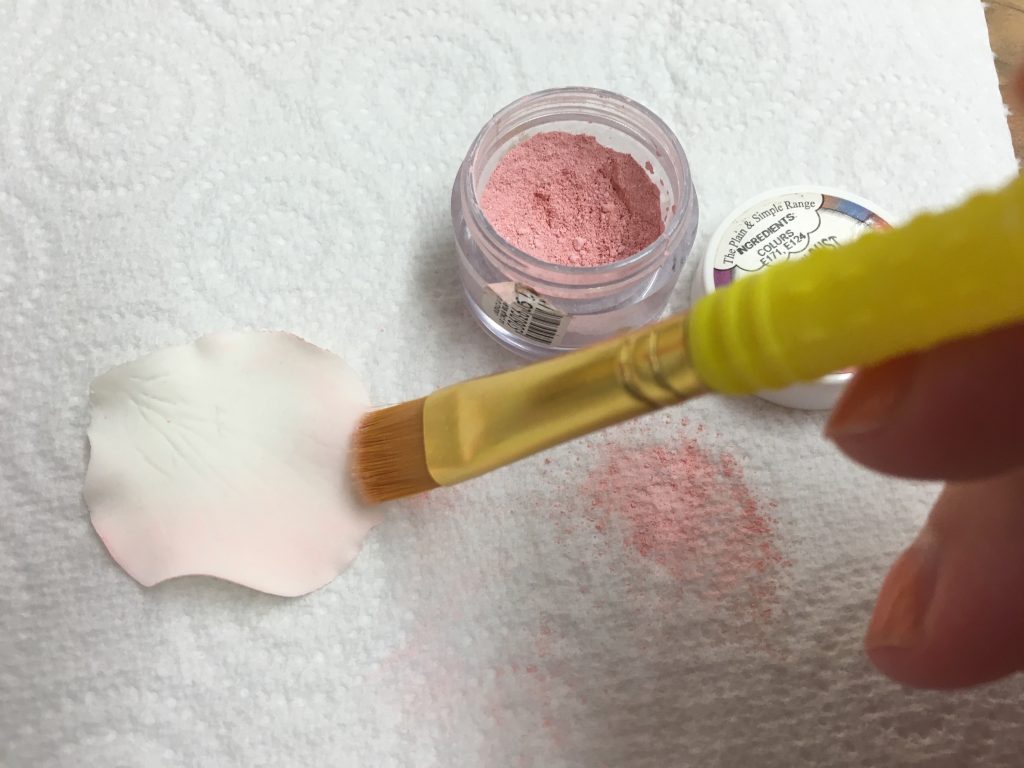
Once your petals are dry, use a large dusting brush to gently brush your chosen colour onto the edges of the petal, adding as much or as little as you like.
When you’re finished, your petals are ready for use! If you’re sticking to the side of a cake, like I’ve done in the wedding cake above, I advise to use royal icing. If adding to cupcakes, push into the buttercream. If you’ve allowed the petals to dry overnight, they shouldn’t go soft in the buttercream.
Once the petals are made, they will last for ages. Pop them in a cake box or a tupperware box with the lid off covered in a single layer of kitchen roll (to keep any dust off) for safe storage. Make sure air can get to them otherwise they may go soft. They will be relatively fragile so be careful when handling.
To find out more about how to make this tiered petal wedding cake, check out my online course here. Currently half price!
Come find me on Facebook, Twitter or Instagram.
Happy Baking!
Britt xo
If you want to turn your baking hobby into a career, check out my book Cakes, Bakes & Business for everything you need to know about running a successful baking business, including pricing, marketing, insurance and much more!

