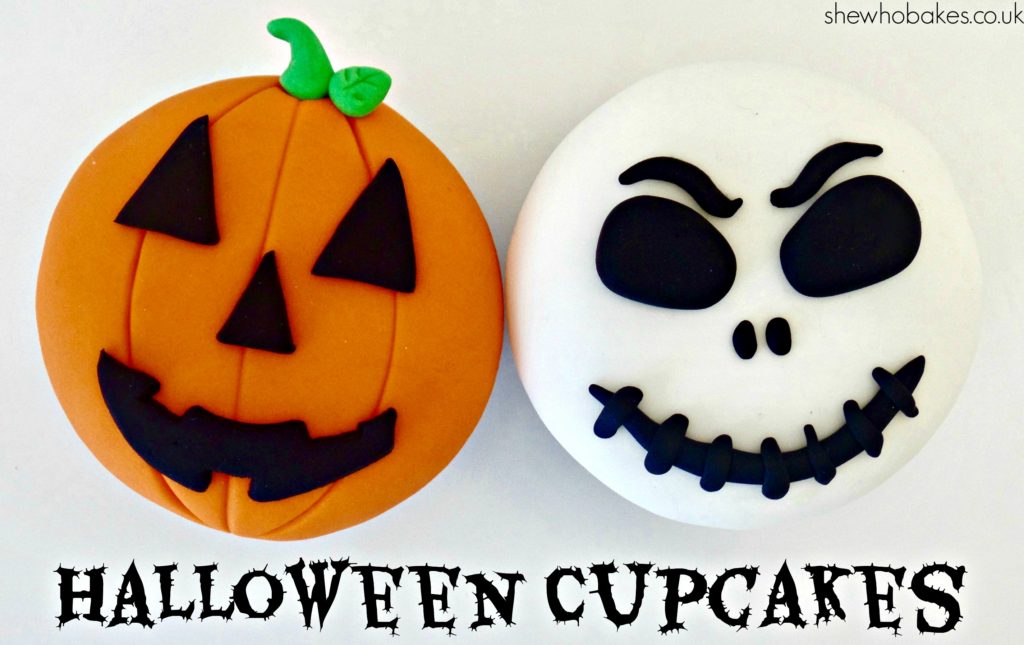
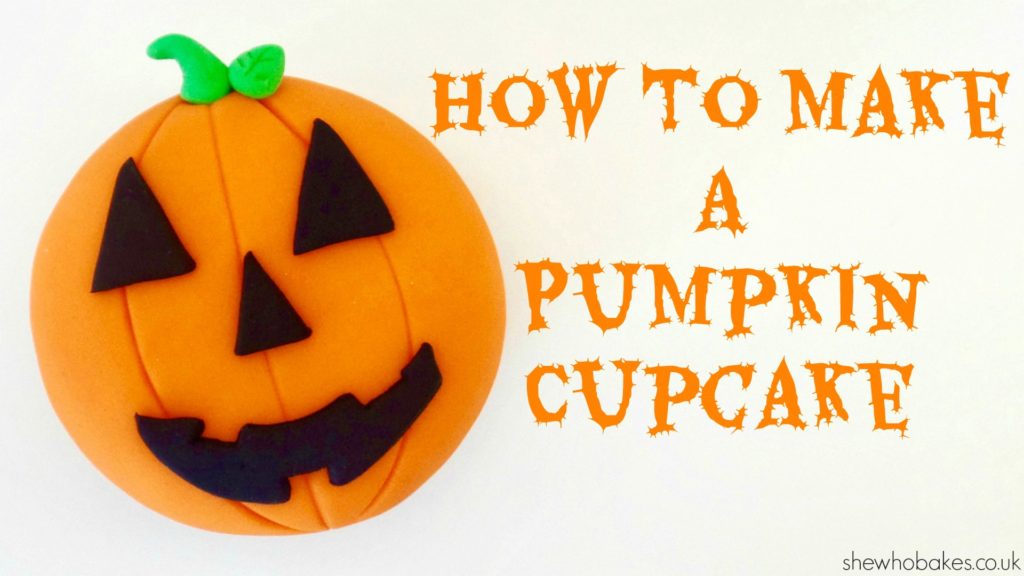
This Pumpkin Cupcake is one of my personal favourites and one of the ones I did at my recent Cake & Bake Show demonstration at ExCeL in London. Check out below the tutorial for a video on how I made it!
I’ve used orange sugarpaste for the top of the cupcake and modelling paste for the details. The green was white modelling paste, readily available which I have coloured green using Sugarflair Party Green colour and pre-coloured black modelling paste. I recommend using modelling paste for stability and keep your decorations in a cake box or another container that the air can get to (not in a sealed box, otherwise they may melt). For more on types of icing, check out my blog post here.
I recommend using actual edible glue as opposed to water as water can make your shapes soggy. My top tip with edible glue is less is more! Only use a small amount.
I’ve used my flat top vanilla cupcake recipe which can be found here.
Equipment can be purchased from Iced Jems. Cases from Scrumptious Sprinkles.
Equipment
- Flat topped cupcake
- Cornflour in a shaker
- Small rolling pin
- Large circle cutter
- Piping gel & silicone pastry brush (OR small amount buttercream)
- Orange sugarpaste
- Black modelling paste
- Green modelling paste
- Edible glue & paintbrush
- Dry paintbrush
- Dresden tool (or something sharp to make the lines of the pumpkin)
- Ball tool
- 2 triangle cutters, one smaller than the other
- Small circle cutter
- Small square cutter
To top the cupcake
Roll out orange sugarpaste on a surface dusted with cornflour and cut out a large circle, a little bigger than your cupcake.
Paint the top of the cupcake with either piping gel or a little buttercream and secure the circle of orange sugarpaste using your hand. Make sure to fix it all the way around and to the case so no cake is showing. This will help for the end design and also keep the cupcake fresh underneath.
With a dresden tool (or something sharp), mark three lines on the pumpkin, one straight down the middle and two either side going from the top centre line to the bottom centre line.
Then, with a ball tool or the end of a paintbrush, make a hole in the top for the stalk to go into. Dust off any excess cornflour with the dry paintbrush.
For the stalk and leaf
Roll a small amount of green modelling paste into a sausage. Then taper the end slightly and bend it over. Stick this into the hole we created earlier with a little edible glue.
For the leaf, roll a small ball of green modelling paste and flatten it slightly, squeeze the end to create a point then, using your dresden tool, mark a line down the middle and a few either side to create the leaf pattern. Fix this to the side of the stalk using a little edible glue.
For the face
Roll out black modelling paste quite thinly, then using the larger of the triangle cutters, cut out two eyes. Then using the smaller triangle cutter, cut out the nose.
For the smile, cut out a small circle of black modelling paste and then cut it again using the same cutter to create a crescent shape. Use the circle cutter to cut the points off. Using a small square cutter, cut out two half squares from the top either end of the smile and one from the bottom in the middle.
Then, stick these to your cupcake using a little edible glue.
 If you want to turn your baking hobby into a career, check out my book Cakes, Bakes & Business for everything you need to know about running a successful baking business, including pricing, marketing, insurance and much more!
Give it a try and let me know how you get on either on Facebook or Twitter or Instagram.
Happy Halloween and happy baking!
Britt xo

