
From the day Tim and I got engaged in June 2017, I had people ask if I was going to make my own wedding cake. It was something I thought about and looked at the pros and cons on both sides. On the one hand, it’s what I do and love so why wouldn’t that extend to my own wedding? On the other hand, did I need the stress? I had come to the decision that yes, yes I did. I thought it would be something really lovely and personal to do, considering we wanted to DIY a lot of the decorations together.
Originally, we had thought about getting married in this country and having the classic British wedding we all know and love. But as we got into the planning, we became aware that our love of the beach and being by the sea meant we couldn’t find a venue that was truly ‘us’. So, we took the plunge and contacted my good friend Lesley who arranges all of our holidays and specialises in Destination Weddings. We booked Sandals Royal Barbados for ten days, just the two of us and started to plan our wedding. We still wanted to celebrate with friends and loved ones and so we booked a Kent venue, Westenhanger Castle for the week after our return to have our UK wedding reception.
The cake I had planned was always for the UK wedding reception. I had no intention of travelling 8 hours to the Caribbean on a plane with a cake I’d made in England. Plus with the wedding package we booked with Sandals, we got a two tier cake to cut and enjoy together on our wedding day! When we were out there we chose vanilla with piña colada frosting for one tier and red velvet with Irish cream frosting for the second tier.
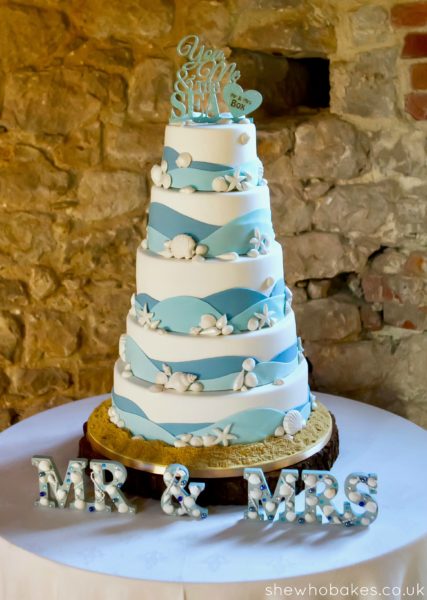
I started to design the cake in the summer. I knew I wanted it to be big and I wanted it to incorporate our love of the beach and include references to our beach wedding. I wanted it to have pearl seashells to match our engagement cupcakes and I wanted it to be relatively simple. With all we had to do and plan on the week of the reception, I knew I simply didn’t have time for anything too complicated. I had bought the custom made topper from a lady I found on Facebook with her business A Moment For Life. ‘You, me & the sea’ is something Tim and I say regularly and we have it written on artwork around our home so it felt the obvious choice. It was blue and glittery and just perfect. It came through really quickly and was so reasonably priced. I highly recommend her!!
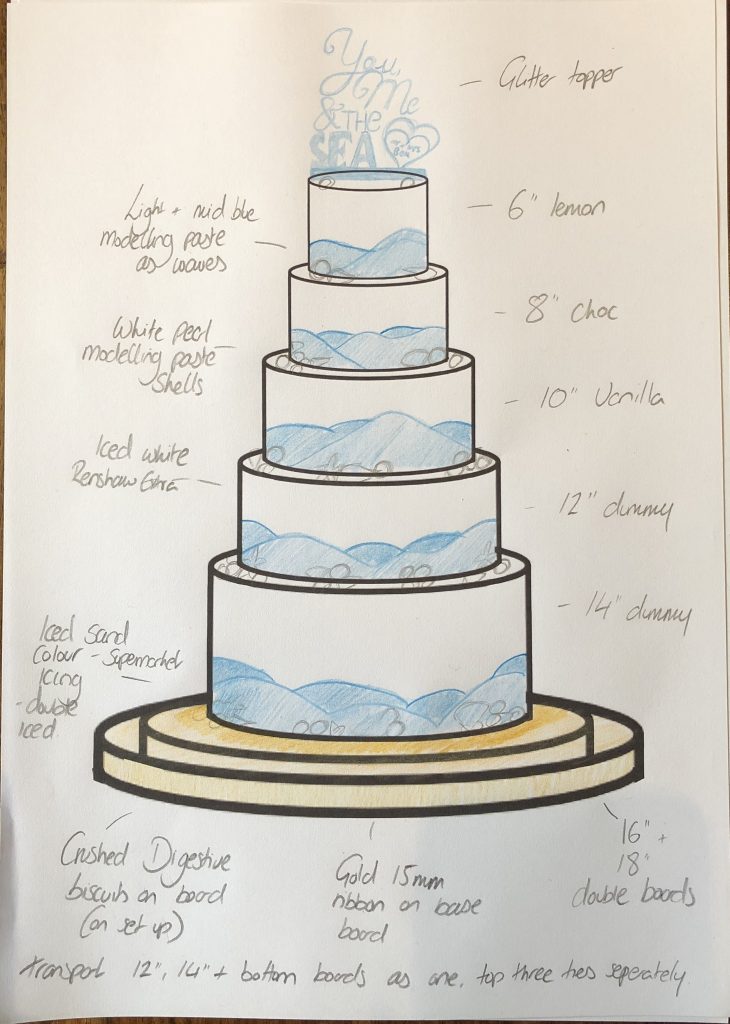
So, down to the details! As you can see, I can’t draw shells. The cake itself turned out to be a five tier, white iced cake with sea accents, shells and a sand base. (I was also inspired by a smaller, slightly different design I saw on Pinterest and despite weeks of searching I cannot find the original baker or company to credit. All links go from one Pinterest board to another!).
As we only had 90 people at our party, five tiers of cake was simply too much cake and there would have been so much leftover. To solve this, the bottom two tiers were polystyrene. This worked in my favour as I could ice and (mostly) decorate these two tiers and the board before we even stepped on a plane. So that all there was left when we returned was to bake and decorate the top three tiers. Once the polystyrene tiers were iced, I stuck them together with royal icing and then glued them both down to the decorated board, again with royal icing.
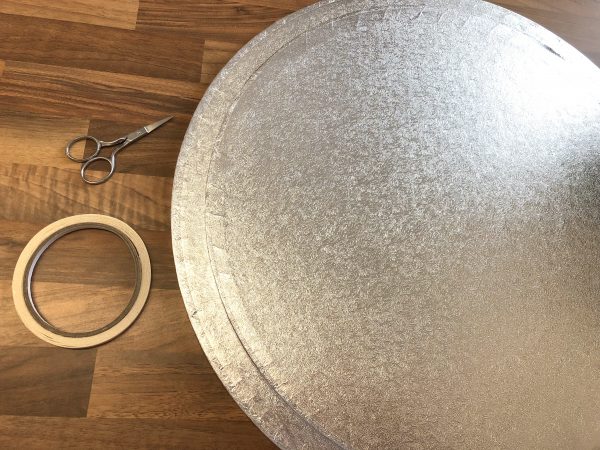
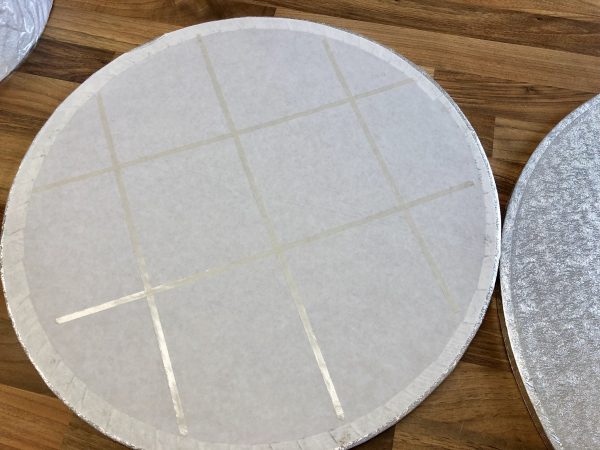

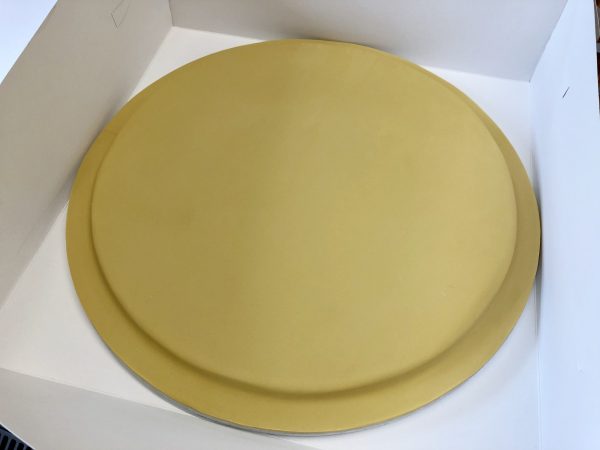


To decorate the board, I stuck together a 18″ drum and 16″ drum with double sided sticky tape. I then painted the boards with piping gel and iced these as one unit with Renshaw white covering paste I had coloured a sandy colour using Sugarflair Ivory.
I made the shells about a month in advance. I used white modelling paste (I use Karen Davies marshmallow paste) and a selection of seashell moulds from Iced Jems. I left them to dry on foam and the following day sprayed then with Pearl Spray to give them a nice sparkle.
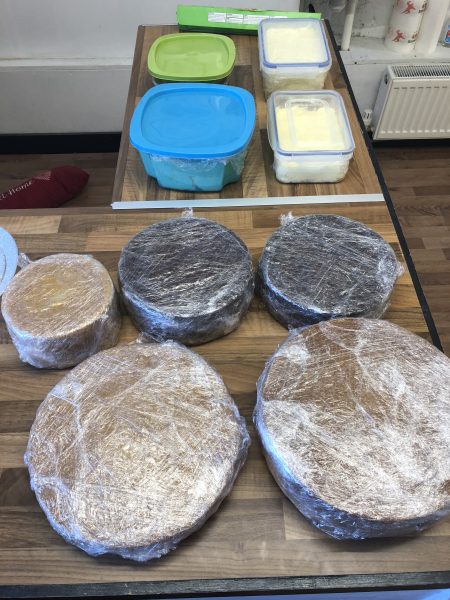
A few days after we got back from Barbados, I baked a 10″ vanilla madeira, a 8″ chocolate madeira and a 6″ lemon madeira (the original recipe, before scaling up, can be found here). For the 10″ cake and the 8″ cake I baked a second ‘half’ cake to go on top to make it deeper. By this, I mean I halved the recipe and baked it in the same tin. So these cakes were 1 and a half their original size. The 6″ cake was a 7″ recipe baked in a smaller tin, also to get a deeper height. I was really pleased with how the actual cakes turned out after baking. I always bake cakes well in advance of when I need them so I have maximum time to decorate. If you use a sturdy recipe like a madeira, they last ages. More on that here.
For the fillings, I made a piña colada frosting to go into the 10″ vanilla cake. This wasn’t in the original plan but I wanted to bring the taste of our wedding cake in Barbados home. To do this, I made a vanilla buttercream (recipe here) and added in piña colada flavouring I found online here. I also made a chocolate buttercream for the 8″ cake and a lemon buttercream for the 6″ cake (recipes here). I didn’t include jams or curds as I prefer a simple buttercream filling. Like the cakes, buttercream can be made ages in advance too. Once made it will last in the fridge for as long as the date on the pack of butter you’ve used, which is usually a few weeks. I keep mine stored in an airtight tupperware box with a layer of cling film over the top to prevent it crusting over or drying out.

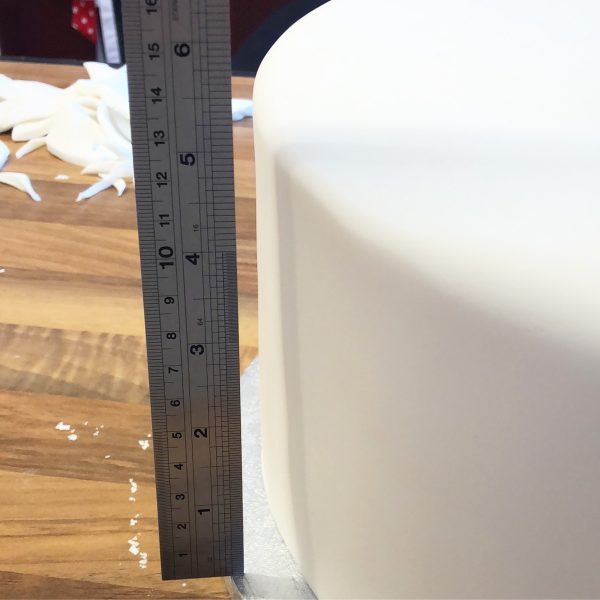
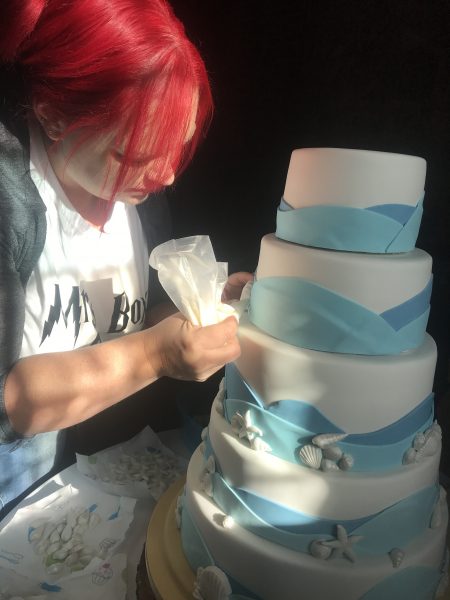
The day after baking, I split, filled and crumb-coated all three cakes with their respective buttercream filling. I then iced them all (including the bottom polystyrene cakes but I used piping gel to stick down the sugarpaste) in Renshaw White Extra. It’s fast becoming my favourite sugarpaste to use. Really forgiving and good to work with. I then let the cakes set overnight. The following day, I created the ‘sea’ by colouring modelling paste (I use Karen Davies marshmallow paste) two different shades of blue in Sugarflair Ice Blue and Sugarflair Baby Blue. I then rolled this out thinly and cut out wave shapes by hand with a pizza cutter. I then stuck these to the sides of the cake with edible glue. I left these overnight once more.
Once these were done I was limited with what I could continue to do at home. I was aware I didn’t want to transport the cake fully stacked as it was, at this point, REALLY HEAVY. So I had made the decision to stick down the 10″ cake to the already stacked, fully decorated and boarded 12″ and 14″ polystyrene dummies. This meant I could finish decorating, to a certain extent, the bottom half of the cake. I stuck on the shells with Royal Icing.
The 8″ and 6″ cakes were going to be transported separately and I would finish decorating the cake on the day of the party. Ideally I would have done this the night before but I ran out of time. I always have thin cake boards the same size as my cake underneath any cakes I make. This is for stability (especially if stacking), hygiene, so that nothing can get into the cake from the bottom and for ease of movement.
I made some ‘travel boards’ for the individual cakes by using a thin cake board one inch bigger than the cake and cutting out non-slip matting to fit. I stuck the non-slip matting down with double sided tape and boxed the cakes up in one inch bigger cake boxes.

On the day of the party, I dowelled the 10″ cake and the 8″ cake and put a layer of cling film on top so air didn’t get into the dowel holes. We then travelled SLOWLY to the venue. I had the biggest part of the cake in the back of the car with me on the folded down seat with the 8″ and 6″ cakes in the footwell. It was a tense journey! I had brought with me all of the shells, royal icing in a tub as well as a piping bag, palette knives, and any other equipment I thought I would need.
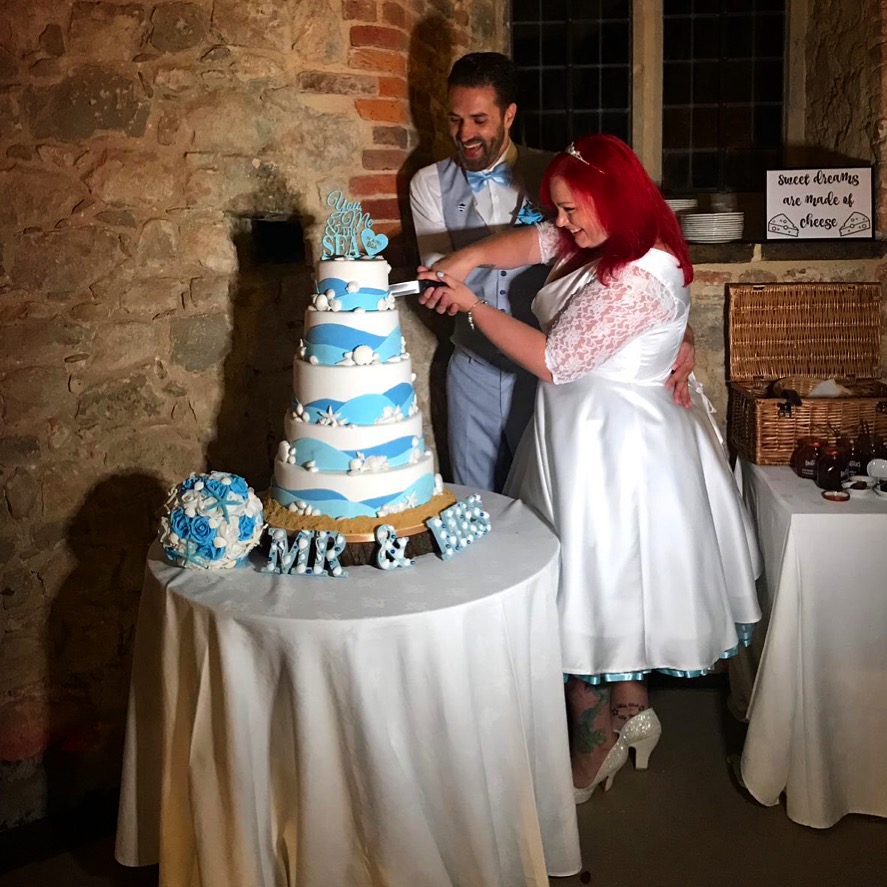
When we got to the venue I walked in the bottom half of the cake onto the cake stand which was a rustic wood slice borrowed from the good people at The Three Tuns pub. I then built the cake by sticking down the top two tiers with royal icing and sticking on all of the other shells. I then finished this with the cake topper and poured crushed digestive biscuits around the base to make the sand.
I stepped back and looked at my creation. A mixture of pride, relief and excitement overcame me. I was so proud of how it looked in the end. Whenever you go through a creative process there’s inevitably a lot of mixed feelings but to see it finally down, in the backdrop of the castle, was enough to bring a tear to my eye. Everyone had such lovely comments to say about how it looked and tasted too which made it all worth it!
If you are a baker, or just enjoy baking, and think you want to make your own wedding cake, let me tell you that it can absolutely be done. With the right amount of practice, planning, preparation and lists – you can do it.
Happy baking!
Mrs Box xo
Pictures from our Wedding Day in Barbados and our UK Wedding Reception –

