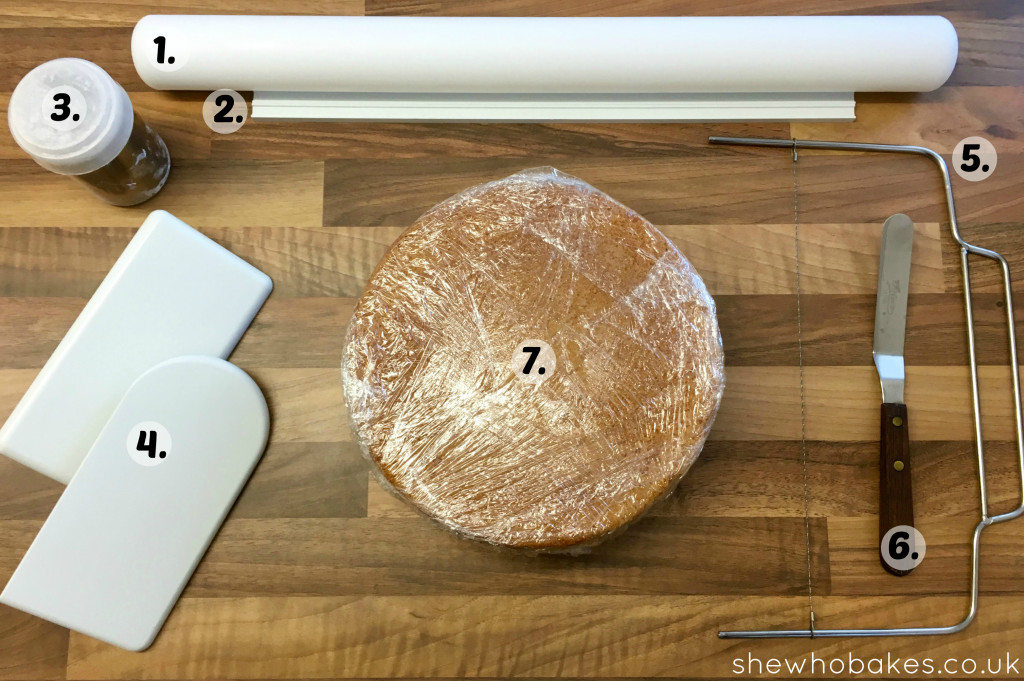
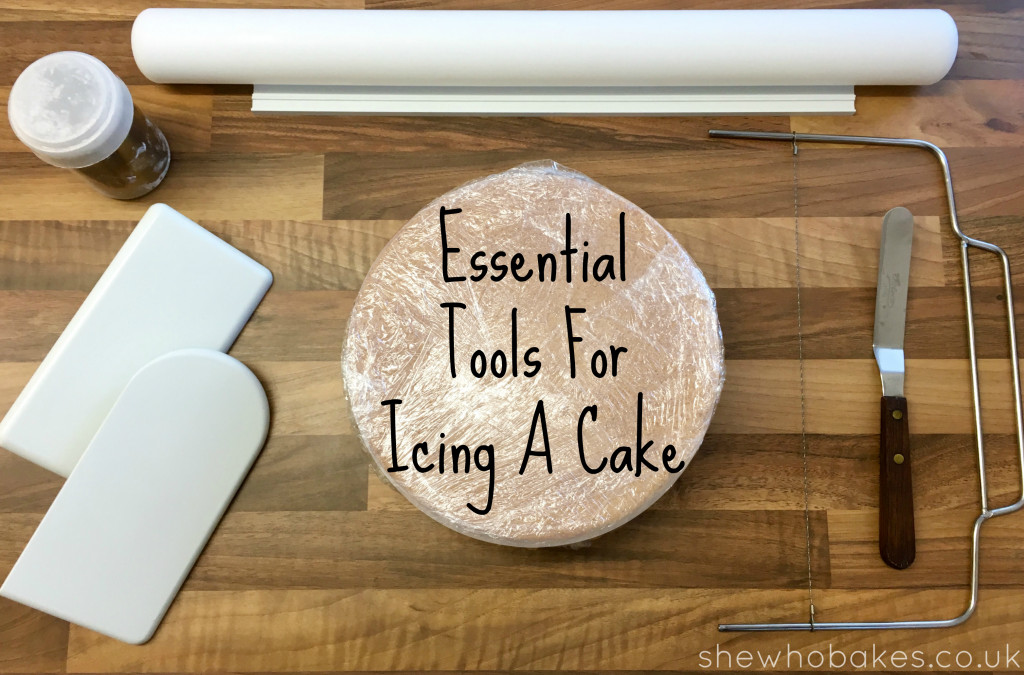
No matter where I am, in my kitchen, teaching or demonstrating, if I’m icing a cake there a few essential tools I have got to have with me so I know I’m going to get the best results. These tools are so well used when I am decorating that I can get them out of the drawer and lay them out like this, pretty much without looking!
I know everyone will have different ways they get the best results, but these tools have never failed me and I recommend them to anyone looking to up their icing game.
If you want to turn your baking hobby into a career, check out my book Cakes, Bakes & Business for everything you need to know about running a successful baking business, including pricing, marketing, insurance and much more!
You can buy the tools below from Iced Jems.

- A large non-stick rolling pin. I recommend using these kind of rolling pins over wooden ones or a few reasons. Wooden rolling pins can sometimes leave a grain effect on your icing (which is great if that’s part of the design!) and they can be tricky to keep clean. With one like this, it’s non-stick, so perfect for sugarpaste/icing and by having a large one it’s easier to roll out the sugarpaste and get it on to your cake, as I generally use the rolling pin to lift the icing off the surface.
- Spacers. These little beauties have been a life saver in my career as a cake decorator. They ensure you roll out your sugarpaste to the optimum thickness, ¼”. Years on from when I started, I can roll out sugarpaste to ¼” thick without too much bother but I still use these as a back up. They are also brilliant for rolling out marzipan and cookie dough.
- Cornflour. I use cornflour in a shaker to stop my sugarpaste from sticking to the side. I know using icing sugar may be the standard in kitchens but I much prefer using cornflour. I find it doesn’t make my sugarpaste grainy, I don’t have to use as much, it’s easier to dust off once I’m finished, easier to clean up (sticky surfaces anyone!) and it’s cheaper. Win.
- Smoothers. You can buy these individually but I recommend using two. They are for smoothing the sugarpaste onto and around your cake and board. I use two so that I can hold the cake in place with one and smooth with the other, that way eliminating any fingerprints or hand marks.
- Cake leveller. If you’ve ever tried cutting the top off a cake with a knife, you will know it’s seemingly impossible to cut in a straight line, I can’t do it to save my life! So, by using a cake leveller, you can level the top with ease and also split your cake into as many layers as you like knowing they will be nice and even!
- Cranked pallet knife. With the cranked shape of the knife, it makes spreading buttercream in and on your cakes so much easier and gives a nice, smooth finish and is easier on your wrist!
- Cake! It seems obvious I know. But what I mean by this is a good quality, sturdy cake for decorating. Whenever I ice a cake, I use my Madeira cake recipe. It bakes at 3″ deep which is great for splitting into layers, it’s nice and even and has a great crumb structure which lends well to carving, too. Something like a Victoria sponge is really light and I wouldn’t recommend icing it. You will get a better finish with a stronger cake, like a Madeira.
As well as this I use good sugarpaste/icing, buttercream, a thin cake card for underneath the cake and a 12mm thick cake drum (iced too, of course!).
For more information on the different types of icing available and what they are best for, check out my article Which Icing Should I Use?
Also, check out my ebook How To Start A Cake Business From Home for everything you need to know about running a successful baking business, including pricing, marketing, insurance and much more.
Happy baking!
Britt xo

