I love all things Disney and all food Mickey shaped! Being in Disneyland truly is my happy place. Sadly, much like everyone else my 2020 trips have been cancelled but I wanted to bring some Disney magic to my kitchen.
This recipe continues my Mickey Treat series, previous park inspired instalments include my Chocolate Chip Mickey Cookies and my Mickey & Minnie Decorated Cookies.
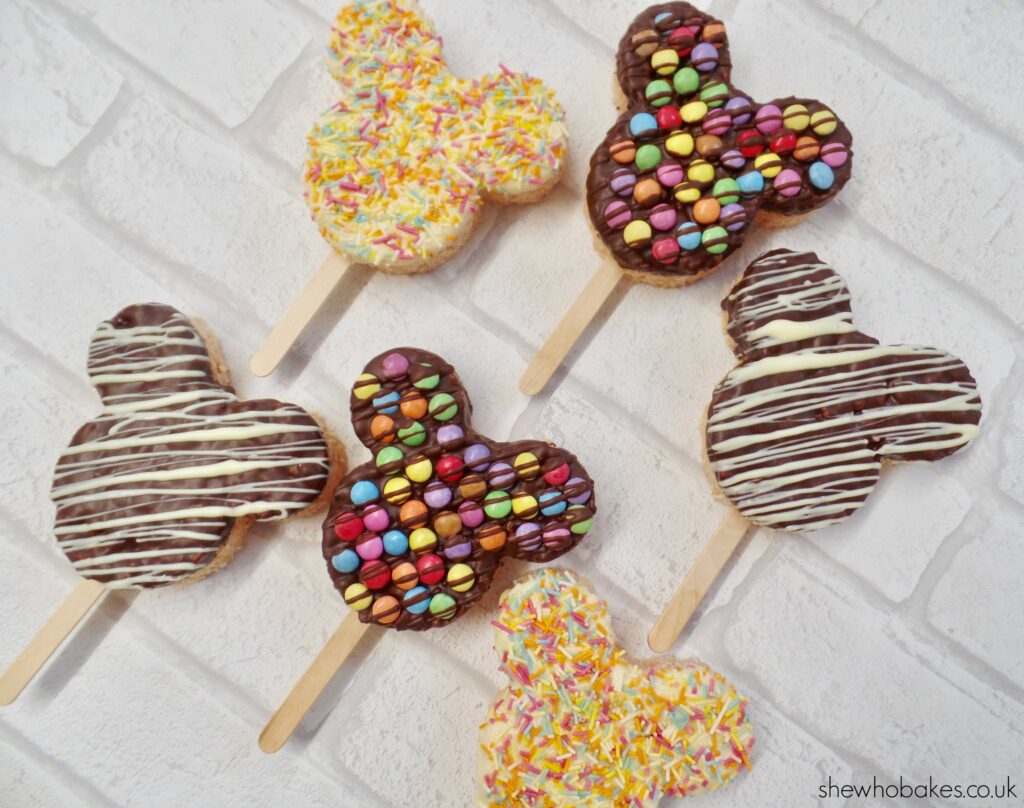
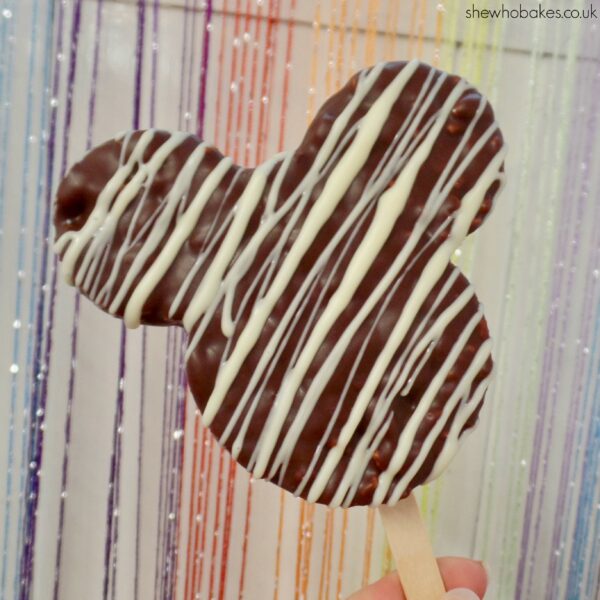
Today’s treat is a sticky and sweet, classic Disneyland delight – Mickey shaped Marshmallow Rice Krispie Treat Pops!
Made using soft marshmallows, Rice Krispies and a couple of personal additions and decorated with melted chocolate. I originally saw these pop designs on Pinterest, inspired by the actual treats in the Disneyland parks and tracked them down to What Charlotte Baked.
You can, of course, just use the classic combination of butter, Rice Krispies and marshmallows but by adding in the vanilla and salt, I think it takes this tasty treat to a whole new level!
For the treats you will need –
- 50g unsalted butter
- 250g marshmallows
- 200g Rice Krispies
- ¼ tsp salt
- 1 tsp vanilla
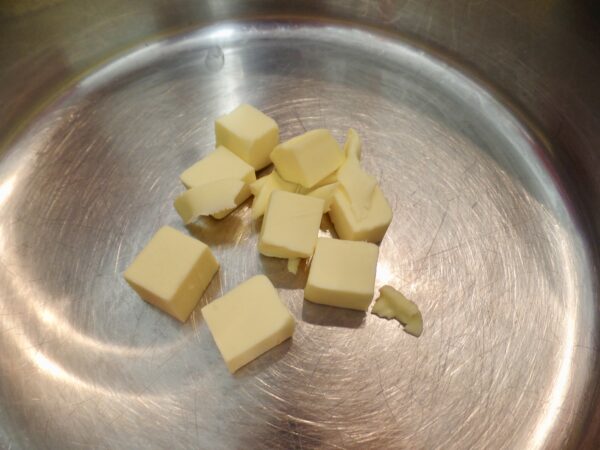
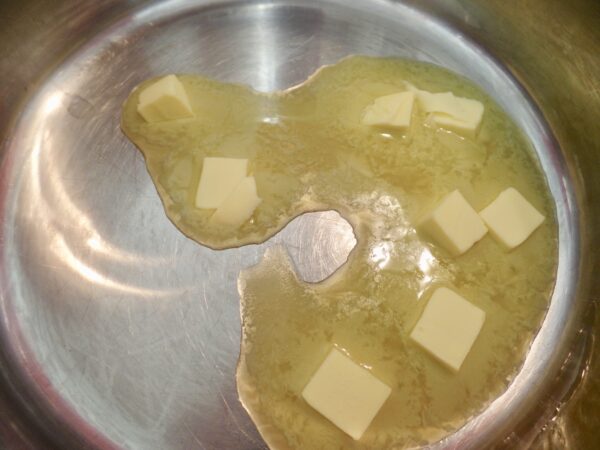
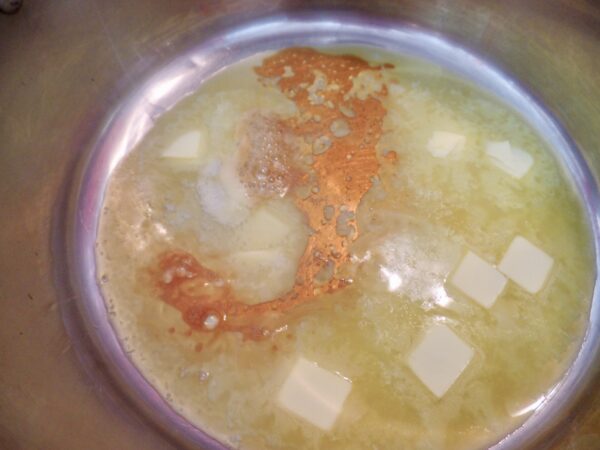
Cube your butter and heat in a large pan. Once the butter starts to melt, add in your vanilla and salt and mix well.
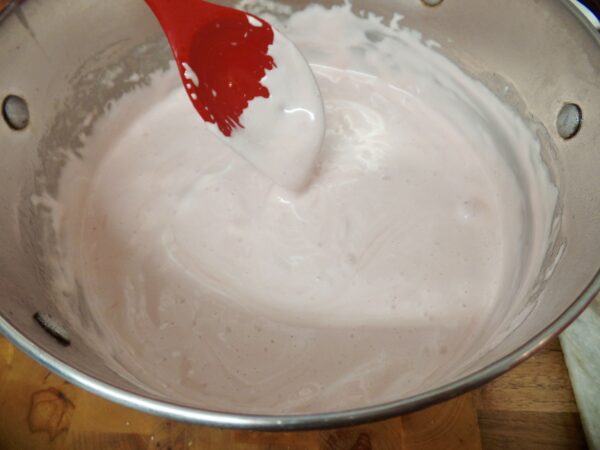
Then, add in the marshmallows and mix until completely melted. Once melted, take the pan off of the heat.
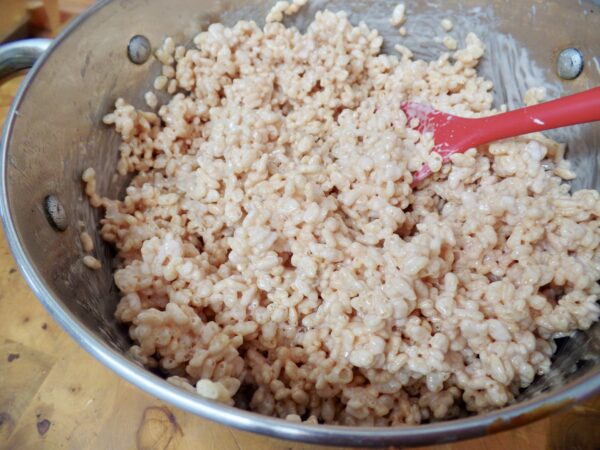
Mix in your Rice Krispies until completely coated. Then, pour into a lined tray. I’m using an 8″ x 8″. I’ve also used more greaseproof paper than I need and left it outside of the tin so I can lift the treat slab out easier.
Gently push down to flatten the top. I’ve found the best way to do this is to wipe a little oil onto the back of a rubber spatula and use this to press down with.
Leave to set completely.
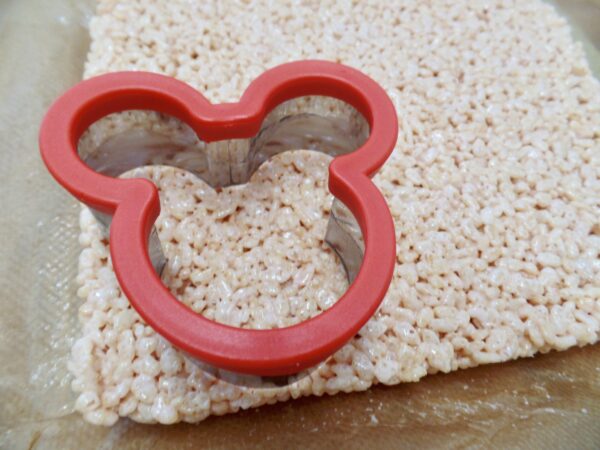
Once set, lift the slab out of the tin. You can then either cut into squares using a sharp knife or, if you want the Disney touch, cut out shapes using a Mickey cutter (you can find the cutter I used here).
A little tip, wipe a little oil around the metal of the cutter before pressing down. This made it much easier.
Then push your shapes out onto a wire rack. My slab made 6 Mickey shapes with a bit leftover to nibble on!
To decorate you will need –
- 150g milk chocolate
- 150g white chocolate
- Sprinkles
- Mini Smarties
- Flat lolly pop sticks
- 2 teaspoons coconut (or unflavoured) oil
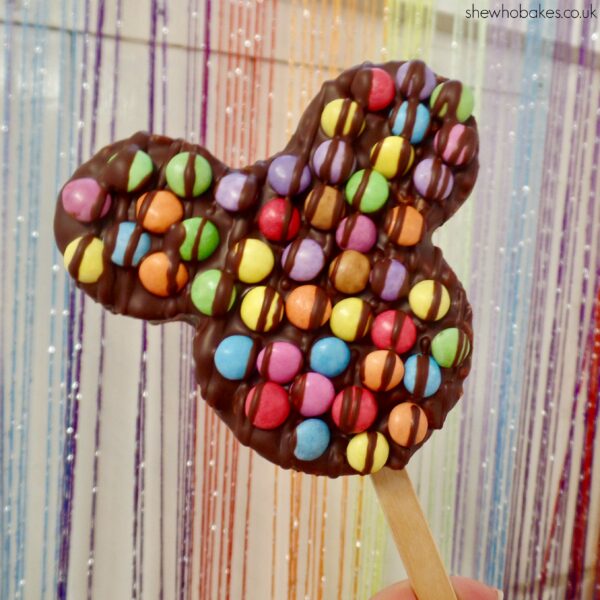
For the decorations, I’m going with three designs; milk chocolate with white chocolate drizzle, white chocolate with sprinkles and milk chocolate with mini Smarties. You can either leave them plain or do something completely different!
If you’re going with one of the designs I’ve used, break 150g milk and white chocolate into squares in separate bowls and microwave on short bursts until melted. I like to add a teaspoon of coconut oil into the melted chocolate to make a better consistency (and it tastes nice!) but if you don’t like coconut, use any unflavoured oil instead.
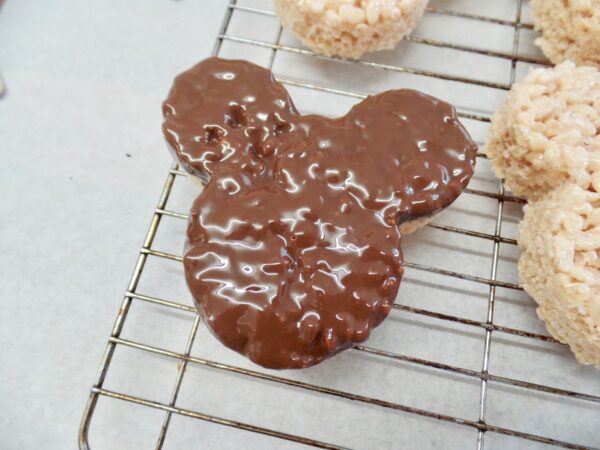
Carefully dip the Mickey Rice Krispie into the chocolate face first. Lift it slowly and let the excess chocolate drop back into the bowl. Then place it on a wire rack with a sheet of greaseproof paper underneath.
I dipped four in milk chocolate. Two of these I covered in mini Smarties and then drizzled in more milk chocolate. Two more I left to set and then drizzled in white chocolate. The last two I dipped in white chocolate and then covered in sprinkles.
Leave these to set completely.
Once they are all set, spread a little oil onto the end of your lollypop stick and gently push into the bottom of your Mickey treat (you can find the sticks I used here).

You need to keep these treats in an airtight container. They will last 2-3 days. They do not need to be refrigerated as this may make them too firm to enjoy.
These treats are best enjoyed snuggled up on the sofa, watching a Disney classic.
If you fancy a more classic Rice Krispie Treat, check out my bars here.
Give it a go and let me know how you get on, either on Facebook or Twitter or Instagram.
Happy baking!
Britt xo

For more information on how to decorate your cake and go from home bake to showstopper, check out my list of latest online cake decorating courses here.
If you want to turn your baking hobby into a career, check out my book Cakes, Bakes & Business for everything you need to know about running a successful baking business, including pricing, marketing, insurance and much more!

