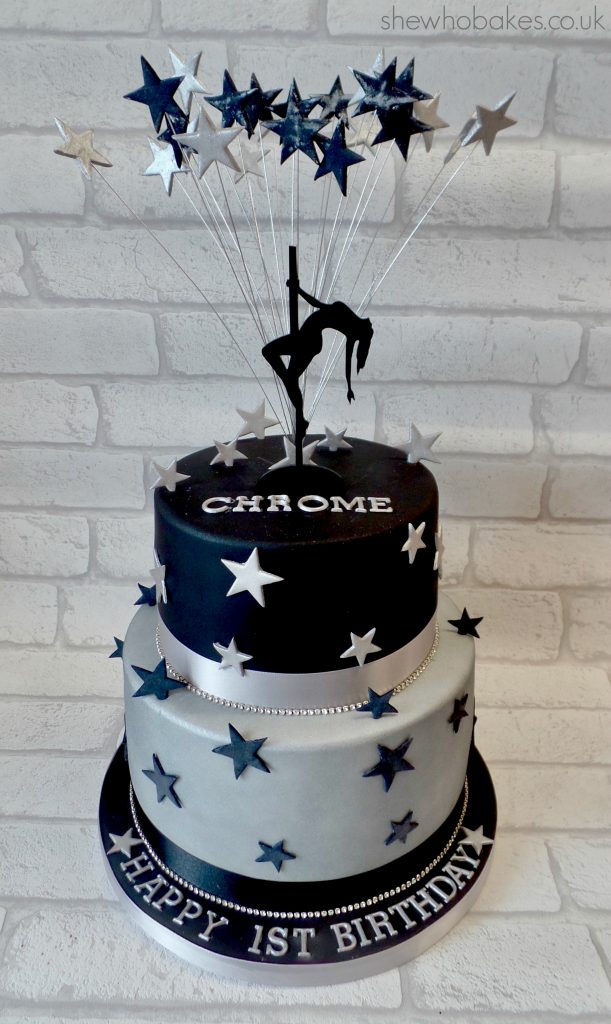
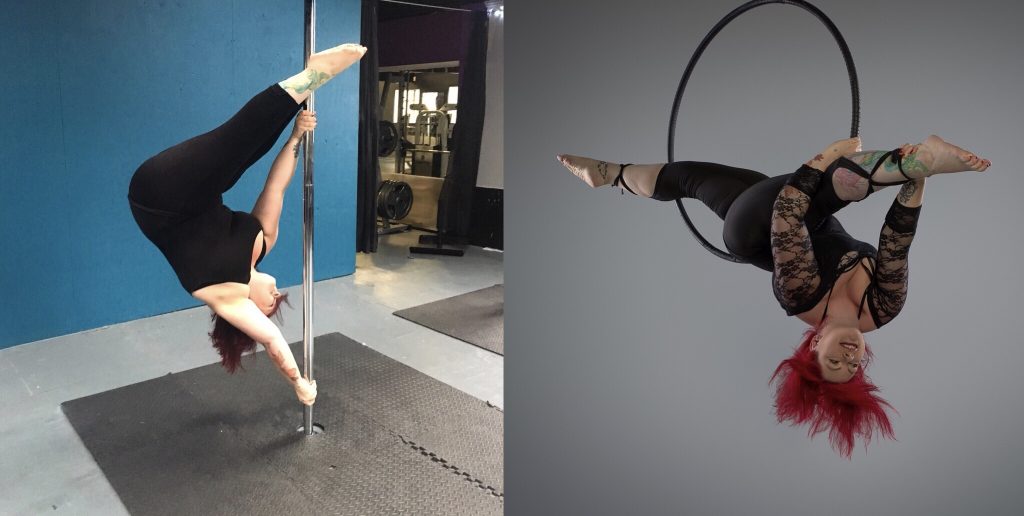
If you follow me on Instagram you may know one of my other passions is aerial fitness (check out my aerial Instargam here!). The two I love and do regularly are pole fitness and aerial hoop. I’ve been doing it on and off for 10 years and went back properly two years ago. This week marks the first birthday of the the pole school I learn with, Chrome. We had a birthday party at the weekend and I offered to make a cake for the occasion!
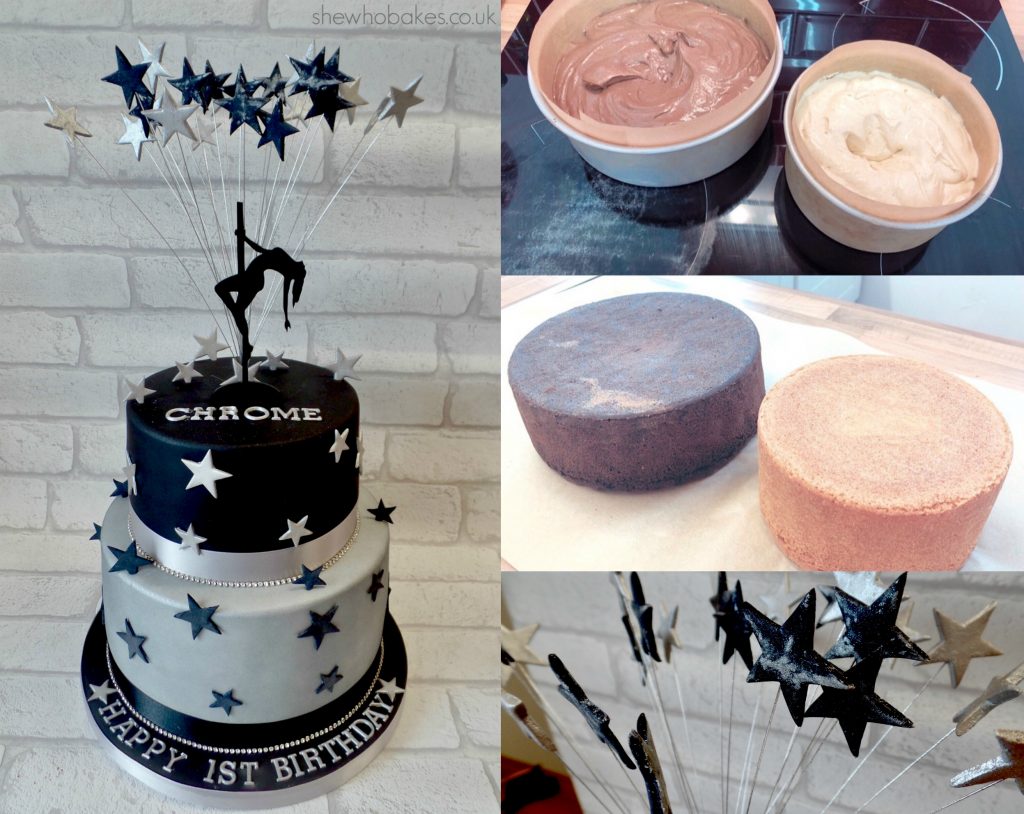
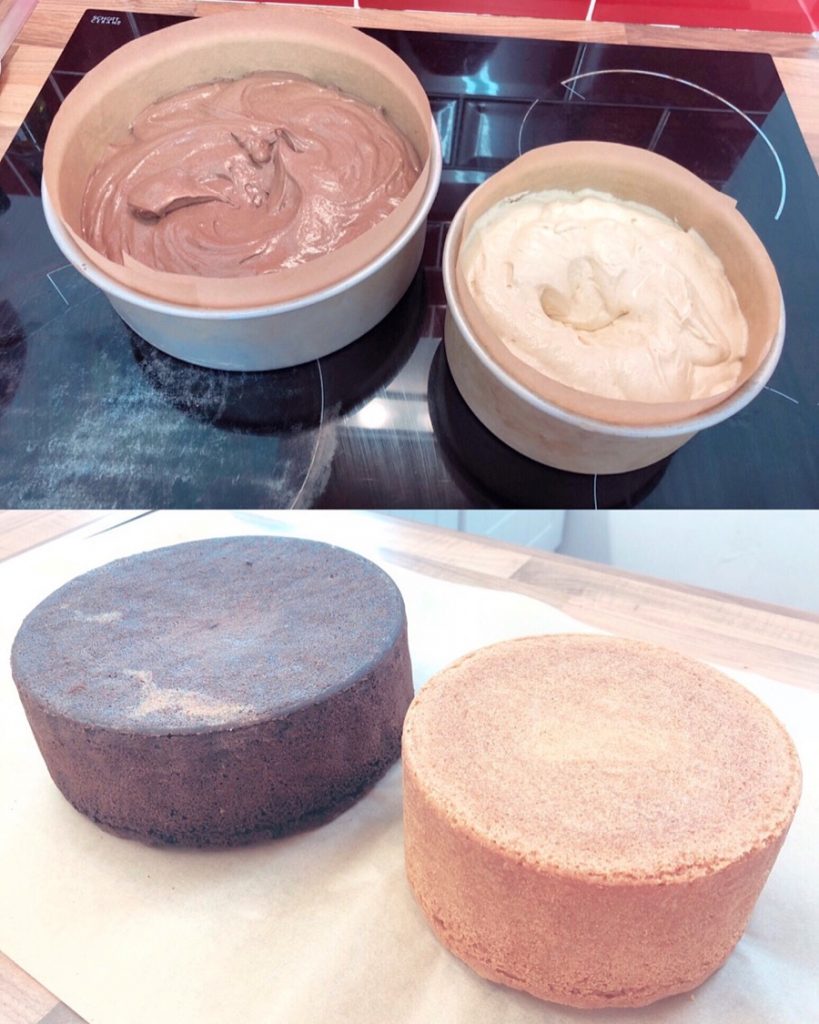
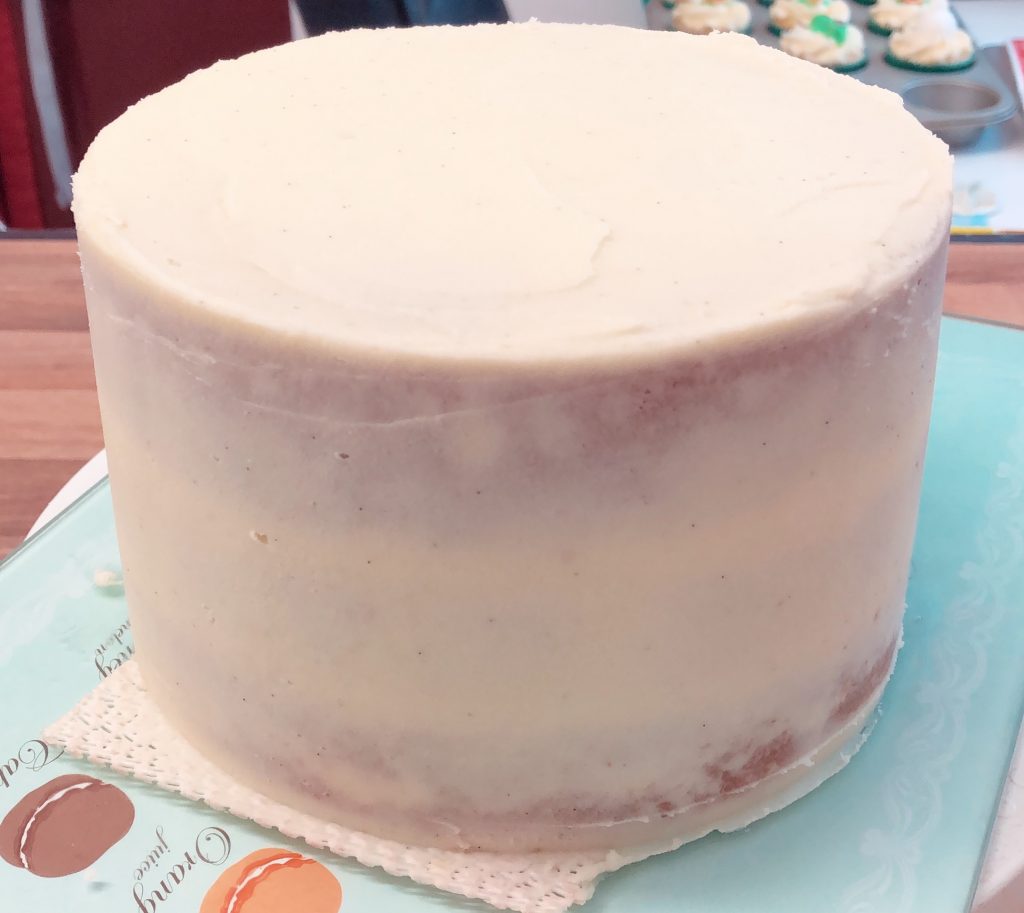
It’s a 6″ round vanilla madeira cake and an 8″ round chocolate madeira cake, both made using my recipe here where you can find a link to a cake calculator to work out the mix for different size tins. The 6″ was split with a cake leveller, filled and crumb coated with vanilla buttercream before being iced with Renshaw black sugarpaste. I usually mix up my own colours but I have a few exceptions, black being one of them. Life is too damn short to colour icing that dark so for the sake of my sanity I spend a little more and buy pre-coloured. My buttercream recipe can also be found on my madeira cake recipe page here.
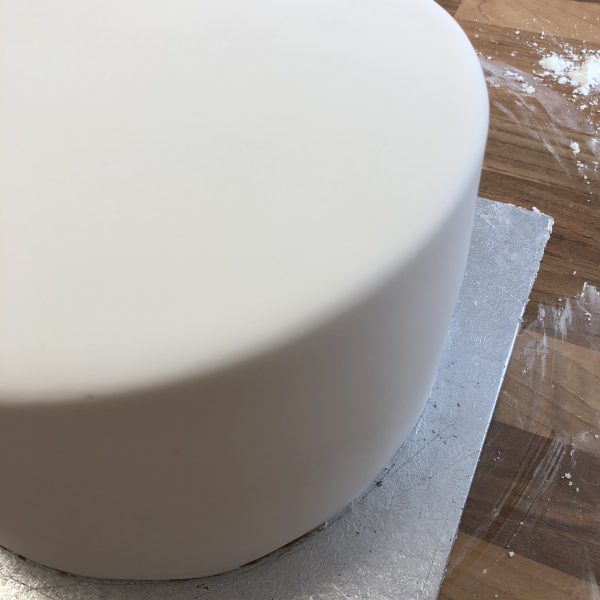
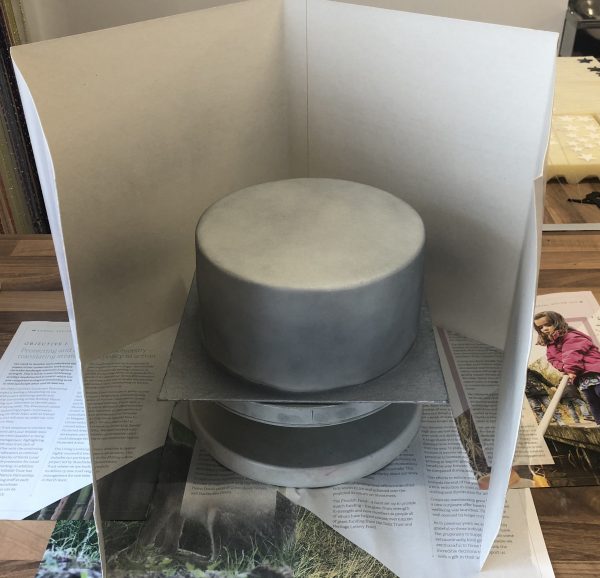
The 8″ round chocolate madeira was split with a cake leveller, filled and crumb coated with lovely chocolate buttercream. This was then iced white with Renshaw Extra (I really like this stuff!) smoothed with Super Sharp Edge Smoothers and left to set overnight. Once the sugarpaste had hardened, I sprayed it using a PME Silver Lustre spray. This was much easier and quicker than hand painting it.
Once that tier had dried, I measured and cut 5 wooden dowels to go into it as the 6″ would be stacked on top. I then carefully lifted this tier and stuck it to the middle of a 10″ round cake drum which I had iced with black supermarket icing the day before. I tend to use cheaper icing to cover my boards with as it’s not going to be eaten and I don’t have to worry about the strength of the sugarpaste. It doesn’t matter what kind of icing you cover your boards with, just as long as you COVER YOUR DAMN CAKE BOARDS. I stuck the tier down with a thin spread of royal icing. The cement of the cake decorating world.
I then spread a layer of royal icing on top of the 8″ cake, making sure to cover the tops of the dowels, and carefully placed on the 6″ round. I then left this to set and dry a little before decorating.
For the decorations I cut out a lot of stars in different sizes and I made a silver and black starburst by using black flower paste and white Mexican paste which I painted silver with lustre dust and rejuvenator spirit. I also used an acrylic pole dancer topper I got from eBay.
I stuck some of the stars to the cake with royal icing and pushed a few into the sides of the cake once they had dried completely overnight.
I then used double sided tape to add a 15mm silver ribbon to the cake drum and a little tape to add a 25mm black ribbon for the base tier and silver ribbon for the top tier. I finished this off with a string of diamantes which I secured at the back of the cake with a little royal icing.
I also cut out a personalised message and name of the studio using tappit cutters and Mexican paste. I painted these silver the same way I painted the stars.
I’m really pleased with how it turned out and it looked so good at the party!
To learn more about how to stack and decorate a tiered cake, check out my wedding cake course here – currently 50% off!!
Happy baking!
Britt xo
If you want to turn your baking hobby into a career, check out my book Cakes, Bakes & Business for everything you need to know about running a successful baking business, including pricing, marketing, insurance and much more!
